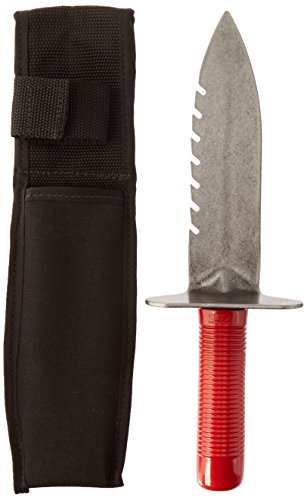
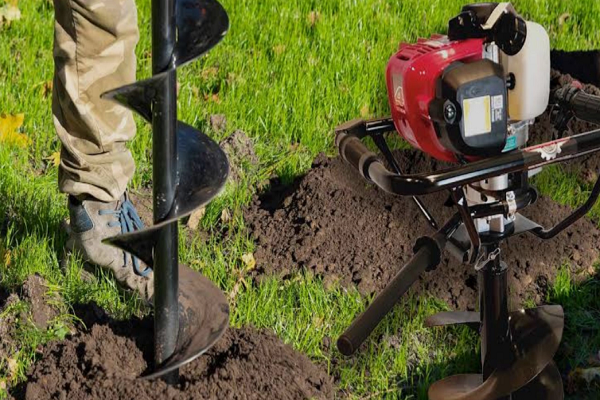
A grass digging tool is any hand or power tool designed to cut, lift, or remove grass.
If you have ever tried to rip up turf with the wrong tool, you know the pain. As a lawn and garden pro, I’ve tested almost every grass digging tool out there. In this guide, I’ll help you choose the right grass digging tool for your yard, show you how to use it, and share tips that save time, money, and your back.

What Is a Grass Digging Tool?
A grass digging tool helps you cut through turf, remove sod, edge borders, and dig clean planting holes in grass. It looks simple, but the right tool can turn hard work into an easy, clean job.
Most tools share a few traits:
- A sharp blade that slices roots and thatch.
- A sturdy handle that lets you push with your foot or body weight.
- A shape built for a task, like edging, lifting sod, or prying weeds.
Common forms include:
- Half-moon edgers for clean borders.
- Turf or transplant spades for digging straight, neat holes.
- Manual sod cutters for slicing and rolling up turf.
- Weeding knives for tight spots and small roots.
From experience, a good grass digging tool is like a sharp chef’s knife. It saves effort and gives you cleaner cuts that heal faster in the lawn.

Types of Grass Digging Tools
Manual sod cutter
Best for removing whole sections of turf. It has a flat, sharp blade that slides under roots. You push it forward to lift the sod in strips.
Pros:
- Fast for small to medium areas.
- Strips roll up neat for reuse.
Cons:
- Takes effort on dry or root-bound turf.
- Harder in rocky soil.
Half-moon edger
Great for borders along beds, walks, and patios. You step on the flat blade and rock it to cut a crisp line.
Pros:
- Clean lines and tight control.
- Easy to store and maintain.
Cons:
- Slow for long edges.
- Needs regular sharpening.
Turf or transplant spade
A long, narrow blade. Cuts clean holes for shrubs, perennials, or edging curves.
Pros:
- Precise cuts in turf.
- Good for transplant work.
Cons:
- Not ideal for lifting big sod sections.
Weeding knife or hori-hori
A hand tool with a sharp, often serrated blade. It slices roots and pries out weeds at the crown.
Pros:
- Accurate in tight spaces.
- Great around sprinkler heads and stones.
Cons:
- Not for large areas.
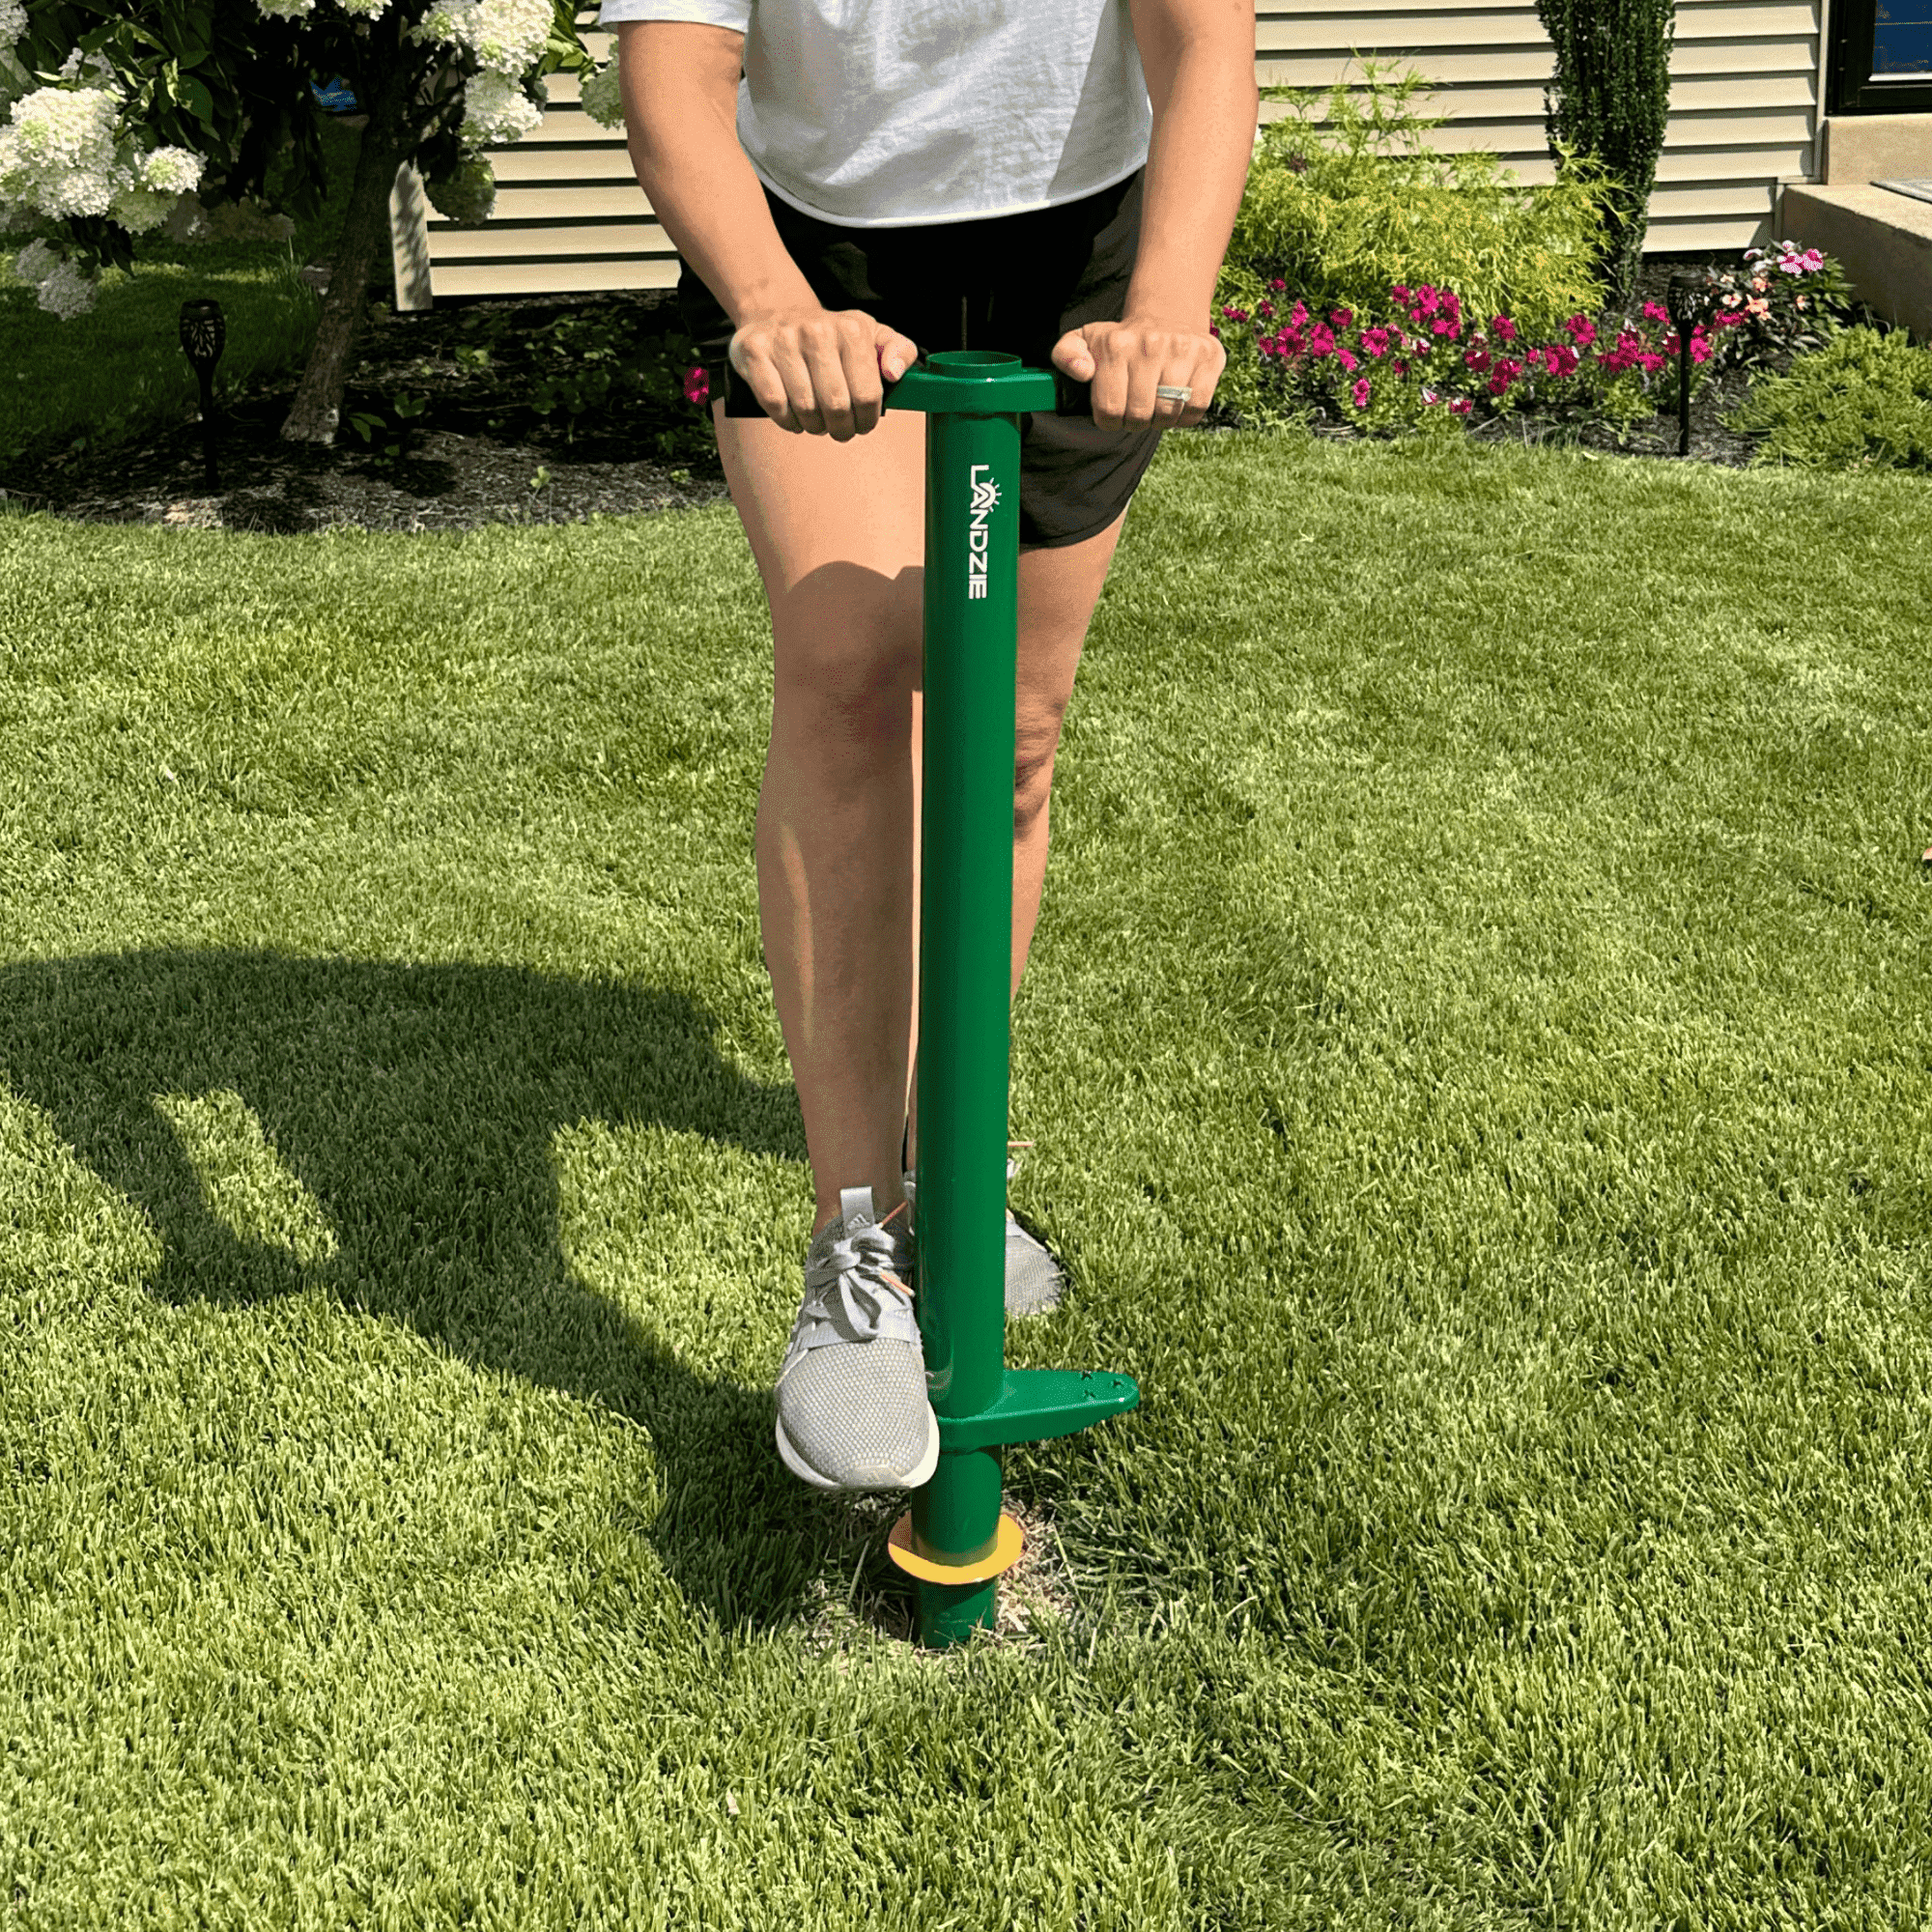
Plugger or bulb planter
Cuts uniform plugs for lawn repairs or bulb planting. Useful for spot fixes.
Pros:
- Consistent plug size.
- Minimal turf damage.
Cons:
- Slow for many holes.
Drain spade
A narrow, curved blade for trenches and deep, thin cuts in turf.
Pros:
- Good for drains and edging around roots.
- Works well in compact soil.
Cons:
- Not a sod lifter.
Mattock or pick mattock
For very tough ground. The mattock chops through roots and hardpan.
Pros:
- Breaks dense, dry soil.
- Strong leverage.
Cons:
- Easy to damage turf if not careful.
Powered sod cutter
A motorized machine for large areas. It slices sod at a set depth and width.
Pros:
- Fast and uniform.
- Ideal for big projects.
Cons:
- Heavy, loud, and more costly to rent.
- Overkill for small jobs.
Tip: Match the grass digging tool to your goal. Removing sod? Use a manual or powered sod cutter. Clean edges? Half-moon edger. Planting in grass? Turf spade or drain spade. Precise weeding? Hori-hori.
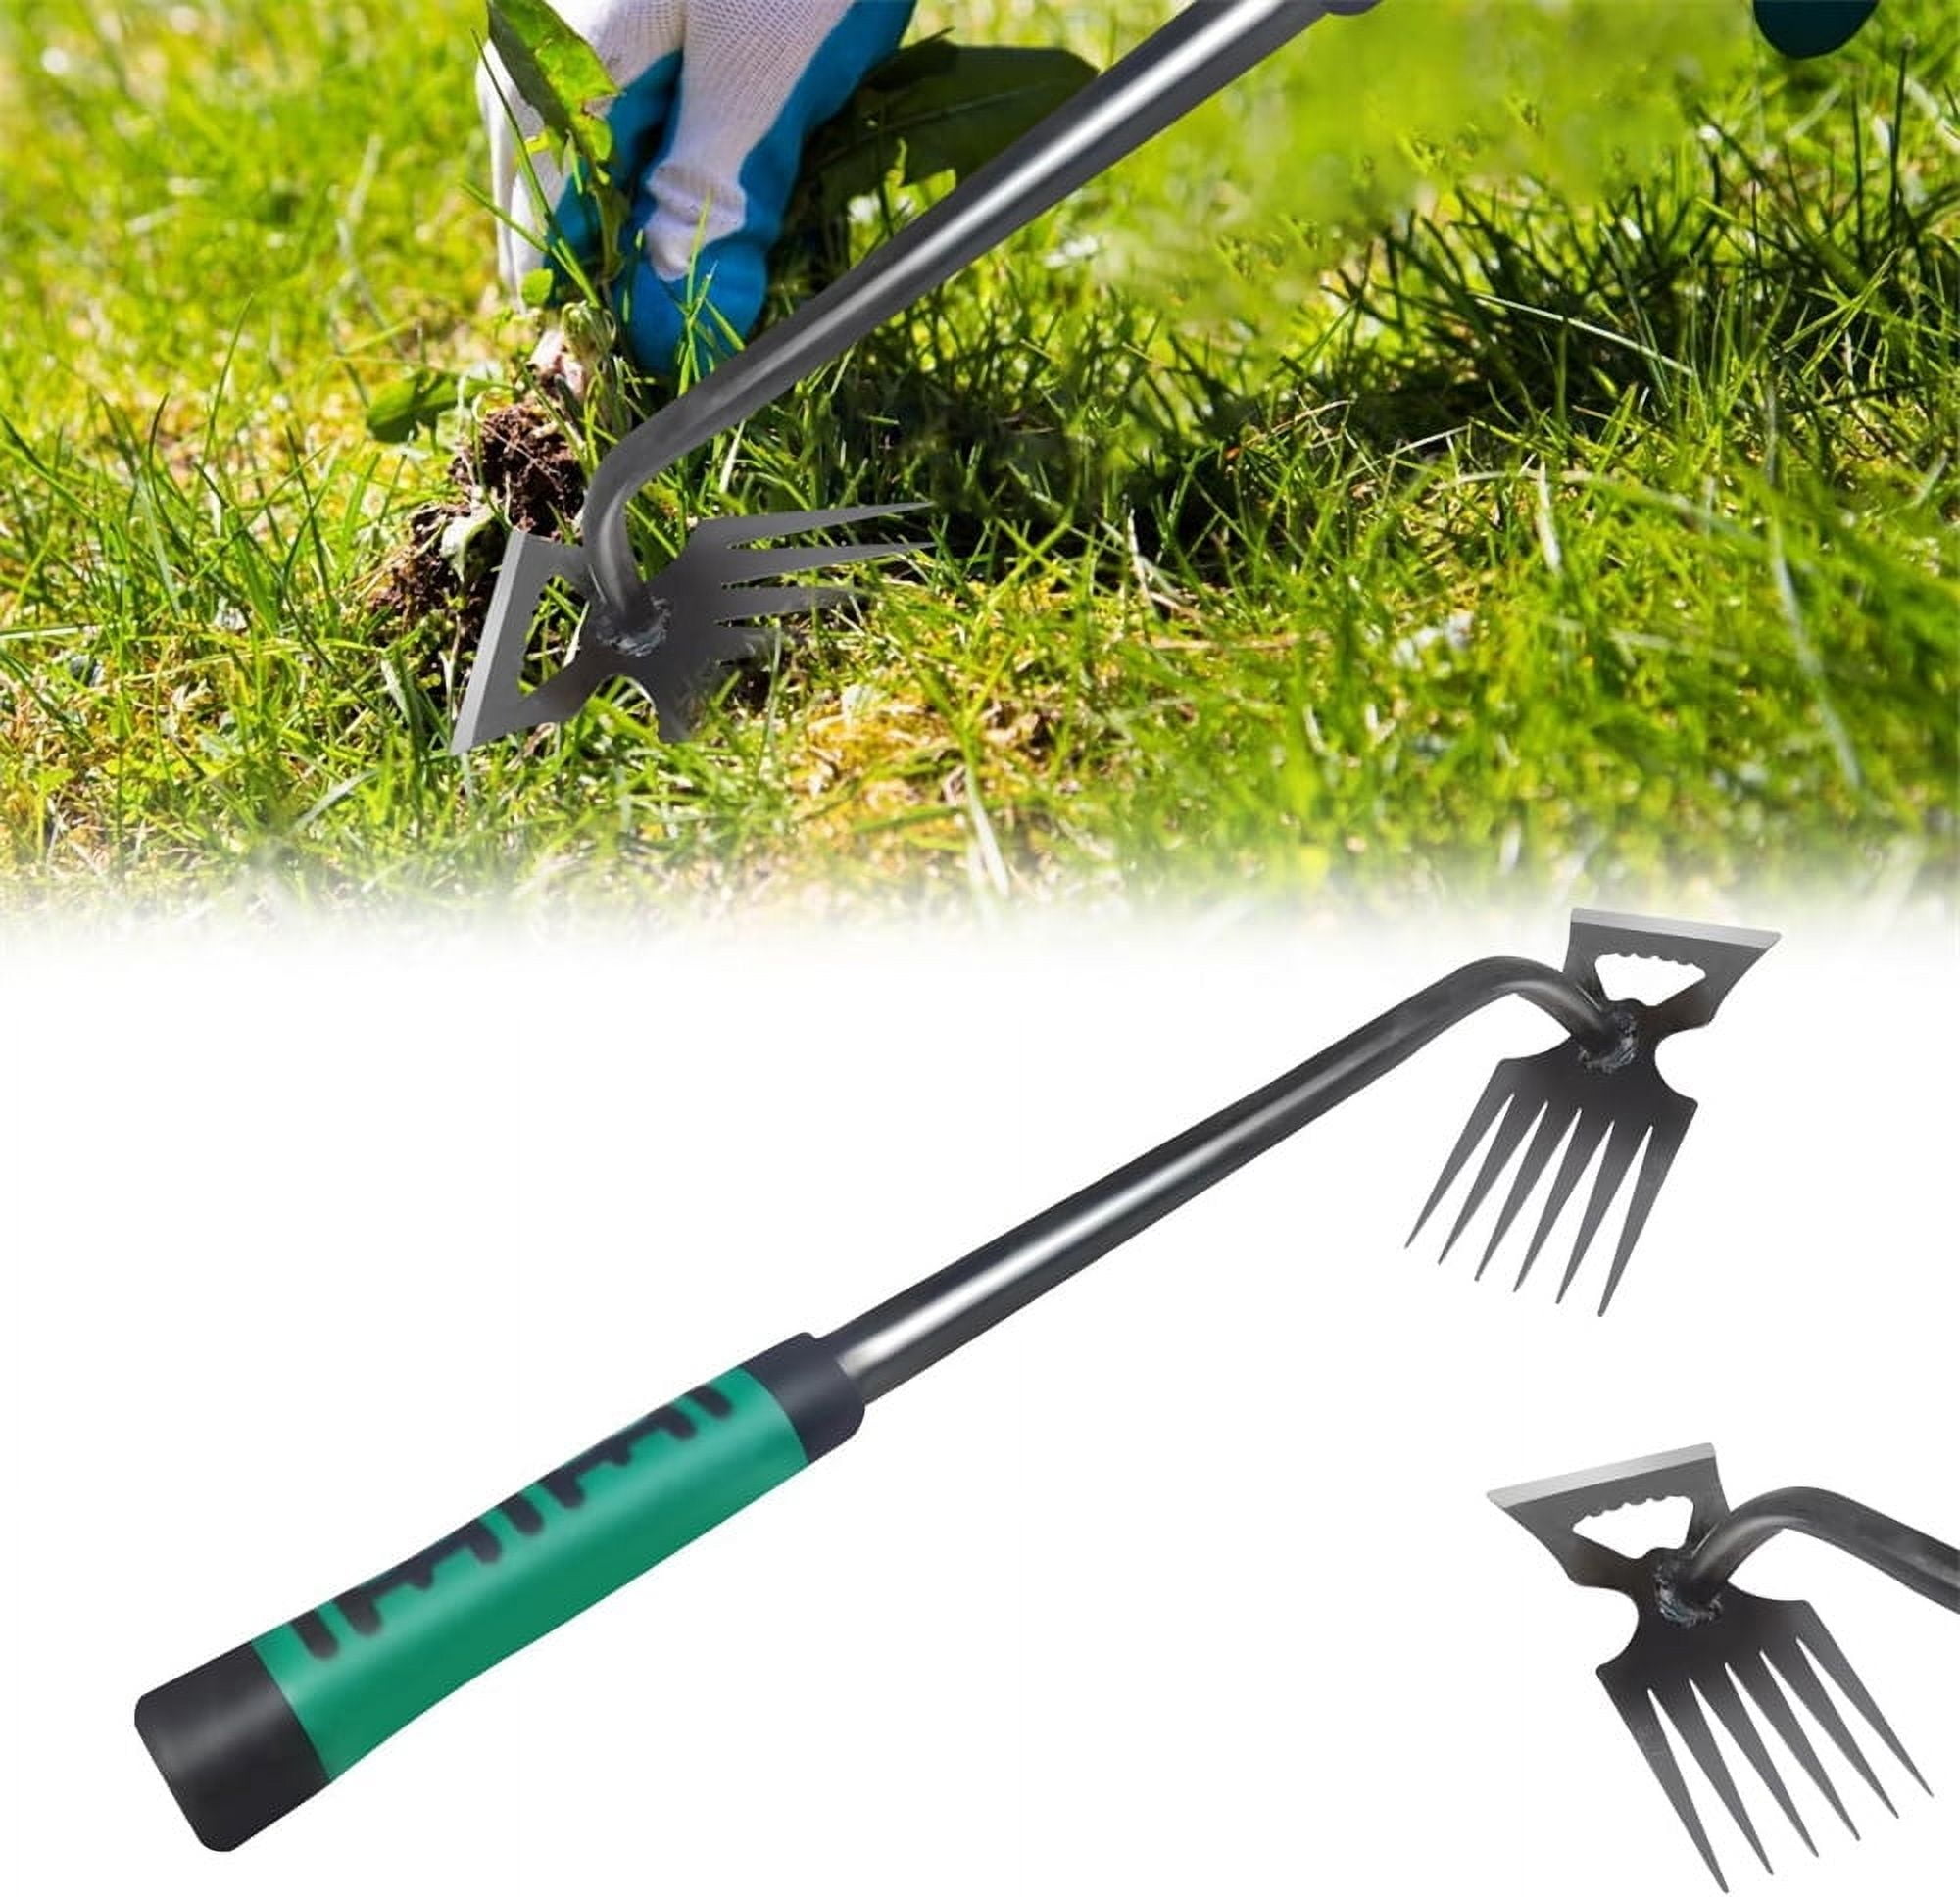
How to Choose the Right Grass Digging Tool
Think about these points before you buy or rent:
- Project type. Removing sod, edging, planting, or weed removal.
- Soil and turf. Clay, sandy, or loam. Dense roots need sharper blades and stronger shafts.
- Lawn size. Small yards suit hand tools. Big jobs may need a powered sod cutter.
- Comfort. Handle length, grip shape, and tool weight matter. Try a few in-store if you can.
- Build quality. Look for tempered steel blades and solid, through-riveted connections.
- Budget. Quality hand tools last years. Rental can be smart for one-time big jobs.
Simple picks for common jobs:
- New garden bed in turf: Manual sod cutter or turf spade.
- Weekly edging: Half-moon edger.
- Spot repair and plugs: Plugger and a hand trowel.
- Weed removal in tight spots: Hori-hori or narrow weeding knife.
A grass digging tool should feel balanced. If the tool feels tip-heavy or flimsy, you will tire fast and cut poorly.

Step-by-Step: Use a Grass Digging Tool the Right Way
For sod removal:
- Water the area the day before. Moist soil cuts cleaner and needs less force.
- Mark utilities. In the US, call 811 before you dig.
- Set a cutting depth around 1 to 2 inches. You want roots and thatch, not deep topsoil.
- Score the outline with a spade or edger.
- Slice the sod into strips 12 to 18 inches wide.
- Lift by rocking the blade under the roots. Roll the strip as you go.
- Shake off excess soil. Save it for new beds or low spots.
For edging:
- Lay a hose or string as your line.
- Step on the half-moon edger along the line.
- Rock the tool and lift the cut turf wedge.
- Repeat every few inches. Bag or compost the scraps.
- Maintain monthly in the growing season.
For planting in turf:
- Use a turf spade or drain spade to cut a clean U-shape.
- Fold back the flap of turf like a hinge.
- Dig and amend the hole. Re-seat the turf and water.
Safety and form:
- Keep your back straight and bend at the knees.
- Use your body weight on the step plate, not just your arms.
- Wear boots and gloves. Sharp blades can slip.
A grass digging tool works best with smooth, steady pressure. Speed comes from clean cuts, not brute force.
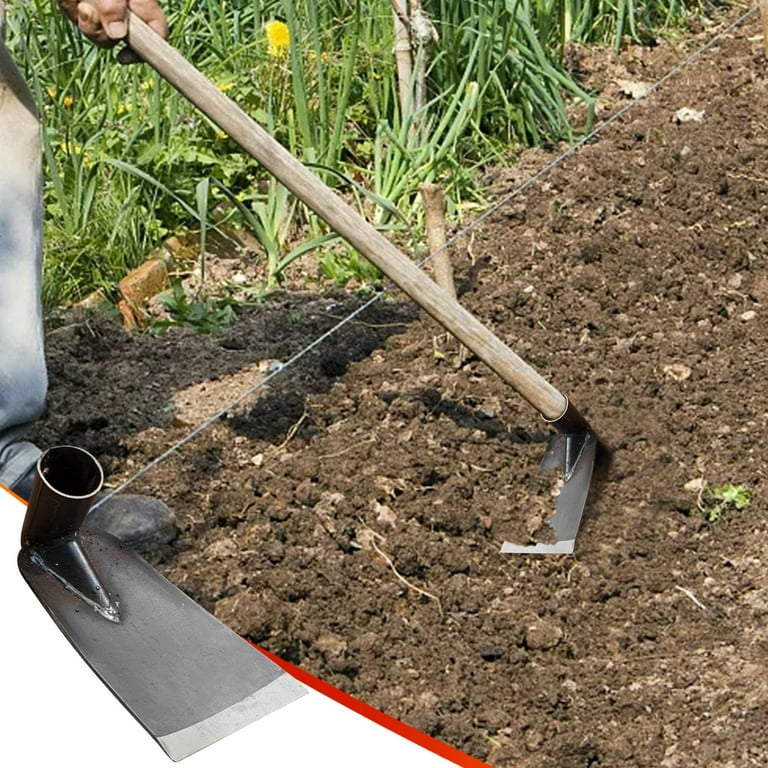
Maintenance, Sharpening, and Care
Clean after each use:
- Rinse mud off. Dry with a towel.
- Wipe metal with light oil to prevent rust.
- Treat wooden handles with boiled linseed oil a few times per year.
Sharpen:
- File a single-bevel edge at about 30 to 45 degrees.
- Follow the original bevel. Short, even strokes.
- Remove burrs with a fine file or stone.
Storage:
- Hang tools to keep edges off concrete.
- Keep blades covered if possible.
- Check bolts and rivets twice a year.
A sharp, clean grass digging tool cuts effort in half. Dull tools tear turf, strain muscles, and waste time.

Real-World Examples and Mistakes to Avoid
From my own yards and client jobs, these lessons stick:
- Pre-soak pays off. One light watering the day before made sod removal twice as easy.
- Cut shallow first. Deep cuts steal topsoil and make heavy rolls.
- Keep strips narrow. Wide strips look faster but tire you out fast.
Common mistakes:
- Digging dry or bone-hard soil. Light moisture helps.
- Using the wrong tool. An edger is not a sod lifter.
- Skipping sharpening. A dull edge slows you and rips roots.
- Lifting with your back. Bend your knees and use your legs.
- Ignoring disposal. Reuse good sod, compost it upside down, or stage it as a path.
Research from turf programs shows that clean cuts heal faster and reduce stress on the lawn. Plan your work so the grass rebounds well.

Budget vs Pro Picks: What to Expect
Price ranges and what they mean:
- Entry-level hand tools: Lower cost, lighter steel, good for small yards and soft soil.
- Mid-range tools: Tempered steel, stronger welds, better ergonomics.
- Pro-grade: Heavier gauge steel, reinforced sockets, lifetime-worthy.
Smart ways to save:
- Rent powered sod cutters for big weekend jobs.
- Buy a quality half-moon edger once. It will serve for years.
- Maintain edges and blades so you do not replace tools often.
A well-chosen grass digging tool can outlast a mower if you care for it. Keep it sharp and dry, and it will pay you back.
Environmental and Lawn Health Notes
Keep your soil and turf happy:
- Disturb soil only as needed. Open soil invites weeds.
- Reuse sod where you can. Move healthy turf to bare spots.
- Compost old sod by flipping it grass-side down and covering it.
- Edge during active growth. Spring and fall are ideal for cool-season lawns.
- After sod removal, level with compost and water to protect exposed soil.
Studies in lawn care show that timing, sharp cuts, and moisture control improve turf recovery. A grass digging tool used with care supports long-term lawn health.

Frequently Asked Questions of grass digging tool
What is the best grass digging tool for removing large areas of turf?
A powered sod cutter is the fastest for big areas. For small to medium spaces, a manual sod cutter or a turf spade works well.
How deep should I cut when lifting sod?
Aim for 1 to 2 inches. This lifts roots and thatch while keeping most topsoil in place.
Can I edge my lawn with a shovel instead of an edger?
You can, but a half-moon edger is safer and cleaner. It gives you a crisp line with less effort.
How often should I sharpen my grass digging tool?
Check edges every few uses. If it drags or tears turf, sharpen before the next job.
Is it better to dig when soil is wet or dry?
Slightly moist is best. Water the day before so the blade slides under roots without tearing.
What’s the safest way to dig near sprinklers or cables?
Mark utilities before you dig. Use a weeding knife or hand tool around heads and lines for control.
Can I reuse the sod I remove?
Yes. Keep it moist and replant within a day or two. Water well until it roots.
Conclusion
The right grass digging tool turns hard yard work into a simple, repeatable system. Match the tool to the task, prep the soil, use clean form, and keep your edges sharp. Your lawn will look better, your projects will go faster, and your body will thank you.
Ready to upgrade your toolkit? Pick one job from this guide, choose the proper grass digging tool, and try the steps this weekend. Want more hands-on tips? Subscribe for new guides, or drop your questions in the comments.