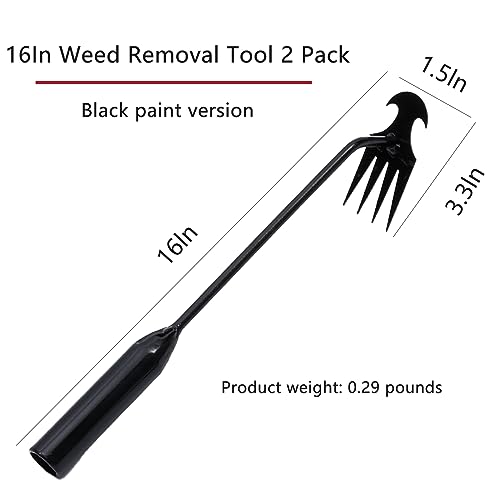
Dig Trench Tool: Best Picks & Buying Guide 2026
A dig trench tool is any tool built to cut a narrow, straight-sided channel through soil — for irrigation lines, buried cable, drainage pipes, or clean garden edging. The right tool saves hours, and the wrong one turns a small job into a weekend of frustration. This guide covers the best tool types for 2026, how to choose by soil and run length, proper digging technique, and the safety mistakes that ruin projects.
Before thinking about powered machines, it helps to understand manual excavation basics that apply to every digger. You can also read our guide on how to maintain garden tools.
What Is a Dig Trench Tool and When Do You Need One?
A standard shovel digs a wide, bowl-shaped hole. A dig trench tool is different: its long, narrow blade or digging chain is designed to open a channel with straight walls and consistent depth. That shape matters when you need clean bedding for pipe or cable and when you want the lawn to recover quickly.
Use one when you are:
- Laying irrigation or sprinkler lines — most sit 6 to 12 inches deep
- Burying low-voltage landscape lighting cable
- Installing drainage pipe or a French drain
- Running conduit for outdoor electrical work
- Creating garden bed edges, root barriers, or pet-fencing channels
The tool choice changes with three variables: soil type, required depth, and run length. A short 20-foot run through soft loam is a hand-tool job. A 300-foot irrigation line through clay calls for powered equipment. A sidewalk crossing needs a micro trencher. Matching the tool to the task is the entire game. You can also read our guide on how to choose the right garden hose length.
Best Dig Trench Tool Picks for 2026
No single tool wins every job. The picks below are based on how each tool behaves in real yards — not on brand hype.
| Project | Best dig trench tool pick | Why it wins |
|---|---|---|
| Short cable or lighting run under 50 ft in soft soil | Trenching shovel with a 5–6 in blade | Cuts straight walls, reaches depth without wasting space, easy to control |
| Hard clay, rocky soil, or roots by hand | Trenching hoe or mattock | The sharp head and weight break compacted ground before you clean out the spoil |
| Squaring the bottom and finish work | Drain spade | Flat, narrow blade shapes the base and removes loose material cleanly |
| Medium run from 50–150 ft | Rented walk-behind chain trencher | Cuts a consistent width and depth in hours, not days |
| Crossing a sidewalk or driveway | Micro trencher (rental or contractor) | Cuts a narrow 1–2 in slot with minimal dust and surface damage |
| Large open-site installation | Skid steer with trencher attachment | Fast production when access is not a limiting factor |
What to Look for in a Dig Trench Tool
- Blade width. A 5–6 inch blade is the sweet spot for most residential trenches. Wider blades move more soil but ruin the clean, narrow channel you want.
- Blade length. A longer blade lets you reach deeper while keeping your back straight.
- Handle. Fiberglass handles absorb shock; a D-grip gives control in tight spots. Wood is light but needs more care.
- Weight. A 4–6 lb hand tool balances power and fatigue. Heavier tools help in hard ground but wear you out on long runs.
- Steel quality. Look for hardened steel that holds an edge and resists bending in rocky soil.
- Power range. Walk-behind trenchers typically cut 4–6 inches wide and 12–24 inches deep. Micro trenchers cut narrow slots. Match the width to your pipe or cable, not the biggest available machine.
A common mistake is buying an oversized “heavy-duty” tool for a small job. The extra weight makes the job slower, not faster.
Types of Dig Trench Tools: Manual vs Powered

Compare head shapes before you buy: narrow trenching blades, drain spades, and mattocks all work differently.
Source: bigrentz.com
Manual Trenching Tools
Manual tools are the right choice for short runs under 50 feet, tight spaces with narrow gates, and utility tolerance zones where power tools are unsafe. They are quiet, inexpensive, and easy to maintain. You can also read our guide on digging tools names with pictures.
| Tool | Best for | Key feature |
|---|---|---|
| Trenching shovel | General narrow trenches | Long, narrow blade for straight walls |
| Drain spade | Cleaning out and squaring the base | Thin, flat blade that works in tight width |
| Trenching hoe / mattock | Breaking hardpan and cutting roots | Weighted head with a sharp cutting edge |
| Tile spade | Moving loose spoil quickly | Wide flat blade for scooping |
Pros:
- Low cost — most quality hand tools cost $30–$80
- Easy to store, carry, and maintain
- Quiet and safe near buried utilities
- Precise control in delicate planting areas
Cons:
- Slow on long runs
- Physically demanding in clay, roots, or rocks
- Depth is limited by your reach and stamina
Powered Trenching Tools
Powered tools make sense for longer runs, deeper cuts, and ground that laughs at a shovel.
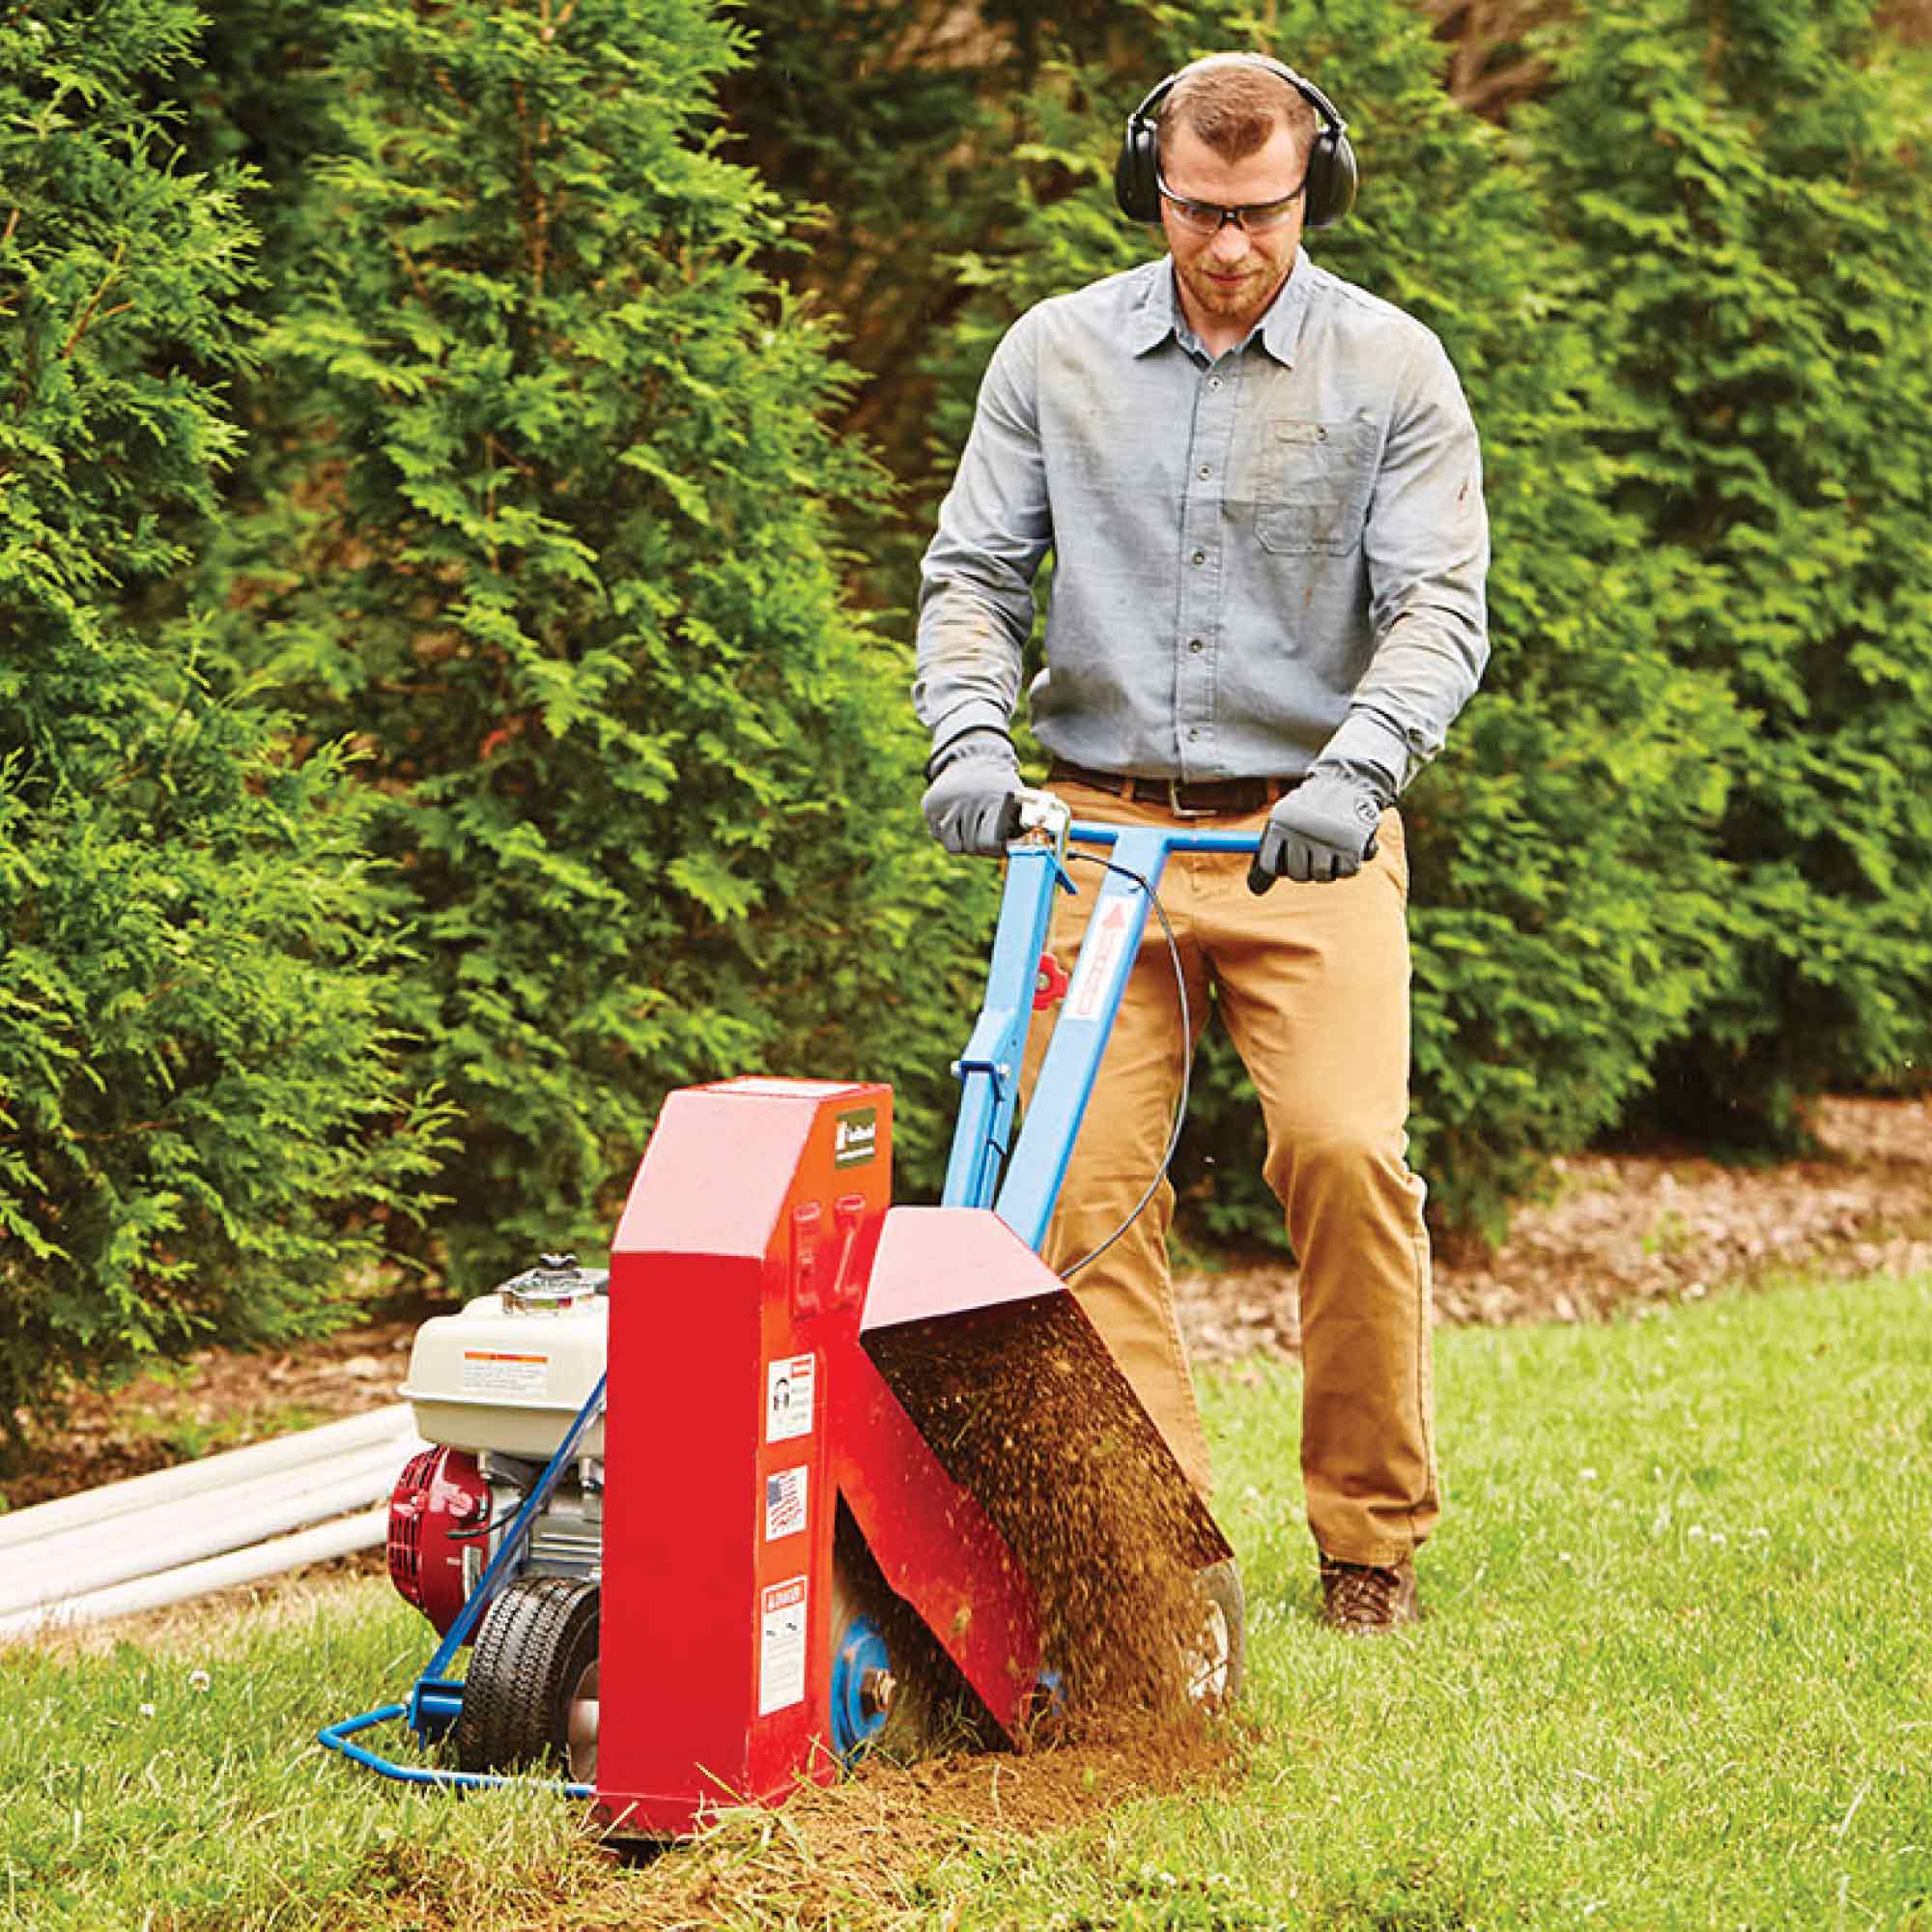
- Walk-behind chain trencher. The standard rental for residential jobs. A toothed chain cuts a narrow slot to a consistent depth. Best for irrigation lines and cable runs where you have room to maneuver.
- Micro trencher. Cuts a very narrow slot in soil or pavement. Contractors use it for low-voltage cable and fiber lines. Expect more setup and dust control than with a shovel.
- Skid steer trencher attachment. Fast on open ground. Too large for most fenced yards.
- Excavator with trenching bucket. Powerful and precise for deep lines. Overkill for most homeowners, but the right call for long, deep drainage work in open ground.
Pros:
- Fast, with a consistent depth that is hard to match by hand
- Handles tough soil and roots that stall hand tools
- Saves your back on long projects
Cons:
- Purchase cost can be high; rental costs add up on extended projects
- Noisy and dusty
- Needs space for the machine and a way to transport it
- Requires more safety planning, especially around utilities
A common mistake is renting a powered trencher for a 30-foot run behind a fence. Measure the access before you rent. If a gate is narrower than the machine, you will still be hand-digging, just with a rental bill.
How to Choose the Right Dig Trench Tool
1. Soil Profile
Sandy soil cuts quickly but tends to cave in. Clay holds a wall but is sticky and hard to penetrate. Rocky soil demands serious power: a mattock for hand digging or a chain trencher for machine work. The backfill also benefits from richer soil before planting, so plan to amend what you pull out.
2. Depth and Width Requirements
Check local code before choosing a tool. Electrical conduit often needs 18–24 inches of cover. Irrigation lines usually sit 6–12 inches deep. Drainage pipe needs a proper slope and bedding. The tool must reach your required depth without forcing you to widen the trench beyond what you need.
3. Run Length
Under 50 feet, a hand tool is practical. Between 50 and 150 feet, a rented trencher is usually worth it. Over 150 feet, powered equipment almost always pays for itself in time saved.
4. Site Access
Narrow gates, steep slopes, and established landscaping are deal-breakers for large machines. Measure access before you commit. If you cannot get a machine to the site, the best pick is a sharp hand tool.
5. Utility Risk
Within the tolerance zone — typically 18–24 inches on either side of a marked utility — hand tools are mandatory. Never use a powered trencher in that zone.
6. Noise and Disruption
Residential areas may have noise restrictions. Dust from dry soil is also a problem near windows, cars, and outdoor furniture. Plan the route away from sensitive spots.
7. Budget
Compare the purchase price, rental cost, and value of your time. If a $150–$250 rental saves eight hours of digging, the math usually favors the rental.
Step-by-Step: Dig a Trench Safely and Efficiently
- Mark the path. Use marking paint, flags, and a string line. Straight lines save effort and look better.
- Call 811 before you dig. In the U.S., use the Call 811 service at least two or three business days before digging. Wait for the utilities to mark the ground and respect every mark.
- Set depth and slope. Drainage lines need fall — generally about 1 inch per 10 feet unless local code says otherwise. Irrigation and cable lines need consistent depth along the run.
- Cut the top layer first. Slice through sod or mulch with a sharp edge. A clean cut makes restoration much easier.
- Work in shallow passes. With a hand tool, take bites of 3–4 inches instead of huge scoops. This keeps the walls stable and reduces fatigue.
- Stage spoils on one side. Put a tarp down and keep excavated soil off the grass. Separate topsoil from subsoil if you plan to restore the surface.
- Check depth often. Use a marked stick or a small level every 5–10 feet. Fixing depth late is far more work than checking it early.
- Shape and clean the base. A drain spade squares the bottom and removes loose material so pipe or cable beds cleanly.
- Place the line and backfill. Add bedding sand if required. Lay the line, then compact backfill in 4–6 inch lifts to avoid settling.
- Restore the site. Replace the sod in pieces, water well, and clear debris. Once the ground recovers, mulching leaves back in can help rebuild organic matter.
For wet ground, control water before you start. If water seeps into the trench, pump it to a low area or work in the driest part of the day. Saturated walls collapse fast.
Techniques That Boost Speed and Quality
- Use two tools. One to break — a mattock or pick — and one to clean — a drain spade. Alternating tools reduces strain and keeps progress steady.
- Work in segments. Open 10–20 feet at a time. That gives you natural checkpoints for depth and slope.
- Keep the trench narrow. Every extra inch of width means more soil to move and more to backfill.
- Stand tall and use your legs. Let body weight drive the blade. Short, arm-only strokes waste energy.
- Pre-soak hard clay. A light misting 30 minutes before digging softens the surface without turning it into mud.
- Time the work. Early morning is often best, especially on south-facing slopes, before the soil bakes and hardens.
The tool is important, but rhythm is the force multiplier. Smooth, steady, repeated strokes beat brute force.
Safety and Risk Control with a Dig Trench Tool
Trenching has two main hazards: damaged utilities and collapsing walls. Both are preventable.
Before you start:
- Call 811 and wait for the all-clear
- Confirm the utility marks are current and accurate
- Hand-dig within 18–24 inches of every mark
While working:
- Wear steel-toe boots, heavy gloves, safety glasses, and hearing protection for powered equipment
- Keep spoils at least 2 feet from the edge so they do not push the wall in
- Never enter a trench 5 feet deep or deeper without a protective system; many shallower trenches also need sloping or shoring if the soil is unstable. Follow OSHA trench safety requirements for excavation rules
- Wet the soil to control dust; dry soil is a respiratory irritant
- Set up cones or flags if the trench runs near a path or driveway
The most dangerous shortcut is trusting an old utility mark. Old marks fade, construction shifts lines, and the cost of a strike is far higher than the cost of a second call.
Maintenance and Storage for Long Tool Life
A dig trench tool is simple, but it still needs care.
- Clean after every use. Knock off soil, rinse, and dry completely before storage.
- Sharpen blades regularly. A sharp edge cuts straight and reduces effort. A dull edge bounces off roots and causes hand fatigue.
- Oil metal parts lightly. A thin coat of mineral oil or a rust-preventative spray protects during humid weather.
- Hang tools, don’t stack them. Hanging protects blade edges and makes the right tool easy to find.
- For powered equipment, check chain tension, teeth, belts, and fluid levels according to the manual. Tighten and lubricate before every job.
- Replace worn teeth or blades early. Worn parts force the machine to work harder and can damage the drive.
Store fuel and batteries safely in a ventilated area. Label fuel with the date; stale fuel causes starting problems that look like a mechanical failure but are really maintenance neglect.
Costs, ROI, and Rental Math
| Option | Typical cost | Best choice when |
|---|---|---|
| Manual hand tool | $30–$80 | Short runs, occasional projects |
| Walk-behind trencher rental | $150–$250 per day | One or two medium jobs a year |
| Buying a walk-behind trencher | $1,500–$8,000 | Trenching more than a few times every season |
| Contractor hire | Often $100–$200 per hour | No time, tough rock, or very long runs |
The math that matters: if a rented trencher cuts an eight-hour job down to two hours, the rental pays for itself in time value alone. If you only trench once a year, buying a machine usually does not.
Track every trenching job for a season. If the total reaches three to five projects, purchasing starts to make sense. Otherwise, rent and put the savings into a better hand tool.
Accessories and Add-Ons That Help Your Dig Trench Tool
- String line, stakes, and chalk for straight runs
- Marking paint and flags for path planning and utility awareness
- Tarps and buckets for spoils management
- Hand tamper or plate compactor for backfill
- Bedding sand and landscape fabric to protect the line
- Depth gauge and a small level for consistent depth and slope
- A narrow trench cleaner or scoop for fast finish work
If you are flushing a new line with a garden hose, hose size choices affect how quickly sediment clears. The accessory list is short, but each item removes a common reason to slow down.
Environmental and Code Factors
- Control runoff. If rain is forecast, cover exposed soil or install a silt barrier. Exposed soil erodes quickly and carries sediment into drains.
- Keep topsoil separate. Push topsoil to one side and subsoil to the other. Replacing topsoil last helps the turf recover faster.
- Protect tree roots. Avoid critical root zones when you can. If you must cross, hand-dig and cut roots cleanly rather than ripping them. For thicker roots, power source trade-offs matter if you need to cut them carefully.
- Follow burial depth codes. Power, gas, water, and fiber lines each have specific cover requirements. Check local rules before backfill.
- Verify permits. Some municipalities require inspection before backfill for drainage or electrical work.
After backfilling, a little extra care for long-term lawn health helps the disturbed strip knit back together. The goal is to leave the site as good as it was before you started.
Troubleshooting Common Problems
| Problem | Fix |
|---|---|
| Walls keep caving in | Reduce width, cut in shorter runs, and avoid saturated ground. For deep trenches, shore or slope the wall according to safety rules. |
| Roots stop the cut | Use a mattock or root saw. Cut roots cleanly; do not yank or pry them. |
| Large rock blocks the trench | Widen slightly and lever the rock from below with a pry bar. For boulders, change the route or bring in a machine. |
| Water fills the trench | Pump to a low spot, create a small bypass, and work during the driest part of the day. |
| Trench wanders off-line | Stop and reset the string line. Square the blade frequently and take measured strokes. |
| Backfill settles later | Compact in 4–6 inch lifts instead of dumping the whole trench at once. |
When the tool fights you, pause and reassess. Most problems come from route choice, soil conditions, or setup — not a lack of strength.
Frequently Asked Questions
What is the best dig trench tool for clay soil?
A chain trencher with sharp teeth is most effective in clay. For short runs, pair a mattock to break the surface with a drain spade for cleanup. This combination handles tough clay without the cost of a machine.
How deep should I dig for an irrigation line?
Most residential irrigation lines sit 6–12 inches deep, but local code and frost depth may require more. In cold climates, deeper is usually safer.
Can I use a dig trench tool near tree roots?
Yes, with care. Hand-dig in the root zone and avoid cutting structural roots larger than about 2 inches in diameter when possible. Root damage can destabilize a tree for years.
Should I rent or buy a powered trencher?
Rent for rare or one-off jobs. Buy if you trench regularly — roughly three or more times per year — and have the space to store and maintain the machine.
How do I keep trench walls from caving in?
Keep the trench as narrow as practical, avoid saturated soil, and keep spoils at least 2 feet from the edge. For deeper cuts, follow the same sloping or shoring rules used on larger excavations.
Do I need to call 811 before trenching in my yard?
Yes. Call at least two to three business days before digging in the U.S. This free service marks buried utilities and prevents injury, fines, and service interruptions.
What width should I choose for a cable trench?
Use the narrowest width that allows safe cable placement and proper backfill compaction. Most low-voltage cable fits a slot just 2–3 inches wide, which is where a micro trencher or narrow trenching shovel shines.
Conclusion
The best dig trench tool for 2026 is the one matched to your soil, run length, and access — not the most expensive machine on the lot. Plan the route, verify utilities, dig in controlled passes, and restore the ground properly. Those fundamentals will never change.
Before you buy anything, walk the route, measure the gates, and start with a test cut. If the tool reaches the right depth without excessive effort, you have made the right call. If not, adjust the plan or rent the next size up. Pick your tool, measure twice, and dig with confidence.