Hole Digging Tool

Hole Digging Tool: Best Picks And Buying Guide 2026

Digging a hole looks simple until you hit a clay pan, a root tangle, or a stone the size of a cinder block. The right hole digging tool changes that story. It turns a frustrating afternoon into a short, clean job, keeps the hole straight, and saves your lower back. This guide covers every common type of digger, how to match one to your soil and project, and what to check before you buy in 2026.

Post hole digger and steel digging bar leaning against a wooden fence The classic two-piece kit: a clam-shell digger for lifting soil and a bar for breaking through trouble. Source: signgeer.com

What Is a Hole Digging Tool?

A hole digging tool is any implement designed to create a clean, controlled hole in the ground. The real goal is not just removing dirt; it is producing a hole with the right diameter, depth, and sidewall condition for a post, plant, or footing. A ragged hole with glazed clay walls sets a post poorly and drowns a new tree. You can also read our guide on metal detecting digging tool.

The right choice depends on three things: soil type, hole size, and how many holes you need. There is no universal best digger. For a small planting project, a hand tool is faster and easier; for a fence line, a powered auger saves hours. If your project is mostly small planting beds rather than posts, the tool math changes — see what works well for small planting beds. Then match the tool to the work and your soil, not to what looks impressive in the shed.

Types of Hole Digging Tools

Manual tools split into lifting tools and breaking tools. Clam-shell diggers lift soil, digging bars break rock, and augers pull dirt up by rotation. Power augers do the same work with an engine or motor. Here is how each one behaves in the field. You can also read our guide on matic digging tool.

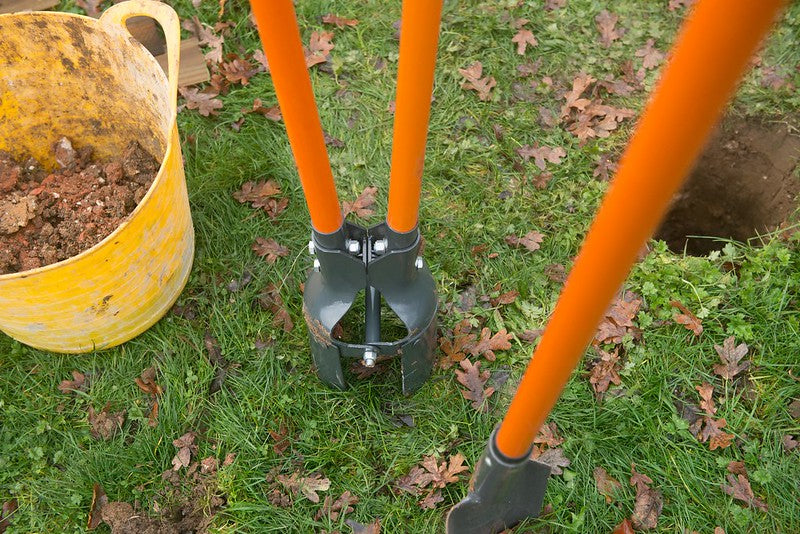
Manual auger, clam-shell digger, and digging bar compared side by side Three manual tools cover most residential digging jobs; match the bit to the hole size. Source: warwoodtool.com

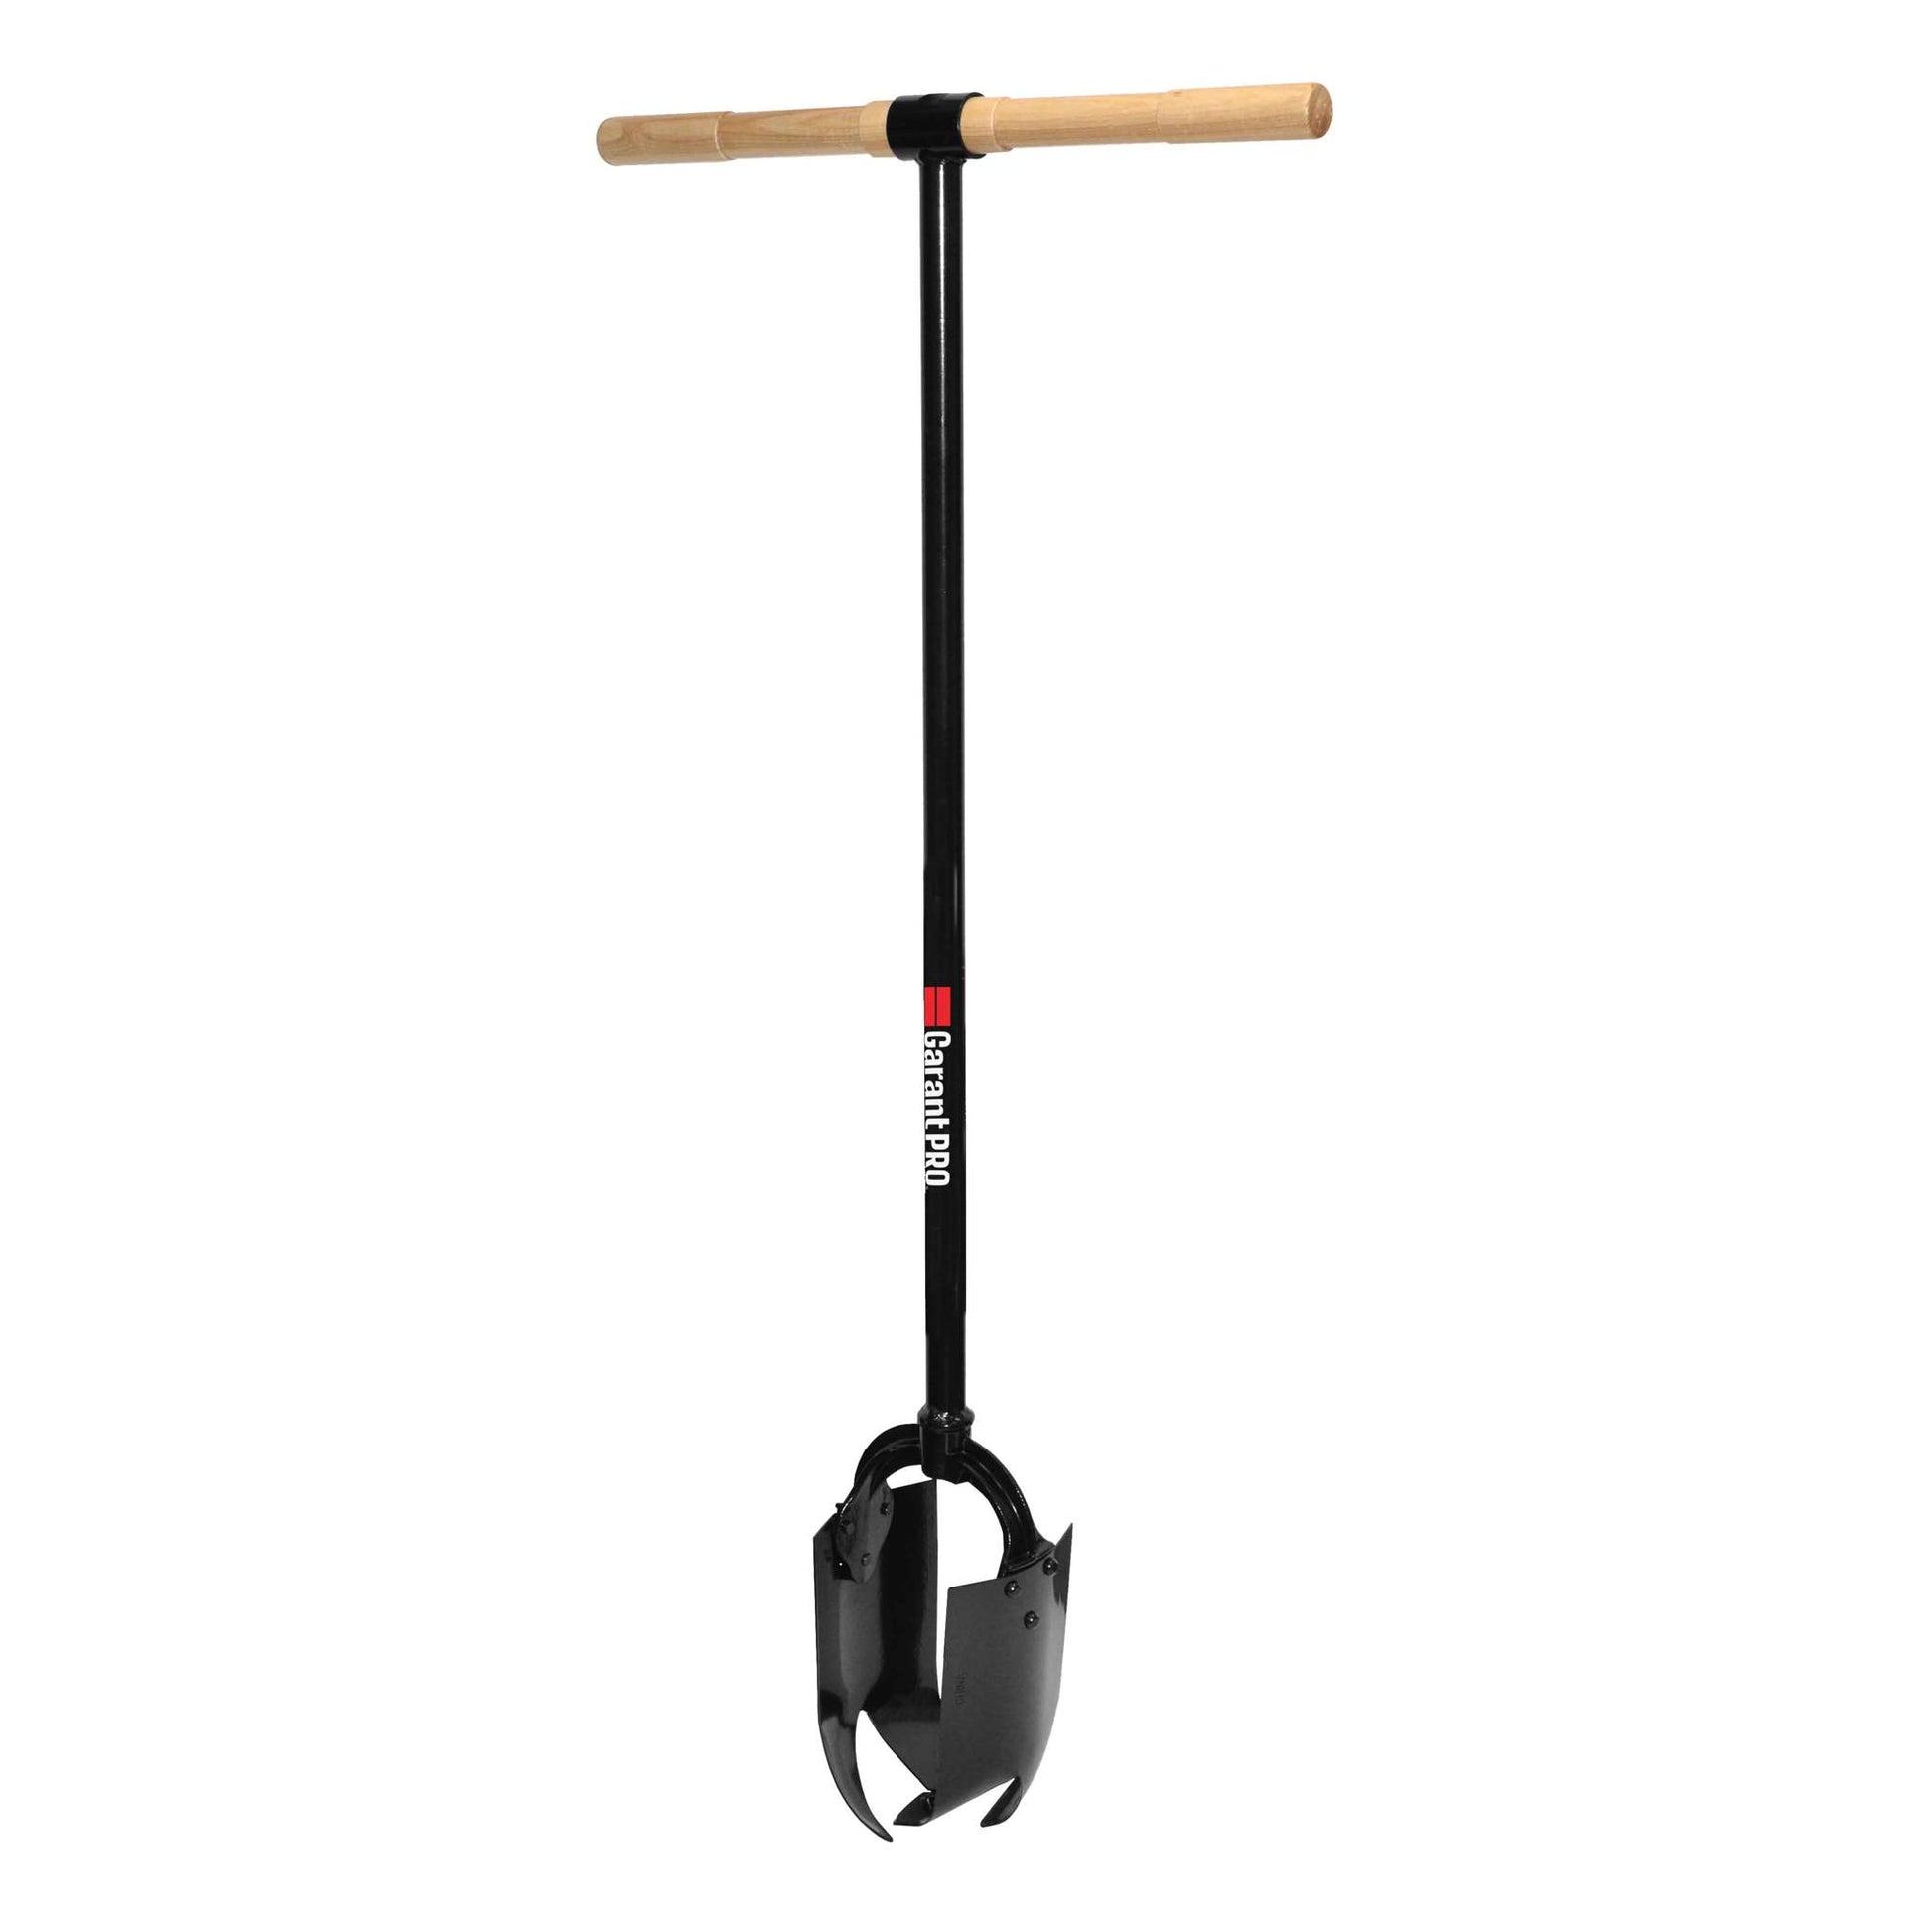
Clam-Shell Post Hole Digger

The clam-shell digger uses two long handles hinged to a pair of pointed blades. You drive the closed blades downward, separate the handles to clamp the soil, then lift and dump. It gives excellent control in loam and sand, and it is the best manual tool for fence posts in the 4–12 inch diameter range.

Its weakness is hard ground. In rocky or root-filled soil, the blades wander and the hinge binds. Use it with a digging bar: break the ground first, then lift the loosened spoil. Take shallow 4–6 inch bites to keep the hole plumb and avoid overloading the handles. You can also read our guide on digging tools names with pictures.

Manual Auger

A manual auger is a spiral bit welded to a T-handle. You twist it clockwise while pressing down, and the flights pull soil upward as you go. Diameters range from about 2 inches for bulbs to 12 inches for posts. In soft, loose soil it produces the cleanest sides of any hand tool.

The trade-off is effort in clay. Dense soil makes the handle fight you, and roots can stall the tip completely. Keep the bit sharp and clear the flights every 6 inches. For hard, compacted yards, a manual auger works best after you have loosened the ground with a bar — see our notes on loosening hard-packed ground first. You can also read our guide on how to improve garden soil naturally.

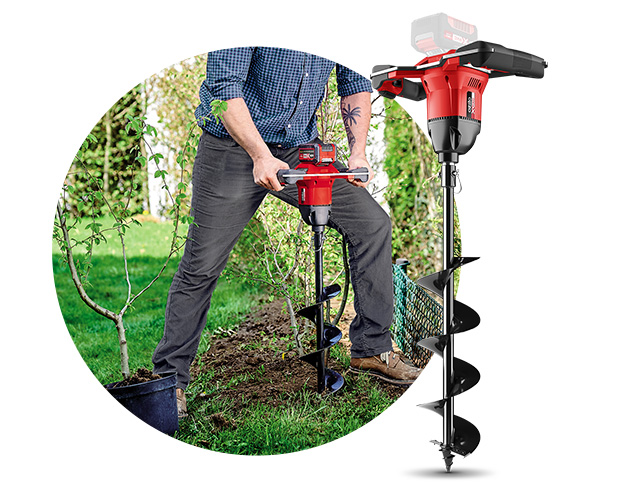
Power Auger

A power auger spins the same corkscrew bit with a gas engine or electric motor. One-person models have handlebars and are ideal for vertical fence-post holes. Two-person models use larger bits for footings and trees. In 2026, battery-powered augers are good enough for most homeowners, and they are far quieter than gas.

The main risks are torque and debris. The bit can catch a root and yank sideways, so start slow, keep both hands on the controls, and clear the bit regularly. If you need more than eight holes, a power auger is the difference between a morning and a weekend. For occasional use, rent one instead of buying. You can also read our guide on how to improve lawn soil health.

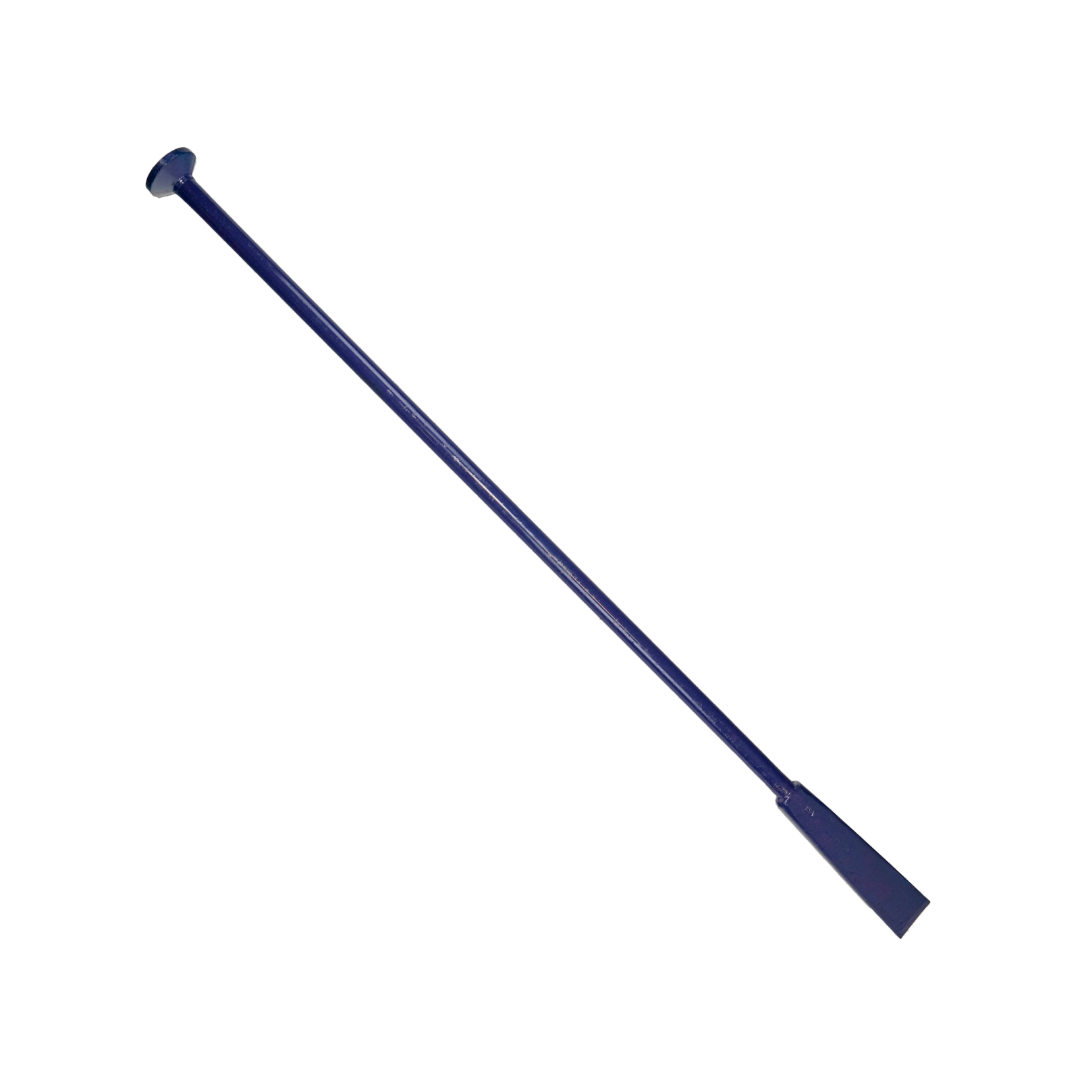
Digging Bar

A digging bar is a solid steel rod with a chisel, wedge, or pointed tip. You lift it and drop it to fracture rock, chop roots, and break up compacted soil. It is not a standalone hole digger; it is the tool that makes other tools faster.

Use a digging bar when the ground is too hard for the auger to bite, or when you hit a rock and need to pry it out. A common mistake is swinging it like a sledgehammer. Let the weight of the bar do the work; short drops are easier to control than full swings.

Mattock or Pickaxe

A mattock has a horizontal blade on one side and an axe-like blade on the other. It chops through roots and pries heavy soil open. A pickaxe is better for breaking very hard ground.

These are prep tools. They loosen the soil so a clam-shell digger or auger can lift it, and they are often the only way to clear a buried root. They will not produce a tidy round hole by themselves, but they make the rest of the kit work.

Bulb Planter

A bulb planter is a short cylinder with a handle, designed to pull out a plug of soil. It is perfect for daffodils, tulips, and small transplants, and it creates uniform holes with almost no mess.

Depth is the limit. Most models go no deeper than 6 inches, and they struggle in dry, heavy soil. For larger planting jobs, a manual auger with a small bit is a better fit.

Specialty Digging Tools

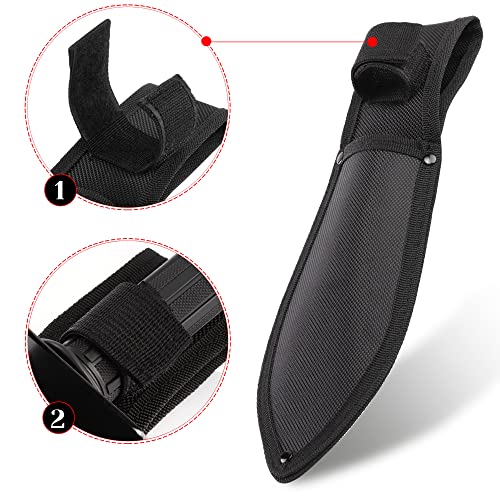
Some digging needs are specific enough to justify a dedicated blade. Metal detectorists, for example, use narrow serrated diggers that cut a neat flap in turf and leave the grass intact. If you want a tool you can clip to your belt for pinpoint digs, a purpose-built detecting shovel beats a full-size post-hole digger. For an idea of how the leading options behave in the field, compare dedicated detecting diggers before buying.

How to Choose the Right Hole Digging Tool

Match the Tool to Your Soil

The fastest way to buy the wrong tool is to ignore soil. Do a quick field test: squeeze a handful of moist soil. Sandy soil falls apart. Loam forms a loose ball that crumbles when poked. Clay forms a shiny, sticky ribbon. That simple test tells you whether you need a hand tool or a serious power unit.

| Soil condition | Best tool | Backup | | Sandy or loamy | Manual auger or clam-shell digger | Round-point shovel | | Heavy clay | Power auger with a sharp bit | Digging bar + clam-shell digger | | Rocky | Digging bar + mattock | Clam-shell digger for cleanup | | Root-heavy | Mattock or root saw | Power auger with carbide tips | | Compacted old lawn | Power auger or pickaxe | Manual auger after loosening |

For ground that has been driven over repeatedly, the tough layer is often deeper than the surface. If you deal with that regularly, focus on tools rated for truly stubborn ground instead of a general-purpose shovel.

Match the Tool to Project Size

  • 1–5 small holes under 6 inches wide: manual auger or bulb planter.
  • 1–10 fence posts: clam-shell digger plus digging bar.
  • 10+ posts or holes over 12 inches wide: power auger.
  • Deck footings: power auger with an 8–12 inch bit.
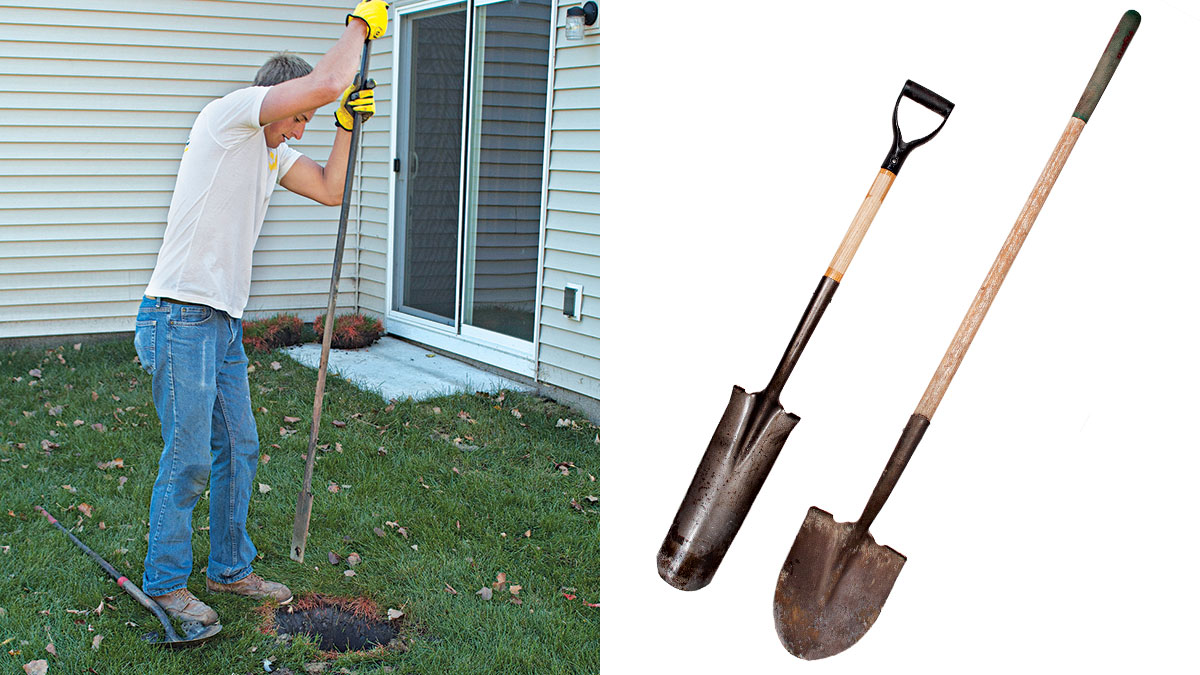
  • Utility lines and irrigation: a trenching shovel is the right shape; see how to handle cutting narrow trenches.

Manual vs Power in 2026

For one or two holes in good soil, a manual tool is faster to set up and easier on the budget. For repeated holes, power wins. In 2026, battery augers are the practical middle ground: they deliver enough torque for clay, produce no exhaust fumes, and run quietly enough for a residential yard.

Gas still makes sense for remote sites and very large bits. If you buy a battery model, get a second battery; one pack rarely finishes a ten-post job.

Best Pick by Scenario

| Job | Best pick | Why | | 1–2 fence posts | Clam-shell digger + digging bar | Fast setup, no fuel, clean control | | 10+ fence posts | Power auger | Saves hours and fatigue | | Bulbs and small plants | Bulb planter or 2–3 inch manual auger | Neat plug, minimal soil disturbance | | Tree and shrub planting | Sharp shovel + digging bar | Wide hole without glazing sides | | Deck footings | Power auger with 8–12 inch bit | Needs depth and diameter beyond manual tools | | Utility trenches | Trenching shovel | Straight-sided narrow cut |

Key Specs to Check Before Buying

| Spec | Why it matters | | Cutting diameter | Match to the post or plant; a post hole should be 2–4 inches wider than the post. | | Working depth | Check the usable depth; extension rods are available for footings. | | Blade steel | Heat-treated carbon or boron steel holds an edge longer. | | Weight | Heavier tools cut better but fatigue you faster; balance matters. | | Handle style | D-grip is easier to control; T-handle gives better two-hand torque. | | Replaceable bits | A modular power head lets one motor handle 4–12 inch diameters. | | Carbide tips | Worth paying for in rocky or abrasive soil. |

How to Use a Hole Digging Tool the Smart Way

Before You Dig

Call 811 at least two working days before any digging project in the US. The service locates buried gas, electric, and water lines for free. Then mark your layout with string lines and spray paint, and dig a small test hole to see what is actually under the surface. Ten minutes of checking can save a lot of trouble.

How to Use a Clam-Shell Digger

  • Stand over the hole with your feet slightly wider than your shoulders.
  • Drive the closed blades straight down with firm, controlled force.
  • Pull the handles apart to grip the soil, lift, and empty away from the hole.
  • Take bites no deeper than 4–6 inches. Deeper bites make the handles hard to spread and spoil the sides.
  • Check plumb with a small torpedo level every few inches.
  • If the walls glaze in clay, roughen them with the point of a digging bar before backfilling.

How to Use a Manual Auger

  • Start with the bit at a 90-degree angle to the ground.
  • Press down with both hands while turning clockwise. Use steady half-turns, not forced full turns.
  • When the flights are full, lift the auger and clear the spoil.
  • Add an extension rod if you need more depth, and check the hole frequently for plumb.

How to Use a Power Auger

Hands gripping a power auger with a stable stance in soil Keep both hands on the handles and let the bit do the work. Source: amazon.com

  • Mark the target depth on the bit with tape or paint before starting.
  • Plant your feet wide and brace your core. Do not lean over the spinning bit.
  • Engage the throttle gradually. Once the bit bites, add power.
  • Back the bit out every 6–8 inches to clear spoil. This step is not optional in clay.
  • If the bit stops on a root or rock, stop the machine and switch to a digging bar. Forcing it is how kickback injuries happen.

Safety and Ergonomics

A digging tool looks harmless until a power auger kicks or a clam-shell handle slips. Follow excavation safety guidance from OSHA before any project that involves more than a few inches of soil. The basics apply everywhere:

  • Call 811 before you dig.
  • Wear steel-toe boots with tread, work gloves with palm grip, and eye protection.
  • Use hearing protection with gas or loud electric augers.
  • Keep children and pets at least 20 feet away.
  • Never force a power auger. If it stalls, stop and clear the bit.
  • Lift with your legs and take a five-minute break every 20 minutes when using hand tools.

Ergonomics matter more than strength. Switch hand positions on manual tools every few holes, stretch between holes, and choose the lightest tool that can still do the job. A two-person power auger is not a one-person tool; use a partner for large bits.

Maintenance and Care

A sharp, clean tool digs noticeably faster. After every use, knock off soil and wipe the metal dry. Apply a light coat of machine oil to cutting edges and hinges. A two-minute cleanup prevents rust in most climates.

Monthly maintenance:

  • File the blades with a flat file, keeping the original angle.
  • Tighten loose bolts, hinge pins, and handle collars.
  • Replace cracked or splintered wooden handles before they break mid-swing.
  • Sharpen auger flights, or replace the bit if it has become rounded.
  • For gas augers, clean fuel makes a real difference to reliability; keeping fuel fresh prevents the carburetor problems that plague small engines.

Store lithium batteries at room temperature and recharge them before long storage. Do not leave them in a freezing shed all winter.

Troubleshooting Common Problems

Carbide-tipped auger bit for cutting through rocky ground and roots Carbide tips hold an edge longer when the soil is gritty and abrasive. Source: garant.com

| Problem | Likely cause | Fix | | Auger stuck in clay | Suction and sticky soil | Reverse rotation if available; pour dry sand in the hole; lift and clear the bit. | | Hole collapses in sandy soil | Loose grains fall back in | Dampen the soil; insert a cardboard form tube or bucket liner as a collar. | | Roots stop the bit | Woody roots catch the flights | Stop the auger; cut the root with a mattock or root saw. Never force it. | | Rock stops progress | Cobble or ledge | Pry it out with a digging bar; widen the hole slightly if the rock is too big. | | Hole goes off-plumb | Bad start or uneven cutting | Check level every 3–4 inches and trim the high side with a clam-shell digger. | | Manual auger is exhausting | Dense soil or dull bit | Sharpen the bit, take smaller loads, or loosen the soil with a bar first. |

Accessories and Add-Ons

A few inexpensive add-ons make any digger more versatile:

  • Interchangeable auger bits in 4, 6, 8, 10, and 12 inch sizes let one power head handle everything from bulbs to footings.
  • Extension rods add depth for fence posts on slopes or deep footings.
  • Carbide-tipped bits survive rocky soil without dulling.
  • Depth-stop collars give repeatable hole depths for a row of posts.
  • String-line kits keep fence layouts straight.
  • Spoil tarps catch excavated dirt for clean removal and easy backfill.

In practice, a 6-inch bit, a 10-inch bit, and an 18-inch extension cover most residential jobs. Add a digging bar and a level, and you have a complete kit without a garage full of tools.

Cost, Brands, and ROI

You do not need a $600 tool for a $50 project. In 2026, typical homeowner prices are:

| Tool | Homeowner price | Rental per day | | Clam-shell digger | $35–$80 | N/A | | Manual auger | $40–$120 | N/A | | Digging bar | $25–$60 | N/A | | Battery power auger | $250–$500 | $60–$100 | | Gas power auger | $350–$600 | $70–$120 |

The smart buy is usually a manual clam-shell digger and a digging bar. Rent a power auger when a weekend project needs more than eight holes. If you rent twice in a year, buying a homeowner model is the better move.

Spend money on the bit and blade, not on a shiny handle. A cheap auger with a sharp bit outperforms an expensive one with a dull edge.

Eco-Friendly Digging and Soil Health

Good digging habits protect the soil as much as your back. The USDA’s soil health principles come down to one practical rule: disturb the soil as little as possible and return organic matter to it.

  • When digging near established trees, hand-dig and avoid cutting large structural roots. Severing too many roots can destabilize the tree.
  • Separate topsoil, subsoil, and gravel into different piles. Backfill in the same order so grass roots end up where they belong.
  • Wait until wet soil dries to a crumbly consistency before digging. Working saturated ground causes compaction and ruins drainage.
  • Reuse excavated spoil to level low spots or top up garden beds.
  • Add compost to the backfill when planting shrubs and trees. The same advice applies when planting a fruit tree in your yard.
  • Finish with a layer of leaf mulch to hold moisture and suppress weeds; see our approach to mulching around new plantings.

Real-World Lessons from the Field

A few patterns appear again and again on real digging jobs:

  • Clay walls glaze over even when the hole is the right depth. If you do not score the sidewalls, water pools around a new plant and the roots struggle.
  • Roots almost always stop a power auger before rock does. Cutting the root with a hand tool first is faster than fighting the auger.
  • Wet ground turns a short job into a long one. Wait for the soil to dry enough to crumble; the difference in speed is dramatic.
  • A sharp blade is the cheapest upgrade. Filing a clam-shell digger for five minutes can cut the effort in half.
  • Renting a power auger for a one-time fence line is worth every dollar. Buying one on a whim usually means it sits in the shed.

Frequently Asked Questions

What size auger bit should I use for fence posts?

Use a bit 2–4 inches wider than the post diameter. The extra space leaves room for gravel drainage and concrete, which keeps the post stable and slows frost heave.

How deep should I dig for a deck footing?

Check local building code for the frost line in your area. In colder climates, footings are usually 30–48 inches deep. Always verify with the permit office before you dig.

Is a battery auger strong enough for clay?

Yes, if the battery is charged, the bit is sharp, and you clear the spoil regularly. Keep a digging bar nearby for roots and dense layers, and buy a second battery for anything over eight holes.

Can I use a hole digging tool in winter?

Frozen soil is brutal on every tool. Pre-drill with a digging bar, apply warm water to soften the ground, or wait for a thaw. Forcing a power auger through frozen soil risks breakage and injury.

Should I rent or buy a power auger?

Rent for a one-time project. Buy if you expect to use it every year. Two rentals usually cost as much as a homeowner model.

How do I keep holes straight and plumb?

Use string lines for spacing and a torpedo level for plumb. Check every 3–4 inches and correct early; drift compounds as the hole gets deeper. A depth-stop collar keeps repeated holes uniform.

Conclusion

The right hole digging tool is the one that matches your soil, your hole size, and the number of holes you actually need. A simple clam-shell digger and a digging bar earn their keep around most homes. Rent a power auger for big fence lines, and maintain your tools so they stay sharp for years.

Pick one tip from this guide and use it on your next hole—clear soil more often, check plumb as you go, or sharpen the blade first. Your back and your garden will notice the difference.

Similar Posts

Leave a Reply

Your email address will not be published. Required fields are marked *