Block light with mulch, minimize disturbance, and pull early, often, and smart.
If you want a clean, low-maintenance bed all season, you’re in the right place. I’ve spent years testing how to prevent weeds in garden beds across different soils and climates. In this guide, I’ll show you what actually works, why it works, and how to prevent weeds in garden beds with simple steps you can use today.
Understand weed biology and the seed bank
Weeds are stubborn because their seeds can wait in the soil for years. They wake when light, warmth, and moisture align. The more you disturb soil, the more seeds you bring to the surface.
To master how to prevent weeds in garden beds, think like a weed. Block light, reduce disturbance, and keep bare soil covered. Many extension studies show this three-part approach cuts weeds the most.
My lesson learned: I once tilled a new bed and got a weed jungle in two weeks. Now I disturb soil only where I plant. That one change slashed my weeding time in half.

Build a bed that resists weeds
Good bed design stops weeds before they start. Start with clean soil, clear edges, and steady airflow and drainage.
Steps I use when setting up a bed:
- Remove existing weeds roots and all. Shake off soil and dispose of seed heads.
- Shape the bed higher than paths. Raised edges shed weed seeds and excess water.
- Add compost that was hot-composted. Heat reduces viable seeds.
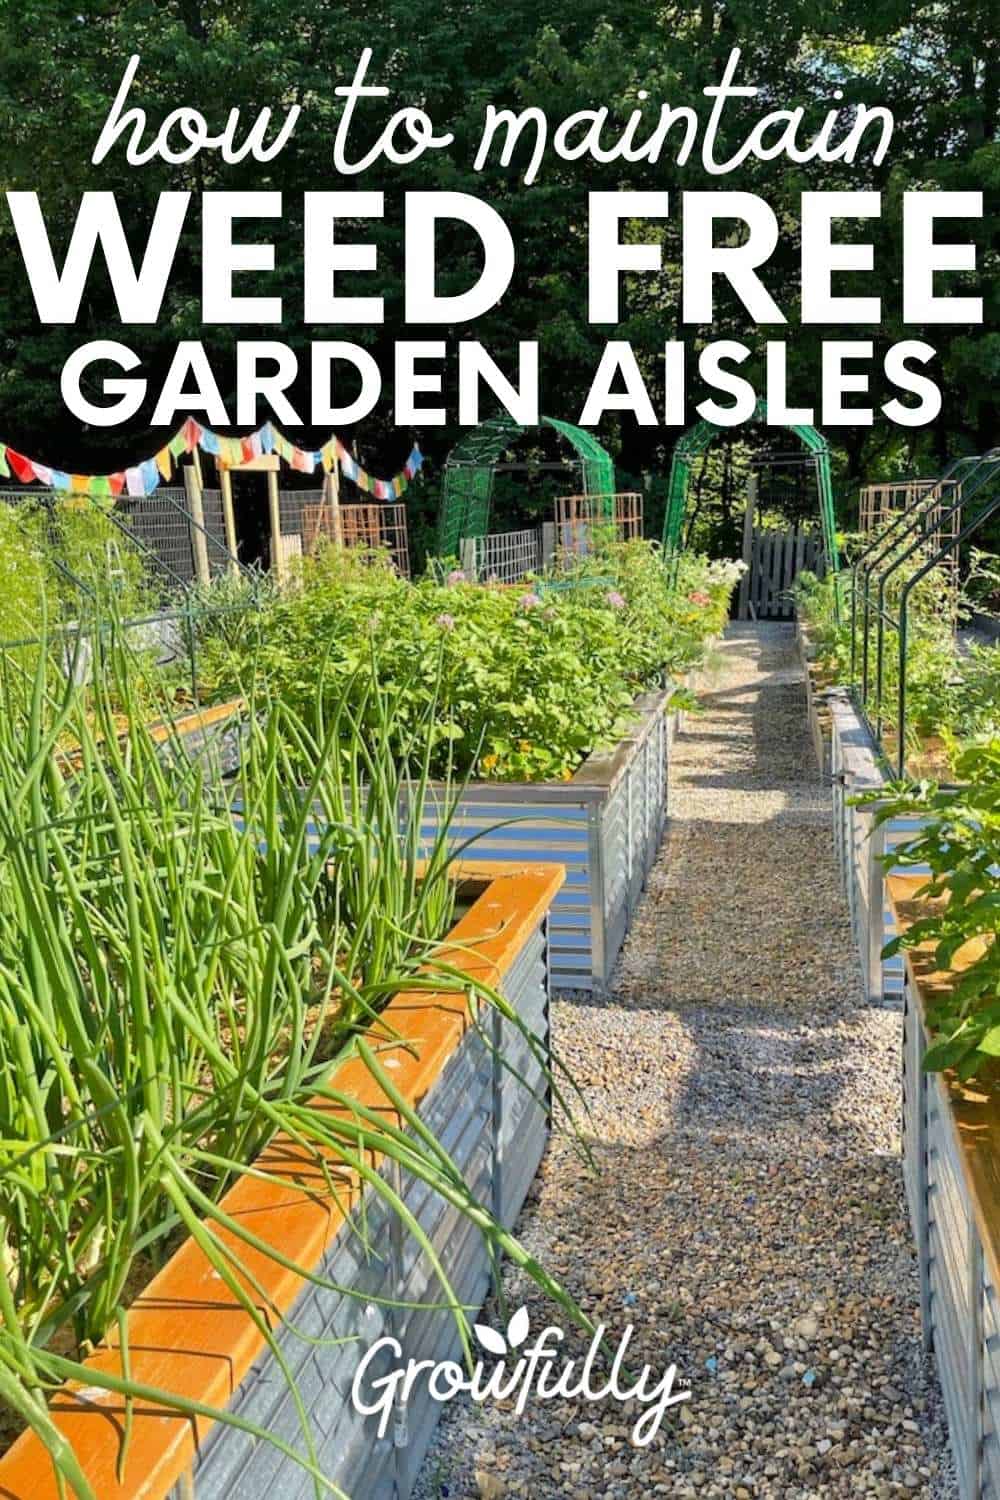
- Install a physical edge. Steel, stone, or deep edging keeps grass and rhizomes out.
If you want to learn how to prevent weeds in garden beds for years, invest in edges and clean starts. It pays off fast.
Mulch the right way
Mulch is your best friend. It blocks light, holds water, and cools soil. Used right, it can reduce weeds by more than half.
What to use and how:
- Organic mulch: shredded leaves, arborist wood chips, straw, or pine needles. Apply 2 to 4 inches.
- Avoid dyed mulch in edible beds. Use clean, untreated material.
- Keep mulch a few inches away from stems. This prevents rot and pests.
- Top up mulch each spring or when you see thin spots.
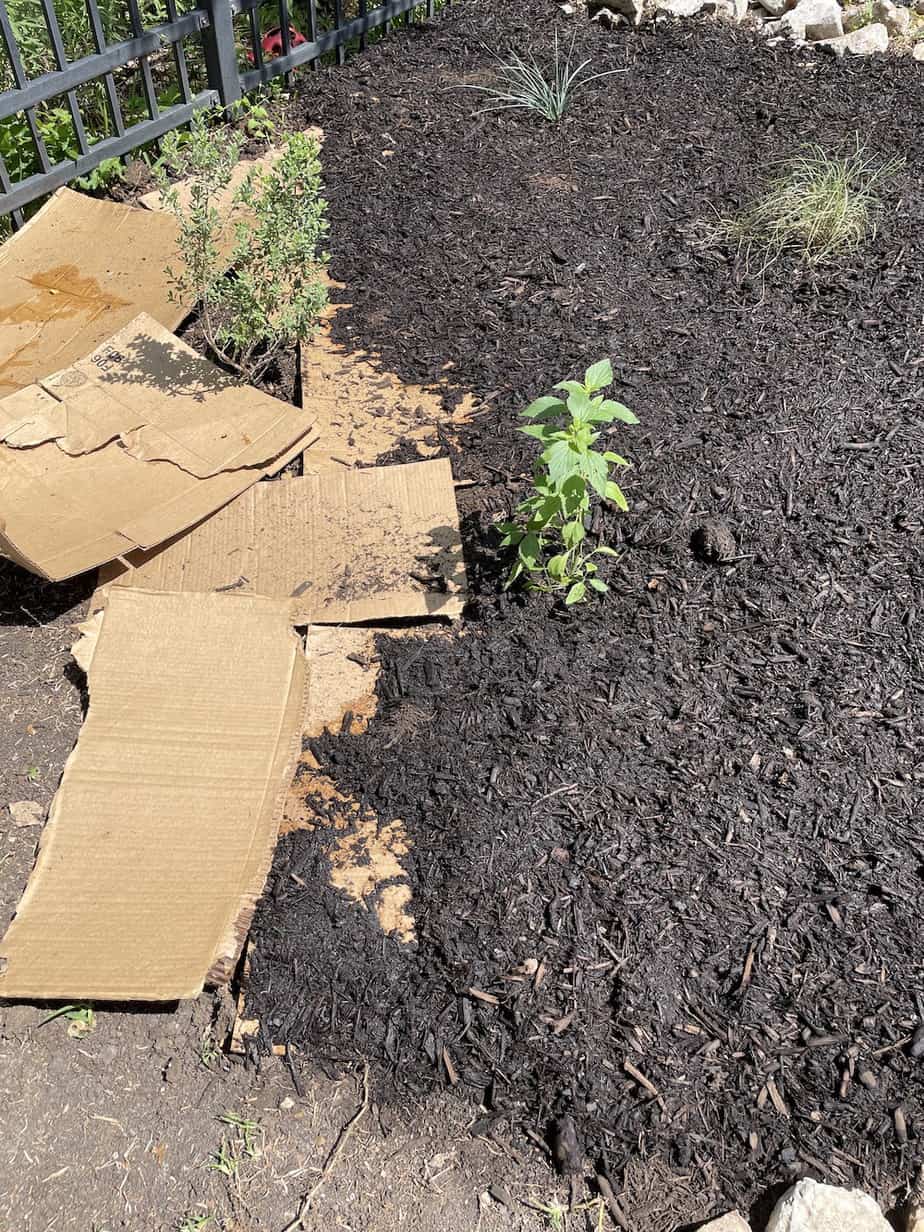
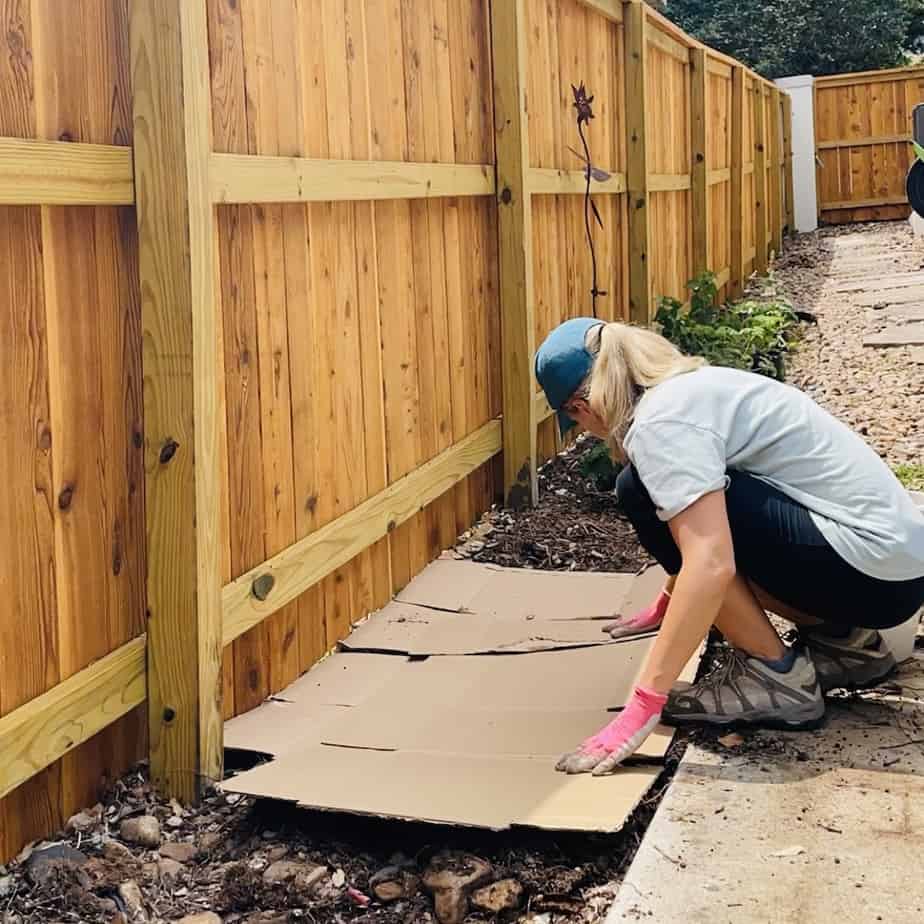
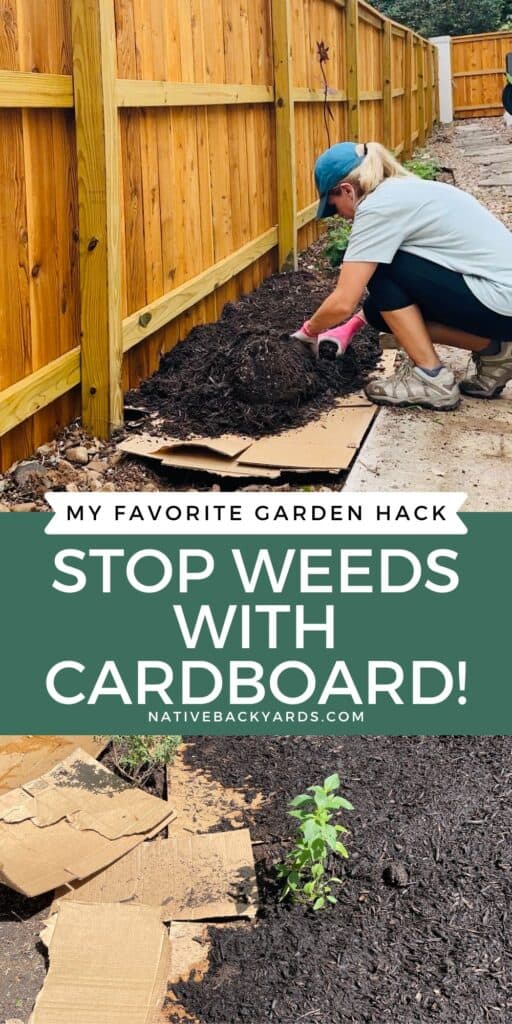
Sheet mulching is great for new beds. Lay plain cardboard on soil, overlap edges, water well, then add 3 to 4 inches of mulch. This smothers many weeds for a season or more.
From my beds: 3 inches of shredded leaves looks tidy and breaks down into rich soil by fall. It is cheap and very effective for how to prevent weeds in garden beds.

Use barriers and sheet mulching wisely
Barriers can help, but they are not magic. Landscape fabric blocks light, yet soil and seeds can still collect on top. Then weeds root in that layer.
Use barriers like a pro:
- For paths or around shrubs, fabric under 3 to 4 inches of stone or chips can work.
- For perennial beds, woven fabric plus a thick mulch layer slows tough rhizomes.
- For new beds, cardboard or paper mulch is cheaper and breaks down into the soil.
Avoid plastic sheeting in living beds. It can trap water, overheat soil, and harm roots. If your goal is how to prevent weeds in garden beds long-term, choose breathable materials and combine them with mulch.
Water smart and deny weeds what they need
Water is life for weeds too. Target your crops and starve the gaps.
Easy watering wins:
- Use drip irrigation or soaker hoses. They water roots, not open soil.
- Water early morning. Soil dries on top by midday, which slows germination.
- Avoid sprinklers in beds with new mulch. They splash seeds and feed weeds.
This simple shift makes a big difference. It is a quiet but powerful part of how to prevent weeds in garden beds.

Planting strategy: spacing, ground covers, and edges
Plants can be your weed control team. Dense planting shades the soil and blocks weed light.
Smart planting moves:
- Close spacing. Plant so mature leaves touch. Shade stops many weeds.
- Ground cover plants. Try thyme, sweet woodruff, or creeping Jenny in non-edible beds.
- Living mulch in veggie beds. Low clover between rows works if you keep it trimmed.
- Strong edges. Use edging plants like sedges or hostas to guard borders.
I learned to mix tall, mid, and low plants to create a living canopy. It looks lush and it is a top strategy for how to prevent weeds in garden beds.
Weed early, often, and with the right tools
The first two weeks after rain are key. Tiny weeds are easy to stop. Big weeds steal food and water.
Tools and tactics that save time:
- Stirrup (scuffle) hoe for baby weeds. Slice at the surface on dry days.
- Hori-hori knife or soil knife for taproots. Cut below the crown.
- Grubber or fork for deep rhizomes like quackgrass. Get the runners.
- Weed after rain or watering. Roots slip out clean.
- Never shake ripe seed heads. Bag them before pulling.
Do not turn soil more than needed. Just cut weeds at the root. That keeps seeds buried. Follow this habit and you will master how to prevent weeds in garden beds.

Safe controls: pre-emergents and organic options
Pre-emergents stop seeds from sprouting. They do not kill existing plants. Always read labels and match the product to your plants.
Options to consider:
- Corn gluten meal has mixed results. It needs exact timing and rates to work.
- Synthetic pre-emergents like trifluralin can help in ornamental beds. Do not use in veggie beds unless the label says it is safe.
- Vinegar-based sprays burn leaves on small weeds. They do not kill roots well.
- Boiling water or flame weeding works in cracks and paths. Use with care.
- Natural oils or soaps can help on seedlings. They need repeat use.
Research shows that mulching plus early hoeing beats most sprays in beds. Chemicals are a last tool. The core of how to prevent weeds in garden beds is still mulch, timing, and smart watering.

Seasonal weed-prevention checklist
A simple seasonal plan keeps weeds low and stress down.
Spring
- Top up mulch to 2 to 4 inches.
- Install drip lines before growth takes off.
- Hoe seedlings on dry, sunny days.
Summer
- Pull after rain, slice dry, and re-mulch bare spots.
- Deadhead weeds before they seed.
- Keep edges trimmed and tight.
Fall
- Remove seed-heavy weeds from beds.
- Add leaves as mulch or compost hot.
- Sheet mulch new areas for next spring.
Winter
- Plan plant density and ground covers.
- Service tools. Replace dull blades.
- Order mulch early to save.
This calendar is a steady way to practice how to prevent weeds in garden beds all year.
Common mistakes to avoid
These missteps invite weeds. Skip them and save yourself hours.
- Tilling every year. It brings up a fresh wave of seeds.
- Thin mulch. Less than 2 inches lets light reach seeds.
- Overhead watering on bare soil. It feeds weeds more than crops.
- Ignoring edges. Grass and runners sneak in fast.
- Letting weeds set seed. One plant can make thousands of seeds.
I have made each mistake at least once. Fixing them changed how I garden and how I teach how to prevent weeds in garden beds.
Frequently Asked Questions of how to prevent weeds in garden beds
What is the single best way to prevent weeds?
Mulch 2 to 4 inches deep and keep it topped up. Combine that with drip irrigation and minimal soil disturbance for the best results.
How often should I weed my garden beds?
Check beds weekly in spring and after rain. Ten minutes early saves hours later when weeds get large.
Does landscape fabric stop all weeds?
No. It blocks many, but soil and seeds collect on top. Use it under mulch in paths or around shrubs, and maintain the mulch layer.
Are organic sprays enough to control weeds?
They can burn small weeds but often miss roots. Use sprays as spot tools, not your main plan.
Can I use cardboard to stop weeds?
Yes. Overlap cardboard, water it, and cover with mulch. It smothers many weeds and breaks down into the soil over time.
How to prevent weeds in garden beds without chemicals?
Use mulch, dense planting, drip irrigation, and early hoeing. Those four steps handle most weed pressure.
Conclusion
A weed-free bed is not a dream. It is a simple system you repeat: cover the soil, water smart, plant dense, and weed early. With these habits, you now know how to prevent weeds in garden beds with less work and more joy.
Start with one bed this week. Add mulch, set a drip line, and make a quick weeding pass after the next rain. Want more tips like this? Subscribe, ask a question, or share your wins in the comments.