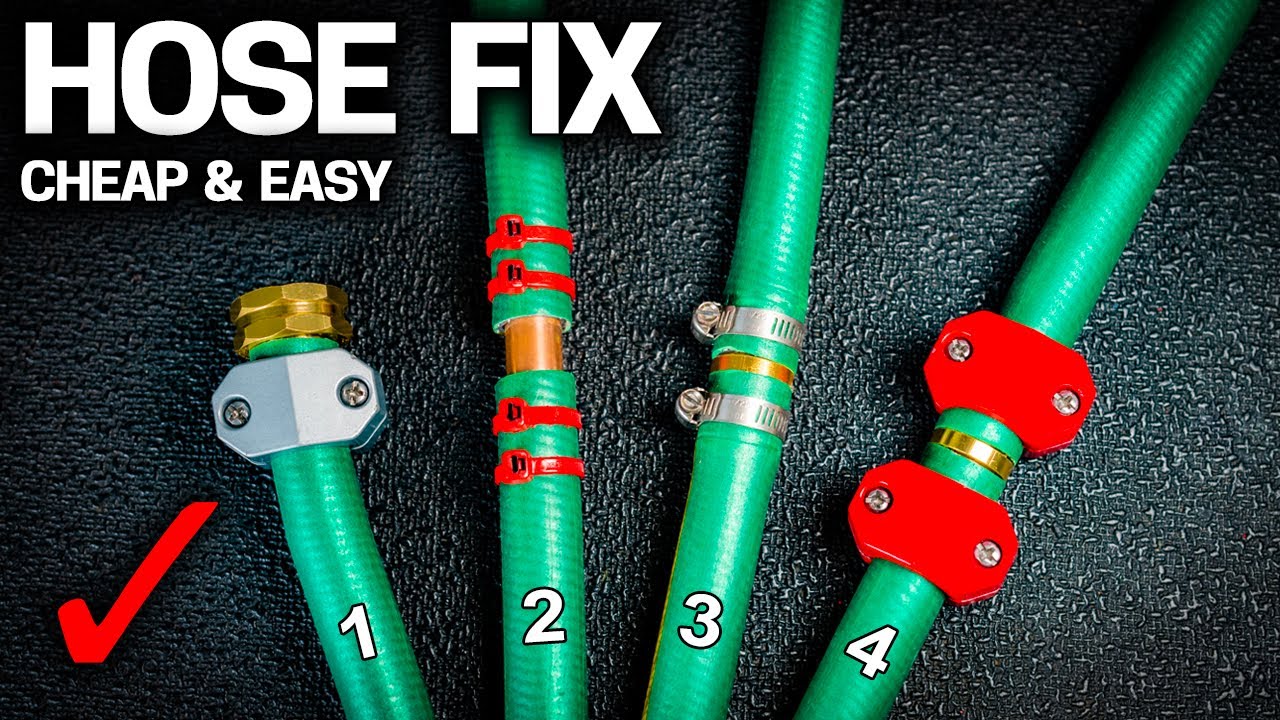
Drain, disconnect, coil loosely, and store indoors above freezing until spring.
If you have ever dealt with a split hose or a cracked spigot, you know the pain. In this guide, I’ll show you exactly how to store garden hose for winter the right way. I’ve winterized hoses for years in tough freeze zones, and I’ve made a few mistakes so you don’t have to. Follow along for simple steps, clear reasons, and smart tips that protect your hose and your wallet.

Why winter storage matters
Water expands when it freezes. A hose with trapped water will stiffen, crack, and fail. That damage can spread to your outdoor faucet and even the pipe behind your wall. I learned this the hard way one January when a forgotten hose split and the frost cracked the anti-siphon valve.
If you want to know how to store garden hose for winter, start with the risk. Leaving a hose attached keeps water inside the faucet. That can split the fixture. A few minutes of prep saves hours of repair. It also makes spring setup easy.
For searchers asking how to store garden hose for winter, here is the key idea. Drain it fully. Protect it from freezing. Keep it clean and dry. Then store it where ice and sun cannot harm it.

Tools and materials you may need
You do not need fancy gear. A few basics make the job smooth and safe.
- Bucket or tub for a quick rinse if dirty
- White vinegar or mild dish soap for cleaning
- Soft cloth or towel for drying
- Replacement rubber washers and O-rings for leaks
- Hose caps or quick-connect caps to keep dust and bugs out
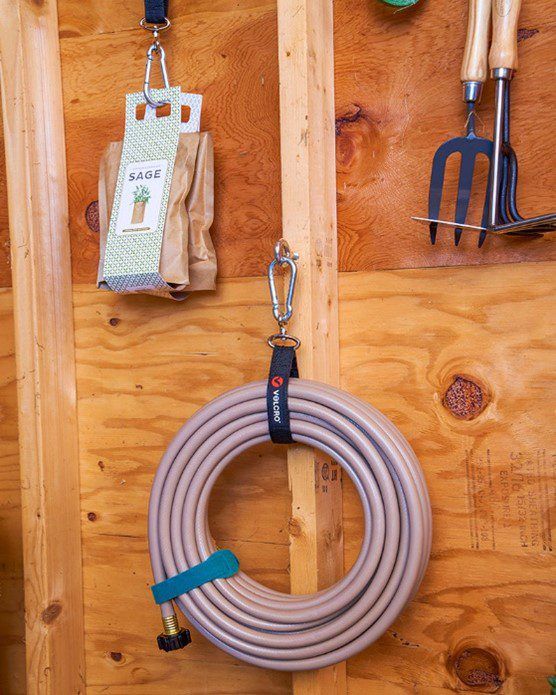
- A hose hanger, large hook, or a reel you can bring indoors
- Zip ties or soft straps to secure the coil without crushing it
- Optional: small air compressor with a blow gun and regulator
- Optional: plumber’s silicone grease for threads and gaskets
If you are still deciding how to store garden hose for winter, gather these first. The job goes faster and cleaner.
Step-by-step: how to store garden hose for winter
Follow these steps once the first hard frost is near. I time it when nightly lows hit the high 20s.
-
Turn off water and disconnect
- Close the indoor shutoff for the outdoor spigot if you have one.
- Unscrew the hose from the faucet. Remove spray nozzles, wands, and splitters.
- This is the first rule in how to store garden hose for winter. Never leave it attached.
-
Drain the hose completely
- Lay the hose straight on a gentle slope if you can.
- Lift and walk the hose from the faucet end toward the free end.
- Repeat until no water drips. Patience matters here.
-
Optional: blow out with low air pressure
- Set the compressor to 10 to 20 PSI. Keep it gentle.
- Aim air through the hose for a few seconds. Move the hose so trapped pockets release.
- Do not exceed low pressure. High PSI can damage fittings.
-
Rinse, sanitize, and dry
- If the hose looks grimy, swish a vinegar and water mix through it, then drain.
- Wipe the outside with a damp cloth.
- Let it air dry for a bit. Dry hose equals less mold and smell.
-
Inspect fittings and washers
- Check for cracks, bulges, and leaks at couplings.
- Replace worn washers and O-rings.
- A two-dollar washer can save a fifty-dollar hose.
-
Coil the hose without kinks
- Make big, loose loops about 2 to 3 feet wide.
- Try an over-under coil to reduce twist. Keep the hose relaxed, not tight.
- Secure the coil with a soft strap. Do not crush it.
-
Cap the ends
- Add hose caps or quick-connect caps.
- This keeps dust, spiders, and debris out all winter.
-
Store the hose above freezing
- Choose a basement, heated or insulated garage, or a dry shed that stays above 32°F.
- Keep it off bare concrete. Use a shelf or hook.
- Shade and airflow help. Avoid sun and chemicals.
-
Winterize the faucet
- For a frost-free faucet: shut the indoor valve, disconnect the hose, open the outdoor handle to drain, then close it.
- For a standard faucet: shut the indoor valve, open the outdoor handle to drain, leave it open if the indoor valve seals tight.
- This detail is part of how to store garden hose for winter for full protection.
:max_bytes(150000):strip_icc()/GettyImages-117709868-a7b6e60ffef84e3f938f81de0ddb9cb1.jpg)
Extra care for different hose types
Different hoses need slightly different care. Here is what works best.
- Rubber hoses: They resist cold and stay flexible. Still drain fully. Store above freezing if you can.
- Vinyl hoses: They kink and crack faster in cold. Drain well and avoid tight coils.
- Reinforced hoses: Strong walls help, but fittings still fail if water freezes inside.
- Stainless steel metal hoses: They do not mind sun, but the inner tube can freeze. Drain and store indoors.
- Expandable hoses: Always drain fully. Open the valve, let the hose contract, and keep it warm and dry. These are most sensitive to freezing.
Knowing how to store garden hose for winter means knowing your hose type. Small changes here prevent big headaches later.

Where and how to store the hose
Location matters. Aim for dry, clean, and above freezing.
- Best places: Basement shelves, interior utility rooms, or heated garages.
- Good backup: Insulated sheds or garages that stay near 40°F or warmer.
- Avoid: Sunny windows, furnace rooms, and spots with sharp tools or chemicals.
Use a wall-mounted hanger or a wide hook. I like to slip a short pool noodle over the hanger. It spreads the weight and stops kinks. If you use a reel, bring the reel inside or detach the spool. That counts toward how to store garden hose for winter without damage.
Keep all accessories together. Bag nozzles, sprinklers, and gaskets in a small bin. Label it for spring. This makes setup quick and stress-free.

Mistakes to avoid and pro tips
I have seen these mistakes lead to leaks and ruined fittings. Skip them and save money.
- Leaving the hose on the spigot: This traps water in the faucet. It can split pipes.
- Tight, small coils: This sets kinks. Use big, gentle loops instead.
- Storing on cold concrete: Moisture and cold speed up damage. Keep it off the floor.
- Blasting with high air pressure: Go low and slow. High PSI blows out seals.
- Ignoring washers: Worn washers cause spring leaks. Replace them now.
Pro tips that make how to store garden hose for winter easier:
- Add quick-connects in spring. Winter removal takes seconds next fall.
- Keep spare washers in a small bag taped to the hose.
- Mark hose length with a tag. You will thank yourself later.
- Wipe couplings with silicone grease. Threads glide and resist corrosion.

Maintenance checklist for spring startup
A quick spring checklist protects your investment. It also rewards your winter work.
- Inspect for cracks, flat spots, and stiff sections.
- Replace any worn washers before first use.
- Reconnect nozzles and test for leaks at low pressure.
- Flush the hose for a minute to clear any taste or dust.
- Rehang the hose with relaxed coils.
Doing this once is fast. It also completes the cycle of how to store garden hose for winter and bring it back to life.

Eco-friendly disposal and when to replace
Even with care, hoses wear out. Watch for clear signs.
- Bulges, splits, or brittle spots
- Leaks at multiple points
- Stiffness that will not ease up
Try repurposing old hose sections as tree ties, bumper guards, or soaker lines. Many curbside programs do not recycle hoses, so call your local waste center. Responsible disposal pairs well with learning how to store garden hose for winter the right way.
Frequently Asked Questions of how to store garden hose for winter
Can I leave my garden hose outside in winter?
You can, but it is not wise. Freezing water can crack the hose and fittings, and sun can degrade it.
What temperature should I bring the hose inside?
Once nights drop near freezing, bring it in. Do this before a hard frost to be safe.
Do I need an air compressor to winterize a hose?
No. Gravity draining works well for most hoses. A low-pressure blowout helps remove stubborn water.
Can I store my hose on the reel for winter?
Yes, if the reel is stored indoors and the hose is fully drained. Avoid tight winds and keep loops gentle.
How do I store nozzles and sprinklers?
Rinse, dry, and bag them in a small bin. Keep spare washers and O-rings in the same box.
What if my hose already froze with water inside?
Thaw it slowly at room temperature. Do not bend it while stiff. Check for leaks before using.
Is it okay to cap hose ends during storage?
Yes. Caps keep dust and pests out. Make sure the hose is dry before capping.
Do frost-free faucets still need the hose removed?
Yes. A hose left attached can trap water and defeat the frost-free design.
Conclusion
A few simple habits protect your hose, your faucet, and your time. Drain it, coil it loosely, cap the ends, and store it above freezing. If you follow these steps, you have mastered how to store garden hose for winter with confidence.
Take 20 minutes this week and winterize your setup. Your spring self will thank you. Want more smart yard care tips? Subscribe, share your results, or ask a question in the comments.