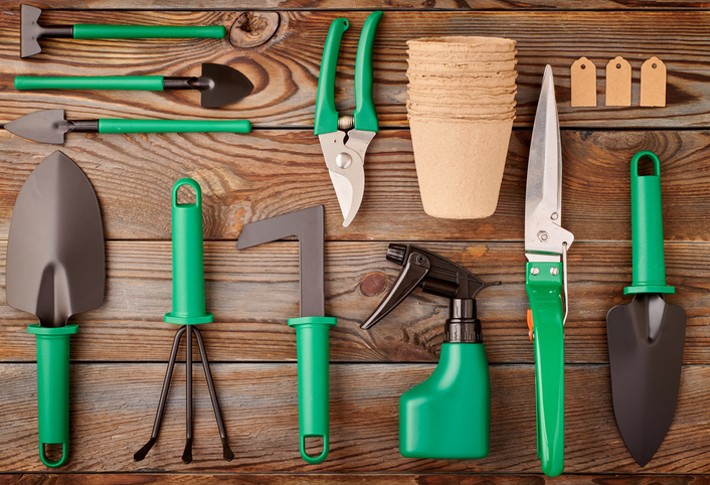
Hold a gardening trowel with a relaxed fist and a straight wrist.
If you want better control, cleaner holes, and less wrist pain, you’re in the right place. I’ve logged many seasons planting, weeding, and potting, and I’ll show you how to hold a gardening trowel like a pro. This guide breaks down how to hold a gardening trowel step by step, why grip matters, and how to match your tool and technique to your soil and tasks. Let’s turn small tweaks into big wins in your beds and pots.
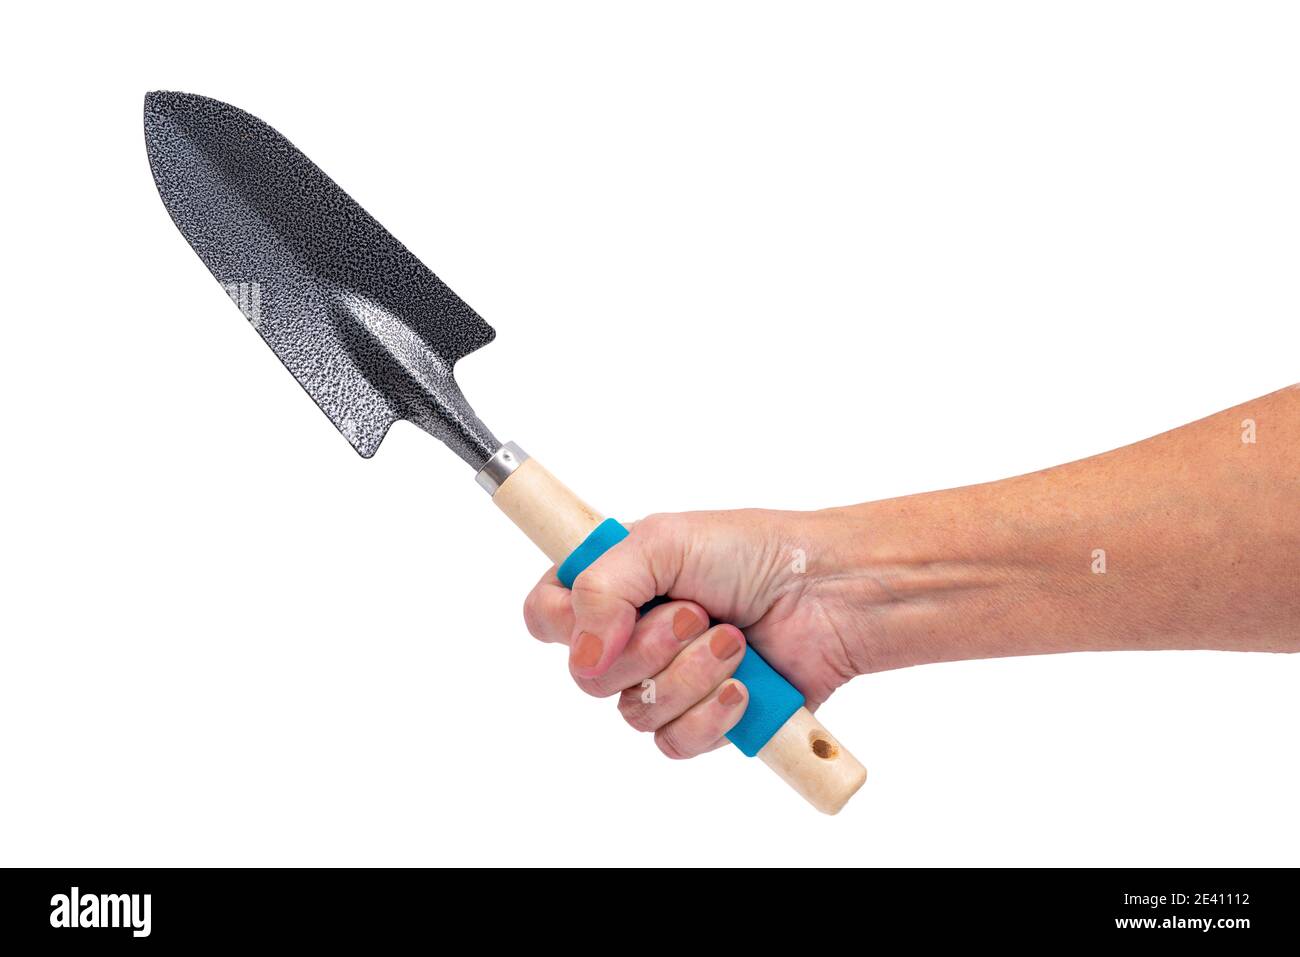
Why your grip matters
The way you hold a trowel decides your leverage, speed, and comfort. A small change in wrist angle can make the blade bite into soil or skate on the surface. It can also save your hands and wrists over long sessions.
Ergonomic research shows a neutral wrist lowers strain and boosts force transfer. That’s why learning how to hold a gardening trowel is about more than comfort. It’s the key to accuracy and less fatigue.

Know your trowel: parts, sizes, and handles
Before we get to how to hold a gardening trowel, know the tool. When you know each part, your fingers will find the right spots fast.
- Blade: The metal scoop that cuts and lifts soil. Narrow blades pierce hard ground. Wide blades move more soil.
- Shank and ferrule: The metal neck that connects blade to handle. A strong shank resists bending.
- Handle: Wood, plastic, or rubber. Round handles roll in the palm. Flat or contoured handles increase control.
- Length and weight: Longer handles give reach. Lighter tools help with speed. Heavier tools help in clay.
Tip from the field: If your soil is rocky, a narrow, sturdy blade with a solid shank helps. If you mix potting soil often, a wide, shallow blade is best.
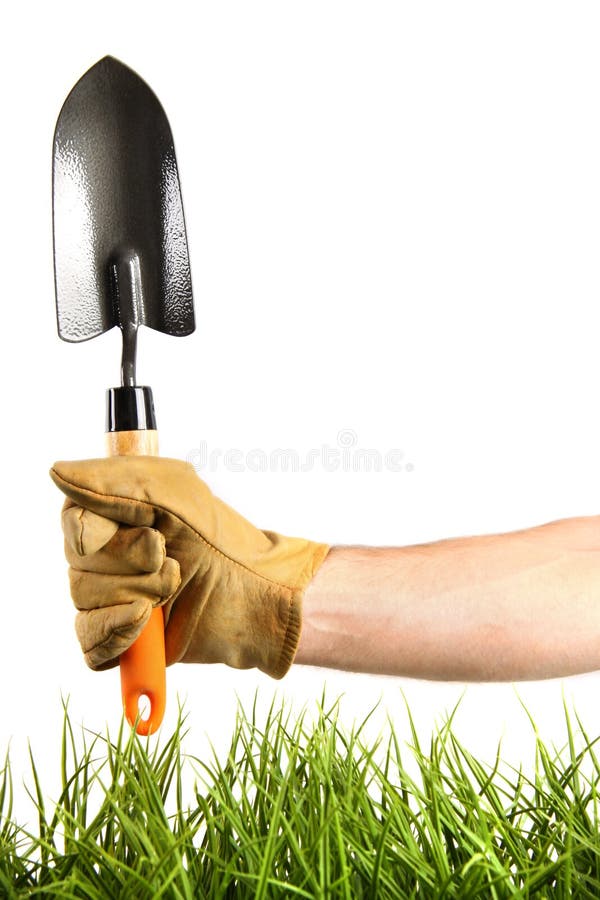
How to hold a gardening trowel: step-by-step
Follow these simple steps. Practice them in dry soil first. Then try them in real beds.
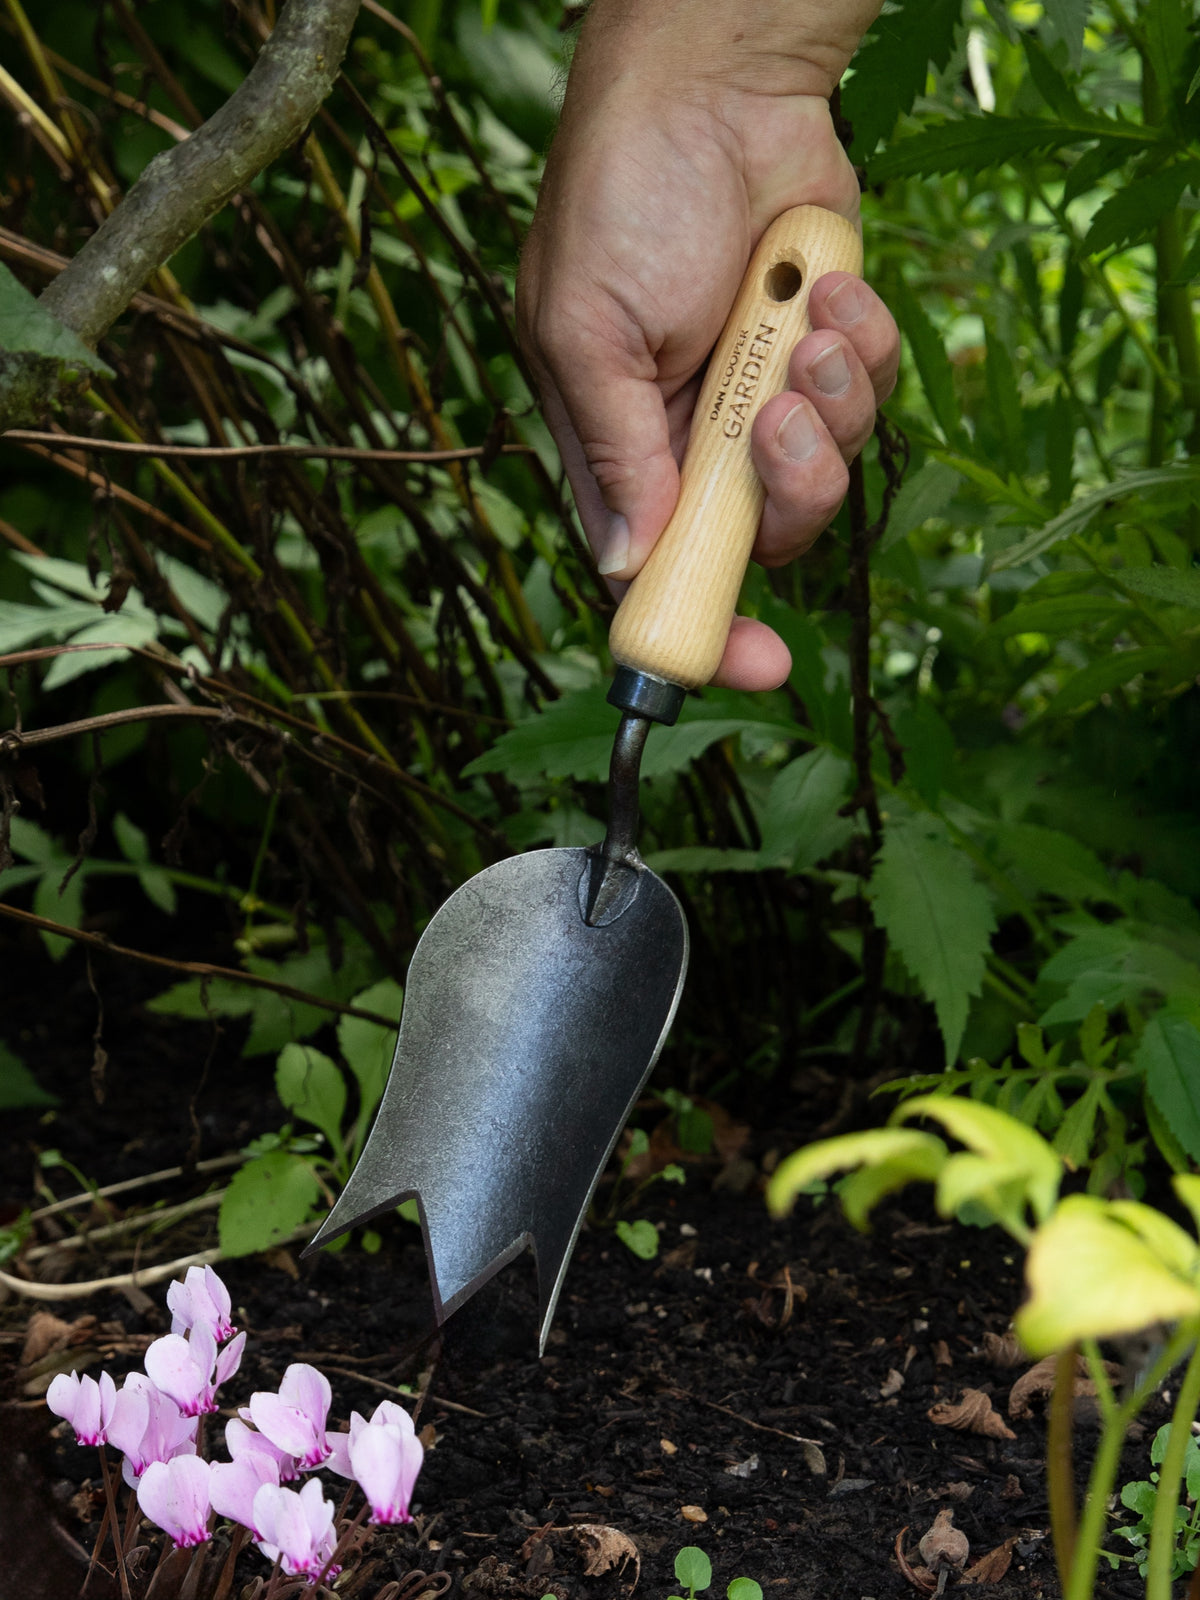
- Place the handle in your palm. The butt of the handle should rest just inside your pinky edge.
- Wrap your fingers around the handle. Keep a relaxed fist, like holding a small bird.
- Set your thumb along the top. Your thumb acts like a clamp and a guide.
- Keep your wrist straight. Line up your knuckles, wrist, and forearm.
- Bring your elbow close to your side. This boosts control and power.
- Test the angle. Tip the blade 20 to 30 degrees forward to cut and scoop.
Quick checks:
- If your fingers tingle, you are squeezing too hard.
- If the blade wobbles, move your thumb a bit forward along the handle spine.
- If your wrist bends a lot, step closer to the bed.
This is the core of how to hold a gardening trowel for most tasks. Once it feels natural, you can switch grips for special jobs.

Different grips for common tasks
You can adjust how to hold a gardening trowel based on the job. Think of it like shifting gears on a bike.
Digging small holes
- Use a power grip. Fingers wrap, thumb on top. Wrist stays straight.
- Start the cut with a short chop. Then lever up with your legs and hips, not your wrist.
Transplanting seedlings
– Use a precision grip. Slide your hand up the handle. Pinch with thumb and index near the top.
- Keep motions small and slow to avoid root damage.
Scooping soil or compost
- Use a scoop grip. Thumb along the side. Keep the bowl of the blade level.
- Pull soil toward you in smooth, short strokes.
Weeding and slicing roots
- Use a knife grip. Thumb on top, index along the side for guidance.
- Slice with short, firm pulls. Keep the blade close to the surface.
Working in tight pots
- Choke up the handle. Move your hand closer to the blade for more control.
- Short strokes help prevent spills and damage.
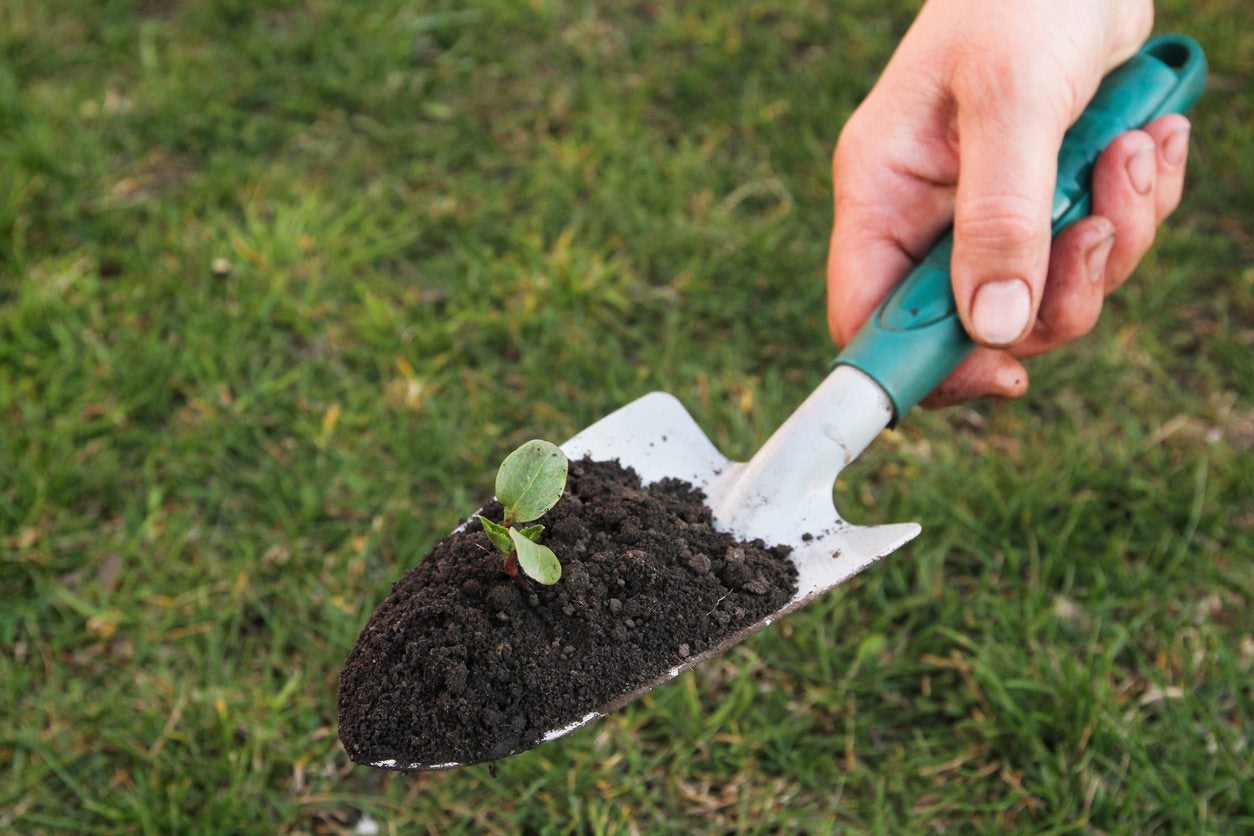
Body mechanics and wrist health
You will feel the gains when you match grip with good posture. This is where how to hold a gardening trowel meets how to move.
- Stand close to your work. Reduce reaching and bending.
- Keep a neutral wrist. Let your elbow and shoulder drive the tool.
- Switch hands every few minutes. This spreads the load.
- Take microbreaks. Shake out your hands and roll your shoulders.
- Use your legs and hips to lever soil. Save your wrists for fine control.
Studies on hand tools show neutral joints reduce strain and boost endurance. Your body will thank you after long planting days.
Common mistakes and how to fix them
Most new gardeners make the same few errors. Here is how to hold a gardening trowel the right way by avoiding these traps.
- Death grip: You squeeze too hard. Fix it by loosening your fingers and letting the palm support the handle.
- Bent wrist: The blade feels weak. Fix it by stepping closer and aligning wrist with forearm.
- Thumb too far back: The blade wanders. Fix it by sliding the thumb a bit forward along the top.
- Elbow flared out: You lose power. Fix it by tucking your elbow near your ribs.
- Using only wrist to lever: Fatigue builds fast. Fix it by hinging at hips and knees.
I learned this the hard way in my first season. I gripped tight, and my fingers went numb by noon. A lighter hold with a straight wrist made the work feel easy.
Choosing the right trowel for your hand
Good technique shines when the tool fits your hand. This section goes beyond how to hold a gardening trowel and helps you pick the right match.
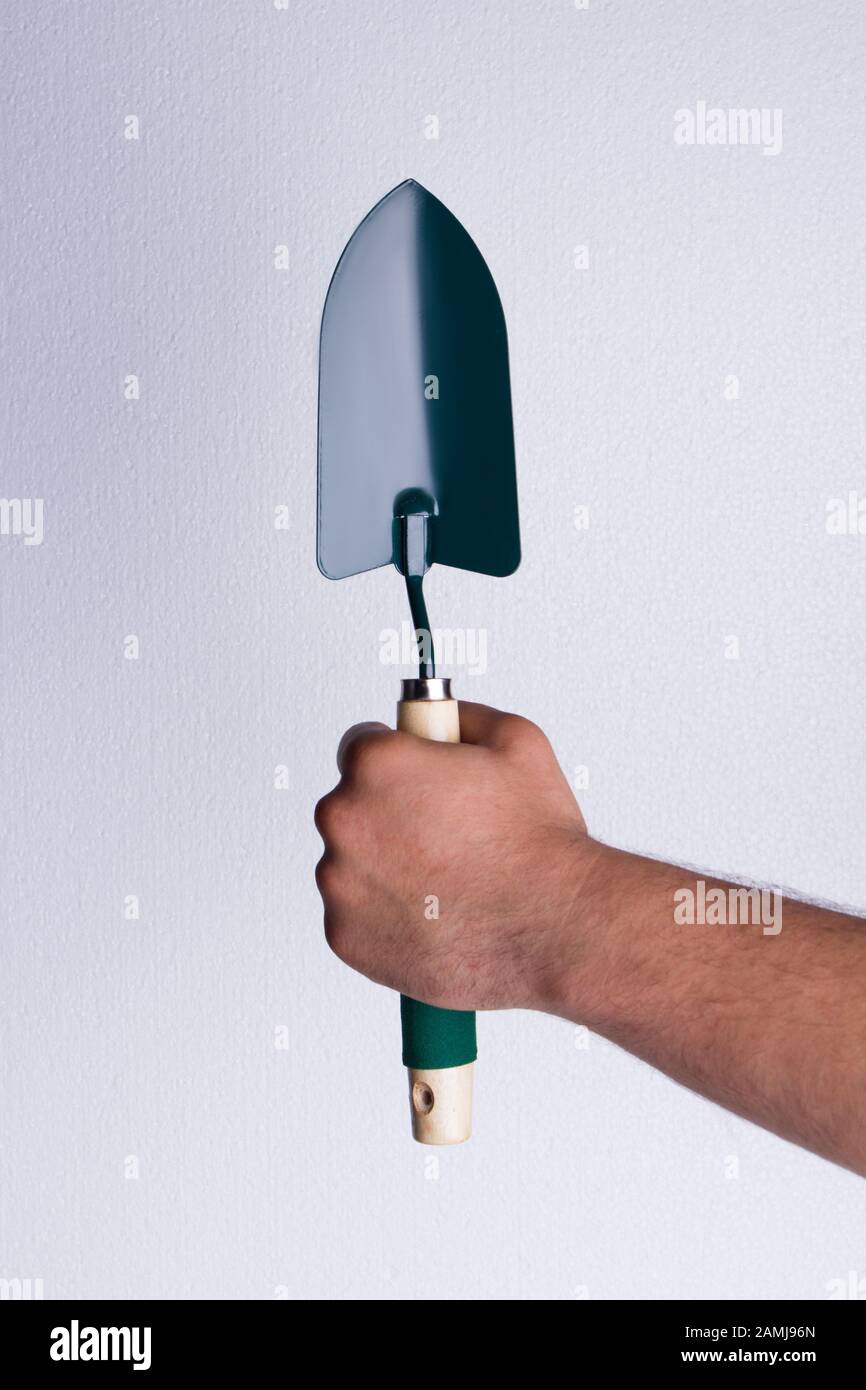
- Handle diameter: Small hands like slimmer handles. Large hands like thicker ones for comfort.
- Shape: Contoured or padded handles reduce pressure points.
- Weight and balance: A slightly forward balance helps in clay. A neutral balance helps in potting mixes.
- Blade shape: Narrow for hard soil. Wide for scooping. Marked blades help with depth.
- Materials: Stainless resists rust. Carbon steel cuts well but needs care.
Quick fit test:
- Hold the trowel for 30 seconds with the grip you use most.
- If you feel hot spots or strain, try a different handle or size.

Practice drills to build skill
Skill comes from short, regular practice. These drills sharpen how to hold a gardening trowel and build muscle memory.
- Scoop without spills: Fill and move soil from one pot to another. Keep the blade level.
- Straight trench lines: Cut a shallow line along a string. Focus on wrist alignment.
- Depth control: Plant three holes at the same depth. Use the same stroke each time.
- Switch-hand repeats: Do each drill with your non-dominant hand to balance strength.
Five minutes a day beats one long session. Your hands will adapt fast.
Care, safety, and maintenance for a steady grip
A clean, secure handle keeps your grip safe. This supports everything you learn about how to hold a gardening trowel.
- Keep handles dry and clean. Wipe sap and mud after use.
- Add texture if needed. Use a light wrap or gloves with grip dots.
- Sharpen the blade edge. A sharp edge needs less force.
- Store out of sun and rain. Wood can swell or crack.
- Check ferrules and shanks. Tighten or replace loose parts.
Small care steps make the tool feel new and predictable. That means better control and less strain.
Frequently Asked Questions of how to hold a gardening trowel
What is the best wrist position when using a trowel?
Keep your wrist straight and in line with your forearm. This neutral position reduces strain and improves power transfer.
Should I wear gloves while learning how to hold a gardening trowel?
Yes, light gloves with good grip can prevent slips. Avoid bulky gloves that block feel and control.
How tight should my grip be on the handle?
Use a firm but relaxed hold, like a handshake. If your fingers tingle or cramp, loosen your grip.
Does handle shape matter for proper trowel grip?
It does. Contoured or padded handles spread pressure and help you keep a neutral wrist.
How do I reduce fatigue when using a trowel for long periods?
Switch hands often, take short breaks, and keep your wrist straight. Let your legs and hips help with leverage.
Can left-handed gardeners use the same tips for how to hold a gardening trowel?
Yes, mirror the steps and grips. Choose a symmetrical handle or an ergonomic model that fits your left hand.
What blade type makes it easier to learn how to hold a gardening trowel?
A medium-width stainless blade with a comfortable handle is a good start. It balances cutting power and control.
Conclusion
Holding a trowel well is simple: relaxed grip, straight wrist, smart body movement. Practice the core steps, switch grips for each task, and match your tool to your hand and soil. With these habits, you will dig faster, plant straighter, and feel better after every session.
Try one drill today and notice the difference at your next planting. If this guide helped you master how to hold a gardening trowel, share it with a fellow gardener, subscribe for more hands-on tips, or drop your questions in the comments.