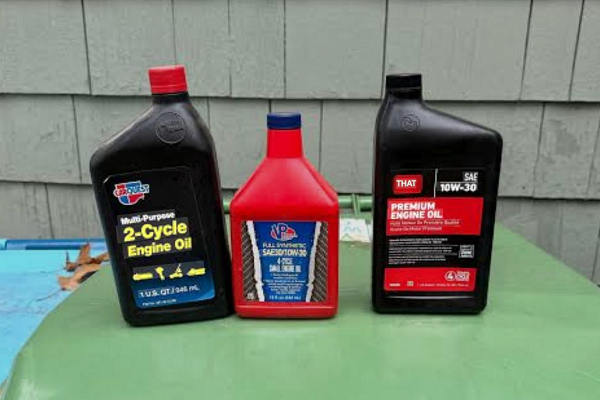
How To Fix A Leaf Blower That Won’t Start: Quick DIY Guide
A leaf blower that refuses to start is one of the most frustrating setbacks in yard work. You’ve got a driveway full of leaves, the season is short, and the machine just sits there. The good news: most no-start problems are simple, cheap, and fixable at home with basic tools. This guide walks you through a logical, step-by-step diagnostic process for gas, battery, and corded models—so you can get back to work quickly and avoid unnecessary repair bills.
Safety First: What You Need Before You Start
Before touching anything, take a few minutes to set up safely. Working on small engines involves fuel, electricity, and moving parts, so a little preparation prevents injuries and further damage. For more on this, see our guide on how to start a lawn mower that won.
Essential Safety Gear
- Safety glasses – Fuel can splash, and debris can fly when you pull the starter cord.
- Work gloves – Protect your hands from sharp metal edges and hot engine parts.
- Ventilated area – Always work outdoors or in a well-ventilated garage. Gasoline fumes are flammable and toxic.
- Fire extinguisher – Keep one nearby when handling fuel or cleaning parts with solvent.
Tools You'll Likely Need
| Tool | Purpose |
|---|---|
| Flathead and Phillips screwdrivers | Removing covers, access panels, and carburetor bowls |
| Spark plug socket wrench | Removing and installing the spark plug |
| Feeler gauge | Checking and adjusting the spark plug gap |
| Small wire brush | Cleaning carbon from the spark plug and exhaust screen |
| Carburetor cleaner spray | Dissolving varnish and gum in fuel passages |
| Multimeter | Testing electrical continuity on battery and corded models |
| Pliers | Removing fuel lines and clips |
| Replacement parts | Spark plug, air filter, fuel lines, primer bulb, fuel filter |
A smart habit: lay out every screw and part in the order you remove them, and take a photo with your phone at each step. Reassembly becomes foolproof.
Quick Diagnosis: Gas, Battery, or Corded
Your troubleshooting approach depends entirely on what kind of blower you own. Each type has its own common failure points, so identify your model first. For further reading, see championautoparts.com.
Gas-Powered Blowers
These are the most common and the most prone to no-start issues. The fundamental trio is fuel, spark, and compression — if any one is missing, the engine won’t run. Most no-start cases trace back to stale fuel or a dirty carburetor.
Battery-Powered Blowers
Battery units fail differently. The most frequent culprits are a depleted or cold battery, dirty terminals, or a charger that isn't making a solid connection. Many batteries also have internal protection circuits that shut down in extreme cold.
Corded Electric Blowers
Corded models are usually simple. The most common issues are a tripped GFCI outlet, a damaged extension cord, or a stuck impeller blocked by debris. With no fuel system to worry about, the diagnosis is often straightforward.

Gas, battery, and corded blowers each have distinct failure points — identify yours first.
Step-by-Step: How to Fix a Gas Leaf Blower That Won't Start
Gas engines demand a logical sequence. Skip around and you’ll waste time. Work through these steps in order, testing after each one.
1. Check Fuel Quality and Mix
Old fuel is the #1 reason blowers sit dead. Gasoline begins to degrade in as little as 30–60 days, especially with ethanol-blended pump fuel. The volatile compounds evaporate, leaving behind a gummy varnish that clogs carburetor jets.
- Drain all old fuel from the tank into an approved container. Never mix old fuel with new.
- Prepare fresh mix using the ratio specified in your owner's manual — commonly 50:1 for modern two-stroke engines. If you're unsure about the correct ratio, check our guide on how to mix oil and gas for leaf blower.
- Use a clean fuel can. Old cans collect dirt, water, and rust that will quickly clog a carburetor.
Signs your fuel has gone bad:
- Sour or sharp smell
- Dark yellow or brown color
- Separation into layers or visible particles
2. Inspect the Primer Bulb and Fuel Lines
The primer bulb draws fuel from the tank into the carburetor. If it’s cracked, brittle, or has a leak, the engine will starve for fuel.
- Press the primer bulb several times. It should feel firm and spring back immediately. If it collapses and stays flat, there’s a tear or a crack.
- Visually inspect fuel lines for cracks, hardening, or loose connections. A small air leak here can cause the carburetor to draw air instead of fuel.
- Replace fuel lines as a set. They’re inexpensive and tend to wear out at the same time. Mixing old and new lines invites future leaks.
3. Set the Choke and Use the Correct Starting Sequence
A common mistake is flooding the engine with too much choking. Follow the manual’s procedure, but here’s the general pattern that works on most models:
Cold start:
- Press the primer bulb 5–6 times.
- Set the choke to full.
- Pull the starter cord 2–3 times until the engine sputters.
- Move the choke to the half position.
- Pull again to start.
- Open the choke fully once the engine runs smoothly.
Warm start:
- Set choke to half.
- Prime 1–2 times.
- Pull to start.
If you suspect the engine is flooded (fuel smell, wet spark plug):
- Turn the choke off completely.
- Hold the throttle wide open.
- Pull the cord 6–10 times vigorously to clear excess fuel.
4. Check the Spark Plug
The spark plug ignites the air-fuel mixture. A fouled or worn plug is an easy, cheap fix.
- Remove the plug with a spark plug socket wrench.
- Inspect the electrode. A light tan or gray color is healthy. Heavy black carbon, oil residue, or a wet appearance indicates problems.
- Clean light carbon with a wire brush.
- Replace the plug if the electrode is worn, the ceramic is cracked, or the plug is oil-fouled.
- Set the gap to the specification in your manual — typically 0.020–0.030 inches. Use a feeler gauge.
Testing for spark:
- Reinstall the plug into the boot.
- Ground the plug body against the engine cylinder.
- Pull the starter cord. Look for a bright blue spark at the electrode.
If there’s no spark, try a brand-new plug. If still nothing, check the stop switch, wiring connections, and the ignition module.
5. Clean or Replace the Air Filter
A clogged air filter chokes the engine by starving it of oxygen. This is one of the simplest fixes.
- Remove the air filter cover and take out the filter element.
- Foam filters: Wash with soap and water, dry thoroughly, then apply a light coat of air filter oil. Let it sit a few minutes before reinstalling.
- Paper filters: Replace them. Don’t attempt to blow them out with compressed air — it tears the fibers and creates gaps that let dirt straight into the engine.
6. Inspect the Exhaust Spark Arrestor
Many gas blowers have a small screen inside the muffler. Over time, carbon and oil residue can block it, causing hard starting and poor performance.
- Remove the muffler screen if accessible.
- Clean it with a wire brush or burn off carbon with a torch.
- Replace it if it’s damaged or severely clogged.
7. Carburetor Basics: Adjust, Clean, or Rebuild
If you still have no start after the previous steps, the carburetor is the likely culprit. Two-stroke engines are very sensitive to gummed-up fuel passages.
Start with a simple adjustment:
- Locate the low-speed (L) and high-speed (H) adjustment screws.
- Gently turn them inward until lightly seated, then back them out to the base setting — usually 1 to 1.5 turns out.
- Attempt to start, then fine-tune: adjust L for a stable idle and H for crisp throttle response.
If adjustment doesn’t help, clean the carburetor:
- Remove the carburetor from the engine.
- Remove the bowl and inspect for varnish.
- Spray all jets, passages, and the needle valve with carburetor cleaner.
- Blow dry with low-pressure air.
- Reassemble and retest.
If the blower sat with old fuel for months, rebuild the carburetor. A rebuild kit includes new diaphragms, gaskets, and a needle valve — usually the exact parts that fail. It’s a cost-effective fix that resolves the majority of stubborn no-start problems.
From the workshop: I’ve revived dozens of “dead” blowers with the same three moves: fresh fuel, a new spark plug, and a carburetor cleaning. That trio resolves more than half of all no-start issues.
8. Check Compression and the Starter System
When the starter cord feels loose or easy to pull with no resistance, the engine may have low compression — meaning the piston rings are worn or the cylinder is scored.
- Feel for resistance when pulling the cord. Consistent resistance indicates healthy compression.
- If the cord slips or doesn’t retract, the starter pawls or spring may be broken. These are replaceable parts.
- Severely low compression usually requires a top-end rebuild or a new engine — at which point replacement is often more cost-effective.

The carburetor's low-speed and high-speed adjustment screws are your primary tuning points.
Step-by-Step: How to Fix an Electric Leaf Blower That Won't Start
Electric blowers — both battery and corded — are simpler but have their own specific failure modes.
Battery-Powered Blowers
- Charge the battery fully. Cold batteries often show a “full” charge on the indicator but lack real capacity. Warm the pack to room temperature and retry.
- Clean the contacts on both the battery and the tool. A pencil eraser or electrical contact cleaner works well.
- Test with a second battery. If the blower runs with a different pack, the original battery needs replacement.
- Check the charger. A faulty charger may not deliver a full charge.
Batteries degrade over time. After a few years of use, capacity drops significantly, and replacement is normal.
Corded Electric Blowers
- Test the outlet by plugging in a lamp. This confirms power is flowing.
- Check breakers and GFCIs. A tripped GFCI is an easy fix.
- Inspect the extension cord for nicks, burns, or loose blades. A damaged cord can interrupt power or create a safety hazard.
- Use a shorter, heavier-gauge cord. Long, thin cords drop voltage under load, which can prevent the motor from starting.
When the Motor Hums But Won't Turn
- Unplug the blower immediately.
- Pull the fan/impeller by hand to see if it rotates freely.
- Remove debris from the housing. Stuck leaves or twigs can jam the impeller.
Brushless Motors
If your brushless blower has a fault light, consult the manual. Many models require a reset procedure — typically unplugging, waiting, and replugging.
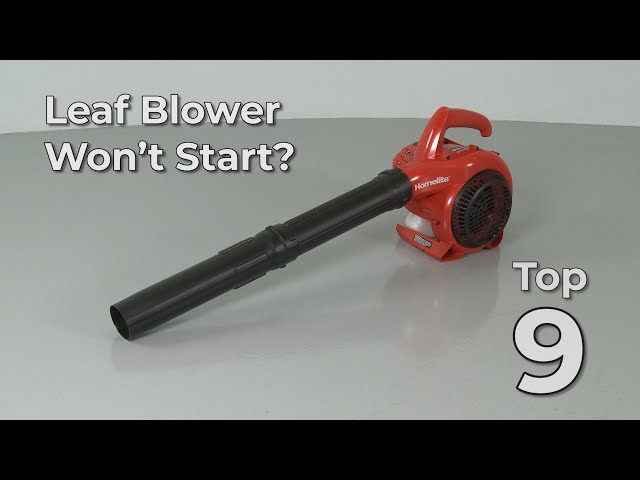
Check the battery terminals and extension cord integrity before assuming the motor failed.
Common Causes and Fast Fixes
Here’s a quick reference table for the most frequent issues:
| Symptom | Likely Cause | Fast Fix |
|---|---|---|
| Won’t start at all | Old fuel | Drain and refill with fresh mix |
| Runs then dies | Clogged air filter | Clean or replace |
| Smells like fuel | Flooded engine | Choke off, full throttle, pull repeatedly |
| No spark | Bad spark plug | Replace and set gap |
| Weak starts | Dirty carburetor | Clean or rebuild |
| Poor power | Blocked spark arrestor | Clean the screen |
| Electric motor silent | Tripped GFCI | Reset the outlet |
| Battery dies fast | Cold or worn battery | Warm up, recharge, or replace |
When in doubt, return to fundamentals: fuel, spark, and air. Verify each one before diving deeper.
Pro Tips from the Field
These practical habits will save you time and money over the life of your blower.
- Use ethanol-free fuel when available. It has a longer shelf life and leaves less varnish.
- Add fuel stabilizer at every fill-up. It’s cheap insurance that keeps jets clean during short storage periods.
- Label your fuel cans with the mix ratio and the date you mixed it. No more guessing.
- Keep a spare spark plug in your toolbox. It’s a 5-minute fix that often solves a season of trouble.
- Replace fuel lines as a complete kit. Piecemeal replacement invites future leaks.
- Tune the carburetor in quarter-turn increments. Big adjustments skip over the sweet spot.
- Run the tank dry before long-term storage. A dry carburetor can’t collect varnish.
- Keep a simple repair log. Note what you fixed, when, and what parts you used. Patterns become obvious.
When to Call a Pro or Replace the Blower
DIY repair has limits. Know when to stop and seek help — or buy a new machine.
Call a Professional If:
- You see fuel leaking near the tank seam or carburetor gaskets
- There’s no spark after replacing the plug and checking the wiring
- Compression feels very low and the engine won’t catch
- The starter recoil binds or the rope won’t retract
Consider Replacement If:
- Repair parts cost more than half the price of a new unit
- The cylinder walls are scored or damaged
- The plastic housing is cracked near stress points
- The engine is older than 5–7 years and has major internal issues
A new blower with a warranty and modern engine technology may be the smarter long-term investment.
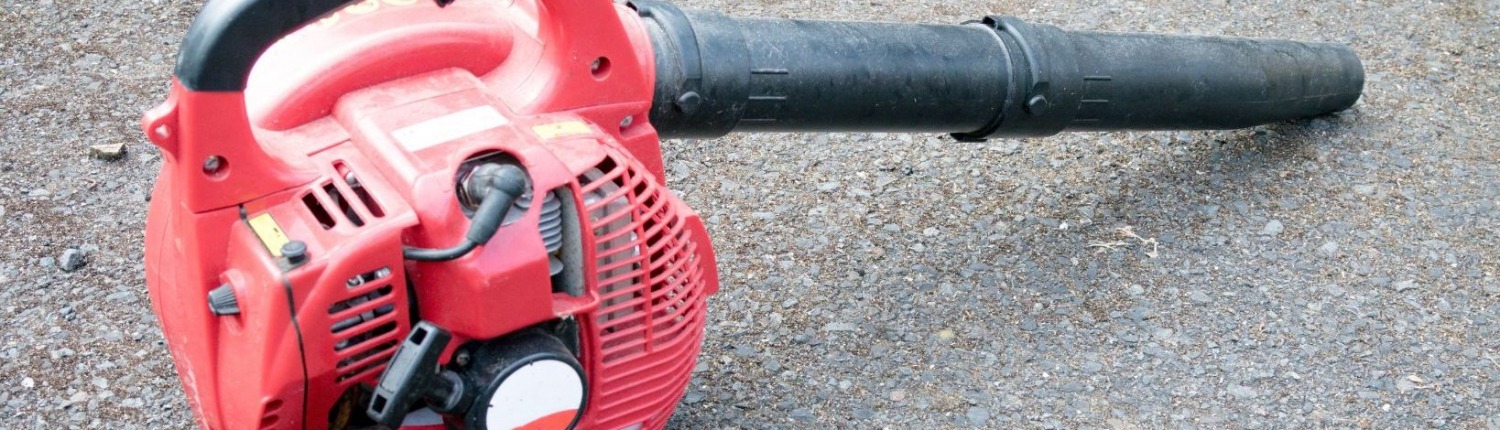
Weigh repair costs against replacement value before committing to major work.
Preventive Care and Storage Plan
The best way to fix a leaf blower that won’t start is to prevent the problem in the first place. A simple routine keeps your machine reliable season after season.
After Every Use
- Brush off dust and debris from the housing and air vents
- Check the air filter and tap it clean if needed
- Wipe down fuel spills immediately
Every 10 Hours of Operation
- Inspect the spark plug for wear or fouling
- Check fuel lines and the primer bulb for cracks
- Tighten any loose screws or fasteners
Every Season
- Replace the air filter and spark plug
- Clean the spark arrestor screen
- Test full throttle response and idle quality
Proper Storage
- Run the tank dry or add stabilizer and run for 2–3 minutes
- Store in a dry, protected area
- Remove batteries and store at 40–60% charge in a cool place
With this routine, starting becomes effortless next season.
Troubleshooting Checklist
Print this or save it to your phone. It covers everything in one glance.
- Confirm fuel type and age — refill if older than 60 days
- Prime the bulb and set the choke per the manual
- Check spark with a known-good plug
- Inspect and clean the air filter
- Clean the exhaust spark arrestor screen
- Set the L and H screws to base settings
- Try a flood-clear start sequence
- For electric: test outlet, cord, battery, and contacts
- Change only one thing at a time, then retest
Frequently Asked Questions
Why does my blower only start on choke?
This typically points to a vacuum leak or a dirty carburetor. The choke enriches the fuel mixture to compensate for the underlying problem. Clean the carburetor and check fuel lines for cracks.
How do I know if the engine is flooded?
You’ll smell gasoline and the spark plug will be wet when removed. Turn the choke off, hold the throttle fully open, and pull the cord 6–10 times to clear the excess fuel.
What spark plug should I use?
Always use the exact plug type listed in your owner's manual. Match the heat range and set the gap to the specified measurement.
Can bad gas really stop a blower from starting?
Yes, absolutely. Stale fuel forms varnish that blocks jets and needle valves. Fresh fuel and a carburetor cleaning will often fix the issue completely.
Why does my battery blower die right away?
The pack may be cold, weak, or out of balance. Warm it to room temperature, clean the contacts, and test with a second battery if you have one.
How tight should carburetor screws be set?
Start at 1 to 1.5 turns out from a gently seated position. Then fine-tune for smooth idle and strong throttle response.
Is a clogged spark arrestor common?
Very common, especially with rich fuel mixtures. The screen accumulates oil and carbon over time. Clean it regularly and power returns.
Conclusion
You now have a complete, field-tested plan to fix a leaf blower that won’t start. Begin with the basics — fuel, spark, and air — then work through lines, filters, and the carburetor. Test after each change, and don’t replace multiple parts at once if you want to know what actually solved the problem.
Put one fix into action today. Swap that spark plug, refresh the fuel, or clean the screen. You’ll learn fast and save money. And for more yard equipment care, explore our tips on choosing the right cordless blower for your next upgrade.