How To Start A Lawn Mower That Won’t Start

How To Start A Lawn Mower That Won’t Start: Fixes That Work

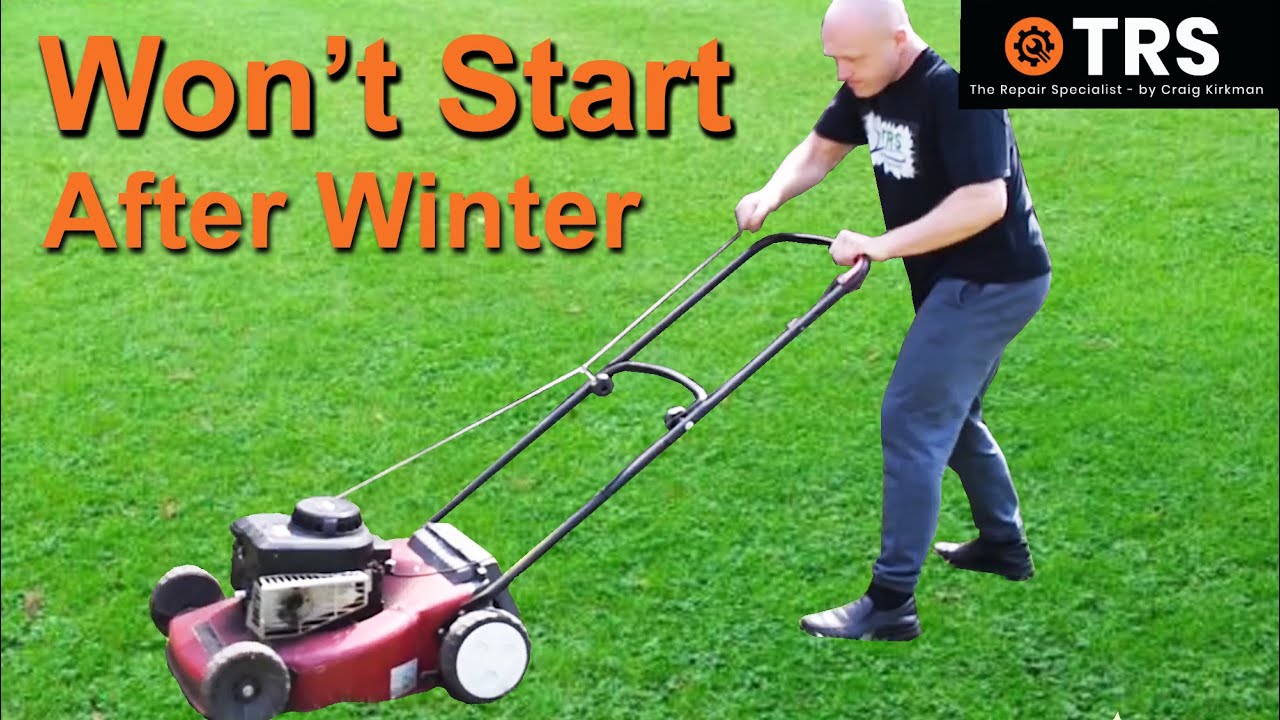
A lawn mower that refuses to start ranks among the most frustrating moments of the gardening season. You pull the cord, hear nothing but a dry cough, and your weekend plans evaporate. The good news? Most no-start problems trace back to just a handful of causes—stale fuel, a clogged carburetor, a weak spark, or a blocked air supply. In nearly every case, you can diagnose and fix the issue yourself in under an hour with basic hand tools.

This guide walks you through a proven, step-by-step troubleshooting process. You’ll learn what to check first, how to spot the difference between a fuel problem and an ignition problem, and which fixes solve the majority of dead-mower situations. No guesswork, no unnecessary part swapping—just a logical path from "won't start" to "mowing again." For more on this, see our guide on is husqvarna a good lawn mower.

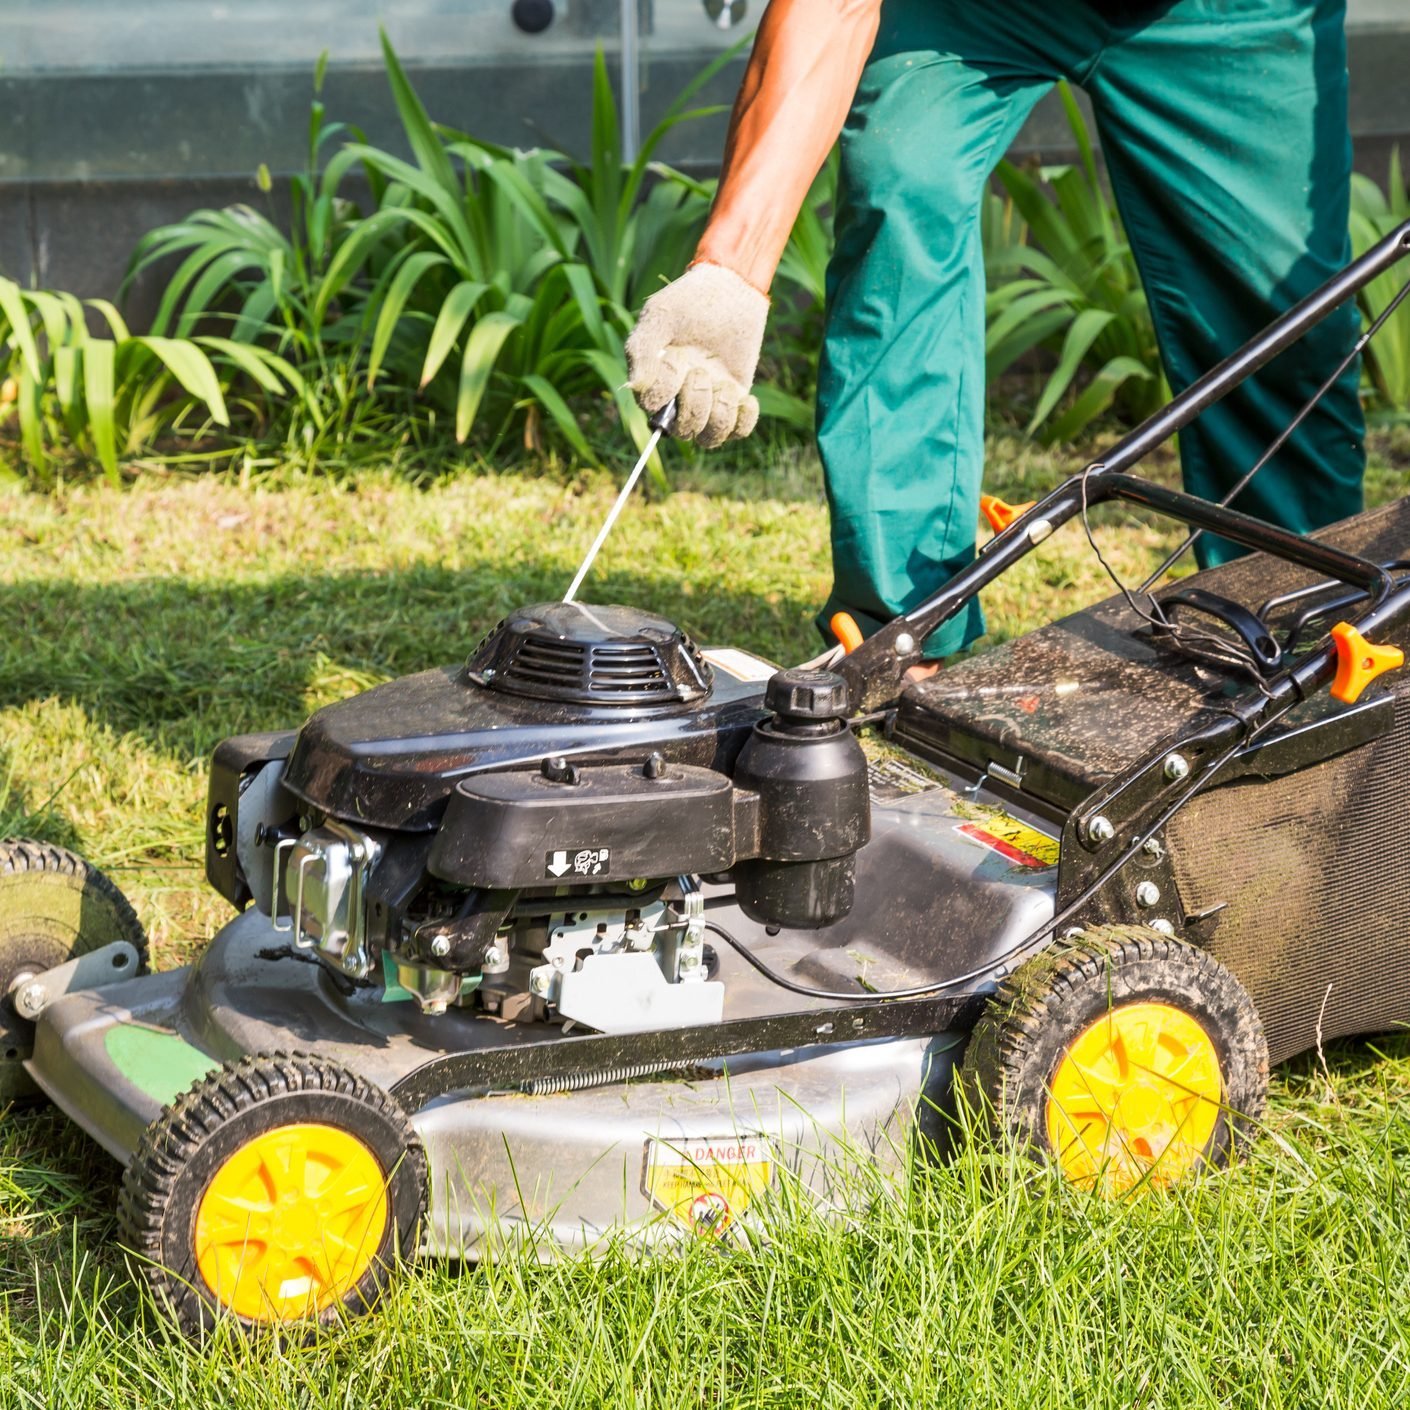
Wearing gloves and safety glasses while inspecting a lawn mower engine

Source: championautoparts.com

Safety First: Preparing Your Mower for Inspection

Before you touch anything, take two minutes to set up a safe workspace. Place the mower on flat, level ground—never on a slope where it could roll. Disconnect the spark plug wire and secure it away from the plug terminal. If your mower has an electric start, remove the key entirely. Wear work gloves and safety glasses; you'll be handling fuel, small parts, and potentially a sharp blade.

These precautions aren't optional. A mower engine can fire unexpectedly if the plug wire makes contact while you're turning the blade or cleaning the deck. Taking the extra minute prevents injury and gives you clear access to the components you need to inspect. For further reading, see epa.gov.

The 30-Second Quick Check List

Many no-start issues are embarrassingly simple. Run through this checklist before you disassemble anything. These basic checks resolve a surprising percentage of "dead" mowers in under a minute:

  • Hold the bail bar tightly. Most modern mowers have a safety interlock that kills the spark unless the operator bar is pressed firmly against the handle. If it's loose or broken, the mower won't fire.
  • Set the choke properly. For cold starts, the choke should be fully closed (or set to "start"). Move it to "run" only after the engine fires.
  • Press the primer bulb 3 to 5 times. If the bulb feels spongy or cracked, it won't draw fuel into the carburetor.
  • Open the fuel shut-off valve. Some models have an inline valve; if it's closed, no fuel reaches the carb.
  • Use fresh fuel. Gas older than 30 days loses volatility and can leave varnish deposits. When in doubt, drain and refill.
  • Loosen the gas cap. A blocked vent creates a vacuum that prevents fuel flow. If you hear a hiss when opening, the cap vent is likely clogged.
  • Clear the blade. Sticks, rocks, or thick clumps of grass can jam the crank and prevent the engine from turning over.
  • Check the safety key on electric models. Battery mowers won't arm without it properly inserted.

If all these check out, move on to the systematic diagnosis below.

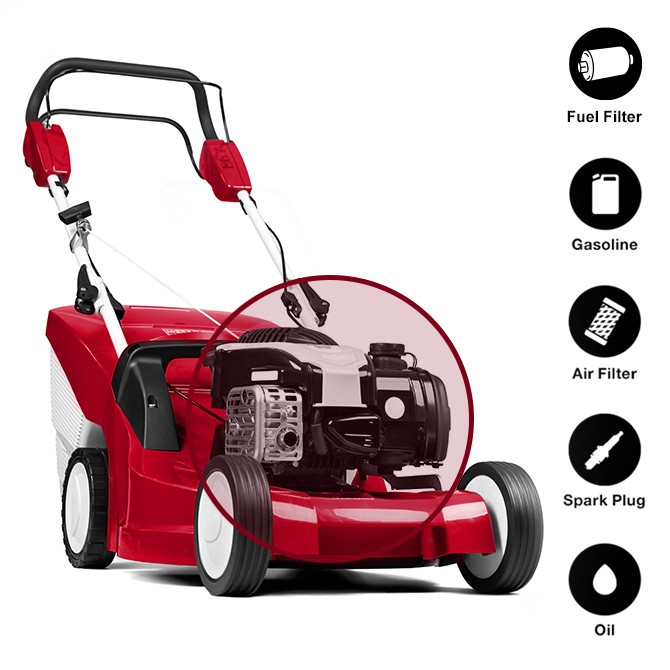
Close-up view of a four-stroke lawn mower engine with labels

Source: youtube.com

Know Your Mower Type: Different Machines, Different Fixes

The troubleshooting path depends substantially on what kind of mower you own. Understanding your machine's architecture helps you skip irrelevant steps and focus on the likely culprits.

Gas push mower. Most use a four-stroke engine with a small carburetor, a paper air filter, and a recoil starter. Fuel delivery and spark are the two primary failure points.

Self-propelled gas mower. The engine is essentially the same, but you also have drive cables, a transmission, and often a second safety switch on the drive handle. Check both handle switches if the engine won't turn over.

Corded electric mower. No fuel system, no carburetor, no spark plug. The start issue is almost always electrical—a tripped breaker, a damaged cord, a faulty switch, or a locked blade.

Battery mower. Requires a charged pack, a properly inserted safety key, clear deck, and functioning handle switches. Thermal cutoff can also be the culprit if the motor overheated from thick grass.

A common mistake I see in the shop: people treat electric mowers like gas ones and start checking air filters. In practice, the fastest path on electric models is to rule out power delivery first—battery voltage, switch continuity, and blade obstruction.

Step-by-Step: How to Start a Lawn Mower That Won't Start

Follow these steps in order. Each one eliminates a likely cause without duplicating effort. If the mower starts at any point, stop and reassemble everything properly before you begin mowing.

Step 1: Confirm the Basics

  • Fuel level. Check the tank visually. If it's low or empty, refill with fresh regular 87-octane gasoline. Avoid premium; small engines don't benefit from it.
  • Oil level. A low oil level can trigger a low-oil shutdown sensor on some models. Check the dipstick and top up to the full mark if needed.
  • Air filter. Pull it out and inspect. If it's dark, oily, or clogged with debris, set it aside and try starting without it.

Step 2: Set for a Cold Start

  • Engage the choke fully.
  • Press the primer bulb 3 to 5 times, watching for fuel to flow through the clear fuel line if your model has one.
  • Hold the bail bar tight against the handle.

Step 3: Attempt the Start

  • Pull the starter rope with a smooth, fast motion. Don't yank; let the rope retract gently between pulls.
  • Electric start models: hold the bail bar and turn the key or press the start button.

If the engine fires briefly then dies, you likely have a fuel delivery problem. If it doesn't fire at all, move to spark.

Step 4: Check Spark

  • Remove the spark plug using a socket wrench.
  • Inspect the electrode: a tan or light gray color means good combustion; black and sooty means too rich; wet and oily means flooding or an oil leak.
  • Clean the electrode with a wire brush or replace the plug entirely—they're inexpensive and wear out faster than people expect.
  • Set the gap to the manufacturer's specification, typically 0.028 to 0.031 inches for most small engines.
  • Ground the plug against the engine block and pull the rope. Look for a bright blue spark. An orange or yellow spark is weak and may not ignite the fuel mixture reliably.

Step 5: Check Airflow

  • With the air filter removed, try starting again. If the mower fires, the filter is the problem—replace it rather than cleaning it, as paper filters lose effectiveness after saturation.
  • Check the choke plate: it should open fully when the choke lever is in the "run" position.

Step 6: Verify Fuel Flow

  • Loosen the gas cap and listen for a hiss, indicating a vent problem.
  • Disconnect the fuel line where it enters the carburetor and check for a steady stream of fuel. A slow drip means a clogged fuel filter or a pinched line.

Step 7: Clean the Carburetor

This is the single most common fix for a mower that won't start after sitting for weeks or months.

  • Drain the carburetor bowl into a small container and inspect the fuel for water or debris.
  • Remove the main jet (the small brass fitting under the bowl) and clean the tiny orifice with a soft wire—never a drill bit, which can enlarge the hole.
  • Spray carburetor cleaner through all passages.
  • Reassemble, prime, and try again.

Step 8: For Battery Mowers Specifically

  • Confirm the battery shows a full charge. If the mower sat all winter, the battery may have drained below recovery voltage.
  • Let a hot battery cool for 15 minutes before attempting a start.
  • Clear any debris from the blade and deck.
  • Verify the safety key is inserted completely and the handle controls are both engaged.

Carburetor removed from a lawn mower showing the bowl and jet

Source: youtube.com

Fuel System Fixes That Work

Stale gasoline is the #1 reason small engines fail to start. Gasoline begins to degrade within 30 days, and ethanol-blended fuels (E10) absorb moisture from the air, creating water beads that settle in the carburetor bowl. Over weeks, the fuel evaporates and leaves behind a sticky varnish that clogs the tiny jets and passages.

Here's how to address fuel-system problems systematically:

  • Replace old fuel. If the gas has been sitting for more than a month, drain the tank completely. Dispose of the old fuel at a hazardous waste facility, not down the drain.
  • Drain the carburetor bowl. A small screw at the bottom of the bowl releases trapped fuel. Inspect what comes out—water beads, rust particles, or a jelly-like residue all indicate the carb needs deeper cleaning.
  • Clean the main jet. This tiny brass component has a precision-drilled hole that meters fuel flow. Use a fine wire or compressed air to clear it.
  • Check the fuel filter. Many mowers have a small inline filter that looks like a plastic or metal cylinder. If it's dark or clogged, replace it.
  • Inspect the primer bulb. Cracks or hardening prevent the bulb from creating enough vacuum to draw fuel. Replace it if it looks damaged.
  • Examine fuel lines. Soft spots, cracks, or swollen sections indicate ethanol damage. Replace any line that feels mushy or shows bulges.

A practical tip: if you use starting fluid to diagnose, use a very short burst (1 second) into the air intake. If the engine fires and dies, you've confirmed a fuel delivery issue. But always address the underlying cause—starting fluid masks the real problem and can damage engine rings if overused.

Ignition System Checks

A weak or absent spark prevents combustion regardless of how well the fuel system works. The ignition system on most small engines consists of the spark plug, the ignition coil, a kill wire, and a flywheel with magnetic timing components.

Work through these checks:

  • Inspect the spark plug. Look for a worn electrode, cracked porcelain insulator, or excessive carbon buildup. A plug that looks fine can still fail under compression, so replacement is the fastest way to rule it out.
  • Verify the plug gap. Use a feeler gauge to check the gap against the specification in your owner's manual. Most small engines specify 0.028 to 0.031 inches.
  • Check the kill wire. This wire runs from the coil to the stop switch. If the insulation is chafed and the wire grounds against the engine block, the spark is shorted to ground. Look for obvious wear near the engine shroud.
  • Test the stop switch. With the switch in the "run" position, there should be continuity through the switch. A faulty switch that remains grounded will kill the spark.
  • Measure the coil air gap. Use a feeler gauge to check the gap between the coil legs and the flywheel. Typical specification is 0.010 to 0.015 inches, but always check your manual.

In my experience, a fresh spark plug solves a surprising number of no-start cases. The plug is the cheapest component in the ignition system, and replacing it eliminates the most common failure point in under five minutes.

Inspecting a spark plug electrode for wear and carbon buildup

Source: lawn.com.au

Airflow and Compression Checks

Engines need three things to fire: fuel, spark, and air. They also need sufficient compression to ignite the mixture. These checks round out the diagnostic picture:

  • Air filter condition. A clogged filter starves the engine of air, creating an overly rich mixture that fouls the plug and prevents starting. If it looks dark or feels damp, replace it.
  • Choke operation. The choke plate should close fully for cold starts and open completely when warm. A stuck choke plate creates the same rich-condition problem.
  • Flywheel key. The flywheel key aligns the flywheel with the crankshaft and controls ignition timing. A sudden stop—like hitting a stump or rock—can shear the key. The engine will still turn over but won't start or will pop and backfire. Checking requires removing the flywheel nut and inspecting the keyway.
  • Compression test. Remove the spark plug and place your thumb firmly over the hole. Pull the starter rope. You should feel strong, consistent pressure pushing your thumb off. Weak pulses indicate worn rings, a burnt valve, or a damaged head gasket.

I recall a mower that came into the shop with a seemingly perfect carburetor and ignition system. The owner was ready to scrap it. The culprit was a sheared flywheel key from an unnoticed impact with a hidden tree root. A $3 part and 20 minutes of labor brought it back to life. The lesson: don't skip the timing check when nothing else seems wrong.

Flywheel key showing damage from a sudden impact

Source: youtube.com

Starter System and Battery Troubleshooting

If the engine won't turn over at all—no cranking, no pulling resistance—the problem is in the starter system rather than the engine itself.

Recoil starters. The pull cord mechanism relies on plastic pawls that engage the flywheel, a spring that retracts the rope, and the rope itself. Common failures include:

  • Frayed or snapped rope that needs replacement.
  • A weak retraction spring that leaves the rope loose.
  • Pawls stuck or coated with old grease that prevents engagement—clean and lubricate lightly.

Before disassembling the recoil assembly, verify the blade is clear. A jammed blade locks the crank and makes the rope feel like it's stuck at the top of the pull.

Electric start gas mowers. These have a 12-volt battery, a starter motor, and a solenoid. If you hear a click but no cranking, the battery is likely weak. A healthy battery reads about 12.6 volts at rest. Clean the terminals and ensure all ground connections are tight. If the solenoid clicks but the starter doesn't spin, the starter motor itself may be the issue.

Battery mowers. Start with the battery. If it's fully charged but the mower won't run:

  • Let the pack cool if the mower was used recently—thermal cutoffs protect the motor from overheating.
  • Clear grass and debris from the blade area. Packed grass creates drag and can trigger the cutoff.
  • Check the safety key and handle switches. These machines have multiple interlocks that must all be satisfied for the motor to engage.

Seasonal Habits That Prevent No-Start Issues

The best fix is the one you never need. Building these habits into your routine eliminates most no-start scenarios entirely:

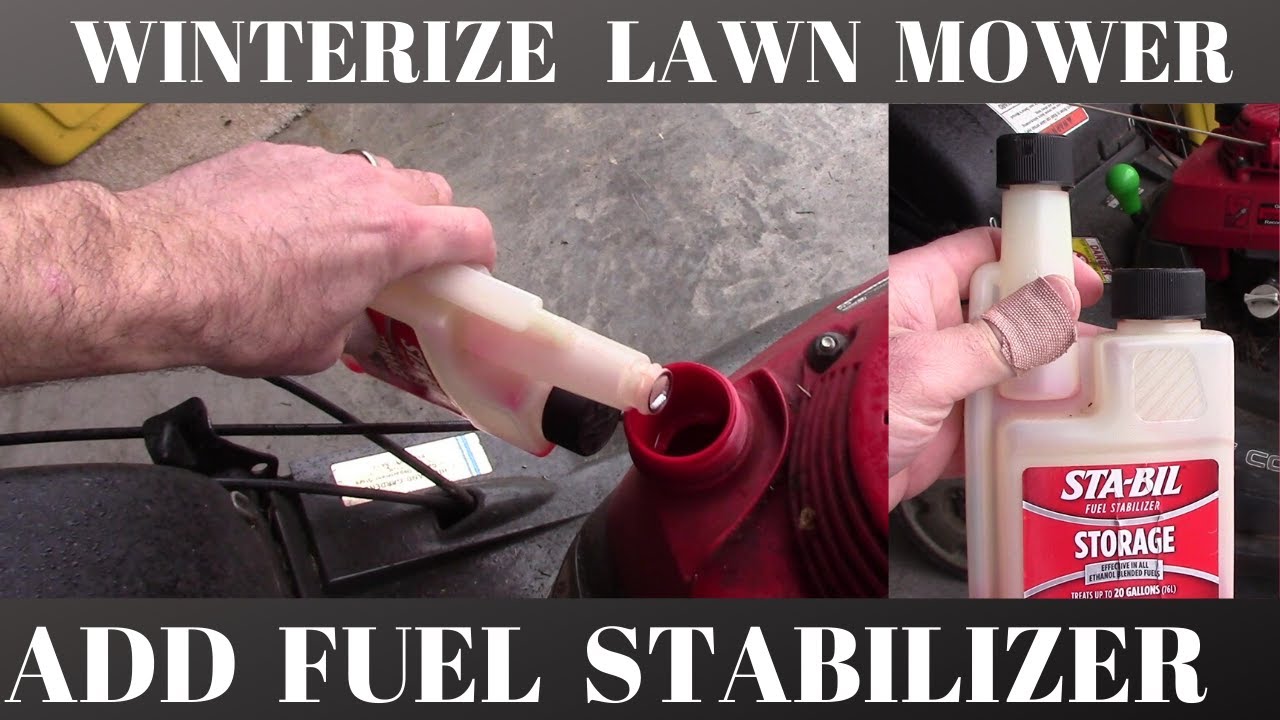
  • Use fresh fuel with a stabilizer. Add a fuel stabilizer to the tank before every fill-up, or at minimum before storing the mower for more than two weeks. Replace fuel every 30 to 60 days during active mowing season.
  • Run the carburetor dry before storage. Turn off the fuel valve and let the engine run until it stalls. This empties the carburetor bowl, preventing varnish buildup.
  • Change oil at season start. Fresh oil helps piston rings seal properly, which improves compression and cold-start behavior.
  • Replace the air filter and spark plug yearly. These cheap parts prevent most performance complaints.
  • Clean the deck after each use. Packed grass traps heat, strains the starter, and accelerates rust. A quick scrape with a plastic scraper keeps the underside clean.
  • Store the mower in a dry place. Moisture is the enemy of ignition systems, fuel lines, and steel components.

Following the proper fuel guidelines for your equipment extends reliability significantly. Many no-start calls trace directly to fuel that sat unused for months.

When to Call a Professional

Some problems exceed the DIY scope. Call a small-engine repair shop if you encounter:

  • Fuel in the oil. This indicates a stuck float in the carburetor or a worn needle valve, which can cause serious engine damage if not addressed.
  • A bent crankshaft. Usually from a severe impact. The engine will vibrate excessively during operation.
  • No compression. Persistent weak pressure on the compression test suggests internal engine wear that requires disassembly.
  • Electrical faults you can't trace. Intermittent spark issues can be time-consuming to diagnose without proper test equipment.

Typical shop costs for common repairs:

Service Typical Cost Range
Carburetor clean or replacement $60–$140 plus parts
Ignition coil replacement $35–$90 plus labor
Recoil starter rebuild $40–$100
Full tune-up (plug, filter, oil, carb clean) $120–$200
Safety switch replacement $30–$75 plus labor

If you enjoy working on small engines, many repairs are accessible with basic tools—socket set, screwdrivers, pliers, and a feeler gauge. But if you're short on time or the problem resists diagnosis, professional help is a reasonable investment.

Frequently Asked Questions

Why does my mower only run with starting fluid? The engine fires on the fluid's volatile fumes but won't sustain combustion on normal fuel. This points to a clogged carburetor jet or a primer system that isn't delivering fuel. Clean the carburetor and verify the fuel line and primer bulb work correctly.

How old can gasoline be before it causes problems? Gasoline starts to degrade within 30 days, faster in hot weather. Ethanol-blended fuel absorbs moisture and leaves gummy deposits. Use fresh fuel and add a stabilizer if the mower will sit unused for more than two weeks.

What if my mower dies after running for a few seconds? Check the gas cap vent and the carburetor bowl. A blocked vent creates a vacuum that starves the engine of fuel. A dirty main jet causes the same symptom. Both are quick, straightforward fixes.

Can a spark plug cause a no-start even if it looks fine? Yes. Plugs can fail under compression or develop internal cracks invisible to the eye. Replacing the plug is inexpensive insurance and eliminates the most common ignition failure point.

How do I know if the flywheel key is sheared? The engine will pop, backfire, or kick back when you pull the rope, but it won't run. You'll need to remove the flywheel nut and visually inspect the key to confirm.

My battery mower clicks but won't run. What's wrong? Check the battery seating, insert the safety key fully, clear any blade obstruction, and hold both handle controls as the manual shows. If everything checks out, the battery may need replacement.

Is it safe to tip the mower to check the blade? Yes, but tip the carburetor side up on gas models to prevent fuel from flooding the air filter. Remove the spark plug wire and wear gloves to protect your hands from the blade.

Conclusion: Your Action Plan for a Reliable Start

A lawn mower that won't start almost always has one of four issues: stale fuel, a clogged carburetor, a weak spark, or a blocked air supply. Working through this diagnostic order systematically—basics first, then fuel, spark, air, and finally starter components—resolves the vast majority of no-start situations without professional help.

Start with the 30-second quick checks. If those don't solve it, verify spark, clean the fuel system, and inspect the air filter. Nine times out of ten, you'll find the answer within an hour. And when you're done, build the seasonal habits that prevent this problem from recurring: fresh fuel, stabilizer, a dry carburetor, and routine maintenance on the filter and plug.

Put this plan to work today. If your mower still refuses to start after working through these steps, you'll have a clear picture of what's wrong, and you can decide whether the fix is a simple part replacement or a visit to the shop—the right decision every time.

Similar Posts

Leave a Reply

Your email address will not be published. Required fields are marked *