Turn off fuel, remove carb, clean jets with carb spray, reassemble, tune.
If your blower stumbles, surges, or won’t start, the fix might be simple. In this guide, I’ll show you how to clean leaf blower carburetor the right way, based on real shop experience and best practices from small-engine training. We’ll cover tools, safety, signs of trouble, each cleaning step, tuning tips, and what to do if problems remain. Stick with me and you’ll bring your blower back to strong, smooth power in under an hour.

Tools and materials you’ll need
Having the right kit makes how to clean leaf blower carburetor fast and stress-free. Gather your tools first, then clear a clean work space so you can keep track of tiny parts.
- Screwdrivers: Phillips and flat
- Needle-nose pliers and a pick or toothpick
- Carburetor cleaner spray and compressed air
- Small nylon brush and shop towels
- New carb kit or gaskets and diaphragms (recommended)
- Fuel line plugs or clamps and a marker
- Safety gear: gloves and eye protection
From experience, a rebuild kit often saves time. Old diaphragms cause most carb issues, and fresh parts make results last longer.

Safety first: prep and precautions
Work in a ventilated area and keep sparks and flames away. Gas fumes travel fast, so crack a door or work outdoors.
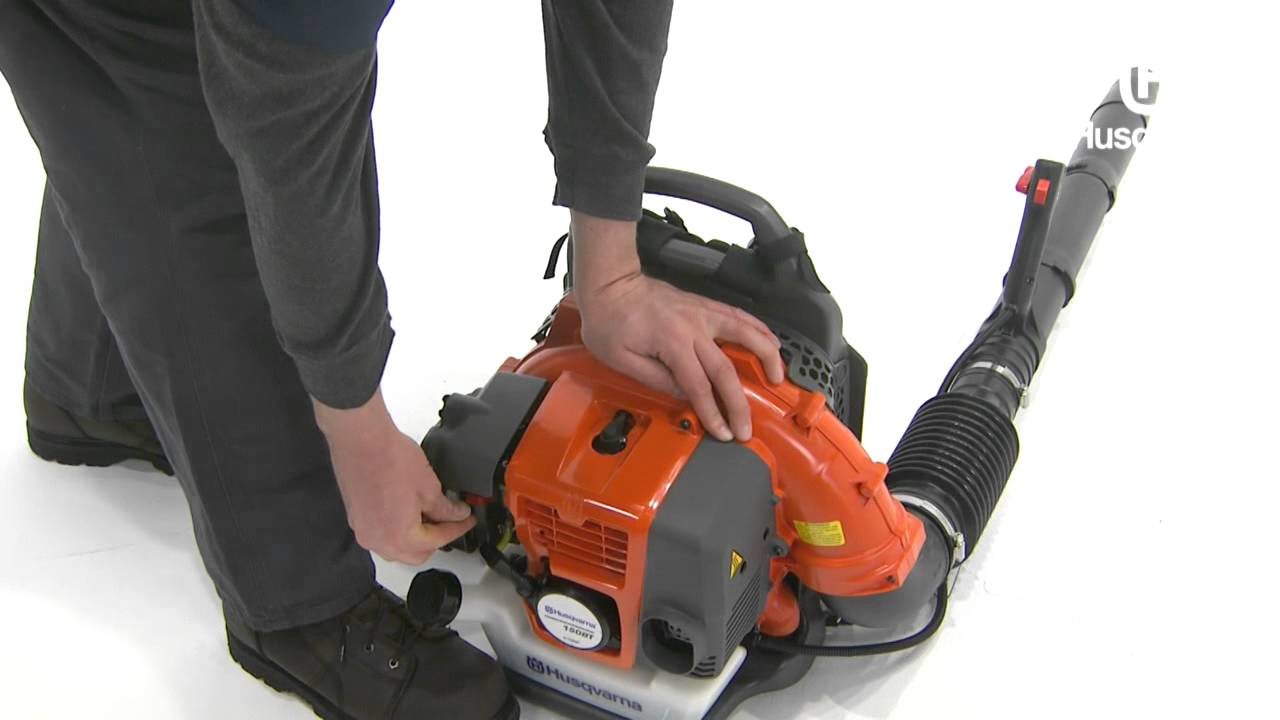
- Disconnect the spark plug wire so the engine cannot start.
- Drain the fuel tank into an approved container.
- Wipe dirt off the outside of the carb and housing before opening.
- Take photos of linkages and fuel lines. They are your reassembly map.
Carb cleaner and compressed air can sting eyes and skin. Spray short bursts and keep the nozzle away from your face.
How a leaf blower carburetor works (simple view)
Most handheld blowers use a diaphragm carburetor from brands like Walbro or Zama. There is no float bowl. A flexible diaphragm and tiny check valves pump fuel as the engine pulses.
- The low-speed circuit feeds idle and launch off idle.
- The high-speed circuit feeds wide-open power.
- Metering needle, lever, and an inlet screen control fuel flow.
When varnish clogs passages or the diaphragm stiffens, fuel stalls. That is why knowing how to clean leaf blower carburetor and refresh soft parts makes such a big difference.

Signs your carb needs cleaning
Before you dive in, check for these classic clues. They point straight at the carb.
- Hard starting or no start without primer
- Stalling at idle or bogging under throttle
- Surging at wide open or poor top speed
- Needing choke to run even when warm
- Primer bulb not filling or staying down
If these match, you’re on the right path with how to clean leaf blower carburetor.
Step-by-step: how to clean leaf blower carburetor
I’ll keep this clear and simple. Follow each step in order. Take photos as you go.
-
Secure and drain
- Remove the spark plug wire.
- Drain the tank and clamp the fuel lines.
-
Remove the air filter assembly
- Take off the cover, filter, and backing plate.
- Clean the housing so dirt does not fall into the carb.
-
Mark and remove fuel lines
- Mark which line is feed and which is return.
- Pull them off the carb with needle-nose pliers.
-
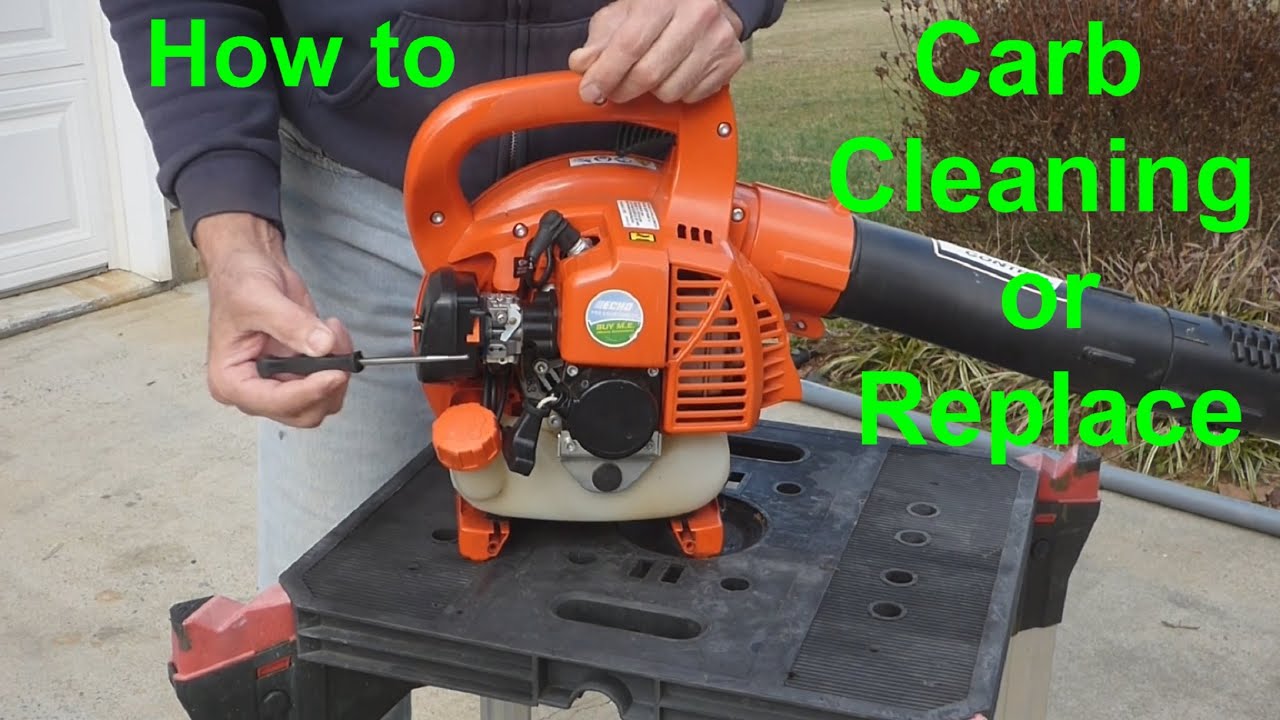
Disconnect linkages and remove the carb
- Photograph the throttle and choke link positions.
- Unbolt the carb and pull it off the intake.
-
External wipe-down
- Spray carb cleaner on the exterior and brush away grime.
- Do not push dirt into the throat or ports.
-
Open the pump side
- Remove the screws on the flat cover with the primer bulb side opposite.
- Note the order: cover, gasket, diaphragm. Keep them in order.
-
Open the metering side
- Remove the cover on the side with a small vent hole.
- Note the order again: cover, diaphragm, gasket.
-
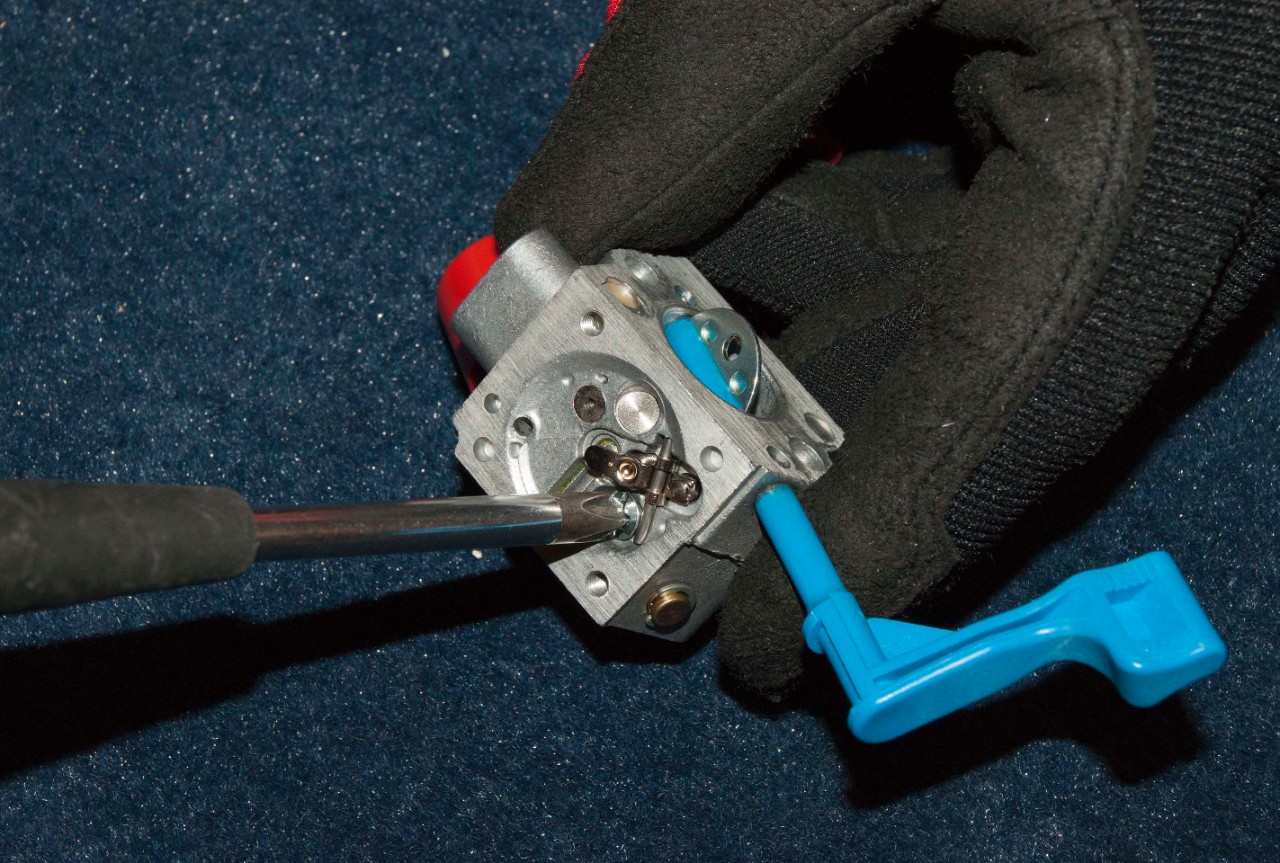
Remove metering parts and inlet screen
- Carefully remove the tiny screw, metering lever, spring, and needle.
- Use a wood toothpick to lift the inlet screen. Do not scratch the seat.
-
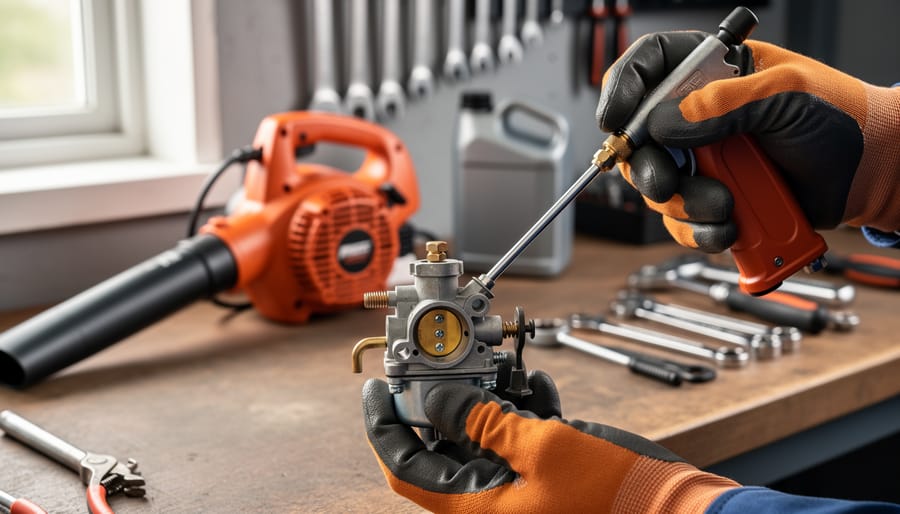
Clean internal passages
- Spray carb cleaner into all ports, the needle seat, and jets.
- Follow with gentle air. Short bursts only. Avoid blowing parts away.
-
Soak or ultrasonic if gummed
- If varnish is heavy, soak the bare body in carb cleaner for 10–20 minutes.
- Ultrasonic cleaners work great and are safe for small passages.
- Replace soft parts
- Install new diaphragms, gaskets, and inlet screen if you have a kit.
- Stiff or curled diaphragms must be replaced.
- Reinstall needle and lever
- Seat the spring, place the lever and needle, and install the screw.
- Set the lever height about flush with the carb body floor.
- Reassemble covers in correct order
- Pump side: body, diaphragm, gasket, cover.
- Metering side: body, gasket, diaphragm, cover.
This is the core of how to clean leaf blower carburetor. Take your time and keep parts organized.

Deep-clean details that matter
Small details make or break a carb service. These points come from repeated shop wins and a few early mistakes.
- Inlet screen must be spotless. If it looks dark or cloudy, replace it.
- Diaphragms should feel soft and flat. If wavy or stiff, use new ones.
- Metering lever height controls fuel level. Too high floods; too low starves.
- Low and high needle screws often have limiter caps. Leave them on if required by law. Set them to base settings per the manual.
When I learned how to clean leaf blower carburetor early in my career, I rushed lever height and paid the price with bogging. Slow down here and your tune goes smooth later.

Reinstall, start, and tune the carb
With the carb back together, reverse removal. Use your photos to reconnect lines and linkages.
- Refit the carb to the intake with a fresh gasket. Tighten screws snug, not brutal.
- Reconnect fuel lines. Feed line goes to the carb inlet. Return goes to the tank.
- Reinstall air filter base, filter, and cover.
Initial settings and tune:
- Turn both L (low) and H (high) screws to gentle seat, then back out 1 to 1.5 turns.
- Prime until the bulb fills. Start the engine and let it warm for a minute.
- Adjust idle-speed screw so the fan does not spin at idle.
- Turn L screw slowly for best idle and crisp throttle off idle.
- At full throttle, turn H screw for smooth power without a lean scream.
Follow the manual for your model. Manufacturers agree on this tune flow, and it is key to how to clean leaf blower carburetor for real-world use.

Troubleshooting if problems remain
If the engine still acts up after how to clean leaf blower carburetor, check the rest of the fuel and air path.
- Fuel filter and lines: Replace if cracked, soft, or clogged.
- Primer bulb: Replace if it will not fill or stays collapsed.
- Air leaks: Inspect intake gaskets, carb gasket, and crank seals.
- Spark arrestor screen: Clean or replace if blocked with carbon.
- Muffler and exhaust port: Clear carbon if packed.
- Compression: If pull feels weak, the engine may need more than a carb.
These checks solve most “still bogs” calls I see after a first-time carb clean.

Preventive care after cleaning
A clean carb stays clean when you keep fuel fresh and dry. Ethanol attracts water and forms goo over time.
- Use fresh fuel and the right oil mix. Many blowers need 50:1.
- Add stabilizer or buy ethanol-free gas if you can.
- Run the tool monthly for a few minutes to cycle fresh fuel.
- For storage over 60 days, drain the tank and run the engine dry.
This routine reduces how often you must think about how to clean leaf blower carburetor each season.
When to rebuild or replace the carb
Sometimes cleaning is not enough. Corrosion, warped bodies, or stripped threads call for bigger moves.
- Rebuild if parts are sound but soft goods are old. Kits are often 10–20 dollars.
- Replace if the body is pitted, warped, or if shafts are loose. New carbs are often 20–60 dollars.
- Time check: A full clean takes 30–60 minutes. A swap takes 10–20 minutes.
I choose rebuilds when parts are easy to get and the carb model is solid. If parts are scarce, a full replacement is faster and more reliable than repeating how to clean leaf blower carburetor every few weeks.
Frequently Asked Questions of how to clean leaf blower carburetor
How often should I clean my carburetor?
For regular use, once a season is enough. If you use ethanol gas or store fuel in the tank, plan on a mid-season touch-up.
Can I clean the carb without removing it?
You can try spraying cleaner into the throat and primer lines, but results are short-term. A full removal and diaphragm check is the proper way to clean and restore performance.
What cleaner should I use?
Use a dedicated carburetor cleaner that is safe for small engines. Avoid harsh solvents that attack rubber and plastic parts.
Do I need an ultrasonic cleaner?
No, but it helps with heavy varnish and tiny passages. For most jobs, spray cleaner, a brush, and compressed air work fine.
What are the base screw settings?
Many carbs like 1 to 1.5 turns out from a gentle seat on both L and H. Always check your manual for the exact starting point.
Why does my primer bulb stay flat?
The inlet or return path is blocked, often by a clogged inlet screen or a bad check valve. Clean the carb and replace the bulb if it is cracked or stiff.
Should I replace gaskets and diaphragms every time?
If they are stiff, curled, or stained, yes. Fresh soft parts make how to clean leaf blower carburetor last longer and tune easier.
Conclusion
You now know how to clean leaf blower carburetor from start to finish: prep, disassembly, deep clean, fresh soft parts, and a solid tune. With clear steps and a little patience, most blowers roar back to life fast.
Set aside an hour this week, gather your tools, and bring your blower back to peak power. If this guide helped, share it with a friend, subscribe for more DIY small-engine tips, or drop a question in the comments so I can help you one-on-one.