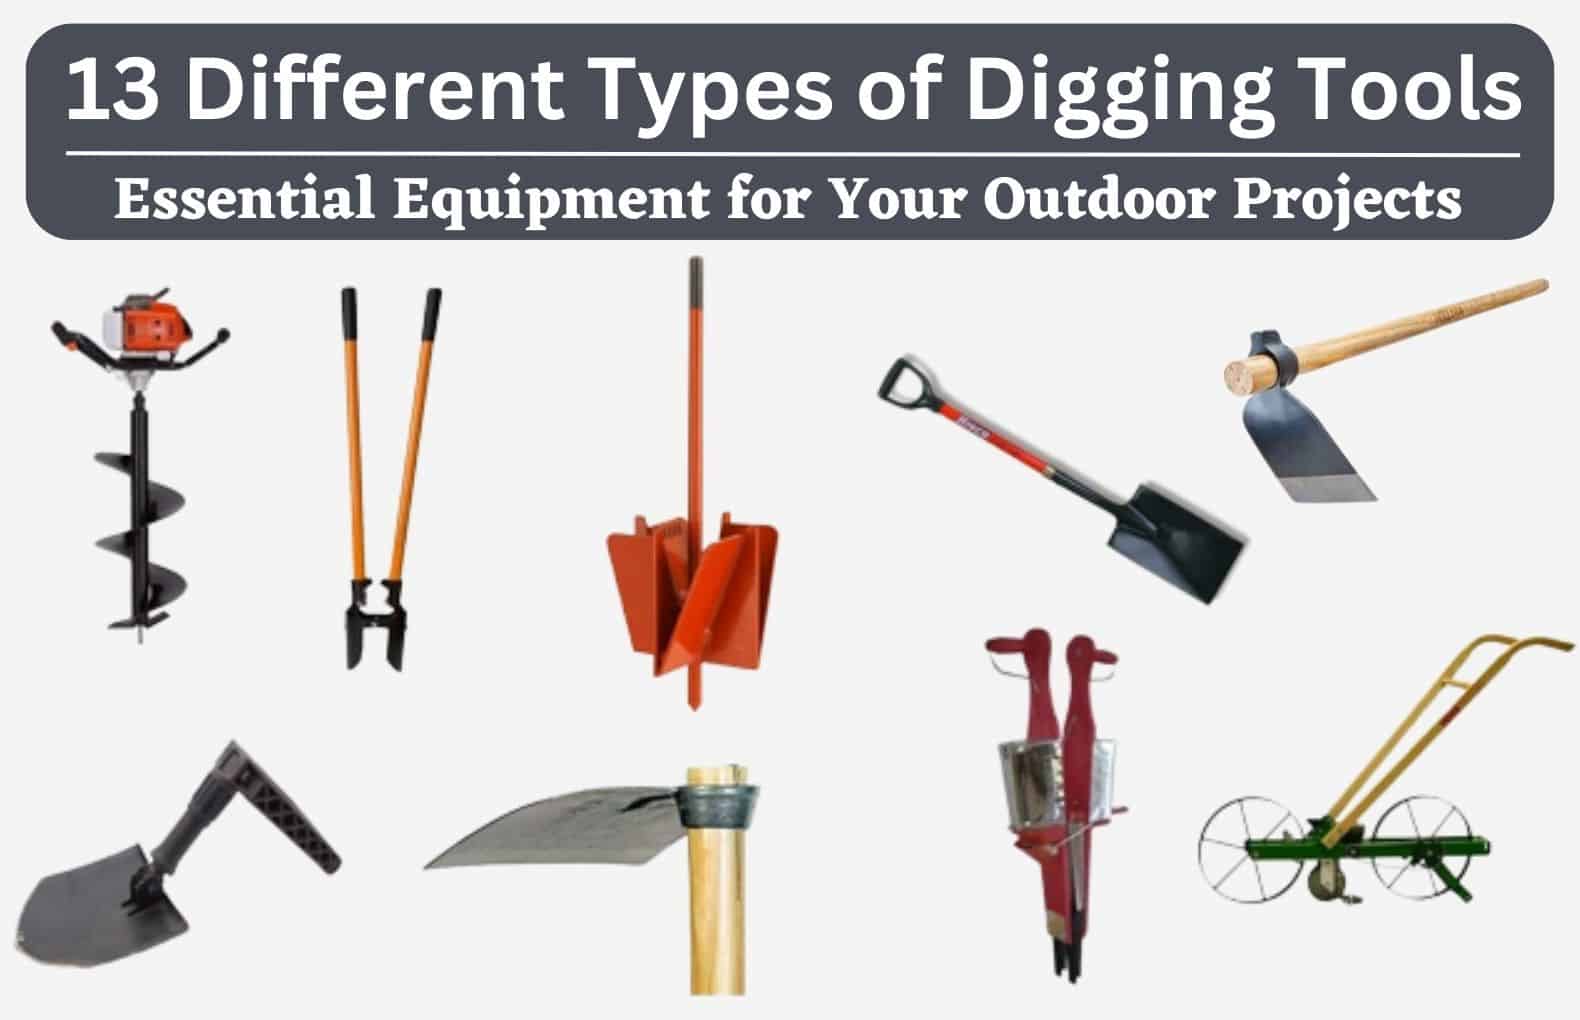
The essential digging tools list covers shovels, spades, forks, bars, picks, and augers.
If you want fast, clean holes and trenches, the right tool matters. I build and fix landscapes for a living, and a good digging tools list saves time, money, and your back. In this guide, I break down each tool, when to use it, and how to choose. Stick with me, and you’ll walk away with a clear, pro-level digging tools list you can trust.
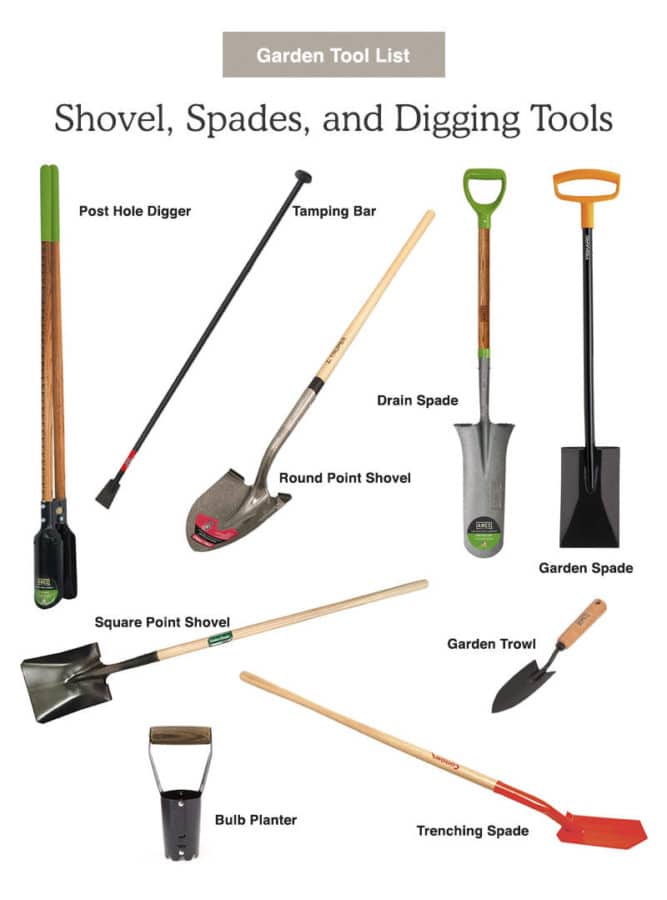
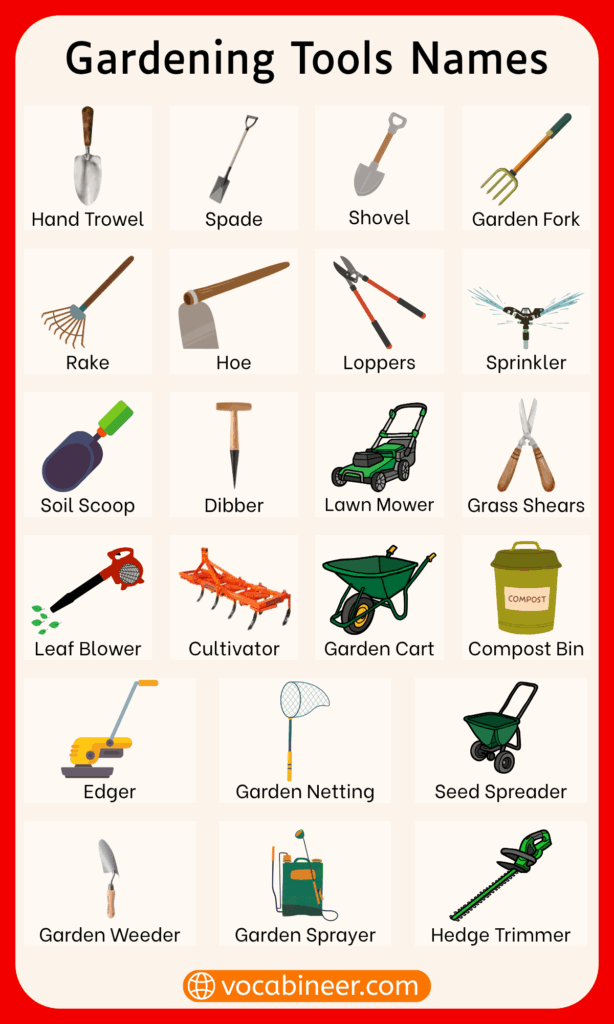
The complete digging tools list for home and field
A solid digging tools list covers hand tools, long-handled tools, and power options. Each tool shines in a specific soil or task. Use this breakdown to match your job to the best pick.
Shovels and spades
- Round point shovel. The everyday digger. It pierces soil and lifts dirt well. It handles roots and clay better than flat blades.
- Square point shovel. Great for scooping and moving. Use it for gravel, sand, and cleanup. Not ideal for hard digging.
- Trenching shovel. Long and narrow. It cuts straight trenches for cable, drip lines, or edging.
- Drain or tile spade. Slim, deep blade. Perfect for narrow holes and deep root work.
- Garden spade. Flat blade with a straight edge. It slices sod, makes neat edges, and shapes beds.
- Border spade. A smaller spade for tight beds and raised boxes. Good control with less weight.
- Root-cutting spade. Serrated edges cut roots while you dig. Handy in older yards.
- Scoop shovel. Wide and light. Use it for mulch or compost. Not a true digger.
Hand diggers
- Trowel. For small holes, bulbs, and containers. Keep one in every kit.
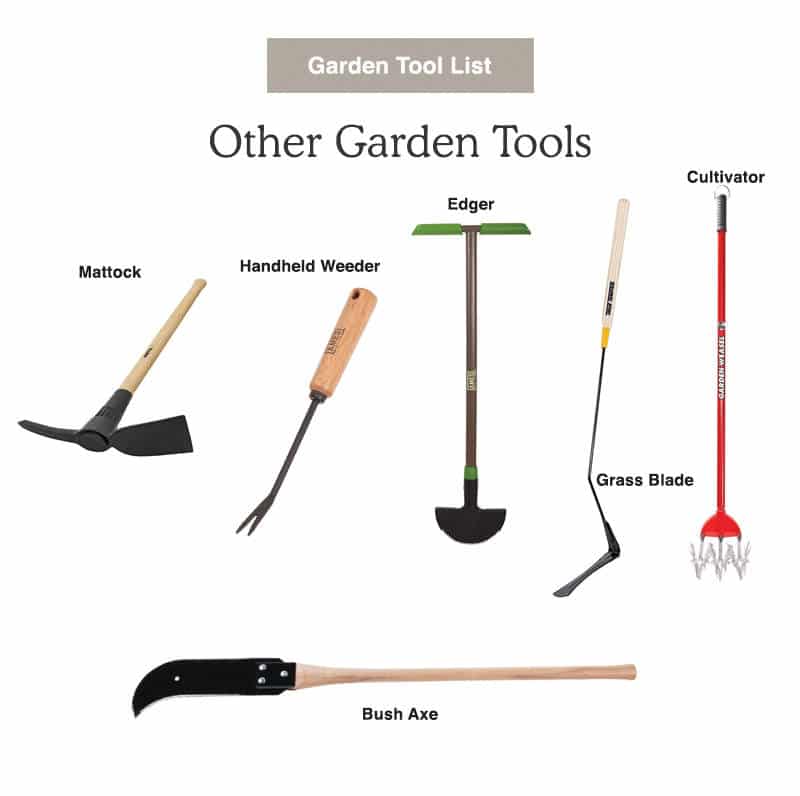
- Hori-hori knife. Cuts, saws, and digs. It is great for weeding and dividing perennials.
- Bulb planter. Pulls a neat plug for bulbs and small plants. Fast and tidy.
- Hand cultivator. Loosens topsoil and removes weeds. Use it before you plant.
Forks and bars
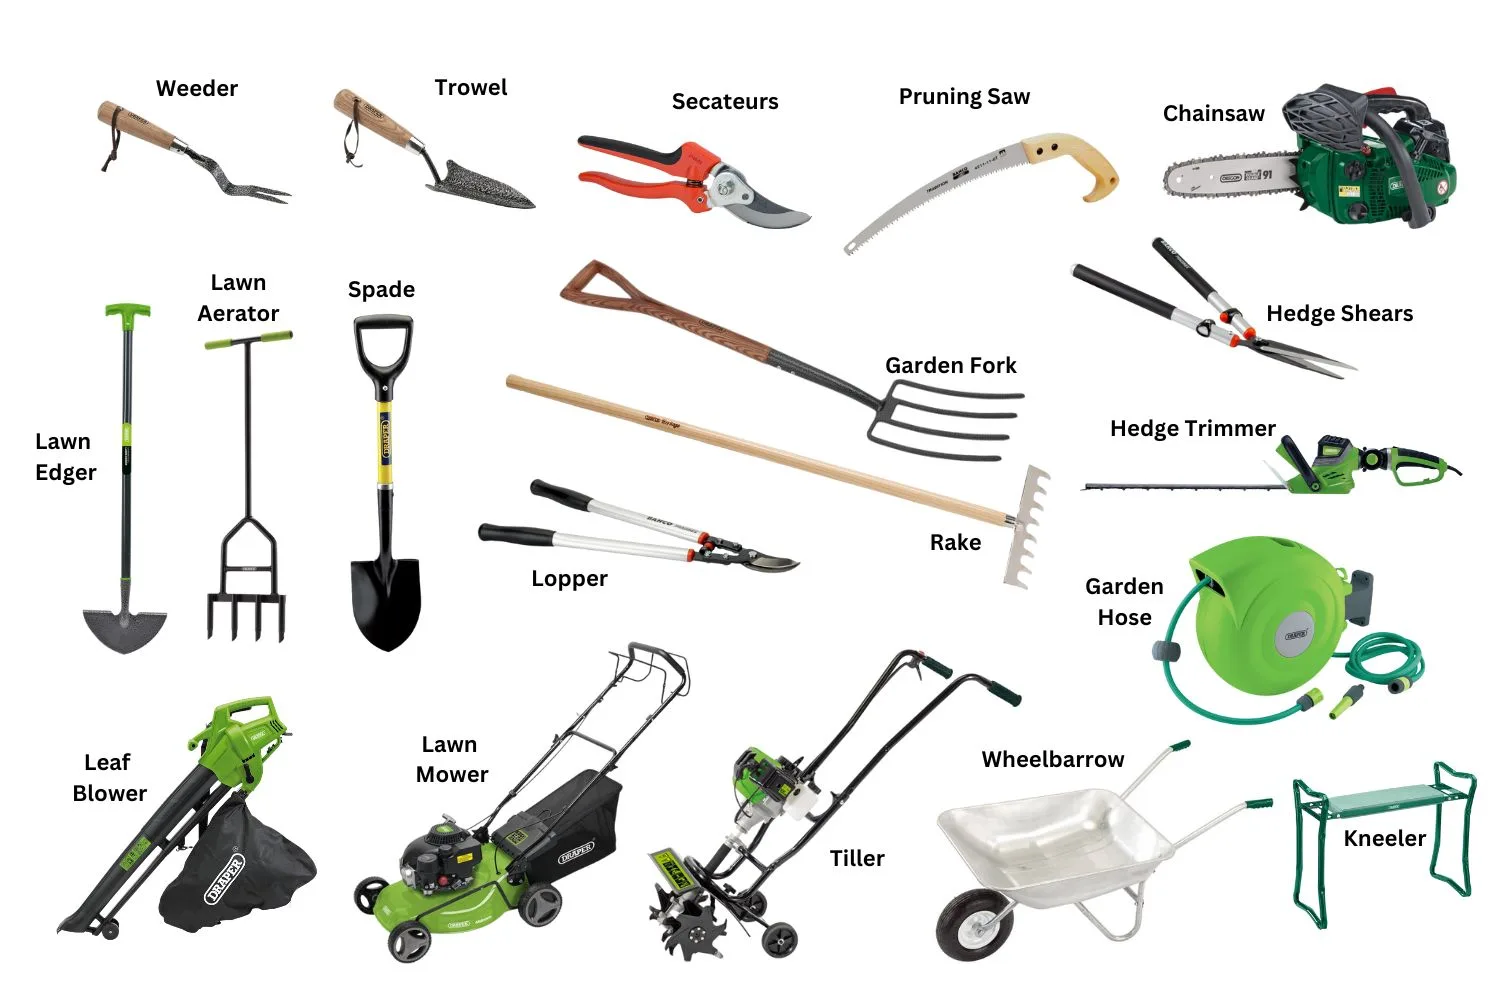
- Digging fork or spading fork. Loosens soil without turning it to dust. Saves worms and soil life.
- Broadfork. Two handles and a row of tines. Stand and rock to open compacted beds.
- Digging bar or San Angelo bar. Heavy steel bar for hardpan and rocks. Punch, pry, and lever.
- Pry bar with fulcrum. Lifts slabs and large roots. Combine with a shovel for safe leverage.
Picks and mattocks
- Pickaxe. Breaks rock and very hard soil. Use it to start holes in packed ground.
- Cutter mattock. Axe on one side, adze on the other. It chops roots and shapes trenches.
- Pick mattock. A pick plus a flat blade. Good for rocky clay and rooty ground.
Post and hole tools
- Manual post hole digger. Clam-shell jaws for deep, narrow holes. Good for fence posts.
- Manual earth auger. T-handle with a corkscrew bit. Fast in sand and loam.
- One-person power auger. Gas or electric. Drills quick holes for posts and trees.
- Drill auger bit. Fits a cordless drill. Great for bulbs and small plants.
Specialty and shaping tools
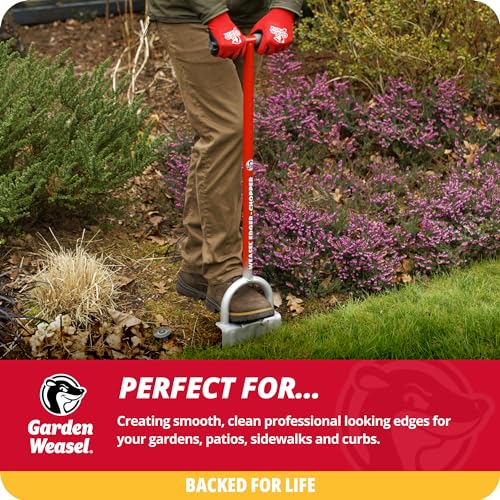
- Half-moon edger. Cuts crisp bed lines. Also scores sod before a dig.
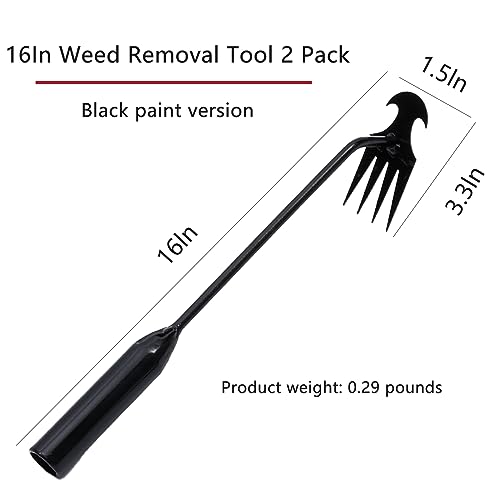
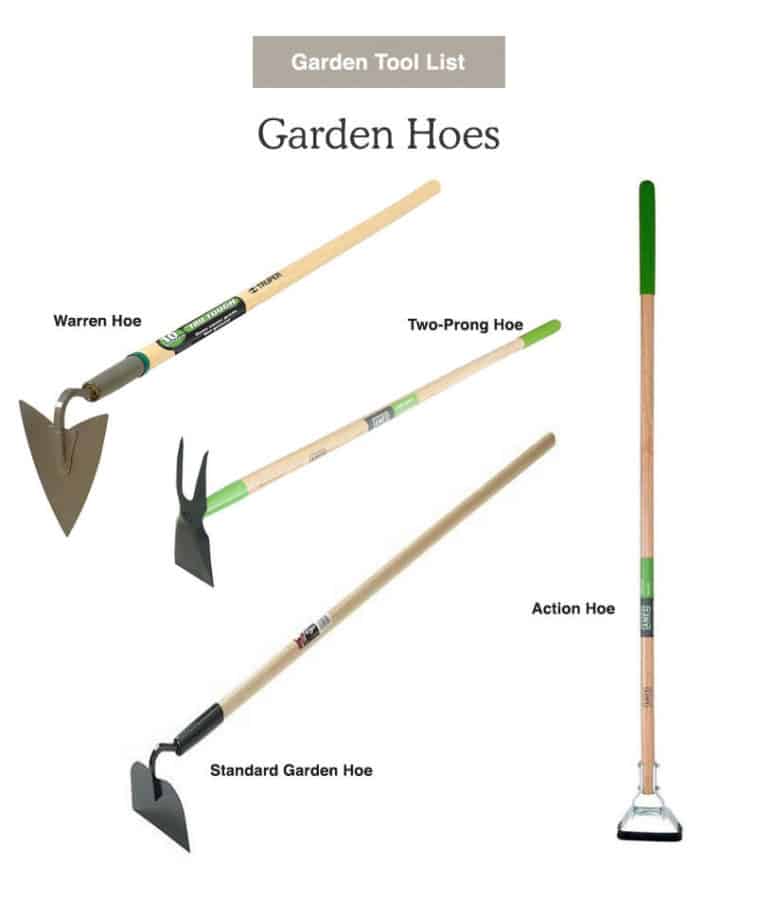
- Grub hoe. Chops and pulls heavy soil. Clears weeds fast.
- Root saw. Slices thick roots that stop a shovel. A lifesaver near trees.
- Trench bed edger. Guides a clean V-shaped trench along beds.
This complete digging tools list gives you options for soil, roots, and project size. Mix a primary digger with a helper tool for speed and safety.

How to choose from a digging tools list for your project
Pick tools based on soil, hole size, and roots. The right match saves hours and strain.
-
Soil type.
- Sand or loam: round point shovel or manual auger.
- Clay: drain spade, trenching shovel, or cutter mattock.
- Rocky soil: pickaxe, digging bar, and narrow spade.
-
Hole size and shape.
- Narrow and deep: drain spade, post hole digger, or auger.
- Wide and shallow: round point shovel or spade.
- Long trench: trenching shovel or power trencher.
-
Roots and rubble.
- Few roots: standard shovel works.
- Many roots: root-cutting spade, mattock, and a root saw.
- Big rocks: digging bar and pry bar.
-
Speed, noise, and space.
- Need speed: power auger if safe.
- Quiet zones or tight spots: hand tools.
- Near utilities: hand tools first.
-
Comfort and fit.
- Test the handle length. It should reach your chest.
- Choose a weight you can lift all day.
- Wood is warm and classic. Fiberglass resists weather. Steel is strong and heavy.
For most homes, a core digging tools list is simple. Use a round point shovel, a drain spade, a digging fork, and a mattock. Add a post hole digger or auger if you set posts.
My field-tested favorites from the digging tools list
I have dug in clay, fill, and rocky soil for years. These picks earn their spot.
- Round point shovel with a D-handle. Strong bite and easy control. It shines in new beds and general work.
- Drain spade with a long, slim blade. It makes neat holes and reaches deep roots.
- Cutter mattock. I use it to chop roots and shape trenches. It saves my wrists.
- Digging fork. It loosens soil fast and keeps structure intact. Plants like that.
- Manual post hole digger. Precise, quiet, and safe near lines. I pair it with a digging bar in hardpan.
If I face many posts, I rent a one-person auger. It often cuts time in half. But I still keep hand tools on site for clean edges and tricky spots.

Safety, setup, and technique
Good prep beats brute force. A smarter plan protects your body and your yard.
-
Before you dig.
- Mark utilities. In the US, call 811 a few days ahead.
- Water dry soil the day before. Let moisture sink in.
- Score sod with an edger to keep lines neat.
-
Body position.
- Keep your back straight. Bend your knees.
- Step on the shovel’s step, not the blade.
- Lift with small loads. Toss dirt to the side, not up high.
-
Smart technique.
- Start a pilot hole with a bar or mattock in hard ground.
- Use a trenching shovel for depth checks.
- Cut roots clean with a root saw to avoid tearing.
-
Power auger tips.
- Wear eye, ear, and hand protection.
- Keep the bit sharp and clear soil often.
- Stop if you hit an obstruction. Switch to hand tools.
These steps turn a basic digging tools list into a safe, efficient kit.
Care and maintenance for everything on your digging tools list
Clean, sharp tools dig faster and last longer. A few minutes after use pays off.
-
Clean.
- Knock off soil with a brush.
- Wipe metal dry to avoid rust.
- Use a putty knife for stuck clay.
-
Protect.
- Rub a light oil on blades.
- Store tools off the ground in a dry shed.
- Cover sharp edges in transport.
-
Sharpen.
- File shovel and spade edges a few times a season.
- Keep a simple bevel. Aim for a smooth, even edge.
- Replace bent or cracked tools.
-
Handle care.
- Sand rough wood and add linseed oil.
- Check fiberglass for cracks.
- Tighten bolts and replace worn grips.
A well-kept digging tools list works better and feels better in your hands.
Budget, quality, and where to buy
You do not need every tool on day one. Build your digging tools list in steps.
-
Start with the basics.
- Round point shovel, drain spade, and digging fork.
- Add a mattock if you have roots.
- Rent an auger for big jobs.
-
What to look for.
- Solid blade-to-handle join.
- Comfort grips and good balance.
- Heat-treated steel for strength.
-
Price ranges.
- Entry: good for light, rare use.
- Midrange: great value for most homes.
- Pro grade: best for daily work.
Shop local hardware stores to test the fit. Many returns come from poor fit, not poor steel. The right feel is worth the price.

Seasonal and project-based mini digging tools list
Use a focused kit for speed. These mini sets keep gear lean and mean.
-
New garden bed
- Round point shovel
- Digging fork
- Edger
- Hori-hori knife
-
Fence posts
- Post hole digger or power auger
- Digging bar
- Drain spade
- Level and tape
-
Trees and shrubs
- Round point shovel
- Drain spade
- Root saw
- Mulch scoop shovel
-
Drains and cables
- Trenching shovel
- Cutter mattock
- Pry bar
- Measuring rod
-
Bulbs and small plants
- Bulb planter or drill auger bit
- Trowel
- Hand cultivator
- Watering can
These smart bundles make your digging tools list work harder with less weight.
Frequently Asked Questions of digging tools list
What is the difference between a shovel and a spade?
A shovel has a curved blade for scooping and lifting soil. A spade has a flat blade for cutting edges and slicing sod.
Which tool is best for rocky soil?
Use a pickaxe and a digging bar to break and pry. Follow with a narrow drain spade to clean the hole.
Should I rent a power auger or dig by hand?
Rent a power auger for many posts or large holes. Use hand tools near utilities, roots, or tight spaces.
How do I keep my digging tools sharp?
Use a mill file on dry, clean blades. File a smooth bevel and oil the metal after.
What handle material lasts longer?
Fiberglass resists weather and cracks less than wood. Wood feels warm and is easy to repair.
How do I choose the right size tool?
Pick a handle that reaches about chest height. Choose a weight you can lift many times without strain.
Conclusion
A clear digging plan starts with the right tools. Build a lean digging tools list for your soil, your space, and your project goals. Keep blades sharp, work in small lifts, and let the tool do the work. Ready to dig smarter? Save this guide, share it with a friend, and drop your favorite tool picks in the comments.