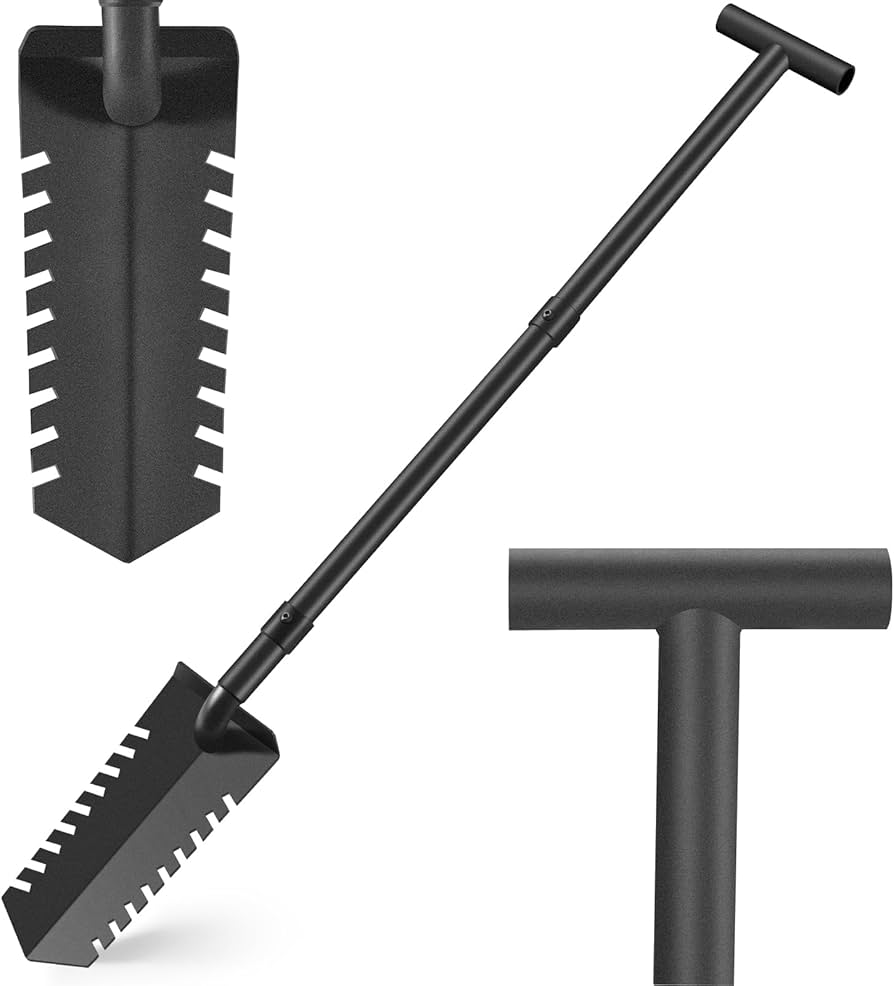
Maximize vertical space with wall racks, pegboards, bins, and fold-flat organizers.
If you have a tiny shed, a narrow garage, or only a balcony, you can still keep tools neat, safe, and dry. In this guide, I share how to store garden tools in small space with proven systems, step-by-step plans, and smart upgrades. I’ve set up tight sheds for clients and my own home. You will learn fast, low-cost fixes and pro habits that last.

Why small-space tool storage matters
Good storage saves time, protects tools, and keeps you safe. In a tight area, the right plan also stops rust, trips, and lost parts. It turns clutter into a tidy, calm workspace.
The core idea is simple. Go vertical, sort by task, and keep only what you use. When you learn how to store garden tools in small space, every inch works for you, not against you.

A step-by-step plan for how to store garden tools in small space
Start with a plan. A small space leaves no room for guesswork. This process is simple and works in any shed, garage, or patio box.
Step 1: Audit and declutter
Pull out every tool. Toss broken items, dull duplicates, and mystery parts. Keep only what you use in the next 12 months.
Step 2: Measure and map
Measure width, depth, and height. Note studs, outlets, and doors. Sketch zones for long tools, hand tools, and power tools.
Step 3: Assign zones by task
Group tools by job. Put pruning gear together, soil tools together, and watering items together. This cuts search time.
Step 4: Pick the right holders
Use rails, cleats, pegboard, and clear bins. Choose holders that fit each tool, not the other way around. Modular parts help the space grow with you.
Step 5: Label and color code
Label every bin and hook. Use one color per task. You can see where things go at a glance.
Step 6: Set access rules
Heavy items go low. Daily tools go at chest height. Seasonal gear goes up high.
This plan is the backbone of how to store garden tools in small space. It is fast to set up and easy to keep.

Vertical solutions for tiny sheds, walls, and fences
Vertical storage is your best friend. Walls and doors hold more than you think.
- Pegboard with lock-in hooks. Add small shelves, baskets, and tool holders that do not slip.
- French cleat rails. Hang racks, bins, and cabinets that lift off in seconds for cleaning.
- Spring clips and J-hooks. Snap in rakes, shovels, and hoes. Use a staggered pattern to avoid overlap.
- Over-door racks. Use the back of a shed or closet door for gloves, twine, and light tools.
- Ceiling or joist storage. Store long stakes, pipe, and trellis parts with U-shaped brackets.
- Fence panels as walls. Add outdoor-rated hooks and a small roof cap to shield from rain.
In my client sheds, cleats beat fixed racks every time. You can slide holders as your tool set grows. That is key when you store garden tools in a small space with changing needs.
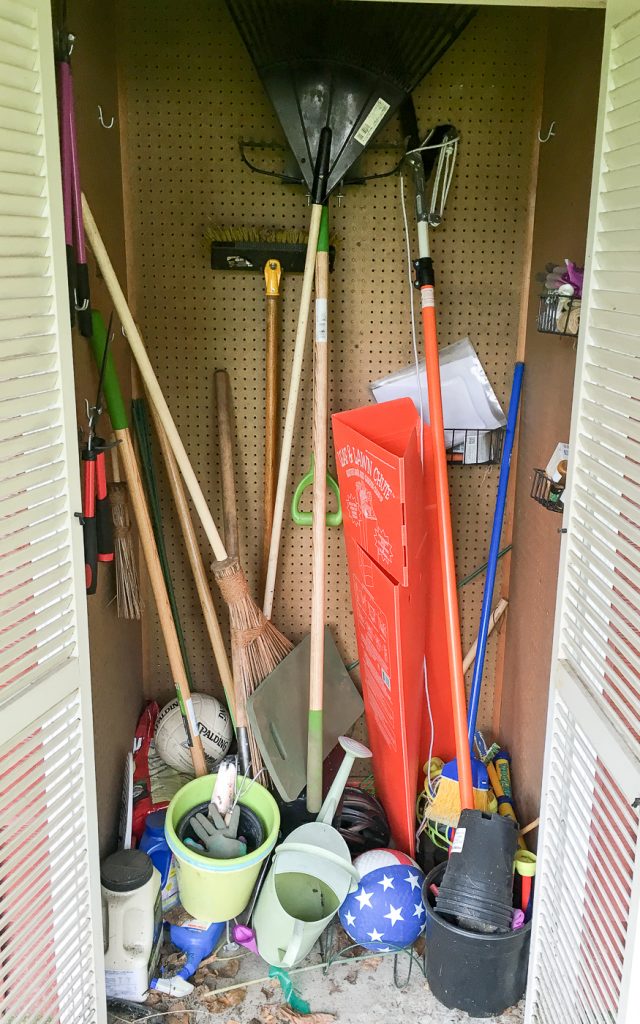
Compact storage ideas for hand tools and small items
Small items cause big messes. Use clear, tight systems that show you what you have.
- Tool rolls and zip pouches. Sort pruners, trowels, and ties by task. Label the edge so you can grab fast.
- Drawer dividers in a shallow box. Add foam or thin wood dividers for seeds, nozzles, and drip parts.
- Magnetic bars. Hold metal hand tools, shears, and spare bits. Keep them dry and off the bench.
- Clear stacking bins. Label front and top. Pick one size so they stack clean.
- Buckets with caddies. A 5-gallon bucket plus a canvas caddy stores gloves, twine, and snips.
- Door pocket organizers. Great for seed packs, plant tags, and gloves.
These systems help you master how to store garden tools in small space because they reduce visual clutter. You see it, you use it, you put it back.

Smart storage for long-handled tools and power tools
Long tools and power tools need strong, safe homes.
- Wall-mounted yard tool racks. Choose ones with rubber grips and weight ratings. Stagger heights to prevent clashing.
- PVC pipe sleeves for handles. Screw short PVC sections to a board to dock rake and shovel handles.
- Quick clamps for odd shapes. Clamp awkward tools like edgers or post-hole diggers to a rail.
- Narrow rolling caddy. Build a slim cart for brooms, rakes, and poles that slides between studs.
- Battery charging station. Mount a shelf with a power strip, plus battery docks. Add a smoke alarm nearby.
- Cord control. Wrap cords on large hooks or cord reels. Label length and tool.
This is where many people fail at how to store garden tools in small space. Keep heavy gear low, lock blades, and secure batteries away from heat and moisture.
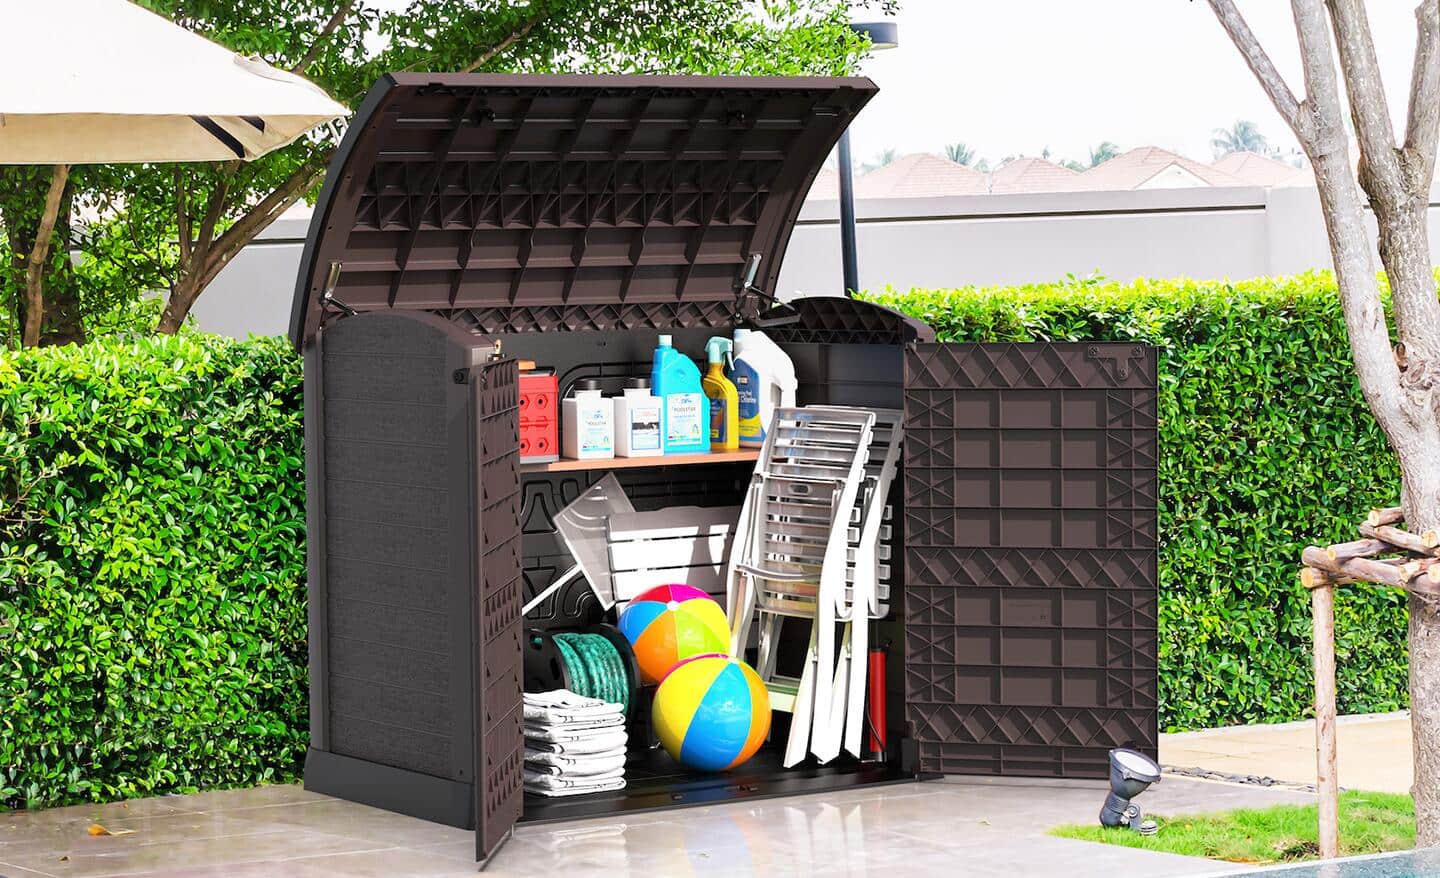
Weatherproofing, safety, and pest control in small spaces
Moisture, rust, and pests love tight sheds. Fight them with a few simple moves.
- Vent and lift. Add vents or leave a small gap up high. Keep tools an inch off the floor.
- Rust control. Wipe metal with a light oil. Dry tools before storage. Add silica gel packs to bins.
- Blade guards. Use guards or old hose sections over sharp edges. Safer and longer lasting.
- Child and pet safety. Lock sharp tools and chemicals. Use GFCI outlets for chargers.
- Pest proof. Seal gaps with foam. Store bird seed and fertilizer in lidded bins.
Strong safety and weather habits make how to store garden tools in small space safe and stress-free year-round.
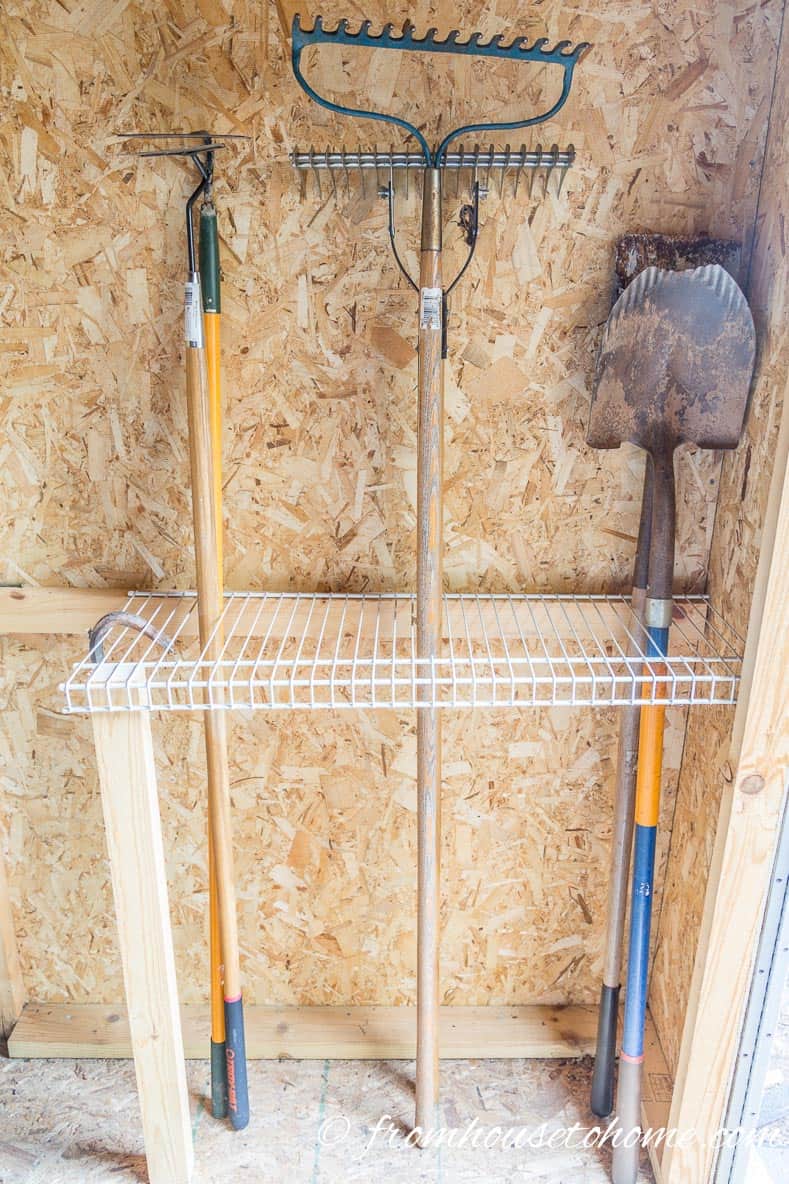
Budget, DIY, and rental-friendly storage hacks
You can build a top system on a tight budget. Rentals can work too.
- Pallet tool rack. Screw a pallet to studs. Use slats to park long handles and hang hooks.
- PVC multi-tool rack. Create a comb-like rack from scrap PVC. It is cheap and strong.
- Milk crates and zip ties. Stack crates with ties for a fast, modular bin wall.
- Thrifted cabinets. Shallow office cabinets make great, narrow storage for hand tools.
- No-drill options. Use freestanding shelves, over-door racks, and command strips.
These hacks keep costs low and protect walls. They also show how to store garden tools in small space without losing your deposit.

Maintenance habits that keep order
Systems fail without simple habits. Keep it light and daily.
- One-in, one-out rule. New tool in, old or broken tool out.
- Five-minute reset. End each session by hanging, wiping, and binning.
- Seasonal tune-up. Sharpen, oil, and check labels before spring and fall.
- Visual cues. If a hook is empty, you know what is still outside.
These small habits lock in how to store garden tools in small space. You will spend more time gardening and less time hunting for gear.

Mistakes to avoid and pro tips
Avoid common traps I see in tight sheds.
- Deep bins with mixed tools. They hide items. Use shallow, labeled bins instead.
- No labels. If it is not labeled, it will drift. Label every home.
- Overbuying holders. Buy for the tools you own, not a dream kit.
- Storing dirty. Dirt brings rust and pests. Brush and dry before you hang.
- Ignoring weight ratings. Cheap racks bend. Check ratings and mount to studs.
Pro tip: mock up the layout with painter’s tape first. Adjust heights, then drill. This saves holes and helps you plan how to store garden tools in small space with confidence.
Frequently Asked Questions of how to store garden tools in small space
What is the best way to store long-handled tools in a small shed?
Use wall racks with rubber grips and staggered hooks. Keep heavy tools low and lock sharp edges.
How do I prevent rust when storing tools in tight spaces?
Dry tools before storage and wipe metal parts with a light oil. Add vents and moisture absorbers in bins.
Can I store garden tools on a balcony?
Yes, use a slim deck box with locks and weather seals. Add vertical rails and clear bins inside to keep items dry and neat.
How do I organize small garden parts like drip fittings and nozzles?
Use clear, shallow bins with dividers and labels. Keep them at eye level near your hose or watering zone.
What is the cheapest solution for how to store garden tools in small space?
Use pallets, PVC, and milk crates to build racks and bins. Combine them with a few strong hooks and a pegboard.
How do I store power tool batteries for garden gear?
Create a small charging shelf with a surge strip and good airflow. Keep batteries off the floor and away from heat or direct sun.
Conclusion
You can turn any tight corner into a hard-working tool zone. Go vertical, group by task, choose the right holders, and label it all. Keep to simple habits, and your setup will stay clean and ready.
Start today. Pick one wall, add a rail or pegboard, and sort one tool group. If this guide helped, subscribe for more small-space tips or share your own setup in the comments.