

How To Use Garden Hose Reel: Quick Guide For Beginners
A garden hose reel looks simple, but using one correctly takes a bit more than just pulling and cranking. Done right, it prevents kinks, extends the life of your hose, and makes watering feel effortless. Done wrong, you end up wrestling with tangled loops and frustrating leaks. This guide walks you through every step, from choosing the right reel to maintaining it through the seasons.
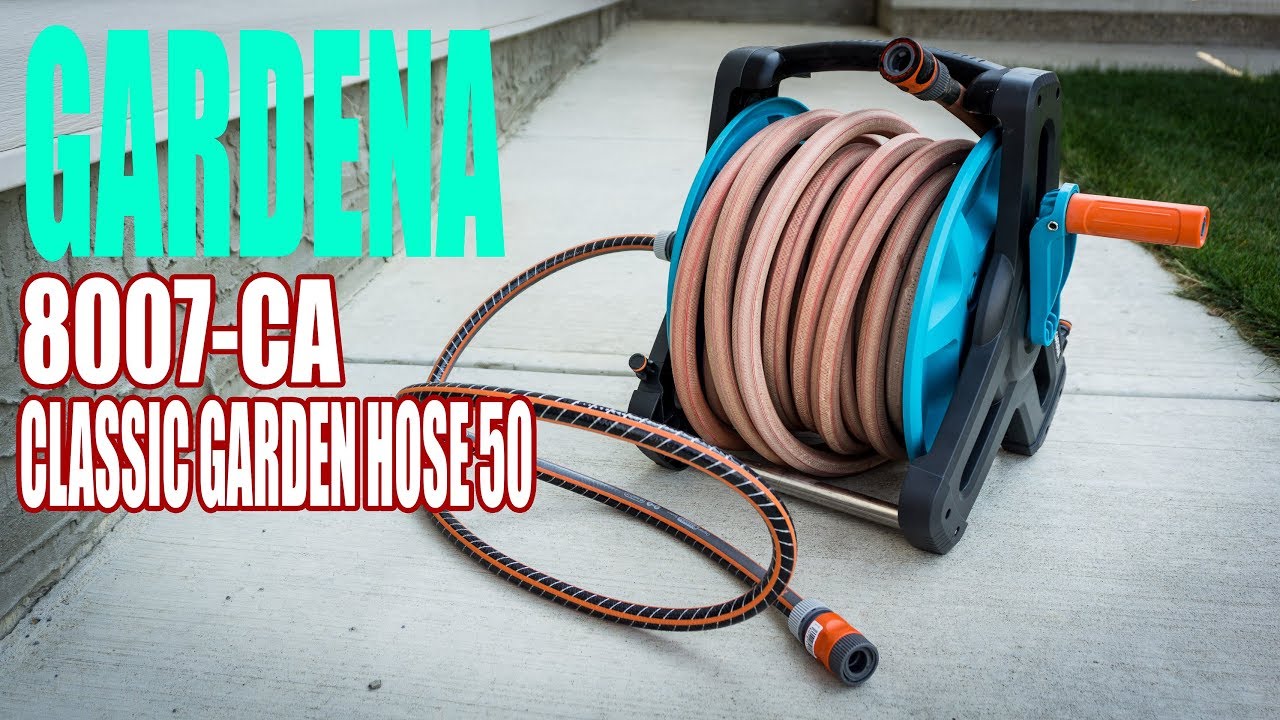
Image source: youtube.com
Why a Hose Reel Is Worth the Investment
A hose reel does more than keep your yard tidy. It protects your hose from UV damage, prevents kinks that restrict water flow, and eliminates the trip hazard of a hose snaking across your walkway. When your hose is stored properly, it lasts significantly longer, saving you money on replacements. A reel also makes setup faster—you can have the hose ready to use in seconds rather than untangling a messy coil. In short, a reel is one of the most practical upgrades you can make to your watering routine. You can also read our guide on how to store garden hose without kinks.
Types of Garden Hose Reels: Which One Fits Your Yard?
Not every reel works for every situation. Understanding the options helps you avoid a frustrating mismatch between your gear and your needs.
| Reel Type | Best For | Key Tradeoff |
|---|---|---|
| Hand Crank | Budget-conscious users, standard yards | Requires manual effort to rewind |
| Spring Retractable | Daily watering, quick use | Spring tension can wear over time |
| Cart | Large properties, multiple zones | Takes up more storage space |
| Wall Mounted | Small patios, saving floor space | Permanent installation required |
| Hideaway Box | Aesthetic-focused yards | Limited hose capacity |
| Swivel Base | Reaching different areas easily | Slightly more complex mechanism |
For most homeowners, a hand crank reel offers the best balance of reliability and cost. If you water every day and want speed, a spring retractable model is worth the investment. For large yards where you move the hose across long distances, a cart reel with large wheels and a swivel inlet is the most practical choice. You can also read our guide on how to fix a leaking garden hose.
What to Consider Before You Buy or Install
Hose Size and Length
Most homes use a 5/8-inch hose, which provides good water pressure for typical tasks. A 1/2-inch hose is lighter and easier to handle but delivers less water. Your reel’s drum must match your hose length—forcing a 100-foot hose onto a reel rated for 75 feet will cause kinks and poor rewinding.
Mounting Location
For wall-mounted reels, find a spot near your spigot that is clear of doors and walkways. The mounting surface matters: wood siding needs different anchors than brick or stucco. Mount the reel at elbow height so you can crank comfortably without bending. For further reading, see eleyhosereels.com.
Fittings and Materials
Brass fittings last far longer than plastic ones and handle temperature changes better. Also, look for a reel with a swivel inlet—this feature prevents the hose from twisting at the connection point, which is a common source of kinks.
Step-by-Step: How to Use a Garden Hose Reel
Step 1: Attach the Leader Hose
Most wall-mounted and cart reels come with a short leader hose that connects the reel to your outdoor spigot. Hand-tighten the female end to the spigot, ensuring the rubber washer is fresh. Do not over-tighten—hand tight plus a small turn is sufficient.
Step 2: Connect Your Main Hose
Attach your garden hose to the drum fitting on the reel. Again, use a rubber washer and hand-tighten. If you see drips later, tighten slightly with pliers, but avoid crushing the fitting.
Step 3: Pressure Test
Turn on the water at a low flow and check every joint for leaks. A small leak usually means a worn washer—replace it before you start watering.
Step 4: Unwind Correctly
Walk the hose straight out from the reel for the first 6 to 10 feet before changing direction. This straight section prevents kinks at the inlet. Keep the hose off sharp edges and rough surfaces that can abrade the outer layer.
Step 5: Rewind Evenly
For hand crank reels, turn the handle at a slow, steady pace while guiding the hose with your free hand. Move your hand side to side so the hose lays in even layers across the drum. For spring reels, give a gentle tug to unlock the mechanism, then walk the hose back in under control—never let it snap back on its own.
Step 6: Release Pressure When Done
Turn off the water at the spigot, then squeeze the nozzle to release remaining pressure. This simple habit prevents bursts and keeps the reel’s seals in good condition.
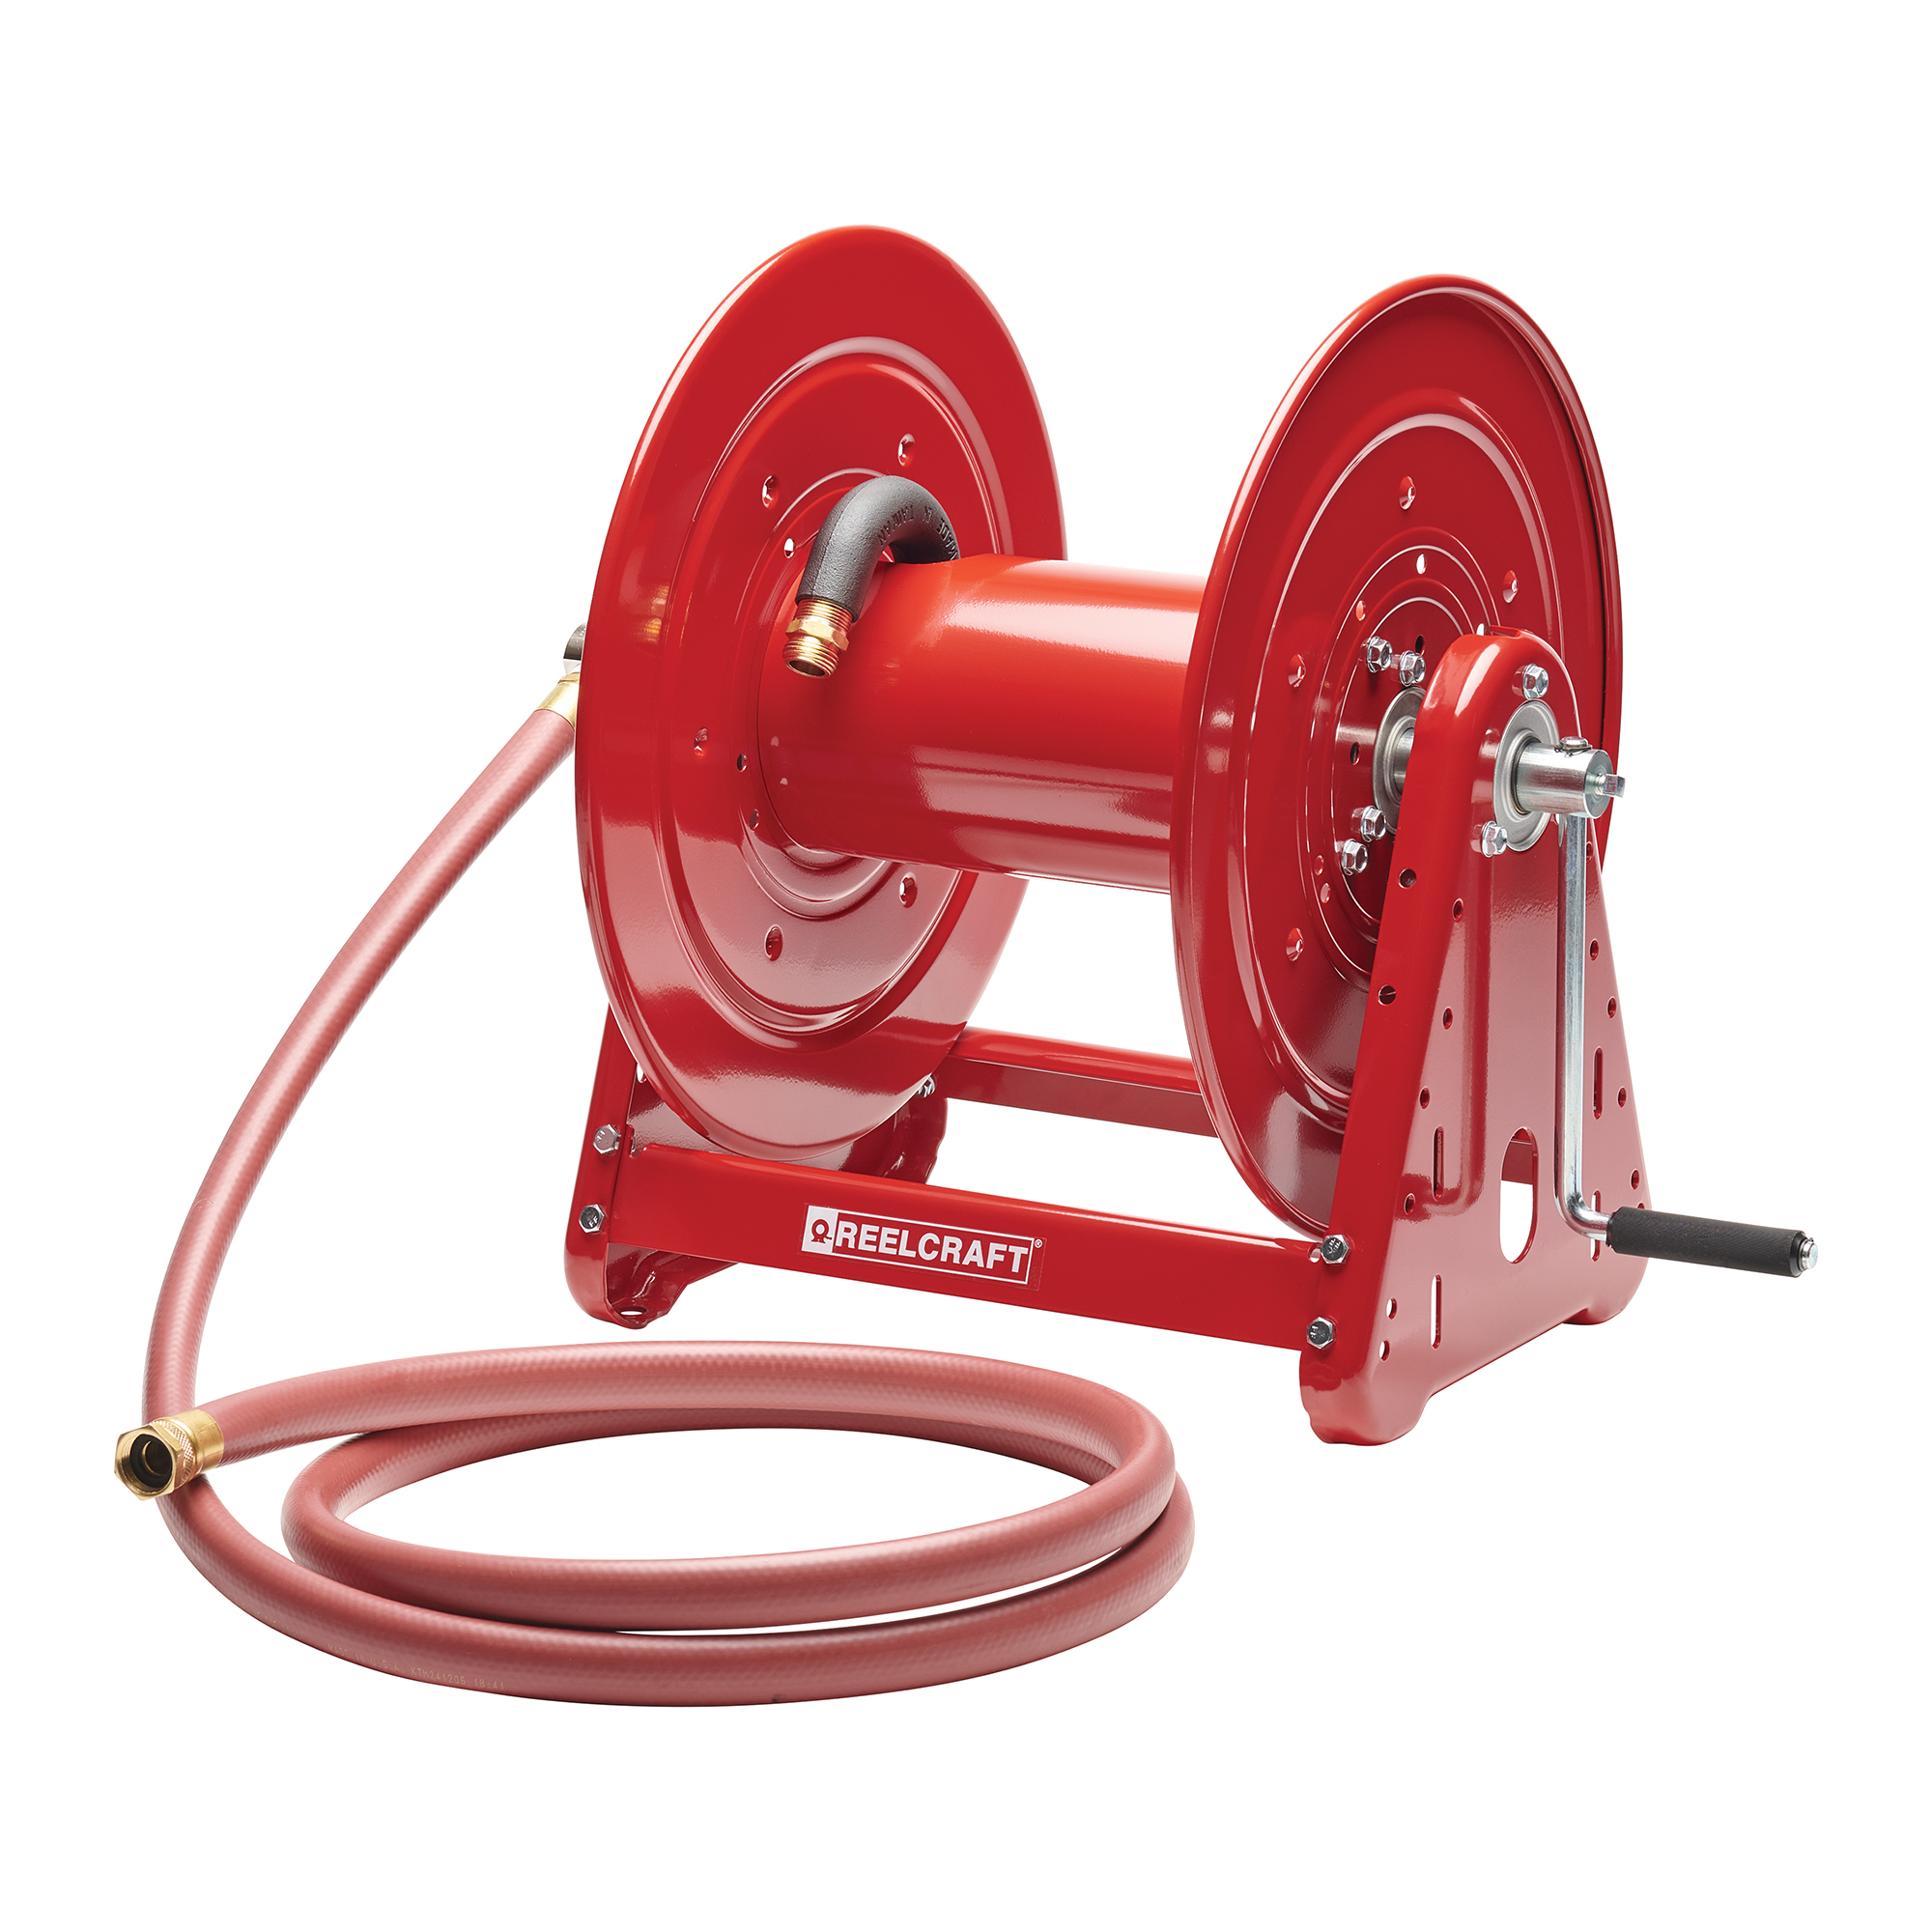
Image source: reelcraft.com
Mounting and Setup Tips for a Painless Daily Routine
Good setup makes every future use easier. Mount the reel at elbow height to reduce strain on your back and shoulders. Position it so the hose path to your most-used watering area is as straight as possible. If the reel must sit near a corner, install a hose guide to prevent rub points.
Use the correct anchors for your wall type. Drywall alone cannot support a loaded reel—find a stud or use heavy-duty hollow-wall anchors rated for the weight. For brick or block, use masonry anchors.
Best Practices for Winding and Unwinding
The habits you build during winding determine how easy the reel is to use next time. A few small actions make a big difference:
- Pull straight first. Always pull the first 6 to 10 feet straight out from the reel before turning toward your task.
- Keep light tension. When rewinding, keep a gentle, steady tension on the hose. Too much slack causes layers to collapse inward.
- Guide with your hand. Move your free hand along the drum as it fills, guiding the hose into even layers.
- Never cross-wrap. Crossed wraps crush the hose and create flat spots that permanently reduce flow.
These habits take about 20 extra seconds each time. They prevent the frustrating “bird’s nest” of tangled hose that happens when you rush the last few wraps.
Maintenance and Care: Keeping Your Reel Working for Years
Replace Washers and O-Rings
Rubber washers compress and wear over time. Check them at the start of each season and whenever you see drips. Keep a small pack of assorted washers on hand—they are cheap and solve most leaks.
Lubricate Moving Parts
A dab of silicone grease on the swivel and crank mechanism keeps everything moving smoothly. Avoid petroleum-based lubricants, which can degrade rubber components.
Clean the Reel
Dirt and debris grind into the drum and hose over time. Rinse the reel with a hose twice a season and wipe down the frame. Pay attention to the hose itself—if dirt accumulates on it, clean it before rewinding.
Prepare for Winter
Before freezing temperatures arrive, drain the hose completely, open the nozzle, and store the reel indoors if possible. If it must stay outside, disconnect the hose from the spigot and leave the nozzle open to allow any trapped water to escape. For more on responsible disposal when it’s time to replace your hose, see our guide on recycling an old garden hose.
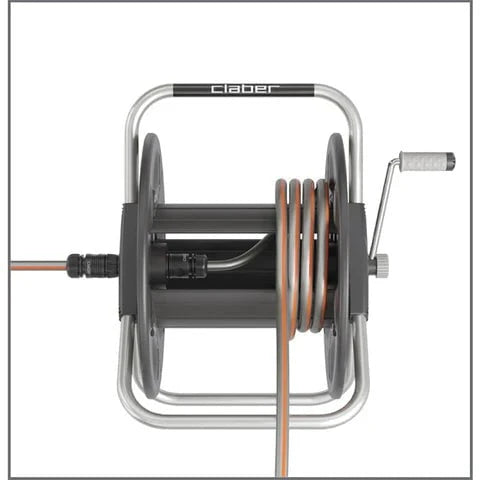
Image source: easygardenirrigation.co.uk
Troubleshooting Common Issues
Kinks Near the Reel Inlet
This is the most common complaint. It typically happens because the hose is forced to bend too sharply at the connection point. Install a kink spring over the first 12 inches of hose or add a 90-degree swivel elbow. Also, always pull the first few feet straight before changing direction.
Slow Water Flow
Check three things in order: the nozzle screen for debris, the hose for crushed or flat spots, and the washers for wear. Crossed wraps during storage can permanently damage the hose walls, restricting flow.
Leaks at Connections
Replace the washer first—this solves most leaks. If the leak persists, the metal threads may be damaged, and you should replace the fitting. Do not use thread tape on standard garden hose fittings; they rely on washers for sealing.
Spring Reel Rewinds Too Fast
This usually means the spring tension is set too high or the hose has become stiff. Walk the hose back in with a light hand. Some models allow you to release tension—check your manual for instructions.
Reel Won’t Rewind
For spring models, the spring may have slipped or lost tension entirely. For hand crank reels, a crossed wrap is often jamming the drum. Check the manual for how to add tension, and clear any crossed wraps.
Safety and Ergonomics: Avoiding Common Injuries
Hose reels seem harmless, but using them carelessly can cause injuries. Keep your fingers clear of the drum and guide areas when the reel is in motion. If your hose has sharp or rough edges, wear gloves to protect your hands.
Teach children how to use the reel safely: always walk the hose in slowly rather than letting it snap back. For spring reels, the retraction mechanism has real force—a loose hose can whip around dangerously.
Pro Tips and Helpful Accessories
A few inexpensive upgrades can transform your experience:
- Quick-connect sets let you swap nozzles and tools in seconds without re-threading fittings.
- Hose guides keep the hose off flower beds and sharp corners, reducing wear.
- A high-quality leader hose prevents kinks at the inlet point and makes the reel easier to install.
- A spigot manifold with individual shutoff valves lets you run two tools at once without repeatedly climbing back to the faucet.
If you’re pairing your reel with a new hose and need help comparing options, our guide on choosing between hose sizes explains the practical differences clearly.
Common Mistakes to Avoid
- Leaving pressure in the hose. Always release pressure after use; it strains the fittings and seals.
- Storing a wet hose. Moisture inside a coiled hose promotes mold and can freeze and crack fittings.
- Over-tightening plastic fittings. Hand-tight is usually correct. Plastic threads strip easily.
- Mounting into weak surfaces. A loaded reel is heavy—use proper anchors.
- Forcing a longer hose than the reel is rated for. You’ll get kinks, poor rewinding, and possible damage to the reel frame.
Real-World Lessons from the Yard
In practice, the difference between a smooth daily routine and a frustrating one comes down to two things: setup quality and winding discipline. A common mistake we see is mounting the reel in the most convenient spot for installation rather than the most convenient spot for use. Spend 15 extra minutes on placement and you’ll save hours over the season.
Another frequent error: people let the last few feet of hose snap back while the water is still on. This not only creates tangled wraps but also puts unnecessary strain on the swivel joint. Take the extra 10 seconds to walk the final section in under control.

Image source: eleyhosereels.com
Frequently Asked Questions
How long should my hose be for a reel?
Use a hose length that matches the reel’s rated capacity. A 100-foot hose on a reel rated for 75 feet will kink and rewind poorly. When in doubt, choose a slightly larger reel than you think you need.
Do I need thread tape on hose fittings?
No. Standard garden hose fittings seal with a rubber washer, not tape. Use a fresh washer and hand-tighten. Thread tape is for tapered pipe threads, which garden hoses are not.
How do I stop kinks at the inlet?
Add a kink spring over the first 12 inches of hose or install a 90-degree swivel elbow at the reel inlet. Always pull the first 6 to 10 feet straight out before changing direction.
Can I leave my reel outside in winter?
You can if you drain all water, open the nozzle, and disconnect the hose from the spigot. In areas with hard freezes, bring the reel indoors—freezing water can crack fittings and deform the drum.
Why does my spring reel pull too fast?
The spring tension may be set too high or the hose has stiffened with age. Walk the hose in with light hand control. Check the manual to see if your model allows tension adjustment.
What size hose works best with a reel?
Most homes use 5/8-inch hose, which balances flow rate with manageable weight. If you have a small yard and want a lighter setup, a 1/2-inch hose works fine. For measuring your existing hose correctly, see our instructions on checking hose diameter.
How often should I replace washers?
Check washers at the start of every season and whenever you notice drips. They are inexpensive, and replacing them prevents larger fitting problems.
Conclusion
Using a garden hose reel well is about small habits repeated consistently: mount it thoughtfully, pull the hose straight, guide it evenly onto the drum, and release pressure after every use. These simple actions prevent kinks, extend the life of your hose, and make watering a chore you no longer dread.
Start today by inspecting your current setup and fixing any of the common issues above. If you’re shopping for an upgrade, consider one thoughtful accessory, like a quick-connect set or a better leader hose, and feel the difference immediately. For more practical tips on keeping your outdoor gear in shape, also read about maintaining lawn soil health—a healthy yard starts with good practices all around.


