

You can shred leaves without a shredder using a mower, trimmer, tarp, or shears.
If you’ve ever wondered how to shred leaves without a shredder, you’re in the right spot. I’ve spent years mulching yards, making leaf mold, and dialing in practical methods that work with tools you already own. This guide gives clear steps, safety tips, and clever tricks so you can learn how to shred leaves without a shredder and turn fall piles into garden gold.

Why shredding leaves is worth it
Shredded leaves break down fast. They feed your soil, protect roots, and cut waste. They also save space, since chopped leaves pack small and are easy to move.
From a compost point of view, smaller pieces help microbes work faster. Leaf bits mix better with kitchen scraps and grass. This means fewer smells and quicker results.
Mulched leaves are great for lawns too. Research-backed advice says mowed leaves can improve soil and support a healthy lawn. If you want to learn how to shred leaves without a shredder, the payoff is real and quick.

Safety and setup
Before you start, prep your space and gear. Good setup makes the work safe and fast.
Do these first:
- Wear eye protection, gloves, and sturdy shoes.
- Scan for rocks, sticks, and dog toys. Remove them.
- Choose a flat spot with room to move.
- Keep kids and pets away while you work.
- Work with dry or slightly damp leaves. Very wet leaves clog tools.
If dust bothers you, wear a simple mask. I also keep a rake and a tarp nearby. Those two make almost every method easier.

Method 1: Mulch with a lawn mower
A mower is the fastest way to shred leaves without a shredder. Any push mower works. Bag or mulch settings both do the job.
Steps:
- Set the deck high for the first pass. About 3 inches is fine.
- Spread leaves in a thin layer. Thick piles jam the mower.
- Mow once to chop, then a second pass to get smaller bits.
- Use the bag to collect, or leave mulch on the lawn if it’s a light layer.
- Aim for pieces the size of a dime to a quarter.
Tips from my yard:
- Dry leaves chop best. Slightly damp reduces dust but may clump.
- Go slow. Let the blade work.
- If your lawn is thick with leaves, mow in rows, then cross-cut.
This approach is ideal when you need to know how to shred leaves without a shredder fast and clean.

Method 2: String trimmer in a bin
A string trimmer makes quick mulch with a simple bin. This trick is safe if you go slow and keep the guard on.
You need:
- A sturdy trash can or large tote
- A string trimmer with guard
- Gloves and eye protection
Steps:
- Fill the bin halfway with leaves.
- Hold the trimmer with both hands. Keep the guard on.
- Dip the spinning head into the bin, then lift. Pulse in short bursts.
- Shake the bin to settle leaves. Repeat until pieces are small.
- Empty and reload in small batches.
Pro tips:
- Slightly damp leaves reduce dust.
- Fresh trimmer line cuts cleaner.
- Keep the trimmer head centered and steady.
If you’ve been hunting how to shred leaves without a shredder in a small space, this method is gold.

Method 3: Tarp and stomp
The tarp method is simple and quiet. It works well for big piles and for folks who do not want power tools.
You need:
- A large tarp
- Work boots
- Optional: pruning shears or hedge shears
Steps:
- Rake leaves onto the tarp.
- Fold the edges to make a soft bundle.
- Step and stomp in place for a minute or two.
- Unfold and fluff. Repeat until pieces are small.
- For stubborn bits, chop the pile with hedge shears.
I use this when I want a workout and low noise. It is a clean answer to how to shred leaves without a shredder when neighbors value quiet.

Method 4: Box and broom handle crush
This is a great kid-friendly option with adult supervision. It is tidy and works indoors in a garage.
You need:
- A cardboard box or laundry basket
- A broom handle or 2×2 stick
- Gloves and glasses
Steps:
- Fill the box halfway with leaves.
- Use the handle to pound and twist the leaves.
- Stir and repeat until pieces are small.
- Dump and refill in batches.
This method is slow, but it gives you control. It is perfect for bagging mulch for planters or worm bins.
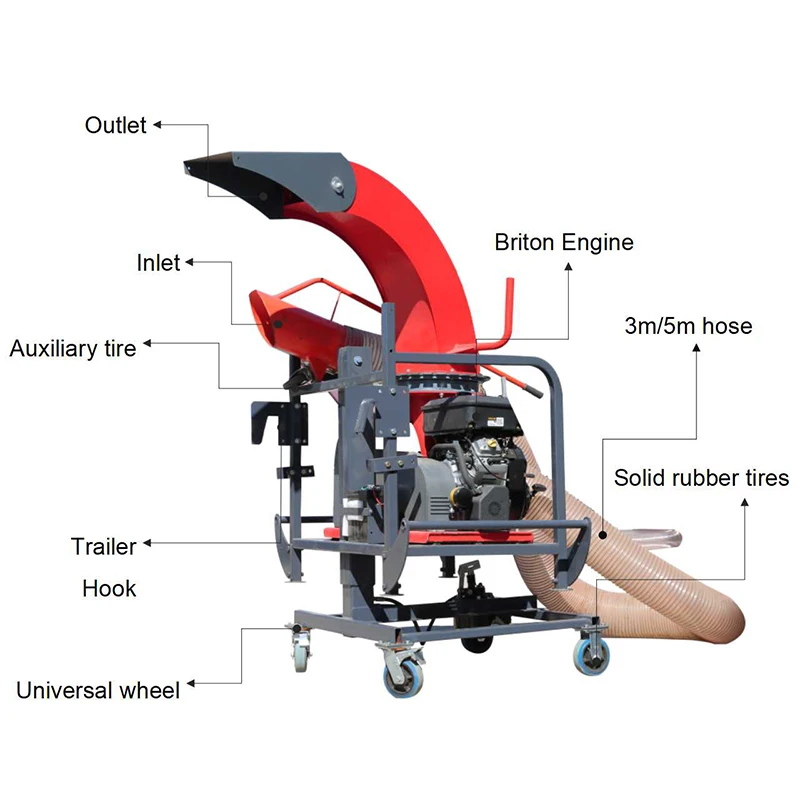
Method 5: Shears and scoop chop
Pruning shears or hedge shears can slice piles fast. It is more hands-on, but easy to learn.
Steps:
- Rake leaves into a knee-high pile on a tarp.
- Hold a plastic scoop or dustpan behind the pile to brace it.
- Chop with hedge shears in a downward motion.
- Fluff the pile and chop again.
- Bag as you go.
If I have brittle oak leaves, this method makes neat, even chips. It’s useful when you ask how to shred leaves without a shredder and want exact sizes.
Small-space, low-noise options
Apartment or balcony? You can still do it.
Try these:
- Hand-crumble dry leaves in a tub with gloves. Simple and clean.
- Use the box-and-broom method in a corner of your patio.
- A compact string trimmer in a tote works if you keep noise brief.
- Ask a neighbor with a mower for a quick pass. Trade them mulch or cookies.
These options prove how to shred leaves without a shredder can fit any space or budget.

How to use shredded leaves
Once you have your mulch, put it to work at once.
Best uses:
- Garden mulch. Spread 1 to 3 inches around beds, but keep it off stems.
- Lawn feeding. Leave a light layer and mow it in. It breaks down and feeds the soil.
- Compost boost. Mix two parts shredded leaves with one part green scraps to balance carbon and nitrogen.
- Leaf mold. Pile shredded leaves, moisten, and wait. Turn now and then. In 6 to 12 months, you get dark, crumbly soil food.
- Worm bins. Add a handful as bedding and odor control.
Shredding speeds all of this. If your goal is how to shred leaves without a shredder for compost, small pieces mean faster, cleaner breakdown.
Troubleshooting and pro tips
Little snags happen. Here is how to fix them fast.
Common issues:
- Pieces too big. Do a second pass with the mower or more stomping.
- Dust cloud. Slightly mist leaves before chopping. Wear a mask.
- Clogs and jams. Thin the pile and go slower.
- Slippery leaves. Avoid wet sidewalks. Use boots with grip.
- Long stems. Snip with shears after the main chop.
Lessons I learned the hard way:
- Do not rush thick piles. Thin layers chop faster in the end.
- Dry fall weekends are prime time. Wet weeks drag the job out.
- Store shredded leaves dry in bags or bins. Keep a few holes for air.
These habits matter when you plan how to shred leaves without a shredder and want repeatable results.
Eco benefits and when to leave leaves
Shredding keeps leaves out of landfills. That cuts emissions and feeds soil. It also saves money on mulch.
Leave a little leaf cover in low-traffic beds for overwintering insects. Then mulch the rest. A smart balance gives habitat and a tidy yard.
Knowing when to mulch and when to let leaves be is part of mastering how to shred leaves without a shredder in a nature-friendly way.
Frequently Asked Questions of how to shred leaves without a shredder
Is it okay to mow leaves into my lawn?
Yes. Light layers are fine to mow in and can boost soil health. Heavy layers should be thinned so grass can breathe.
Are some leaves harder to shred than others?
Yes. Waxy or stringy leaves like magnolia can resist chopping. Use the mower or the shears method and take an extra pass.
Can I shred wet leaves?
Slightly damp leaves reduce dust and work well in a bin or stomp method. Very wet leaves clump and can jam mowers.
How small should the pieces be?
Aim for dime to quarter size. Smaller breaks down faster, but you do not need powder.
Will shredded leaves attract pests?
Not if you use them right. Keep mulch off trunks and mix leaves with greens in compost to avoid smells.
Conclusion
You can turn messy piles into rich mulch with simple tools and a plan. Whether you mow, trim in a bin, stomp on a tarp, or chop with shears, each method lets you master how to shred leaves without a shredder and feed your soil.
Pick one method and try it this week. Save a bag of shredded leaves for compost or mulch your beds today. If this helped, share it with a friend, subscribe for more simple garden tips, or drop your results in the comments.


