Tighten fittings, swap the washer, patch small holes, or install a hose mender.
If you want to learn how to fix a leaking garden hose the right way, you’re in the right place. I’ve repaired dozens of hoses in real yards, in all seasons, and I’ll show you the fastest, cheapest, and most reliable ways to stop leaks for good. This guide covers how to fix a leaking garden hose step by step, with pro tips, safety notes, and smart ways to prevent leaks from coming back.

What actually causes hose leaks (and how to spot them)
Most leaks come from a few simple issues. Knowing the cause helps you choose the best fix and avoid wasting time and water.
- Worn washers and O-rings. If the drip is at the spigot or sprayer, the rubber washer or O-ring has likely flattened or cracked. This is the fastest fix.
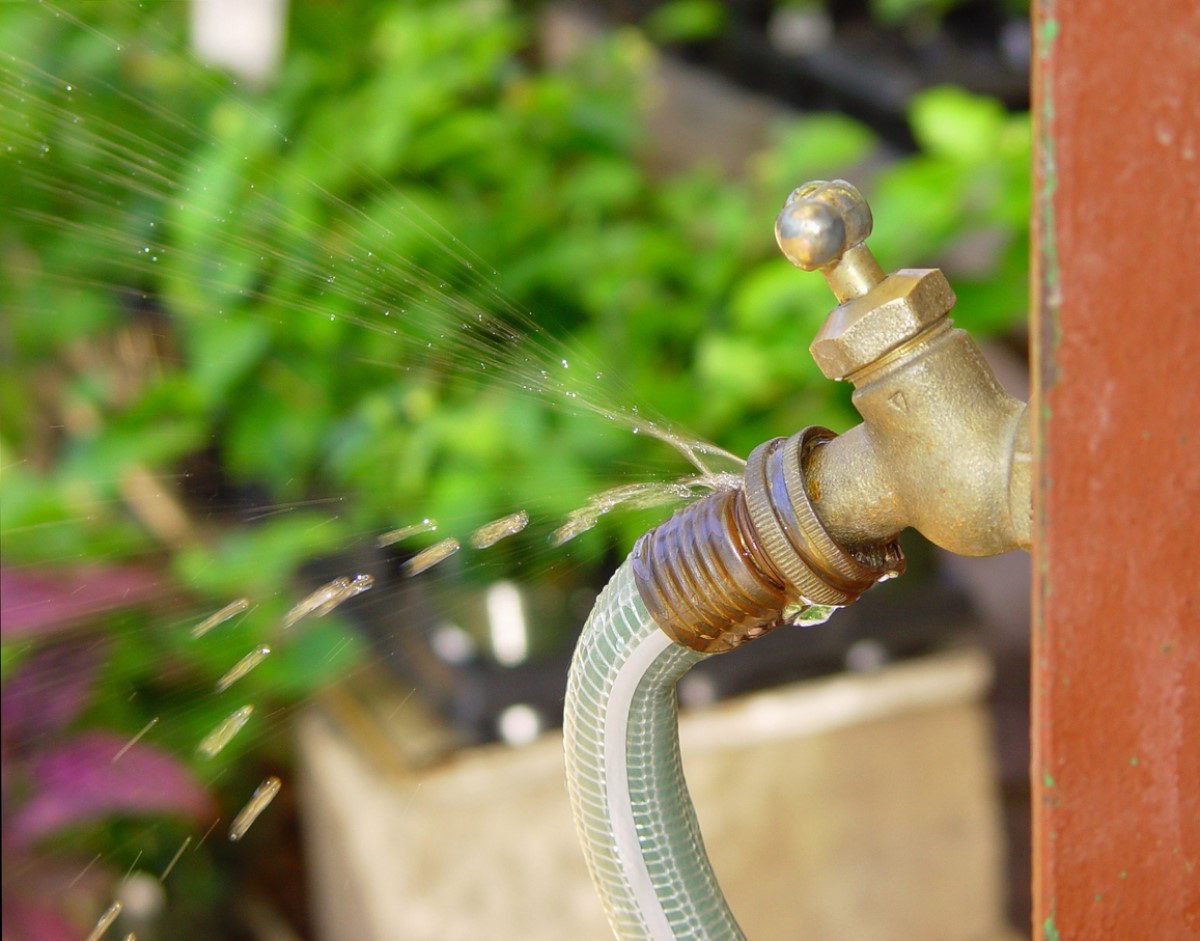
- Loose or damaged fittings. Threads get dinged, or the fitting loosens as the hose flexes. Sometimes the fitting is slightly out of round.
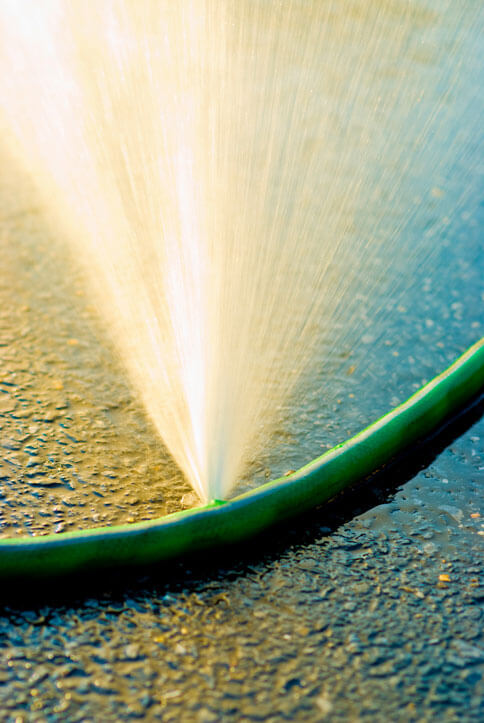
- Pinhole punctures. Thorns, pets, or dragging the hose over rough edges cause tiny holes that spray or mist.
- Splits at a kink. Repeated kinks weaken the wall and lead to long cracks.
- Mid-hose blowouts. Freezing, high pressure, or old age can cause a split or bulge that bursts.
- End damage. The first 6–12 inches near either end take the most abuse and often fail first.
To find leaks, pressurize the hose and walk the length slowly. Run your hand along the hose to feel cool mist or spray. Mark leaks with a washable marker so you can repair them fast.
If you searched how to fix a leaking garden hose, start by checking these common points. Most repairs take under 15 minutes.
Tools and materials you’ll need
You do not need a shop full of gear. A small kit like this will handle almost every repair.
- Screwdriver. Flathead or Phillips for hose clamps and mender kits.
- Utility knife or sharp shears. For clean, square cuts.
- Replacement washers and O-rings. Standard 5/8 inch or 3/4 inch garden hose size.
- Thread seal tape. PTFE tape for worn threads, though washers do most of the sealing.
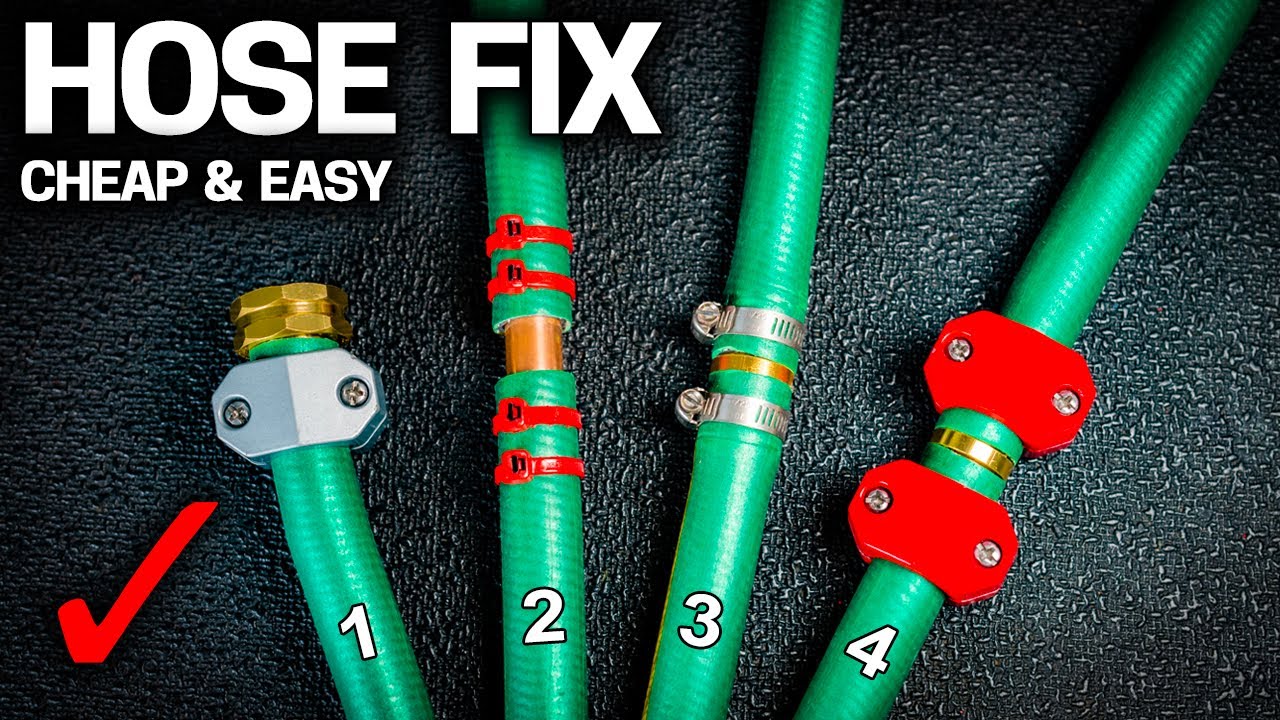
- Hose mender kit. Barbed coupler plus clamps for mid-hose repairs.
- Replacement ends. Male or female hose ends to fix damage near the fitting.
- Self-fusing silicone tape. Quick wrap for small pinholes and short cracks.
- Epoxy putty rated for water. Good for small holes when a mender is not practical.
- Bucket and rags. To keep work area dry and clean.
- Gloves and eye protection. You will be cutting and tightening parts.
Pro tip from experience: Warm hose material is far easier to work with. Lay the hose in the sun or dip the cut end in warm water for one minute before pushing on a mender.
Step-by-step guide: how to fix a leaking garden hose
This is the exact process I follow in the field. It is fast, safe, and works on rubber, vinyl, and reinforced hoses.
Step 1: Diagnose and mark the leak
- Connect the hose and pressurize it.
- Wipe it dry, then feel for spray or damp spots.
- Mark the location. Shut off water and drain the hose before you cut or disassemble anything.
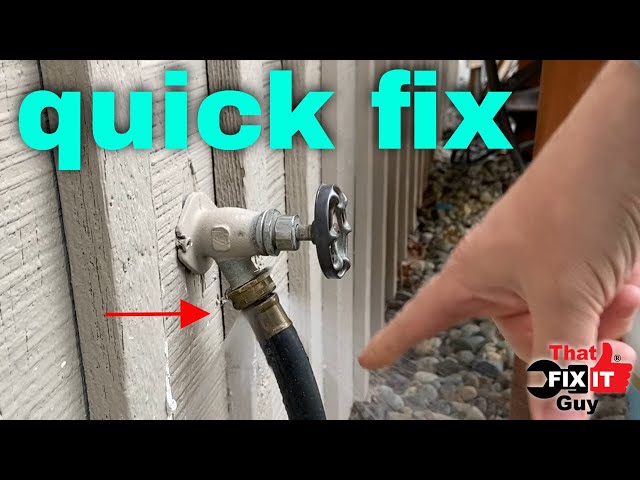
Step 2: Fix a leak at the faucet or sprayer connection
- Replace the washer. Unscrew the female end. Pop out the old flat washer and insert a new one. For sprayers, swap the O-ring inside the handle if it drips at the joint.
- Check the screen. Clean debris from the inlet screen to restore flow.
- Use PTFE tape only if threads are worn. Garden hose threads are designed to seal with a washer, not the threads. Tape can help on damaged metal threads, but it is not the main seal.
Common mistake: Over-tightening. Hand-tight plus a gentle quarter turn is plenty. Crushing the washer causes more leaks.
Step 3: Fix pinholes and small cracks
- Self-fusing silicone tape method. Stretch the tape to activate it, then wrap tightly over and beyond the leak by at least 2 inches on each side. Overlap each wrap by half its width. Press to fuse.
- Epoxy putty method. Knead until uniform. Press into the hole and smooth. Let it cure per label before pressurizing.
These are good short-term fixes. If you want a long-term fix, install a mender.
Step 4: Fix a split or blowout in the middle
- Cut out the damaged section. Make two clean, square cuts.
- Slide clamps onto each hose end first.
- Insert a barbed coupler. Push the hose fully over the barbs until it seats against the stop.
- Position clamps over the barbed area and tighten evenly. Do not overtighten to the point of cutting the hose.
Field tip: A drop of dish soap helps the barb slide in. Avoid petroleum lubricants, which can harm hose material.
Step 5: Repair a damaged hose end
- Cut off the crushed or leaking end.
- Install a replacement male or female end. Choose the correct size for your hose diameter.
- Tighten per the kit instructions. Some ends use clamps. Some use a screw that bites the hose wall. Make sure the seal ring is seated.
Step 6: Fix leaks at past kink points
- If the hose kinks in the same spot and weeps, cut 2–4 inches past any white, brittle, or flattened area.
- Rejoin with a coupler as in Step 4.
Step 7: Winter or pressure-related damage
- If the hose split after a freeze, inspect the whole length. Multiple cracks suggest the hose is near end of life.
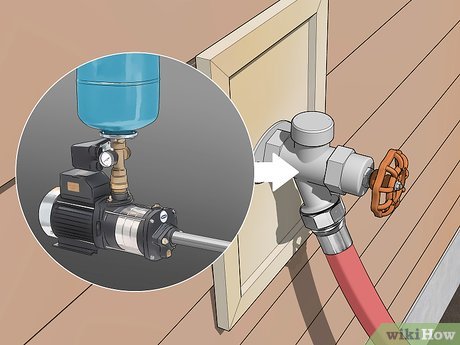
- If you run high-pressure attachments, consider a pressure regulator or a heavy-duty hose to prevent repeats.
At this point, you know how to fix a leaking garden hose no matter where it leaks. Test the repair under pressure. If it weeps, tighten clamps a quarter turn and retest.

Repair or replace: making the smart call
Not every hose is worth saving. Use these simple rules to decide.
- Repair it if. There is one or two leaks. The hose is less than five years old. The rest of the cover looks healthy. The fittings are solid.
- Replace it if. There are three or more leaks spread out. The cover is cracked along long stretches. It bursts again near a repair. The reinforcement is showing.
- Cost check. A quality mender costs less than a new hose. But three menders can exceed the price of a tough new hose.
- Use case matters. Heavy-duty 5/8 inch or 3/4 inch hoses are worth repairing. Cheap thin vinyl hoses are often not.
If you are comparing how to fix a leaking garden hose versus buying new, factor in water waste. A slow drip can waste gallons a day over a season.
Prevent future leaks like a pro
Small habits make a big difference. Here is what I tell clients every spring.
- Replace washers at the start of the season. Keep a 10-pack in your toolbox.
- Avoid kinks. Use hose guides at corners and a hose reel or hanger for storage.
- Drain after use. Especially before nights that may freeze.
- Keep it shaded. Sun and heat age vinyl fast. Store out of direct sun when possible.
- Use quick-connects with shutoff valves. Less twisting means fewer worn threads and cracked ends.
- Pressure and flow. If you have high city pressure, add a regulator. Clean faucet screens and nozzles to reduce back pressure.
These steps cut down on how often you need to think about how to fix a leaking garden hose.

Troubleshooting after a repair
If it still leaks or looks odd, check these quick fixes.
- Leak at the coupler. The hose was not pushed fully over the barb, or the clamp is sitting between barbs. Loosen, reseat, and retighten.
- Drip at the spigot. The washer is missing or the wrong size. Replace with a fresh washer and hand-tighten.
- Bulge near the clamp. The clamp is not centered on the barbed area or is overtightened. Reposition and snug it evenly.
- Low pressure after repair. The nozzle screen is clogged, or the hose is kinked downstream of the fix. Straighten and clean.
- Wrong thread type. Most US garden hoses use GHT (NH) threads. If parts do not mate, you may have a BSP or specialty fitting.
These checks solve most issues and keep you from asking how to fix a leaking garden hose twice for the same problem.

Safety and eco-friendly disposal
Stay safe and keep waste low while you work.
- Safety first. Wear gloves and eye protection when cutting. Always shut off and drain the hose before repairs.
- Potable water use. If you use the hose for drinking or pets, choose lead-free, potable-safe menders and fittings.
- Disposal. Do not put old hoses in curbside recycling. They tangle machinery. Upcycle for tree ties or drop off at a hardware store or transfer station that accepts them.
- Water savings. Small leaks add up. Utilities report that slow drips can waste gallons per day across a season. Fixing a drip now saves water and money.
The greener path often aligns with the cheaper path: repair first, replace only when needed. That is the smart way to handle how to fix a leaking garden hose.

Budget and time planner
Plan your repair with these simple ranges.
- Washers and O-rings. 1–3 dollars for a pack. Under 5 minutes to swap.
- Self-fusing tape. 5–7 dollars. 5 minutes to wrap. Short-term fix.
- Epoxy putty. 6–10 dollars. 10 minutes plus cure time.
- Hose mender and clamps. 3–10 dollars. 10–15 minutes.
- Replacement ends. 5–12 dollars. 10 minutes.
- New hose. 25–80 dollars for a quality 50–100 foot hose.
I keep a small pouch with washers, a coupler, two clamps, and tape. With that and a knife, I can handle almost any call about how to fix a leaking garden hose on the spot.

Frequently Asked Questions of how to fix a leaking garden hose
Do I need PTFE tape on garden hose threads?
Garden hose threads seal at the washer, not the threads. Use PTFE tape only to help with worn metal threads or minor dings, and always install a fresh washer.
Can I use duct tape to fix a hose leak?
Duct tape is a very short-term bandage and often fails under pressure. Self-fusing silicone tape bonds to itself and holds far better for small holes.
Which hose mender is best: barbed with clamps or compression type?
Barbed menders with clamps are reliable, cheap, and easy to install. Compression menders cost more but seal well on thick, reinforced hoses without clamps.
How long will a hose repair last?
A proper mender often lasts for years, especially on rubber or reinforced hoses. Tape and putty patches are temporary and best used as a stopgap.
Is it safe to repair a drinking-water-safe hose?
Yes, as long as you use potable-water-safe menders and lead-free fittings. Check the product label and flush the hose before use.
How do I fix a leaking garden hose without tools?
For a small pinhole, a tight wrap of self-fusing silicone tape works in a pinch. For anything bigger, you will need a knife and a mender for a lasting fix.
Why does my hose always leak near the spigot?
The washer is likely worn, or the hose is pulling sideways on the fitting. Replace the washer and add a short leader hose or a 90-degree adapter to reduce stress.
Conclusion
You now know how to fix a leaking garden hose from end to end, whether it is a bad washer, a pinhole, or a full split. Start simple, pick the right method, and test under pressure. Small, smart habits will prevent most leaks from coming back.
Grab a washer pack and a mender, fix that drip today, and save water this season. If you found this helpful, subscribe for more practical home and garden fixes, or leave a comment with your repair question.