Drain or stabilize fuel, change the oil, clean, charge the battery, and store dry.
If you want a mower that starts on the first turn next spring, you need a clear plan. In this guide, I show exactly how to winterize my riding lawn mower with simple steps, low-cost supplies, and pro tips learned over years in small-engine service. You will get a safe, proven routine that fits most brands and models.

Why winterizing your rider matters and when to do it
Winterizing prevents rust, stale fuel, dead batteries, and hard starts. It keeps your engine clean inside. It also protects belts, tires, and the deck.
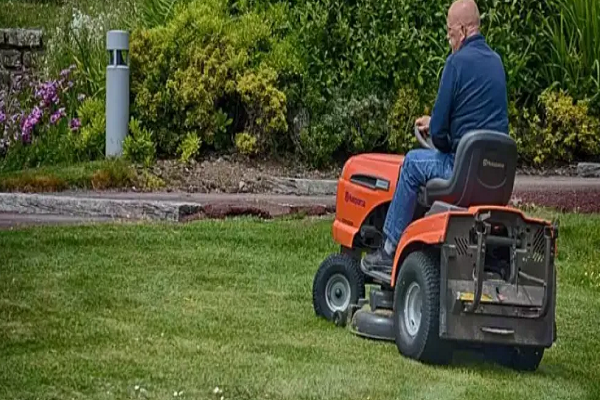
Start winter prep after your last mow of the season. Aim for a cool, dry day. If you are asking how to winterize my riding lawn mower, timing is half the battle.
Key benefits include:
- Reliable spring startup with fewer pulls and less stress.
- Longer engine life and lower repair costs.
- Safer storage with less fire and fuel risk.
Tools and supplies you need
Gather your gear before you begin. A neat setup saves time.
You will need:
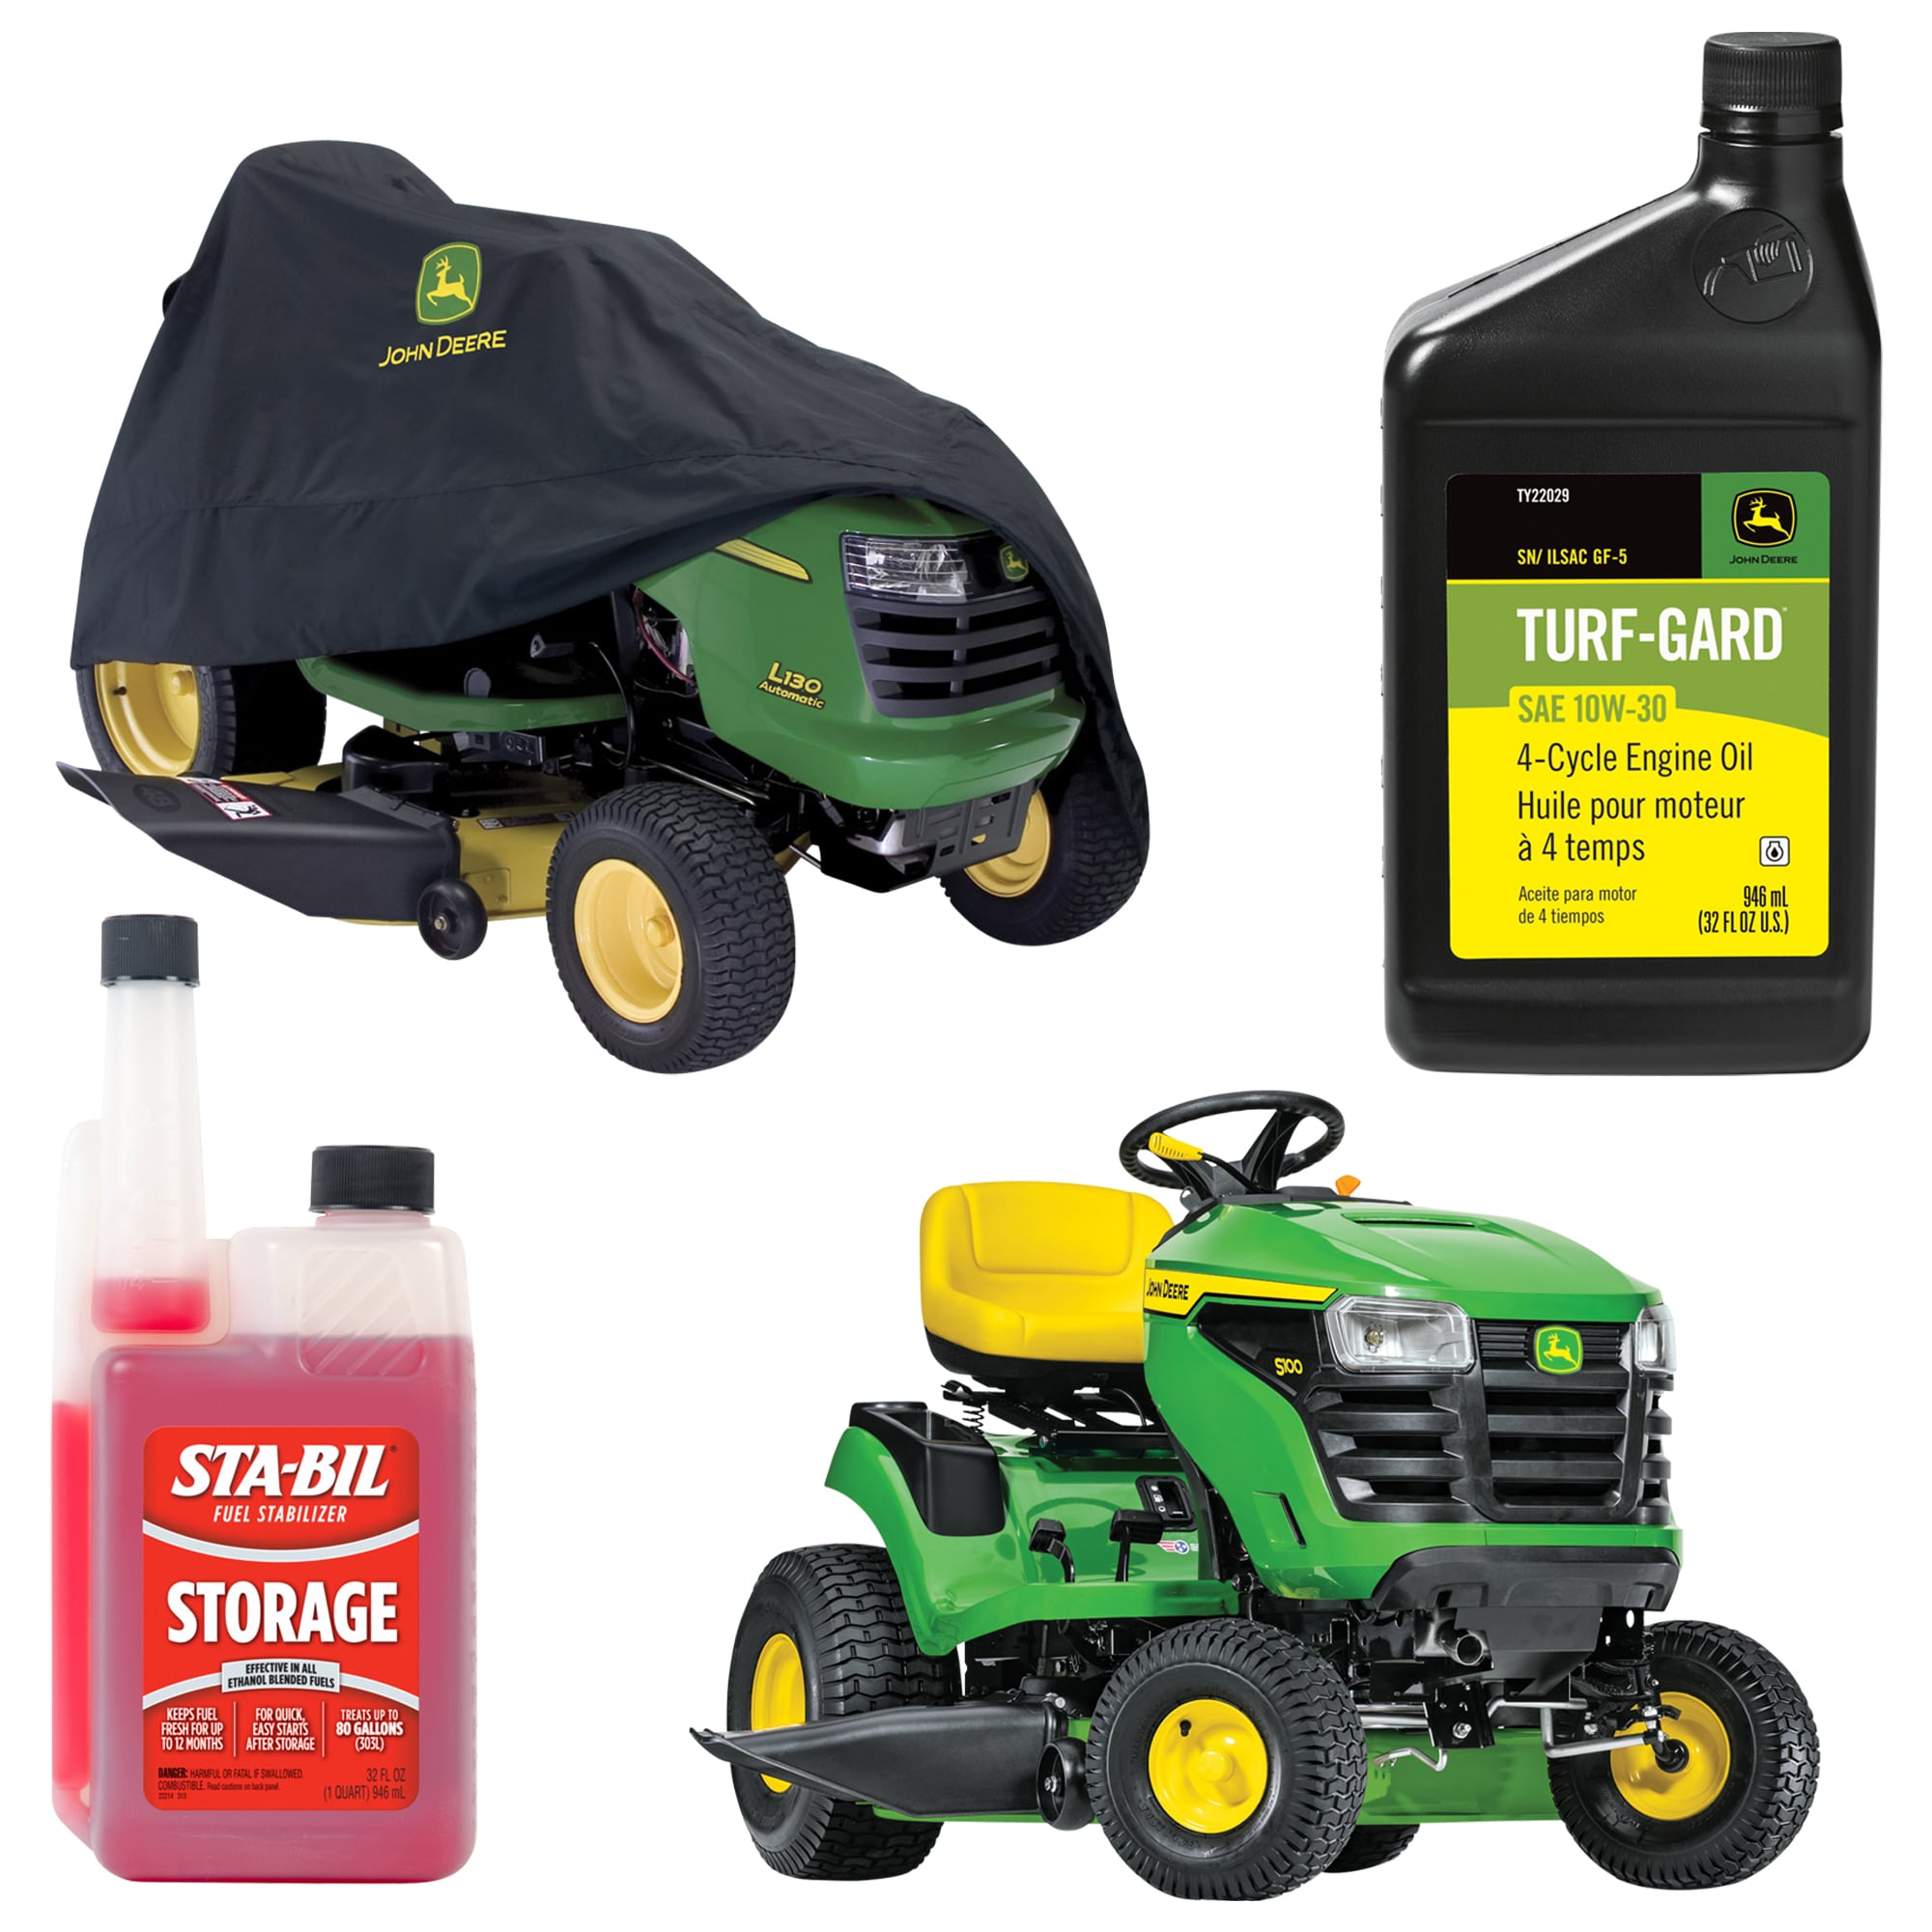
- Fuel stabilizer or an approved drain pan and container for old gas.
- Engine oil and filter that match your manual.
- Spark plug, air filter, and fuel filter if due.
- Silicone spray or dry graphite for cables and pivots.
- Deck scraper, nylon brush, and a putty knife.
- Battery maintainer or smart charger.
- Fogging oil if storing more than 90 days.
- Tire gauge, blocks, and clean rags.
- Mild soap, water, and a leaf blower or air compressor.
These basics cover most steps of how to winterize my riding lawn mower.

Step-by-step: how to winterize my riding lawn mower
Follow this order to keep things clean and safe. It works for most riding mowers.
- Clean the mower
- Blow off dry grass. Rinse gently if needed.
- Let it dry fully. Water left on steel can cause rust.
- Treat or drain the fuel
- For stabilized storage: Fill the tank with fresh gas and stabilizer. Run the engine 10 minutes.
- For dry storage: Run the tank near empty. Drain the rest. Run the engine until it stops.
- Change the oil and filter
- Warm the engine first. Warm oil drains faster and cleaner.
- Refill with the grade in your manual. Change the filter if equipped.
- Service the air filter and spark plug
- Replace a dirty air filter. It is cheap insurance.
- Remove the plug. Add a few drops of oil to the cylinder. Pull the starter once. Reinstall or replace the plug.
- Fog the engine if storing long term
- Spray fogging oil into the intake while the engine idles. Shut it down on the fog.
- This guards valves, rings, and cylinder walls.
- Clean and protect the deck
- Remove the deck if easy. Scrape all packed grass.
- Rinse, dry, and spray a light coat of silicone under the deck.
- Inspect belts, blades, and hardware
- Check belts for cracks or glazing. Replace worn parts.
- Sharpen or replace blades now so you are ready in spring.
- Tighten loose bolts, wheels, and the battery hold-down.
- Care for the battery
* Disconnect the negative cable first. Then the positive.
- Store the battery in a cool, dry place on a maintainer.
- Lubricate and protect
- Grease fittings. Oil pivot points. Lube cables.
- Wipe exposed metal with a light oil to stop rust.
- Store it right
- Inflate tires to spec. Set the mower on blocks to prevent flat spots.
- Cover with a breathable cover. Do not trap moisture with plastic.
These steps define how to winterize my riding lawn mower in a way that is simple, fast, and safe.
:max_bytes(150000):strip_icc()/GettyImages-2153752518-487f87d1f6eb4c7b9d7fd1706b9ddd78.jpg)
Fuel system and carburetor care
Fuel breaks down in weeks, faster with ethanol. Old gas leaves gum that clogs jets. That is the top reason a mower will not start in spring.
You have two good options. Either run fresh fuel with stabilizer through the system. Or drain it dry and run the engine until it quits. Add fogging oil for storage beyond 90 days.
I often get riders in the shop with stuck float needles. When people skip fuel care, the carb leaks. If you ask how to winterize my riding lawn mower and avoid carb work, focus on fresh fuel and a proper run-out.

Battery care and electrical
A battery loses charge in the cold. Sulfation builds when it sits. A dead battery often dies for good by spring.
Remove the battery and clean the terminals. Store it indoors on a smart maintainer. Label cables so they go back right. This is a quick win when planning how to winterize my riding lawn mower.

Engine, oil, and filters
Acids and soot sit in old oil all winter. That can pit bearings and journals. Fresh oil cuts that risk.
Change the oil while it is warm. Replace the filter if your model has one. Check your air filter for dirt and damage. Install a new spark plug if the old one looks worn.
These small parts add up to a strong first start. It is a key step in how to winterize my riding lawn mower.

Mower deck, blades, and chassis
Grass holds moisture and salt. Left on the deck, it rots steel and dulls blades. Clean metal lasts longer and cuts better.
Scrape the deck until smooth. Rinse and dry. Spray a light coat of silicone to resist buildup. Sharpen blades now so you can cut clean on day one.
A clean chassis also reveals cracks, loose bolts, or bent hangers. Fix them before storage.
Tires, belts, and cables
Cold air drops tire pressure. Low tires get flat spots. Belts also set their shape when left tight in one spot.
Inflate tires to the label spec. Roll the mower a few inches every month or set it on blocks. Inspect belts and replace any that are cracked or shiny. Lube cables so they move free in spring.
These checks are easy and matter when you think about how to winterize my riding lawn mower.
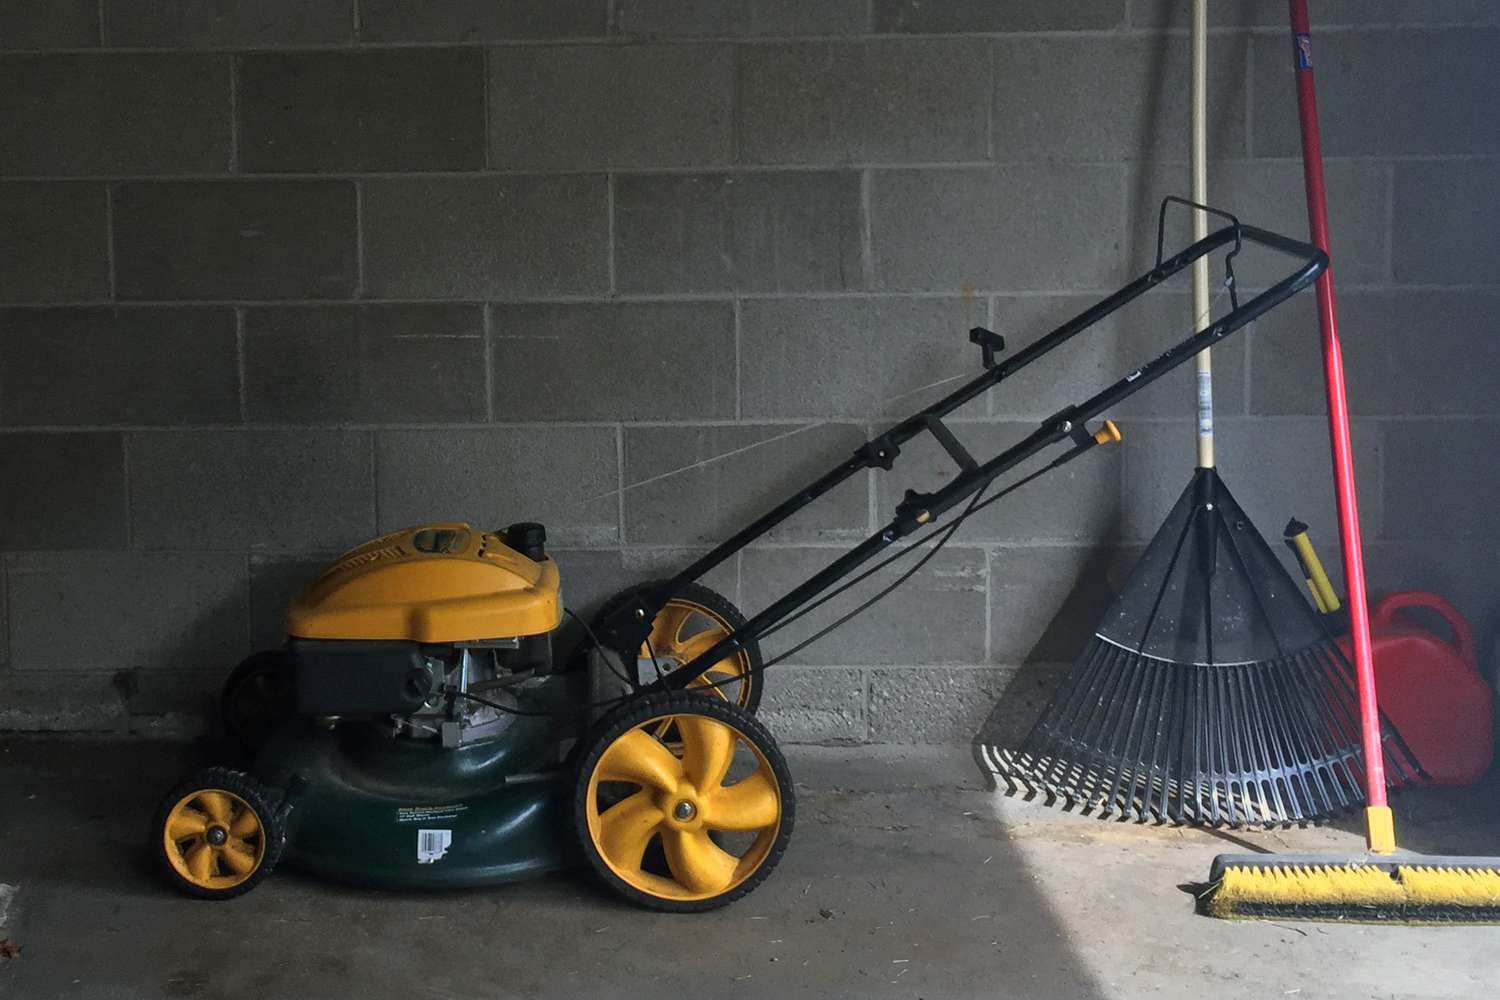
Storage conditions and pest prevention
Choose a dry, well-ventilated space. Damp sheds invite rust and mold. Keep the mower off bare ground.
Block entry points for mice. They love warm engine shrouds. Use traps or deterrents as needed. Store fuel in approved cans away from flames. Label it with the date.
A breathable cover keeps dust off but lets moisture escape. Avoid plastic tarps. They trap condensation.
Spring startup checklist
Do a fast preflight when the snow melts. It makes the first cut smooth.
- Reinstall the battery and check voltage.
- Verify oil level and air filter condition.
- Inspect belts and tire pressure.
- Add fresh fuel. Prime if needed.
- Start and let it warm. Check for leaks and odd noises.
If you followed how to winterize my riding lawn mower, this first run should be easy.
Common mistakes to avoid
These are the issues I see most often in the shop.
- Leaving ethanol fuel in the carb for months. It gums up jets and sticks floats.
- Skipping the oil change. Old oil is acidic and can scar parts.
- Storing with a dead battery. It may not recover.
- Using a plastic tarp. It traps moisture and speeds rust.
- Forgetting to clean the deck. Packed grass eats steel over winter.
Each mistake costs money and time. Avoid them as part of how to winterize my riding lawn mower.
Cost, time, and a quick checklist
Winterizing is fast and affordable. Most riders take one to two hours. Supplies usually cost less than one repair visit.
Quick checklist:
- Clean mower and deck.
- Stabilize or drain fuel. Run engine.
- Change oil and filter.
- Service air filter and spark plug.
- Fog engine if storing long term.
- Remove and maintain the battery.
- Lube fittings, cables, and pivots.
- Inflate tires and block mower.
- Store dry with a breathable cover.
Use this list anytime you think, how to winterize my riding lawn mower the right way.
Personal notes and pro tips from the shop
I learned to take photos before removing the battery and deck. It makes reassembly fast. I also tag cables with tape. Simple labels save guesswork.
A small leaf blower is gold for cleanup. It clears debris without pushing water into bearings. If you want an easy start in spring, I suggest you buy a fuel stabilizer and a smart charger. They are the best value tools for how to winterize my riding lawn mower.
Frequently Asked Questions of how to winterize my riding lawn mower
Do I need to run the engine after adding stabilizer?
Yes. Run it for 10 minutes to pull treated fuel into the carb. This protects jets and seals.
Is it better to store with a full tank or empty?
Both work if done right. Full with stabilizer prevents condensation, while empty and dry avoids gum in the carb.
How often should I charge the battery over winter?
Use a maintainer and leave it connected. If you do not have one, top it off once a month.
Should I fog the engine every winter?
Fog if storage exceeds 90 days or your air is very humid. It adds a thin shield on cylinder walls and valves.
Can I leave the mower outside with a cover?
It is not ideal. If you must, elevate it for airflow, use a breathable cover, and avoid standing water.
What oil should I use for winter storage?
Follow your manual. Most riders use a high-quality small-engine oil in the recommended weight.
How to winterize my riding lawn mower if I have ethanol-free fuel?
Still add stabilizer for long storage. Ethanol-free fuel lasts longer but can still oxidize.
Conclusion
A little time now prevents big repairs later. Handle fuel, oil, battery, and storage, and your mower will be ready to work at the first sign of spring. You now know how to winterize my riding lawn mower with a clear, proven plan.
Set a date this week, gather supplies, and use the checklist above. Your future self will thank you. If this guide helped, share it, subscribe for more tips, or leave a question and I will help you troubleshoot.