Replace the washer, tighten clamps, or install a mender to stop leaks.
If you want to know how to repair garden hose connector the right way, you are in the perfect place. I’ve fixed dozens of split couplings, drippy ends, and stripped threads in busy yards and pro gardens. This guide shares simple steps, clear checks, and expert tips so you can save water, save time, and get a leak-free hose that lasts.
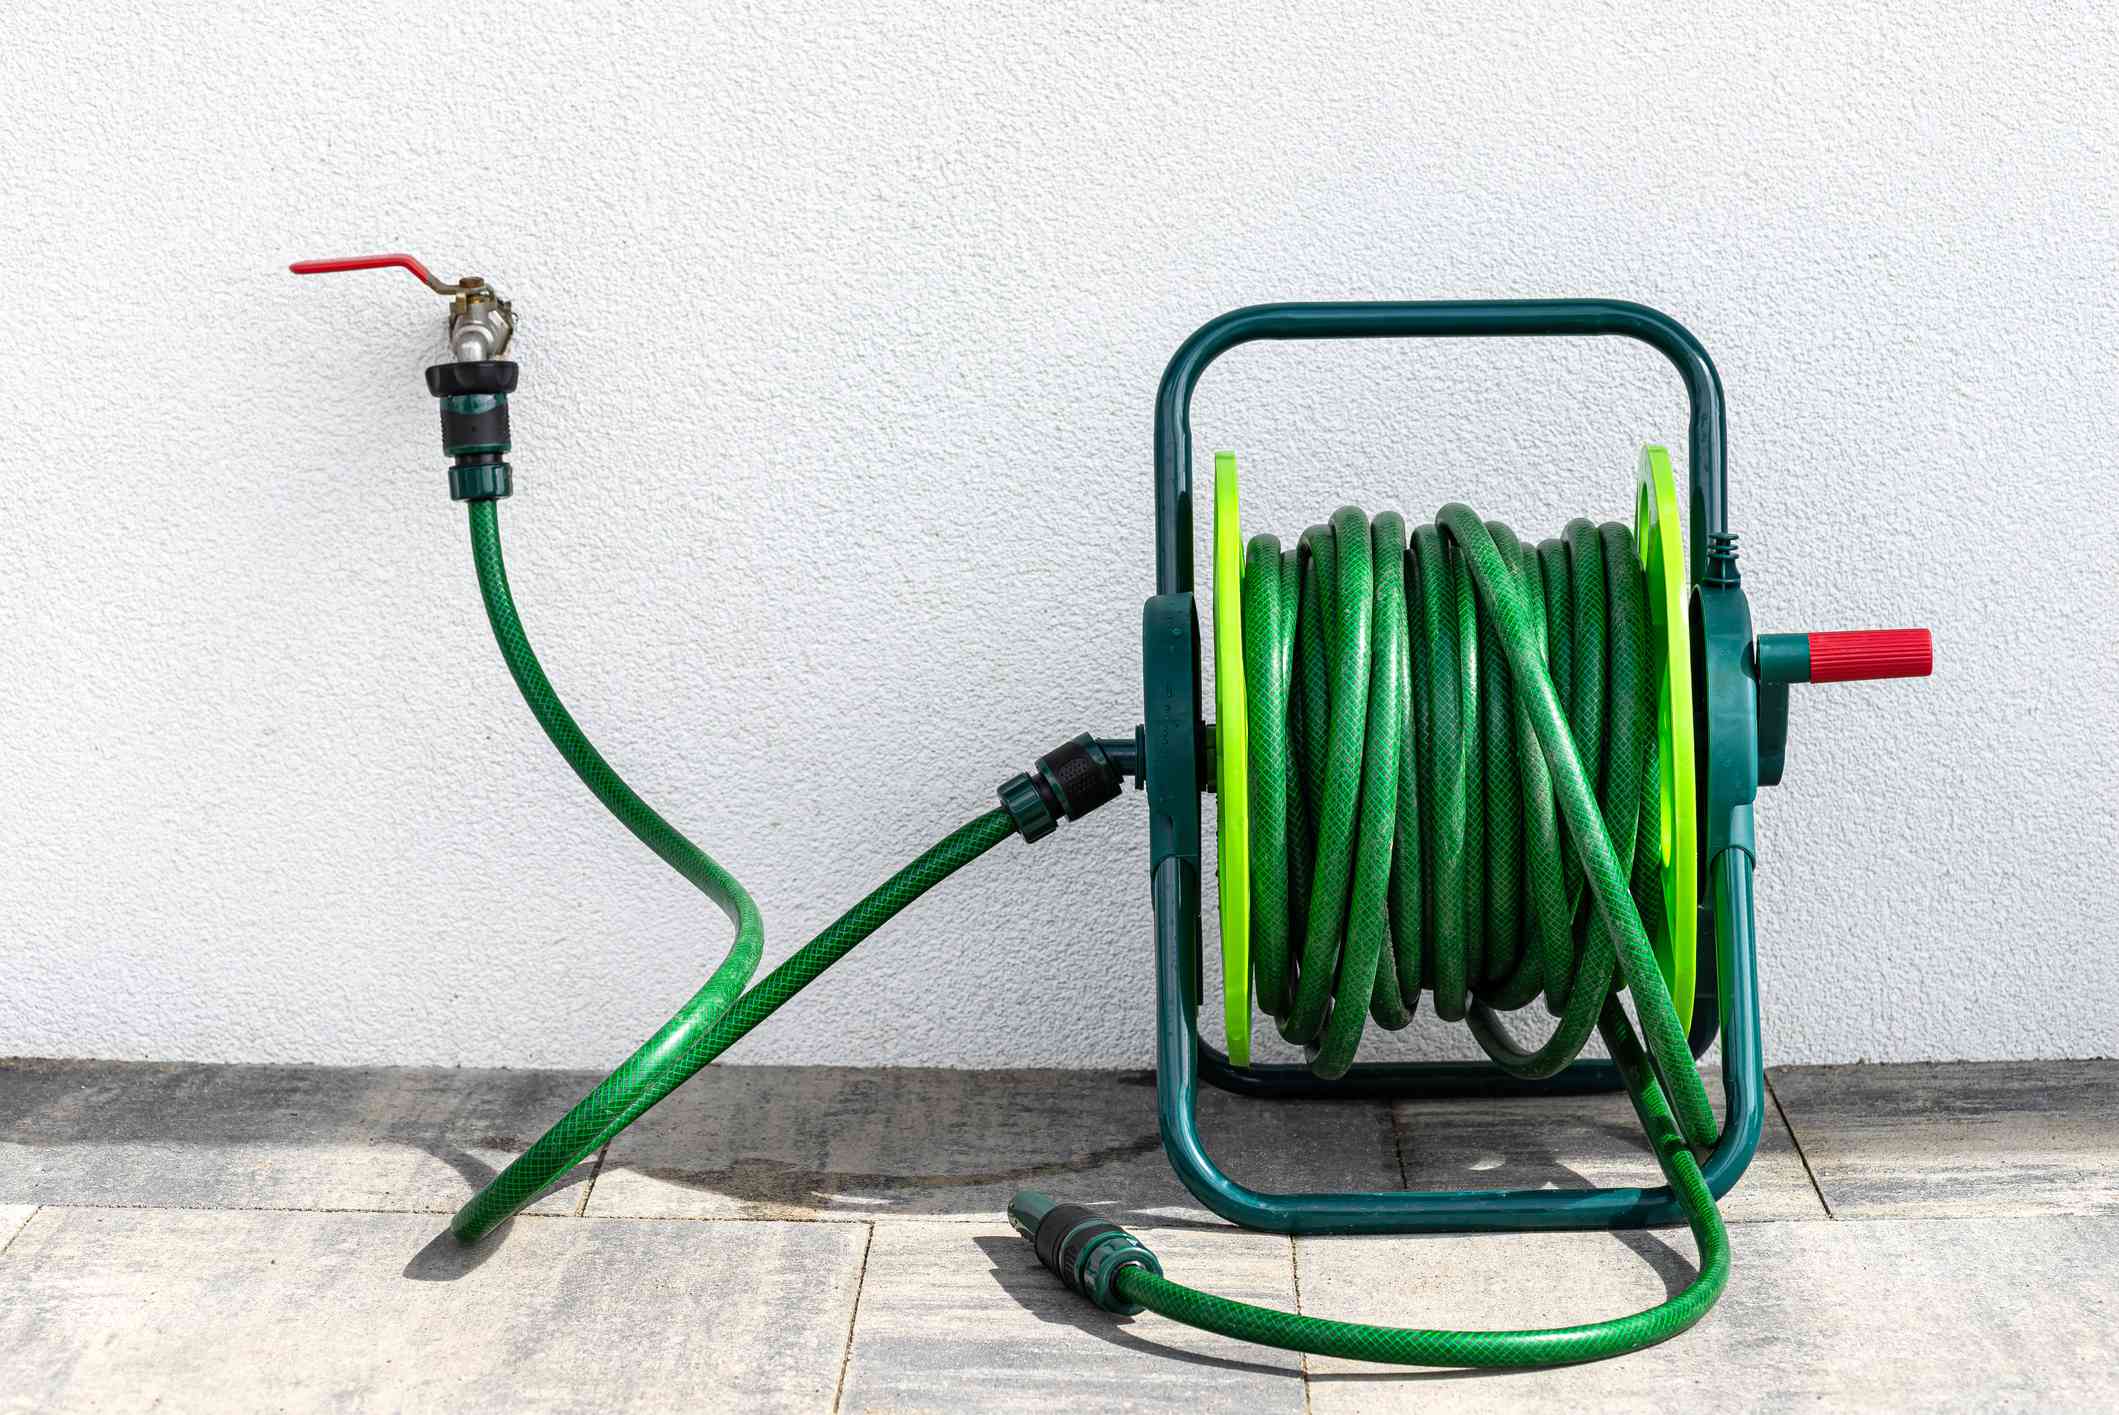
Why garden hose connectors leak and how to spot the real problem
A leak at the connector comes from a few common causes. The washer is worn, the threads are damaged, the clamp is loose, or the hose end is split. Sometimes it is a mix of two or more.
If you searched how to repair garden hose connector, start with a quick check. Look for dripping at the spigot, at the sprayer, or between quick-connects. Feel for spray under pressure. Check if the hose end is oval or cracked. Look inside the female end. That black washer should be flat and flexible, not brittle.
Here is a fast field test I use:
- Hand-tighten the connection until snug. Never wrench-tighten plastic.
- Turn on water at low flow. Watch the joint for 10 seconds.
- If it drips at the face, replace the washer.
- If it drips behind the coupling, tighten or replace the clamp.
- If it sprays from a slit, cut and install a new end.
If a brand-new sprayer leaks, the issue may be mismatched threads or a missing washer. Do not use pipe tape on hose threads. It is not needed on garden hose threads.

Tools and materials you will need
You do not need a shop full of tools. Here is my short list for how to repair garden hose connector fast and clean.
- Flathead screwdriver for clamps
- Utility knife or sharp pruning shears
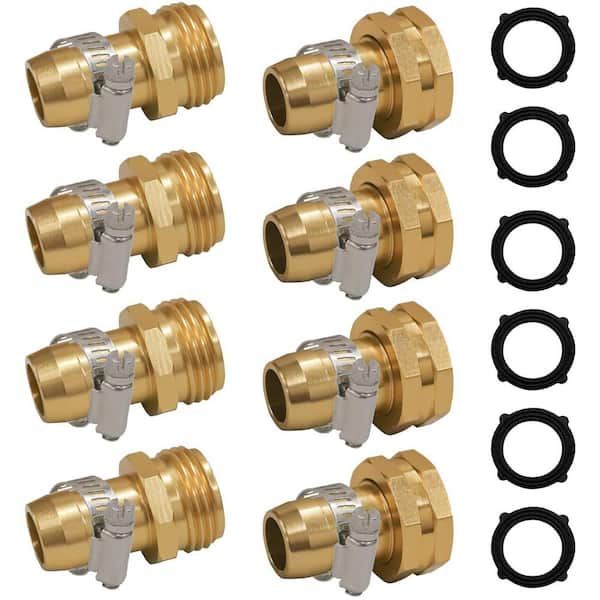
- Replacement rubber washers (¾-inch GHT)
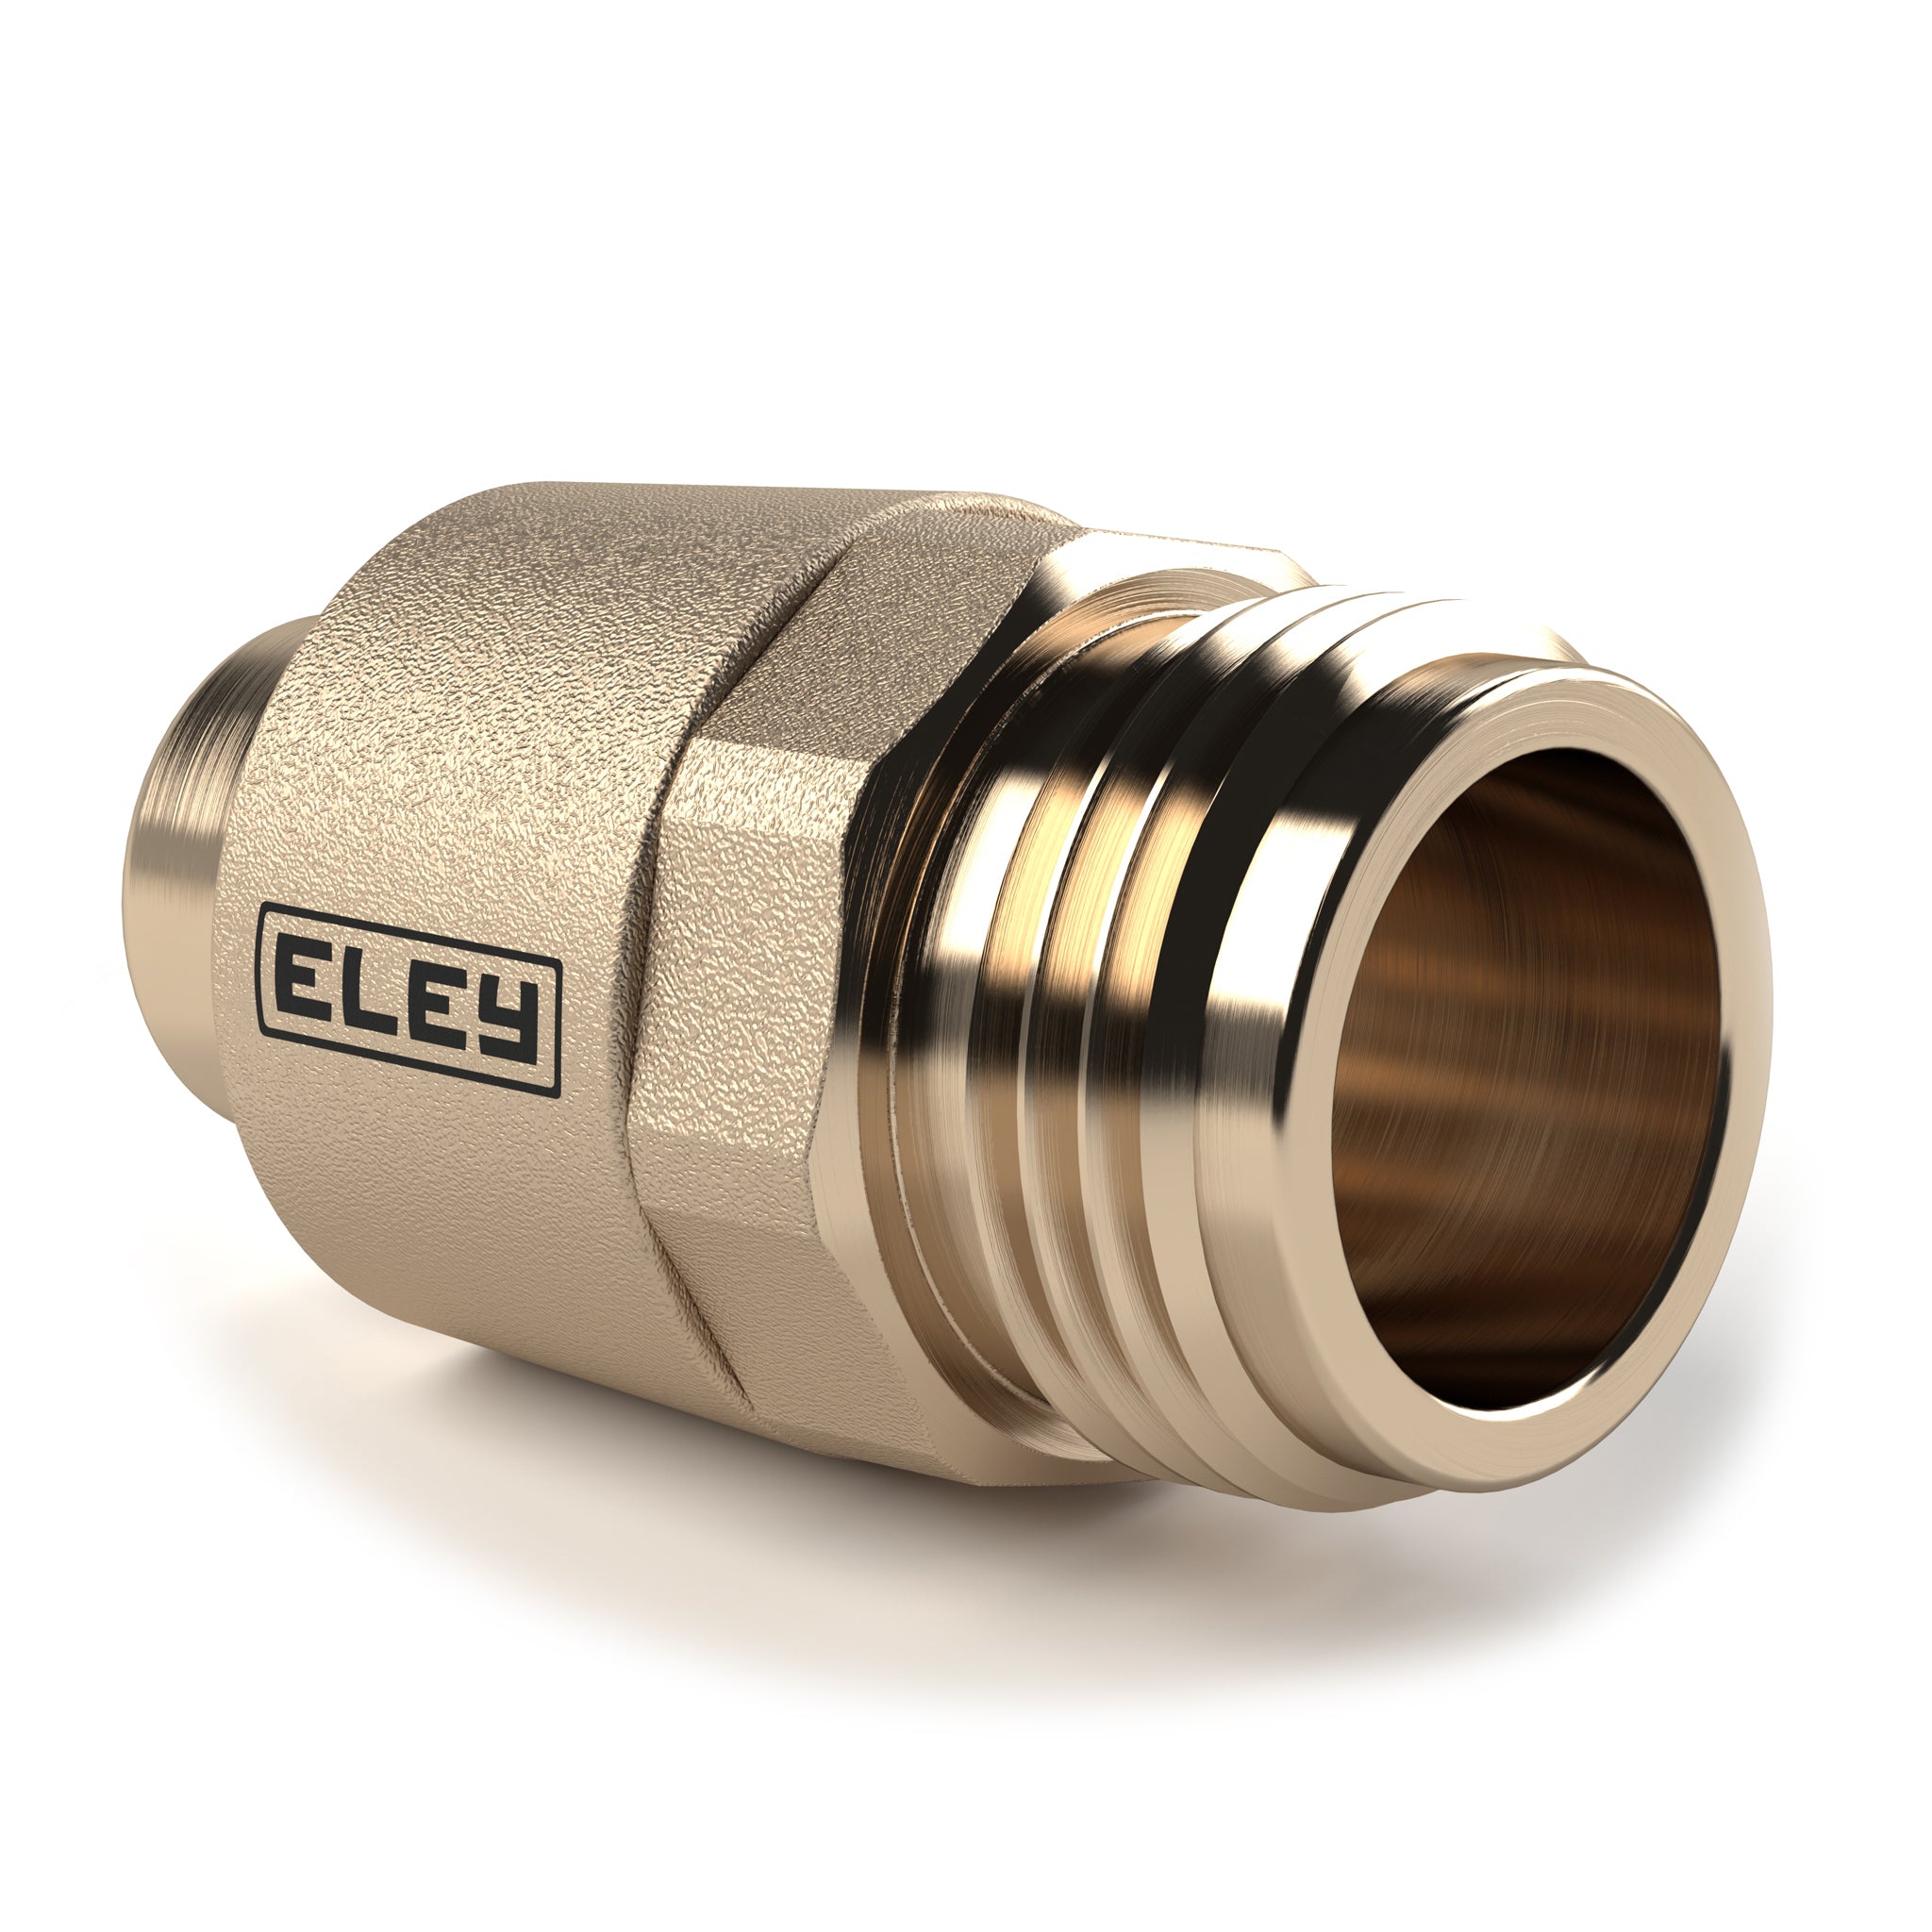
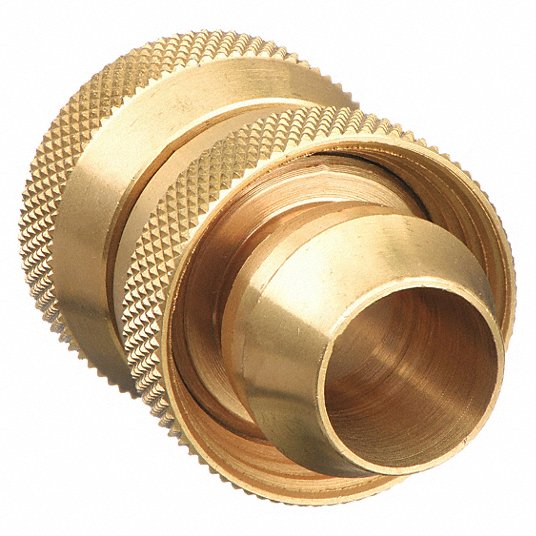
- Male or female hose repair ends (plastic, brass, or aluminum)
- Worm gear clamps or clamp-included repair kits
- Quick-connect repair kit if you use quick-connects
- Needle-nose pliers for stuck washers
- Bucket or towel to keep things dry
Pro tip: Brass lasts longer than plastic, especially in sun and heat. Plastic is lighter and fine for light use.
Step-by-step: how to repair garden hose connector
Below are the exact fixes I use most in the field. Pick the method that matches your problem.
Replace a worn washer (fastest fix)
- Turn off water and detach the hose.
- Pry out the old washer with pliers.
- Press in a new washer flat and flush.
- Reattach and hand-tighten. Test for leaks.
When you ask how to repair garden hose connector and want a 60-second fix, this is it.
Stop a drip behind the coupling
- Check the clamp behind the connector.
- Tighten the clamp until snug, not cutting into the hose.
- If the hose under the clamp is split, cut off 1 inch and reinstall the end.
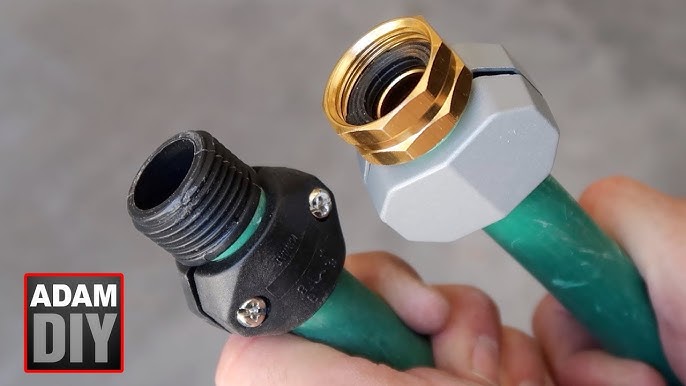
Install a new female or male end (for split or crushed ends)
- Cut the hose clean and square. No ragged edges.
- Slide a clamp over the hose.
- Push the barbed end of the new connector into the hose fully.
- Position the clamp over the barb area and tighten.
- Hand-tighten to your spigot or sprayer. Test under pressure.
This is the core fix in how to repair garden hose connector when the end is damaged.
Fix cross-threading or stripped threads
- Inspect threads for flat spots or cracks.
- If threads are chewed up, replace that end.
- Use brass ends for durability and clean mating with metal spigots.
Repair quick-connect fittings
- Disassemble the quick-connect.
- Replace O-rings and internal washer if worn.
- If the sleeve sticks, clean and apply a light silicone-safe lubricant.
- If parts are cracked, replace the unit.
Seal a pinhole near the connector
- If the hole is within 1–2 inches of the end, cut off the damaged part.
- Install a new connector as above. Tape is a short-term patch at best.
I learned the hard way that shortcuts cost water. When I first tried to tape a split near the coupling, it failed in a week. A proper mender took five minutes and lasted three seasons.
Pro tips, mistakes to avoid, and safety
- Hand-tighten first. Many leaks come from over-tightening plastic parts.
- Use the right washer. Standard garden hose uses a flat rubber washer, not an O-ring at the spigot end.
- Avoid pipe tape on garden hose threads. These threads seal at the washer, not at the threads.
- Cut square. A crooked cut leads to poor clamp seal and new leaks.
- Do not mix hot water and cheap plastic ends. They can soften and deform.
These habits define how to repair garden hose connector the pro way and avoid repeat jobs.

When to repair versus replace the connector or the hose
Repair when:
- The leak is at the washer or clamp.
- The end is crushed but the hose body is healthy.
- You need a quick, cheap, durable fix.
Replace the entire hose when:
- Multiple kinks and splits exist along the length.
- UV has made the hose brittle.
- You need a longer-term upgrade, like heavy-duty rubber.
If you are learning how to repair garden hose connector, know your time value. A five-minute end replacement beats chasing leaks all summer.
Maintenance to prevent future leaks
- Store hoses out of sun. UV cooks plastic and gaskets.
- Drain after use. Frozen water ruins connectors.
- Replace washers every spring. It costs pennies and saves gallons.
- Use a short leader hose at the spigot to reduce strain.
- Add a swivel connector to cut twist and thread wear.
These steps support any plan on how to repair garden hose connector and keep your setup dry and simple.

Cost and time estimates you can trust
- New washer: under a dollar, one minute.
- New brass end with clamp: 5–10 dollars, five minutes.
- Quick-connect rebuild kit: 5–12 dollars, five minutes.
- Full hose replacement: 25–70 dollars, depending on grade and length.
Most pros use brass ends for longevity. If budget is tight, plastic ends still work well on light-duty hoses. For anyone focused on how to repair garden hose connector with low cost, washers and a single mender cover most cases.

Water-saving and environmental benefits
A tiny drip can waste many gallons a day. Fixing a connector stops water loss at the source. You also keep hoses out of landfills by replacing only the end.
If you care about efficient yards, learning how to repair garden hose connector is one of the highest return skills. It saves money, water, and frustration.
Frequently Asked Questions of how to repair garden hose connector
What size washer fits a standard garden hose?
Most garden hoses use a ¾-inch GHT female end with a flat rubber washer. Keep a small pack on hand for quick swaps.
Can I use Teflon tape on garden hose threads?
No. Garden hose threads seal with a flat washer, not with tape. Tape can hide the real issue and make parts harder to seat.
What is the best material for replacement ends?
Brass is the most durable and heat-resistant. Plastic is fine for light use and costs less.
How tight should I make the clamp on a new end?
Tighten until snug and leak-free, but do not deform the hose. If you see the clamp biting into the hose, you went too far.
Why does my new sprayer still leak at the connector?
Check for a missing or damaged washer. Also make sure threads are clean and not cross-threaded.
How long does a repaired connector last?
A proper brass end can last years with normal use. Replace washers each season to keep it leak-free.
Do quick-connect fittings reduce leaks?
They can, if you maintain the internal O-rings and keep them clean. Replace worn parts for best results.
Conclusion
You can fix most connector leaks in minutes with a washer swap or a new end. Keep cuts square, clamps snug, and parts matched to your hose and use. These small habits keep your gear dry and your weekends calm.
Set up a tiny repair kit today and try one fix now. If this guide helped, share it with a neighbor, subscribe for more simple home fixes, or drop your own tip in the comments.