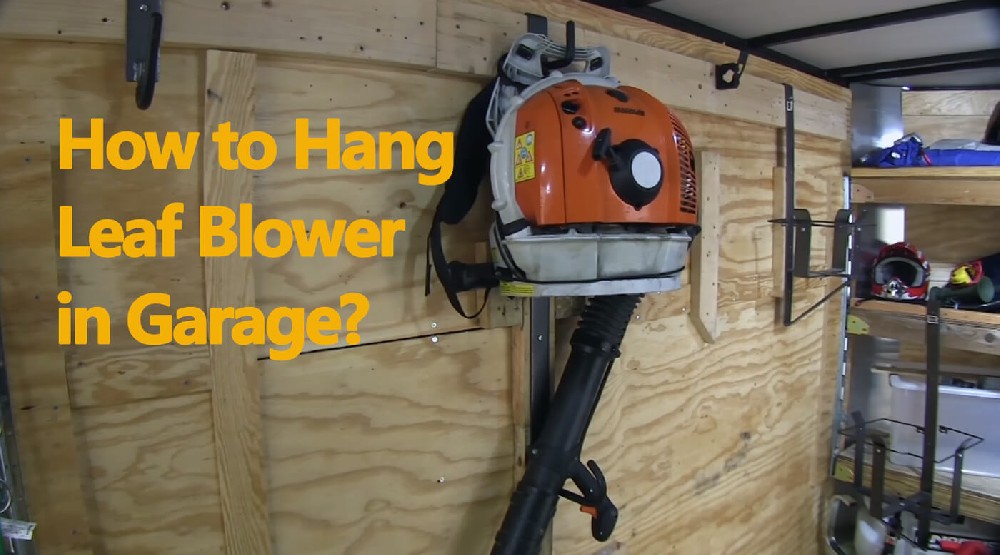
Store a leaf blower clean, dry, secure, and with fuel or battery prepped.
If you want your tool to start fast, last longer, and stay safe, you need more than a dusty corner. This guide on how to store a leaf blower shows proven steps from real shop practice. I cover gas, corded, and cordless models, plus space-saving setups, safety rules, and maintenance tricks that work.
Why proper storage matters
Good storage is more than neat shelves. It protects your blower from moisture, dirt, theft, and impact. It also reduces fire risk and battery damage.
Manufacturers design engines and batteries for specific conditions. Wrong storage can cause clogs, rust, or weak cells. I have seen a simple carburetor clean turn into a costly rebuild after one damp winter.
When you learn how to store a leaf blower the right way, you gain three wins. You save time, money, and hassle at the next start. You also protect your home and family by following safety rules that pros use every day.

Pre-storage checklist
Before you park the blower, run a fast checklist. A clean, dry, and checked tool stores better and starts faster.
- Unplug or remove the battery. For gas units, switch off and let it cool.
- Brush off leaves and mud. Blow out vents and fins with low air.
- Wipe the housing and tube with a damp cloth. Dry fully.
- Check the intake screen. Clear debris so animals are not tempted.
- Inspect the cord, plug, or battery contacts. Look for cracks or rust.
- Check fasteners and straps. Tighten anything loose.
- Review the manual. Follow any brand steps that apply.
If you follow this checklist each time, how to store a leaf blower gets much easier and safer.

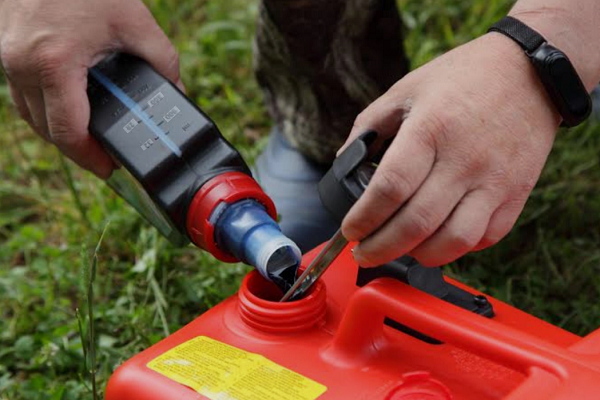
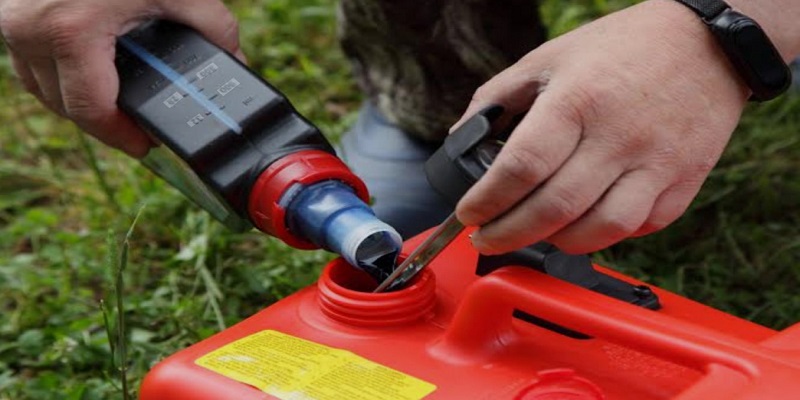
How to store a gas leaf blower
Gas blowers need fuel care. Ethanol fuel ages fast. Left in the carb, it turns sticky and can block jets.
Follow these steps for long-term storage:
- Add fuel stabilizer to fresh gas. Run the engine 5 minutes.
- Decide on wet or dry storage. Most techs prefer dry.
- For dry storage, drain the tank. Run the engine until it stalls.
- Crank once more to clear lines. Do not force the pull.
- Fog the cylinder with light oil if you store 90 days or more. Pull the cord slowly to coat.
- Clean or replace the air filter. Tap out dust, or wash foam with mild soap.
- Remove and check the spark plug. Gap it, or replace if worn.
- Cap the tank and plug the exhaust with a clean rag. Keep pests out. Remove rag before use.
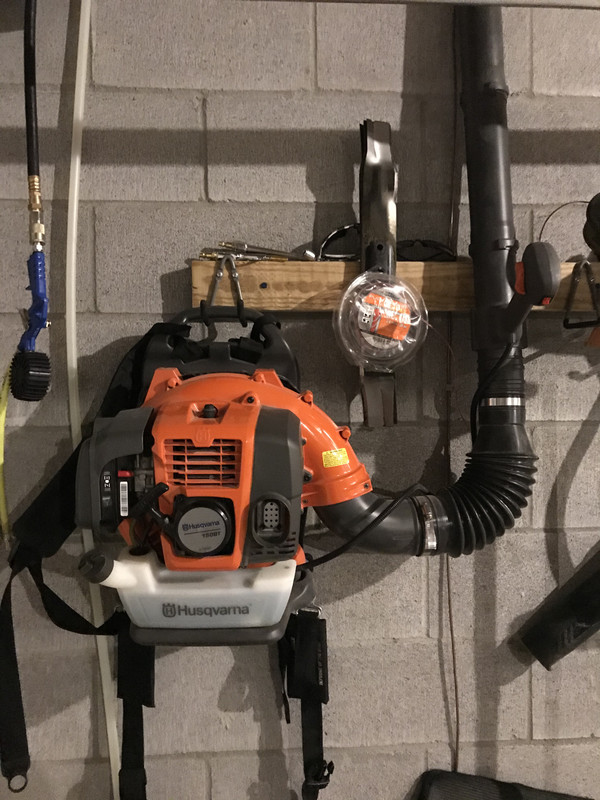
- Store upright on a wall hook or shelf. Avoid floor moisture.
- Keep in a cool, dry, ventilated area. Stay away from heaters, flames, and water heaters.
Pro tip from my shop: label the unit with the date and storage method. At spring start, I know if the carb is dry. This small step saves guesswork and time.
Safety note: Store gasoline in approved cans, under local codes. Keep at least a few feet from ignition sources. This is standard guidance from fire safety agencies and tool makers.
If you search how to store a leaf blower and see mixed fuel advice, check your manual. Some brands set clear rules for their carb and seals. Follow that first.

How to store a cordless leaf blower
Batteries need gentle care. Extreme heat, cold, or full charge can shorten life.
Use these best practices:
- Remove the battery. Store it separate from the tool and charger.
- Charge to about 40 to 60 percent. Most brands agree this range is ideal for long rests.
- Store at 50 to 77°F if you can. Avoid freezing or hot attics.
- Keep the battery dry and clean. Wipe contacts with a dry cloth.
- Do not leave the pack on the charger. Smart chargers still add tiny heat.
- Check state-of-charge every 60 days. Top up lightly if it drops low.
I learned this the hard way with a winter in a shed. A fully charged pack sat for months. It lost punch by spring. Since then, I set a reminder on my phone. That small habit keeps packs strong.
Knowing how to store a leaf blower with a lithium pack will add years to your battery. It can also prevent swelling and leaks.

How to store a corded leaf blower
Corded units are simple, but cords need care. A bad bend can break copper inside.
- Wipe down the blower and vents.
- Coil the cord in loose, even loops. No tight bends or knots.
- Use a Velcro strap. Avoid tape that leaves residue.
- Cover the plug prongs with a cap or small pouch.
- Hang the blower on a hook. Keep the cord off the floor.
If you care for the cord, how to store a leaf blower becomes easy. It also prevents tripping and damage in small garages.

Short-term vs long-term storage
Daily or weekly storage is simple. Off-season storage needs more steps.
Short-term storage, under 30 days:
- No need to drain gas if you use stabilizer.
- Keep the blower clean, dry, and off the floor.
- Remove the battery after each use. Store at room temp.
Long-term storage, 30 days or more:
- For gas, choose dry carb storage for best results.
- For batteries, set mid-charge and check monthly.
- For corded, inspect the cord and vents before you store.
A clear plan makes how to store a leaf blower repeatable. I keep a small card on the wall with both routines.
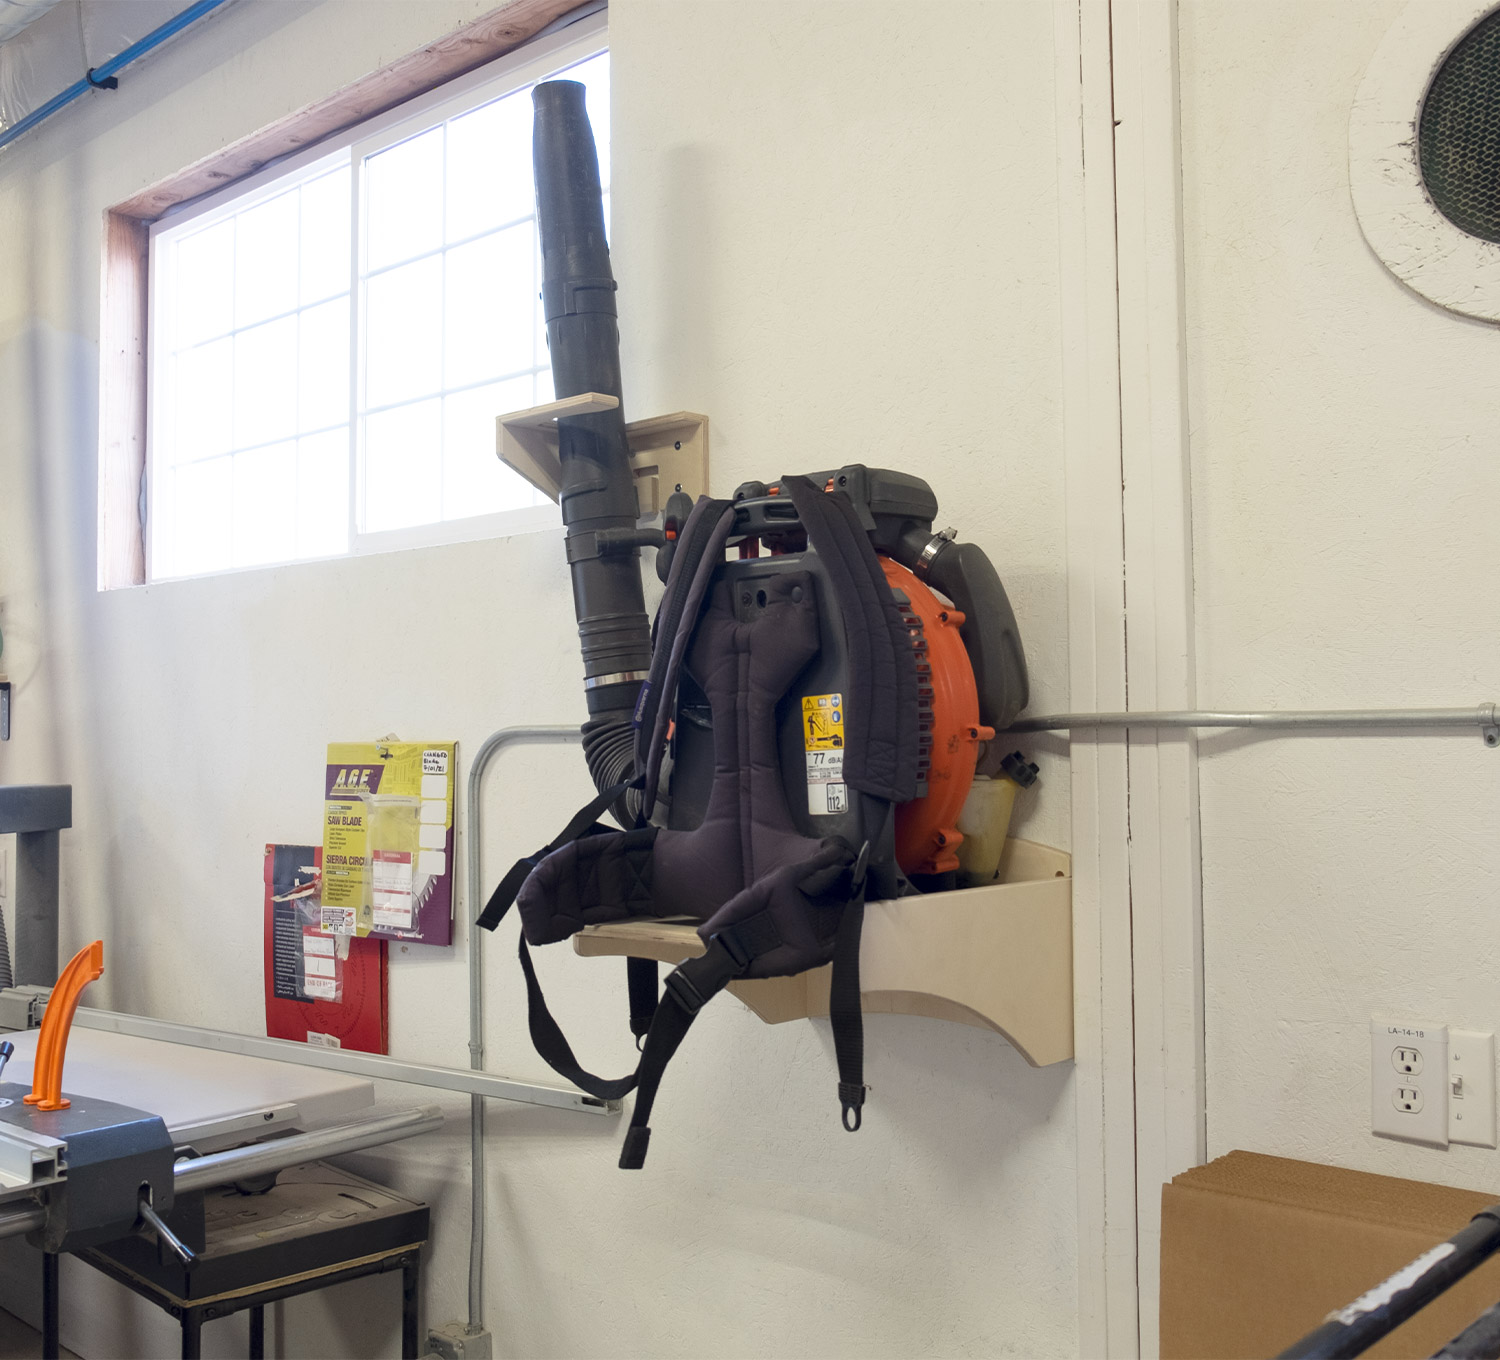
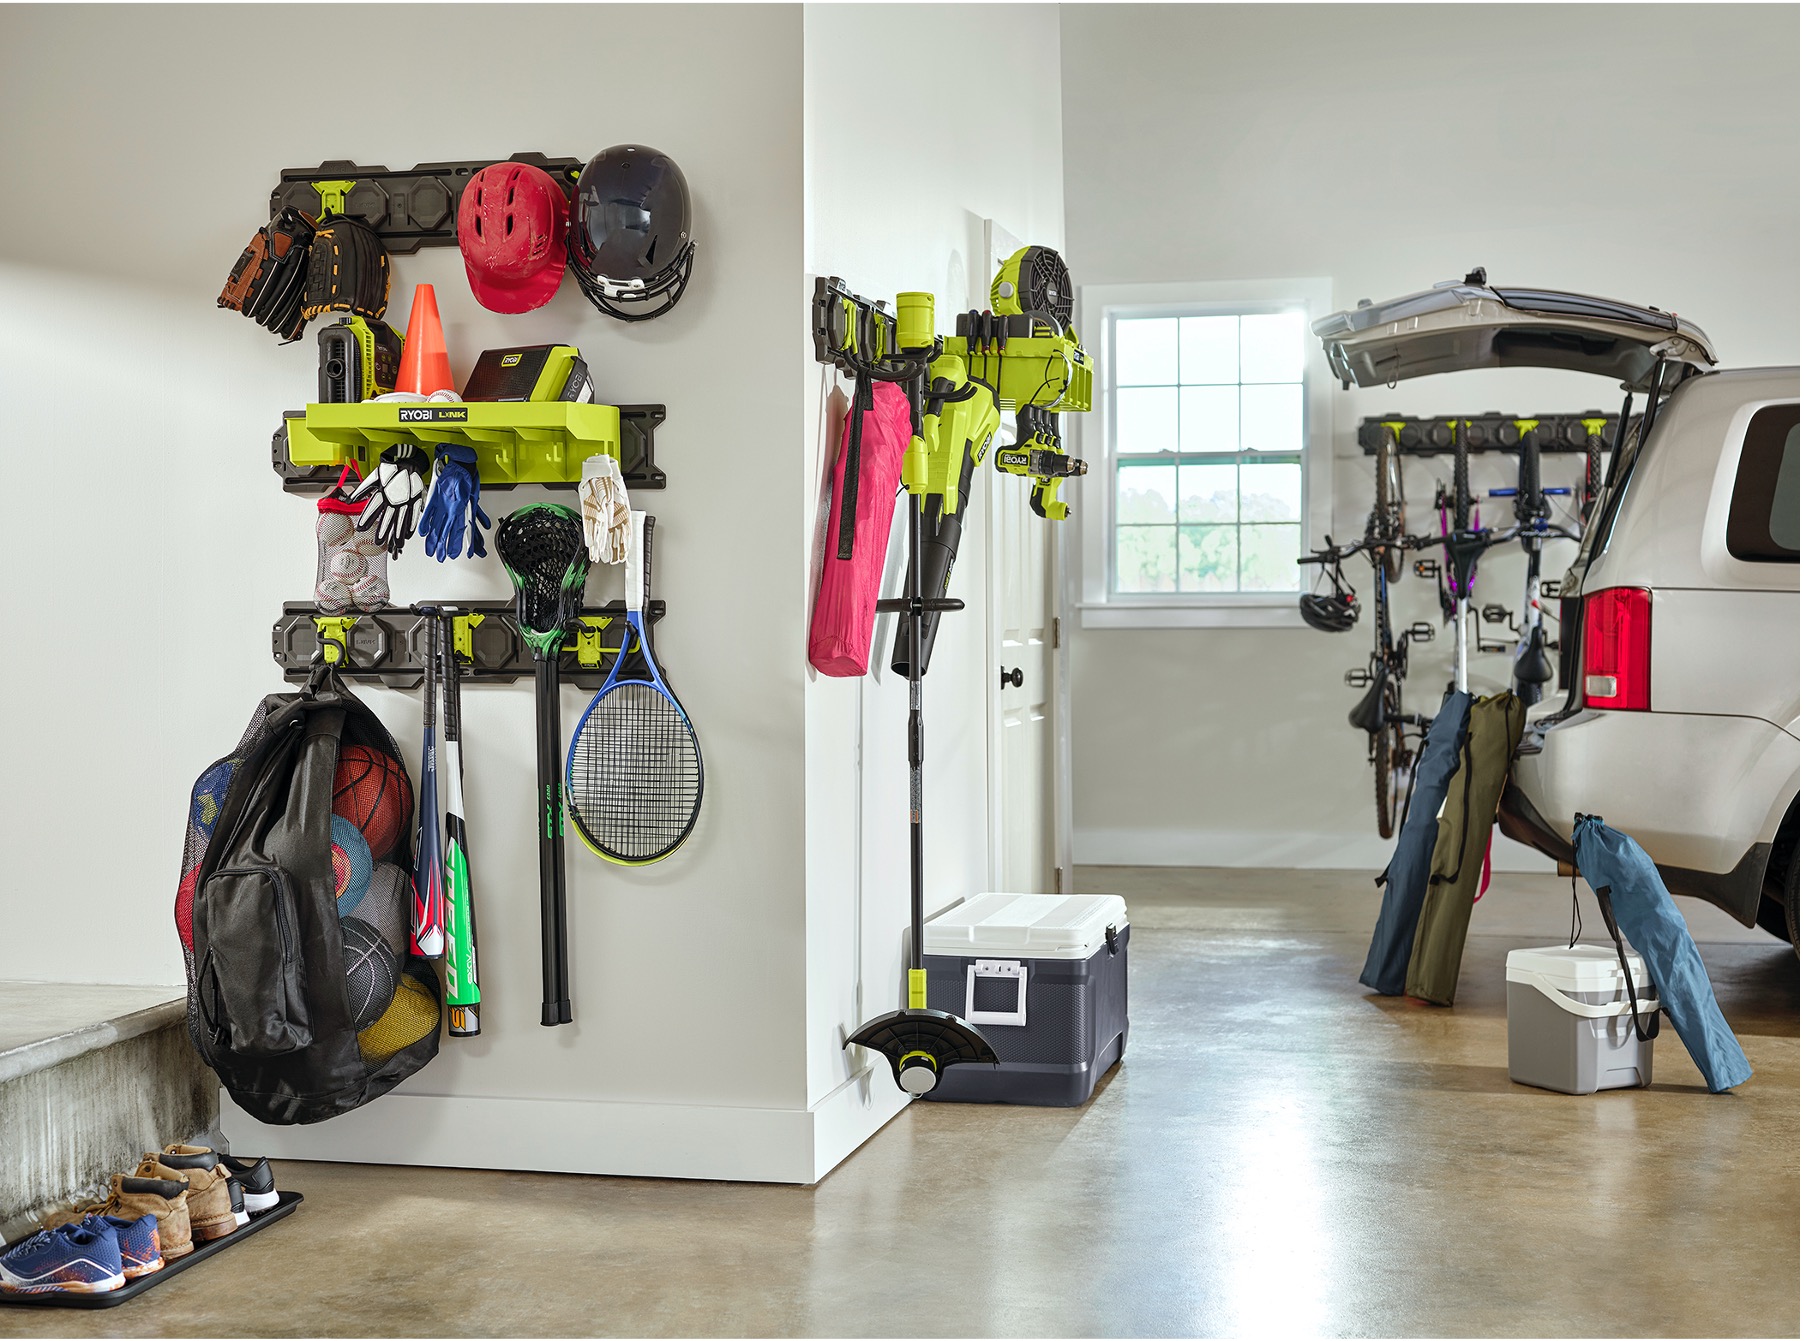
Space-saving storage ideas
Garages fill up fast. Smart storage keeps your blower safe and handy.
- Wall hooks. Use rubber-coated steel hooks rated above your blower weight. Anchor into studs.
- French cleat. Mount a 45-degree cleat and hang a custom bracket.
- Slatwall or pegboard. Add deep hooks or tool cradles.
- Ceiling rack. Store the tube and accessories in a mesh bin overhead.
- Shelf bin. Keep fuel, oil, plugs, and filters in a labeled tote.
- Tool shed zone. Create a blower bay away from mowers and grills.
DIY bracket, quick build:
- Cut a 2×6 board long enough for the harness width.
- Add a front lip with a 1×2 to stop sliding.
- Wrap contact points with rubber tape.
- Lag bolt into two studs. Confirm level and height.
When you plan space, you learn how to store a leaf blower without dents or trips. It also looks sharp and professional.
Climate and pest protection
Moisture and mice cause most storage damage. Give them no chance.
- Aim for 35 to 55 percent relative humidity if possible.
- Use a small desiccant pack in a storage tote.
- Cover the blower with a breathable fabric bag. Avoid plastic that traps moisture.
- Plug openings with mesh or a rag to block pests. Remove before use.
- Keep seeds, pet food, and bird feed away. They attract rodents.
These simple moves change how to store a leaf blower in damp regions. I live near the coast. A fabric cover and silica gel made a huge difference in rust control.
Safety and compliance essentials
Good storage also follows safety codes. It protects people and property.
- Store gasoline in approved cans with tight caps.
- Keep fuel containers off the ground and out of sun.
- Maintain space from water heaters, furnaces, and pilot lights.
- Use childproof locks on sheds and cabinets.
- Add a smoke alarm and fire extinguisher nearby, rated for class B.
- Ventilate storage areas. Never run engines indoors.
When you teach family members how to store a leaf blower, include these rules. It builds safe habits and reduces risk.
Maintenance calendar for storage
Make a simple schedule. It keeps your blower ready all year.
Monthly:
- Check for moisture, rust, or pests.
- For batteries, verify state-of-charge and temp.
Seasonal, at start and end:
- Clean or replace the air filter.
- Inspect spark plug and fuel lines.
- Check fasteners, straps, and tubes.
- Test run for 2 to 3 minutes before the season.
Yearly:
- Replace fuel lines if brittle.
- Clean the carburetor screen and spark arrestor.
- Deep clean the cooling fins.
With a calendar, how to store a leaf blower becomes routine. You will spot issues early and avoid mid-season failures.
Common mistakes to avoid
Avoid these traps that often lead to repairs.
- Leaving ethanol gas in the carb all winter.
- Storing a battery at 0 or 100 percent for months.
- Parking the blower on a damp floor.
- Wrapping a cord too tight around the handle.
- Blocking cooling vents with plastic covers.
- Hanging the unit by a weak strap or single screw.
When you avoid these, how to store a leaf blower becomes stress-free. Your next start will prove it.
Post-storage startup and troubleshooting
First start after storage can feel tense. Use this quick path.
- For gas units, add fresh fuel. Prime as the manual states. Set choke and pull with smooth strokes.
- If it will not start, check the plug, air filter, and exhaust screen. Then try a new plug and fresh fuel mix.
- For batteries, warm the pack to room temp. Seat it well. If power dips fast, balance charge it, then test again.
- For corded, inspect the cord and plug. Try a different outlet or a reset on the GFCI.
If you follow how to store a leaf blower with the steps above, starts are fast, and issues are rare.
Frequently Asked Questions of how to store a leaf blower
How dry should the blower be before storage?
Very dry. Wipe it down and let air pass through vents. Moisture can rust metal parts and harm electronics.
Should I drain the fuel or use stabilizer?
For storage beyond 30 days, most techs prefer dry carb storage. Stabilizer helps, but an empty carb resists varnish better.
What battery charge level is best for storage?
Aim for 40 to 60 percent. Check it every two months and top up a bit if needed.
Can I store a leaf blower in a shed during winter?
Yes, if the shed is dry and ventilated. Keep batteries indoors at room temperature for best life.
Is it safe to hang a blower by the handle?
Use a strong, rubber-coated hook into a stud. Check the manual to avoid stress on controls or the fuel tank.
How often should I replace the spark plug?
Check it each season and replace yearly or as the manual advises. A fresh plug improves starts and power.
Do I need a cover for my blower?
A breathable fabric cover helps keep dust off and allows moisture to escape. Avoid plastic, which can trap moisture.
Conclusion
Storing a leaf blower the right way is simple when you use a plan. Clean it, prep the fuel or battery, mount it well, and keep it dry and safe. These steps protect your tool, your time, and your home.
Start today. Pick one tip and put it in place before your next use. If this guide on how to store a leaf blower helped, share it, subscribe for more shop-smart tips, or leave a question so I can help you dial in your setup.