How To Clean A Backyard: Fast, Easy Guide For 2026
A backyard can go from relaxing retreat to overwhelming mess in just a few weeks. Leaves pile up, patio grime sets in, and suddenly the space feels more like a chore list than an escape. The good news? A full reset doesn’t have to take an entire weekend — if you work in the right order.
Whether you’re preparing for a gathering, tackling spring cleaning, or just reclaiming your outdoor space, this guide walks through the entire process: what to do first, which tools actually earn their keep, and how to keep the results lasting longer than a single afternoon. No fluff, just the practical steps that work. You can also read our guide on how to remove rust from garden tools.
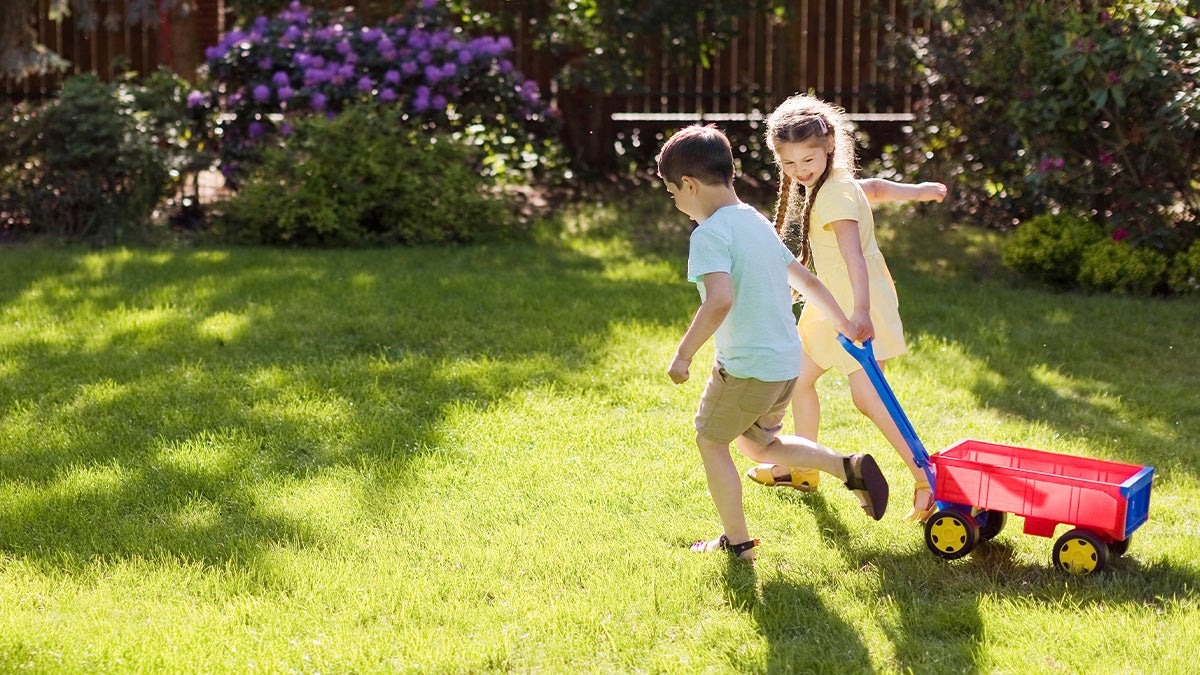
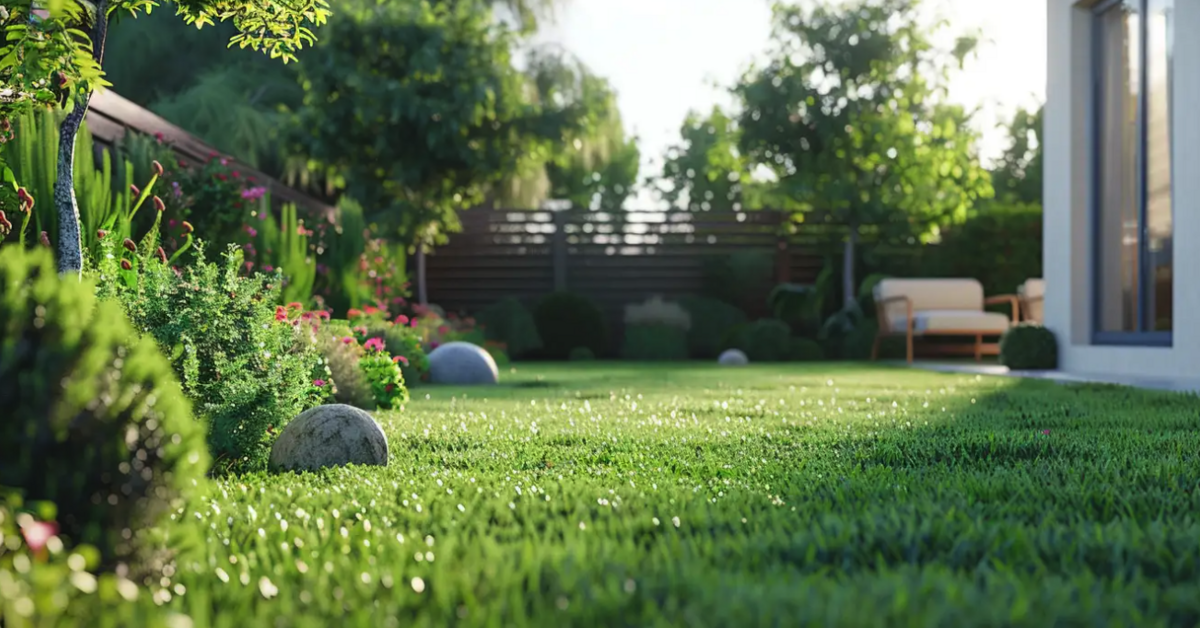
Walk the yard before grabbing any tools — you’ll spot hazards and plan your workflow.
Source: 1800gotjunk.com
Before You Start: Assess, Gear Up, and Safety Check
The biggest mistake most people make? Diving straight into raking leaves before noticing the bigger picture. Ten minutes of planning saves at least an hour of rework later.
Do a Quick Walk-Through
Grab a notepad or just use your phone. Walk the perimeter and note:
- Fallen branches, especially after storms
- Standing water that needs draining
- Broken items — furniture, pots, fence panels
- Areas where weeds have taken over
- Any sharp objects or hazards that need careful handling
Decide what to keep, fix, donate, or toss before you start moving things. This single decision prevents the “I’ll deal with it later” pile that sits in the corner for weeks. For more on this, see our guide on how to clean up dog poop in yard.
Gather Your Tools First
Nothing slows a project like hunting for a rake mid-task. Stage everything in one spot before starting:
| Tool Category | What You’ll Need |
|---|---|
| Protection | Work gloves, closed-toe shoes, eye protection, sunscreen, hat |
| Containers | Contractor bags, lawn bags, a rigid bin for sharp items |
| Cleaning | Broom, rake, leaf scoop, stiff-bristle brush |
| Water | Garden hose with adjustable nozzle, or pressure washer if needed |
| Cutting | Hand pruners, loppers, and a sharp edge for weeding |
If your tools are dull, sharpening them first makes the whole job faster. A clean cut on a branch or weed takes less effort and heals better for the plant.
Safety Rules Worth Following
- Turn off irrigation zones before you start — no one wants sprinklers firing mid-clean.
- Unplug outdoor power tools and inspect cords for cracks or exposed wire.
- Never dry-sweep rodent droppings. Mist with disinfectant, wait, then wipe up.
- Lift with your legs, not your back. For heavy loads like wet soil or large pots, team up or use a wheelbarrow.
Preparation isn’t the exciting part, but it’s the difference between a smooth morning and a frustrating day.
Source: housedigest.com
The Cleaning Order That Actually Works
Here’s the golden rule of yard work: work top to bottom, then outside in. If you sweep the patio first and then prune the trees, you’ll just be cleaning again. This sequence prevents that particular frustration. For more on this, see our guide on how to clean up acorns from yard.
Step 1: Clear the High Stuff
Start with gutters, low branches, and overhanging vines. Knock down any deadwood that might fall while you’re working below. If you can’t safely reach something, note it for a professional — don’t risk a ladder accident over a few leaves.
Step 2: Remove Large Debris
Walk the yard and pick up:
- Branches and twigs
- Toys, sports equipment, or forgotten garden tools
- Broken pots or ceramic shards (wrap these before bagging)
- Any trash that blew in
Stage everything by the gate so you’re not making repeated trips across the yard.
Step 3: Scoop Pet Waste
If you share your yard with a dog, tackle this before anything else. Use a dedicated scooper or trowel and drop waste directly into a lined, lidded bin. For stubborn messes that have sat for a while, a little warm water can help loosen them. If you’re dealing with a heavy buildup, you might want to check out this guide on managing dog waste in yards more systematically. For more on this, see our guide on how to clean leaf blower carburetor.
Step 4: Rake Leaves Into Piles
Rake leaves toward one central area rather than scattered piles. Use a tarp to drag heavy loads to your compost bin or lawn bags — wet leaves are surprisingly heavy and will tear a cheap bag instantly. If you have a leaf mulcher, run the leaves through it first; shredded leaves decompose faster and take up a fraction of the space.
Step 5: Pull or Slice Weeds
Weeds come out easiest after rain or a good watering. Grab them at the base and pull straight up to get the root. For taproot weeds like dandelions, a long-handled weeder makes the job easier on your back. Whatever you do, get them before they go to seed — one mature weed can drop hundreds of seeds.
Step 6: Prune Shrubs and Deadhead Flowers
Cut just above a leaf node or outward-facing bud. Remove dead, damaged, or crossing branches. For most shrubs, you want to open up the center so light and air can move through. Don’t go overboard — you can always take more off, but you can’t put it back.
Step 7: Mow, Then Edge
Mow edge-to-edge, overlapping slightly with each pass to avoid stripes. Follow with a trimmer around borders, trees, and fence lines. The edging step is what gives that “professionally landscaped” look.
Step 8: Sweep or Blow Hard Surfaces
Patios, decks, and walkways collect a surprising amount of debris. Sweep or use a leaf blower to clear everything before you add water — washing a dirty surface just makes mud. If you’re deciding between sweeping and blowing, a cordless blower handles larger areas in a fraction of the time.
Step 9: Wash Surfaces
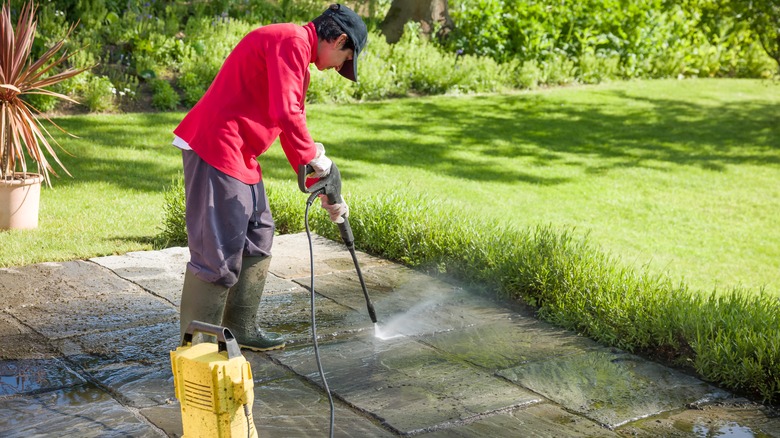
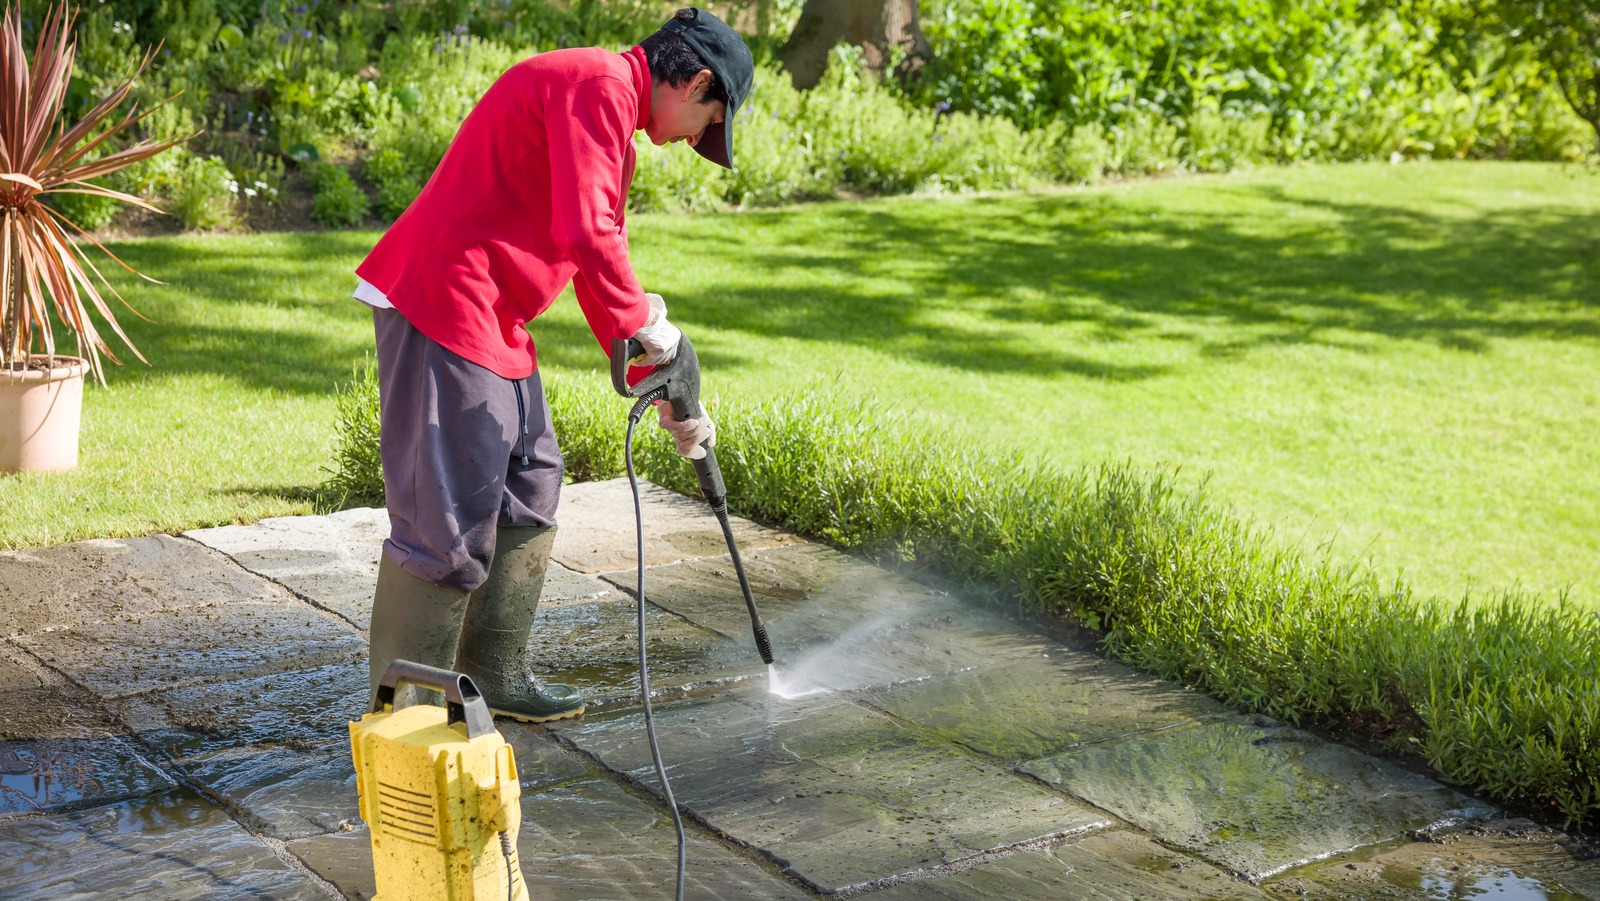
Hose down patios, paths, and siding. For stains, scrub with a stiff brush and appropriate cleaner before rinsing. If you’re using a pressure washer, test an inconspicuous spot first — different surfaces handle different amounts of force.
Step 10: Clean Furniture, Cushions, and Play Areas
Wipe down furniture frames, spot-clean cushions, and inspect playsets for loose fasteners or splinters. Let everything dry in the sun before storing or covering.
Step 11: Final Pass
Put tools away after each use — this habit alone saves hours of “where did I leave the pruners?” Put down fresh mulch, water lightly to settle dust, and step back to admire your work.
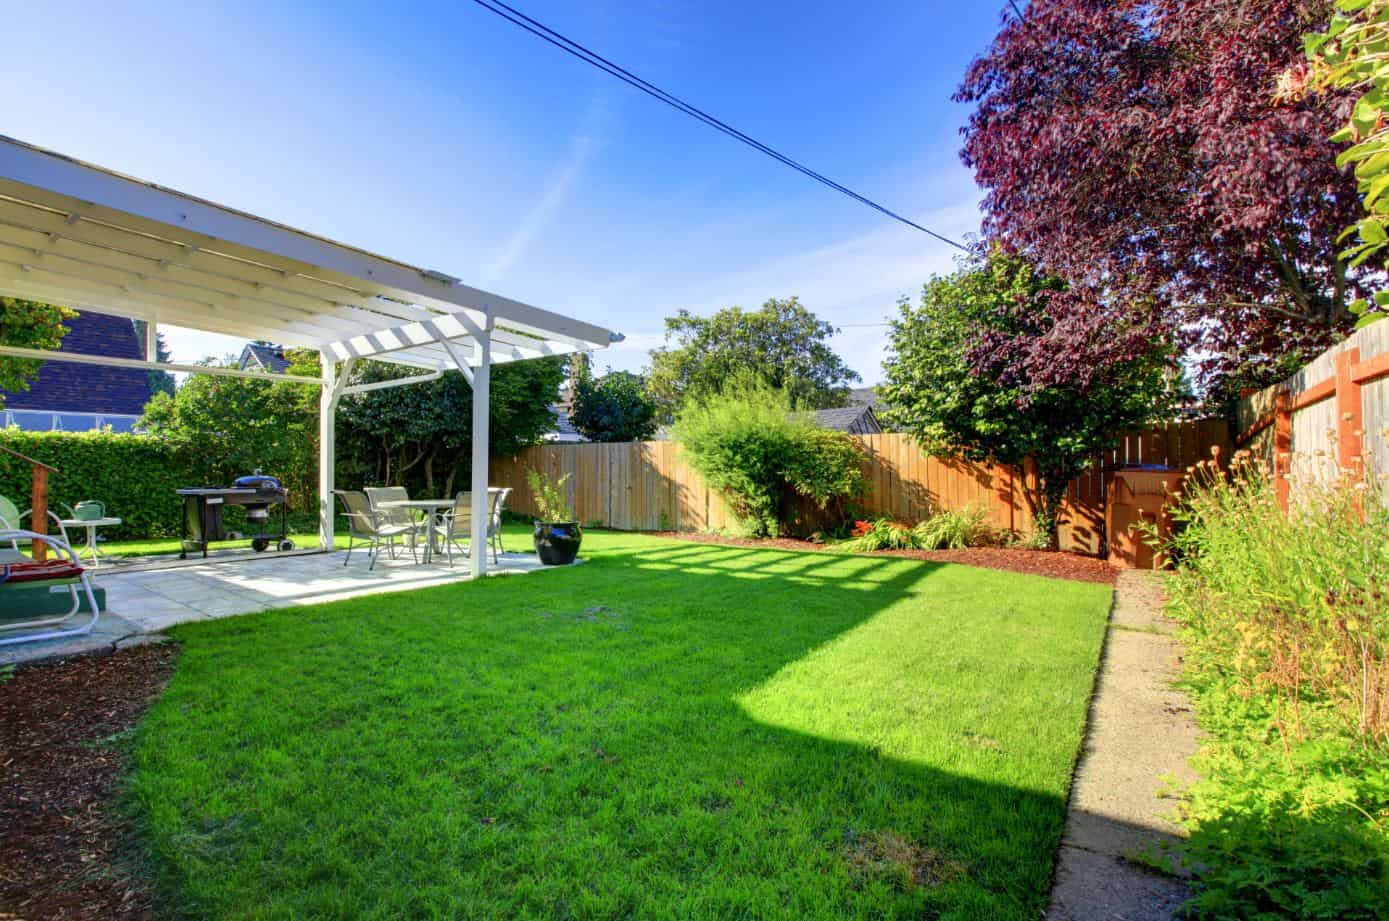
A clean yard is really about the plants and surfaces working together.
Source: stonesolutionsmaine.com
Lawn and Plant Care That Makes the Job Easier
A healthy lawn resists weeds and looks better with less effort. The secret isn’t product-heavy — it’s consistency.
Mowing: The 3-Inch Rule
Keep grass around 3 inches tall for most cool-season varieties. Taller grass shades the soil, which means fewer weeds and less water evaporation. Mow with sharp blades — a dull blade tears grass, leaving brown tips and an open invitation to disease. Check your mower’s upkeep, including the air filter, to keep it running smoothly through the season.
Watering: Early and Deep
Water in the early morning, ideally before 8 a.m. You’ll lose less to evaporation and give grass time to dry before evening, which reduces fungal issues. Aim for about 1 inch of water per week including rain. A tuna can set on the lawn makes a surprisingly good rain gauge.
Feeding: Slow and Steady
Use slow-release fertilizer in spring and early fall. The right fuel matters — a quality lawn mower fuel or regular gas depending on your machine keeps things running clean. And here’s a tip from experience: greener doesn’t mean more. Over-fertilizing burns the lawn and ramps up growth you’ll just mow again.
Weeds and Mulch: The Smart Way
Pull weeds after rain when roots come out clean. Add 2–3 inches of mulch to beds — but keep it away from tree trunks and plant stems. Piling mulch against a trunk is called a “mulch volcano,” and it eventually rots the bark. If weeds are stubborn, lay cardboard under mulch to block light and smother them naturally.
These basics aren’t complicated, but they compound. A lawn that goes into each season healthy will come out of each season clean faster.
Different surfaces need different pressures — test before you commit.
Source: coit.com
Deep-Clean Hard Surfaces and Structures Once a Season
Hard surfaces take a beating from weather, foot traffic, and whatever the wind blows in. A seasonal deep-clean keeps them looking sharp and extends their life.
Patios and Pavers
Sweep thoroughly, then rinse with your hose. For oily spots or stubborn stains:
- Treat with an enzyme cleaner or dish soap mixed with warm water
- Scrub with a stiff brush, then rinse
- Refill joint sand where it’s washed out
- Consider sealing pavers every few years to slow stains and weed growth between joints
Concrete Slabs
Pre-soak the surface, then scrub with a degreaser on oil spots. For general grime, pressure washing at 1,500–2,500 PSI handles most driveways and patios. Test a small area first — old or flaking concrete can erode at higher pressure.
Wood Decks and Fences
This is where people mess up. High-pressure water etches wood grain and raises splinters. For wood:
- Use a wood-specific cleaner and a soft-bristle brush
- Rinse thoroughly and allow 48 hours of dry time before staining or sealing
- If you pressure wash, keep PSI below 1,200 and hold the wand 12–18 inches from the surface
Sheds and Playhouses
Check roofs for missing shingles, hinges for rust, and the base for rot. Clear leaves and debris from around the foundation — this prevents moisture damage and gives pests fewer places to hide.
Source: housedigest.com
Furniture, Grills, and Play Areas: The Surfaces You Touch
These items see the most contact, so they deserve focused attention.
Outdoor Furniture
- Vacuum or brush off loose dust and pollen first
- Wash frames with warm soapy water, rinse, and dry
- Check cushion labels for care instructions — most use mild soap and water
- Sun-dry everything; air circulation prevents mildew and odors
For wooden furniture, occasionally oiling the frame keeps it from drying and cracking. Metal furniture just needs a quick soap-and-water rinse.
Grills and BBQs
- Burn off residue on high heat for 10–15 minutes, then let it cool
- Scrub grates with a grill brush
- Empty drip pans and wipe down the exterior
- Inspect gas lines for cracks — test connections with a soapy water solution and look for bubbles
The 10-minute burn-off is the fastest way to loosen baked-on food without hours of scrubbing.
Playsets and Sports Equipment
Inspect for splinters, rust, loose fasteners, and frayed ropes. Wash with a mild cleaner, rinse thoroughly, and air dry. Replace worn swing seats or climbing ropes — this is a safety issue first, a cosmetic issue second.
Dispose, Recycle, and Compost the Smart Way
Getting rid of yard waste properly keeps your clean-up from becoming your neighbor’s problem.
Trash and Recycling
Bag sharp items separately and label the bag — it protects sanitation workers. Flatten cardboard boxes and give recyclables a quick rinse to keep pests away from bins.
Yard Waste
Check your city’s guidelines for yard waste pickup. Common rules:
- Use paper lawn bags or city-approved bins
- Bundle branches to the specified length and tie with twine
- Some municipalities offer free or discounted compost bins
Composting: Turn Waste Into Future Soil
You can compost a substantial portion of what your backyard produces:
- Greens (nitrogen): fresh grass clippings, fruit and vegetable scraps, coffee grounds
- Browns (carbon): dry leaves, shredded cardboard, small sticks
Aim for roughly 2 parts browns to 1 part greens. Keep the pile damp like a wrung-out sponge and turn it weekly for airflow. If improving garden soil is your bigger goal, compost is the all-star of organic soil amendments.
This step turns your clean-up into a self-sustaining cycle — less waste, better soil next season.

Source: youtube.com
Keep Pests and Germs Away While You Clean
A clean yard that still attracts pests defeats the purpose. Pay attention to the three biggest offenders:
Pet Waste
Scoop daily if you have a dog. Sealing waste bags before tossing prevents smell and flies. Keep an outdoor bin with a tight lid so the mess doesn’t come back indoors.
Rodent Droppings and Nests
This is a genuine health concern. Never dry-sweep rodent droppings — stirring them up puts particles in the air that can carry disease. Instead:
- Mist droppings with a household disinfectant or bleach solution
- Wait five minutes
- Wipe up with a paper towel and bag
Wear gloves and a disposable mask when cleaning sheds, garages, or areas where rodents have nested. Seal any entry gap larger than a pencil using steel wool and caulk — rodents can squeeze through shockingly small holes.
Standing Water
Mosquitoes breed in standing water. Empty buckets, saucers, plant trays, and toys after every rain. Refresh birdbaths every few days. If you have drainage issues, address them — a yard that puddles after every storm becomes a mosquito nursery.
The Environmental Protection Agency (EPA) maintains thorough guidance on mosquito prevention and integrated pest management for residential properties.
Seasonal Game Plan and the Weekly 20-Minute Habit
Don’t let the yard rebuild its mess between major cleans. Match your effort to the season:
Spring: The Big Reset
- Full debris removal and pruning
- Refresh mulch in beds
- Check irrigation systems for leaks or broken heads
- Seed bare patches in the lawn
Summer: Maintenance Mode
- Mow, edge, and spot-weed weekly
- Rinse furniture and high-traffic areas as needed
- Water early morning, deeply but less often
Fall: The Wind-Down
- Leaf removal (multiple passes as trees drop)
- Final mow — cut slightly shorter for winter
- Plant cutbacks and clean gutters
- Store cushions and outdoor textiles
Winter: Minimal Effort
- Clear fallen branches after storms
- Check drainage paths
- Sweep porches and treat icy steps where needed
The Weekly 20-Minute Rhythm
This is the habit that changes everything. Set a timer and work through quick wins:
- 5 minutes: pick up clutter and toys
- 5 minutes: sweep the patio
- 5 minutes: pull the most visible weeds
- 5 minutes: empty bins and tidy up
One focused session per week keeps the big seasonal cleans from turning into all-day marathons. When you have the right equipment — like a reliable cordless blower or proper tools for the job — these sessions fly by.
Source: coit.com
Budget, Time, and Essential Tools Checklist
Understanding what you’re investing — time and money — helps you plan realistically.
Time Estimates
| Yard Size | Time for Full Clean |
|---|---|
| Small (under 2,000 sq ft) | 1–2 hours |
| Medium (2,000–5,000 sq ft) | 3–4 hours with two people |
| Large (5,000+ sq ft) | Break into zones over two days |
Budget Breakdown
| Item | Approximate Cost |
|---|---|
| Basic supplies (bags, gloves, cleaners) | $20–50 |
| Mulch and soil | $40–150 depending on area |
| Pressure washer rental | $40–80 per day (or buy a basic unit for $150–200) |
Core Tools to Own
These pay for themselves within the first season:
- Rake, broom, hand pruners, and loppers
- Hose with an adjustable nozzle
- Contractor bags and a leaf tarp
- A simple caddy or shelf so tools are always accessible
If you’re building your tool collection from scratch, start with these and add specialty items only as needed. A good sharpener keeps your cutting tools in shape for years.
Common Mistakes That Add Hours to the Job
These are the missteps that turn a simple clean into an all-day affair. Avoid them:
- Washing before sweeping. You push mud around, then wash twice.
- Pressure washing wood at high PSI. It etches the grain and raises splinters.
- Cutting plants too hard in summer heat. It stresses the plant and opens it to pests.
- Piling mulch against tree trunks. The moisture rots the bark over time.
- Bagging everything. Compost the safe stuff and save money, plus build future soil.
- Skipping the edge work. The finished look lives in the details.
Quick Printable Checklist
Print this or save it to your phone. Run through it in order:
- Walk-through and list tasks
- Stage bags, bins, and a water bottle
- Clear large debris
- Scoop pet waste
- Rake leaves and pull weeds
- Prune, edge, and mow
- Sweep and wash hard surfaces
- Clean furniture, cushions, grill, and play gear
- Mulch beds and water lightly
- Sort trash, recycle, and compost
- Final walk and tool cleanup
Frequently Asked Questions
How often should I do a full backyard clean?
Do a thorough clean at least once per season. Weekly 20-minute resets keep the work manageable and prevent anything from needing a marathon session.
What’s the fastest way to clean a small backyard?
Work top-to-bottom and left-to-right in a single sweep. Clear debris, sweep surfaces, wash, then trim last. Don’t jump between areas — finish one zone completely before moving on.
Can I pressure wash every surface?
No. Wood needs low pressure (under 1,200 PSI) and you should always test an inconspicuous area first. Concrete handles more force, but old or flaking concrete can still erode. Adjust the nozzle and technique to the surface.
What should I do with wet leaves?
Let them drain, then compost or bag them. Wet leaves are heavy, so use a tarp to drag them — don’t try to lift full bags of wet foliage.
How do I clean outdoor cushions?
Vacuum first to remove surface crumbs and dirt. Use mild soap and warm water with a soft brush. Rinse thoroughly and dry in the sun — this prevents mildew and keeps odors out.
What’s the right order if I have pets?
Scoop waste first, then sweep, then wash. Finish with a light rinse on high-traffic areas so pets don’t track dust and debris back inside.
How do I make the clean last longer?
Edge the borders, refresh mulch, and stick to a weekly rhythm. The small, consistent efforts are what keep a yard looking maintained rather than just “recently cleaned.”
Conclusion
A clean backyard doesn’t require expensive services or a full weekend — it requires the right order, decent tools, and a rhythm you can maintain. Work from top to bottom, clear debris before you wet anything, and end with the details that make the whole space feel fresh.
Start with one zone. Do the first three steps: clear clutter, scoop waste, and sweep. You’ll see the difference immediately, and that momentum carries you through the rest.
Then keep it that way — a 20-minute weekly pass is all it takes to protect your hard work. Your backyard was designed to be enjoyed, not busied over. Get it clean, keep it manageable, and actually use the space you’ve created.