Brush off soil, wash, sanitize, dry, and oil metal parts after use.
If you want clean cuts, rust-free steel, and healthy plants, learn how to clean garden tools after use the right way. I have cleaned thousands of pruners, shovels, and saws as a working gardener. This guide shows you how to clean garden tools after use with simple steps, pro tips, and smart habits you can keep all year.

Why cleaning matters for tool life and plant health
Dirty tools spread plant diseases, dull edges, and rust fast. Soil holds moisture and salts that eat at steel. Sap glues grit to blades and makes cuts tear instead of slice. Clean tools last longer, work better, and protect your beds.
I learned this the hard way. I once skipped drying my shovel after a wet day. By morning, orange rust spots bloomed. A five-minute clean would have saved an hour of scrubbing. When you know how to clean garden tools after use, you save time and money.
If you share tools, cleaning also reduces the spread of blight, canker, and rust diseases. Quick sanitation between plants can stop a bad day from becoming a bad season.
:max_bytes(150000):strip_icc()/how-to-clean-garden-tools-4799140-06-1cf7c6660ffc4c738e69d79b7b1a730a.jpg)
Tools and materials you need
Gather your kit so clean-up is fast and easy. Make a small caddy you can grab after each job.
- Stiff brush and a putty knife for soil and mud
- Mild dish soap, warm water, and a bucket
- Rags or paper towels for drying
- Steel wool or fine sandpaper for rust spots
- 70% isopropyl alcohol in a spray bottle for fast disinfection
- Bleach solution for heavy-duty sanitation, mixed 1 part bleach to 9 parts water
- Light machine oil, 3‑in‑1 oil, or food-grade mineral oil for metal parts
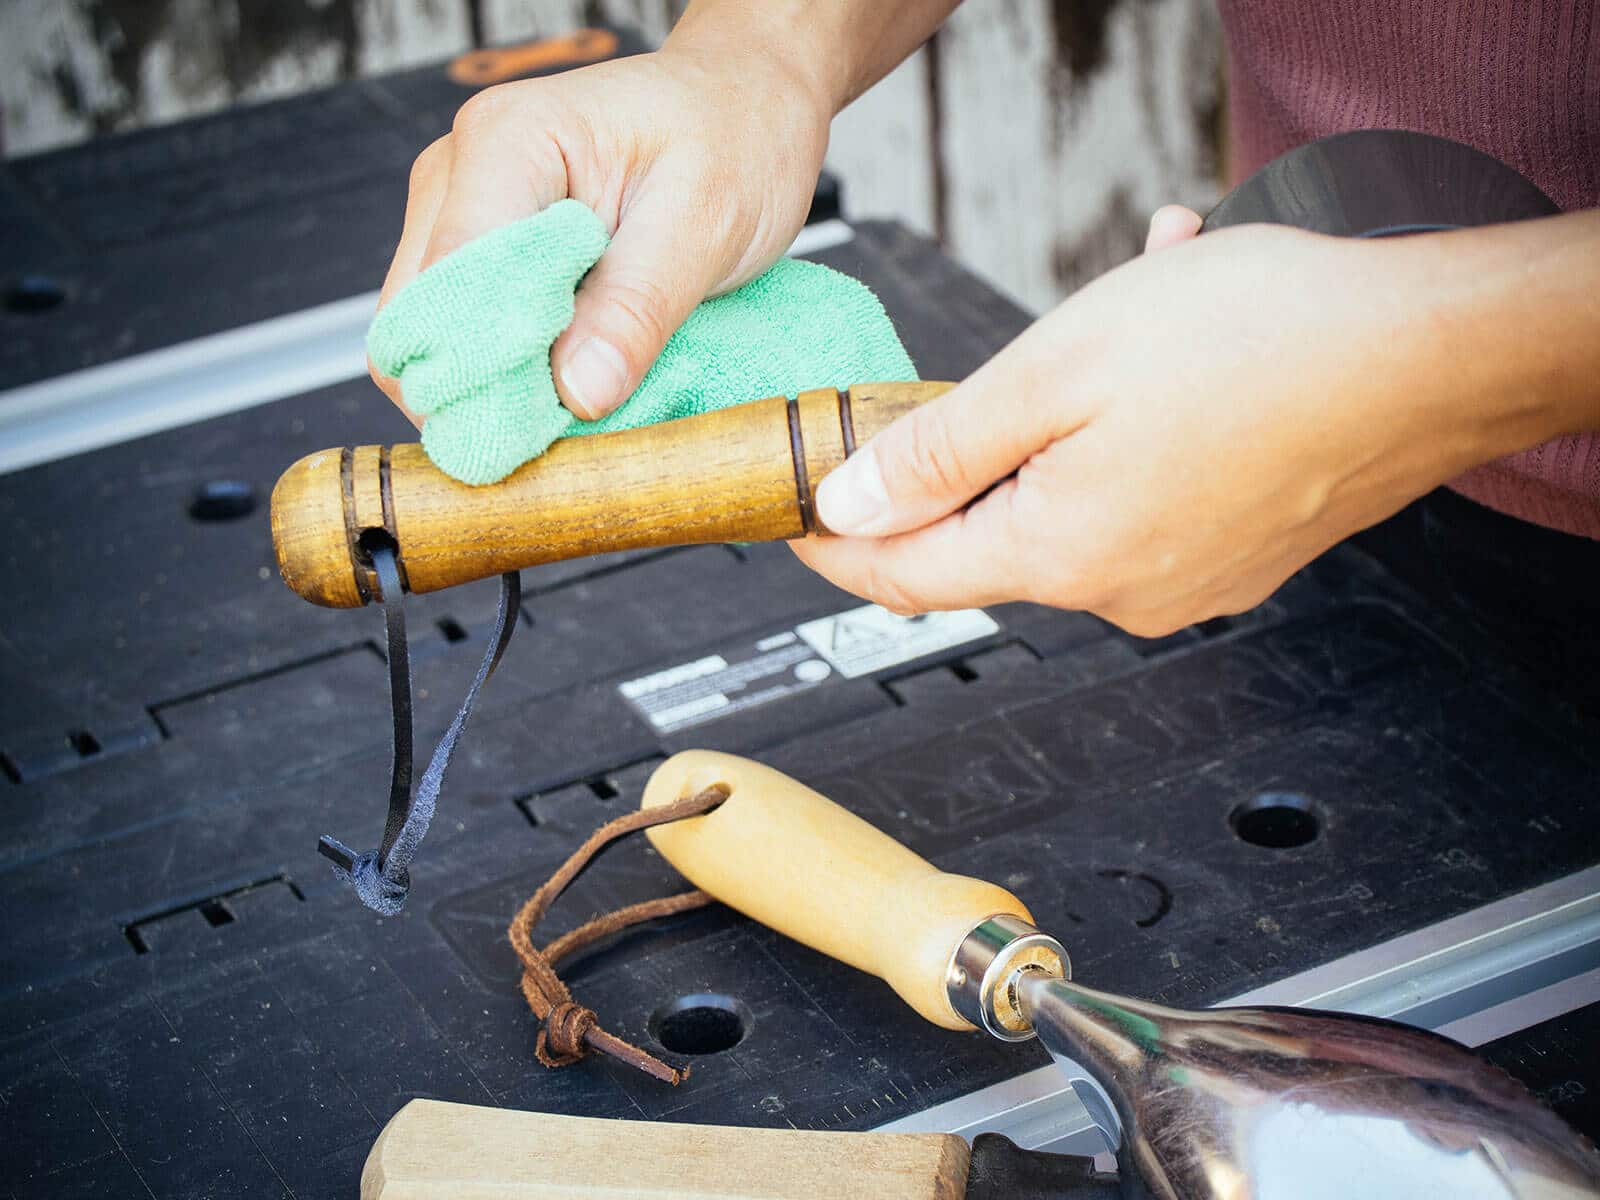
- Boiled linseed oil for wooden handles
- A sharpening stone or file for edges
- Optional: citrus-based degreaser for sap, silicone spray for moving parts
- Safety gloves and eye protection
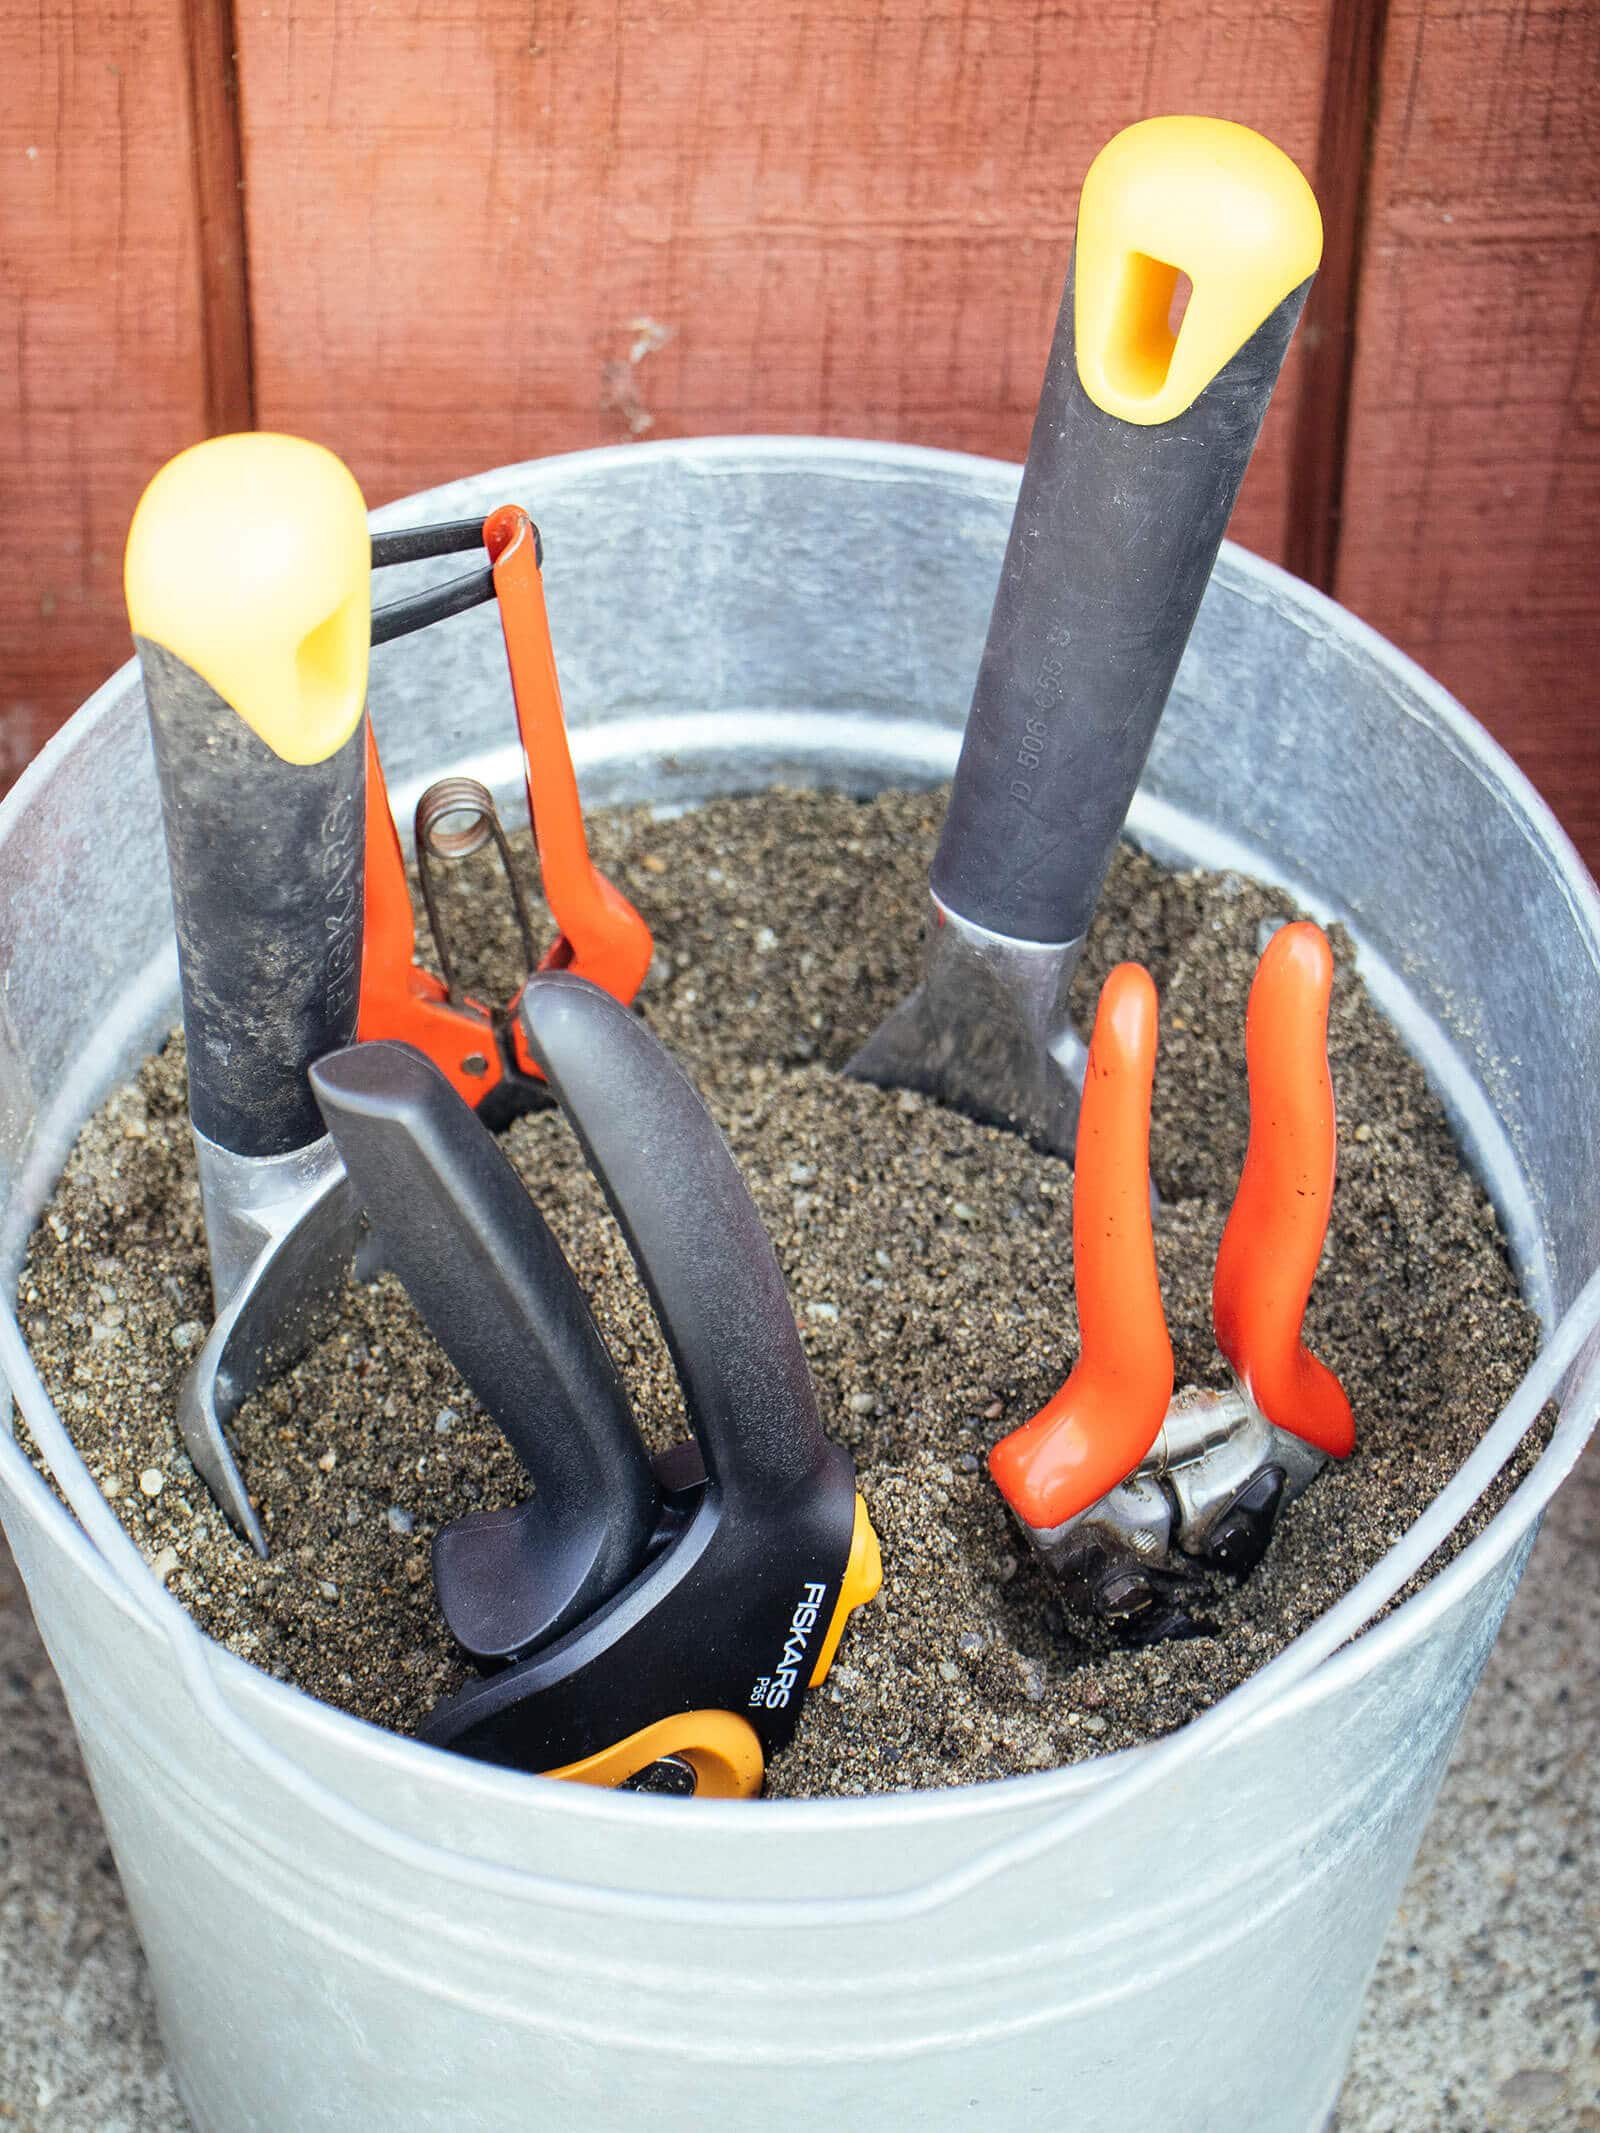
Keep a small bucket of clean sand mixed with a little oil for quick blade dips. It scrubs and protects at once. This simple setup helps you stick to how to clean garden tools after use every time.
Step-by-step: how to clean garden tools after use
Follow this core routine after each session. It takes a few minutes and keeps tools in top shape.
-
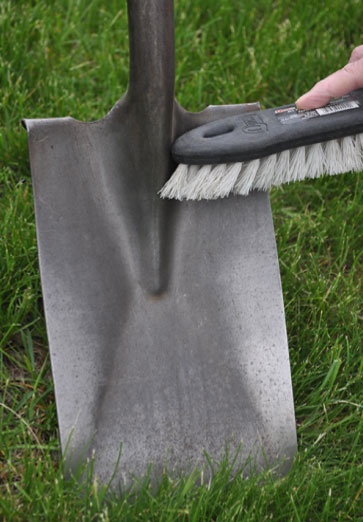
Knock off soil
- Tap tools together or on a board. Use a brush and putty knife to remove clumps.
- Do not bang metal on stone. It can chip edges.
-
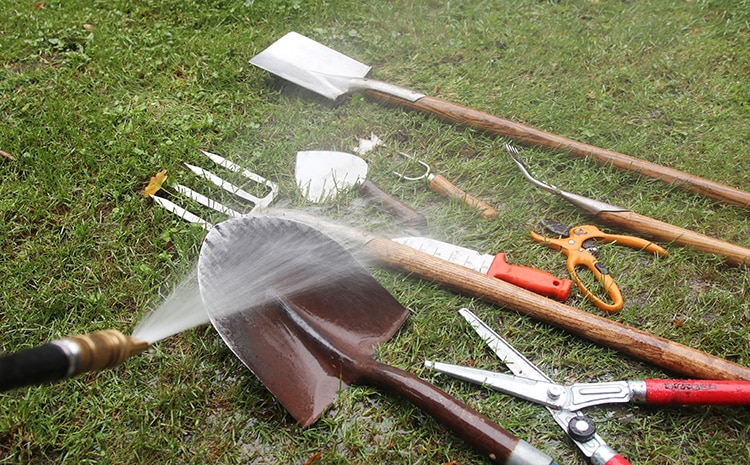
Wash with soap and water
- Use warm, soapy water on blades, heads, and handles.
- Avoid soaking wood for long. A quick wash is enough.
-
Remove sap and rust
- Wipe sap with alcohol or a citrus degreaser. For stubborn resin, use mineral spirits with care.
- Rub light rust with steel wool. For heavier rust, use fine sandpaper. Keep strokes with the blade.
-
Rinse and inspect
- Rinse with clean water. Check pivots, springs, and ferrules for hidden grit.
-
Disinfect
- Spray 70% alcohol and keep surfaces wet for 30 seconds to 1 minute. No rinse needed.
- For bleach, use 1:9 solution. Keep wet for 1 minute. Rinse and dry at once to limit corrosion.
- Use disinfection between plants when disease is present. That is the heart of how to clean garden tools after use to protect plant health.
-
Dry fully
- Wipe all parts. Air dry until no moisture remains, especially in joints.
- Compressed air helps with pruner springs and power-tool vents.
-
Oil moving and metal parts
- Add a drop of oil to pivots. Wipe a thin coat on blades and heads.
- Rub boiled linseed oil into dry wood. Wipe off any extra oil to avoid sticky handles.
-
Sharpen if needed
- Maintain the factory bevel. Use a file or stone. A few passes keep edges keen.
- Sharp tools cut clean and lower disease risk.
-
Store smart
- Hang tools or store off the ground in a dry place.
- Use blade guards for pruners and saws.
Repeat these steps each time. The habit makes how to clean garden tools after use simple and fast.
:max_bytes(150000):strip_icc()/how-to-clean-garden-tools-4799140-10-014cca25a6094ee7881805c2ccddadb1.jpg)
Quick field routine when time is short
You do not need a sink to keep tools clean. Use this trail kit on busy days.
- Brush off soil and plant bits right in the yard.
- Spray blades with 70% alcohol. Wipe clean.
- If sap is sticky, use a dab of hand sanitizer. It works in a pinch.
- Dry with a towel. Add one drop of oil to the pivot.
- At home, do a full wash. This is a smart way to stick with how to clean garden tools after use when time is tight.
Deep-clean schedule: weekly, monthly, and season’s end
Make a simple plan so you never fall behind.
Weekly
- Wash, disinfect, dry, and oil all hand tools you used.
- Check screws, springs, and blade tension.
Monthly
- Sharpen edges on pruners, hoes, and spades.
- Remove rust spots and re-oil wood handles.
Season’s end
- Full strip-down of pruners and loppers. Clean, sharpen, and reassemble.
- Sand and oil handles. Replace cracked grips.
- Check wheelbarrow tires, tighten bolts, and clean trays.
- This deeper work cements how to clean garden tools after use into a year-round habit.
:max_bytes(150000):strip_icc()/how-to-clean-garden-tools-4799140-04-72e6da40277b4acd925b55e9b151aca8.jpg)
Special cases by tool type
Different tools need small tweaks to the routine.
Pruners and loppers
- Disassemble if possible. Clean each part. Pay attention to the spring and anvil.
- Sanitize after each shrub when disease is present. Alcohol is fast and less corrosive than bleach.
- Set blade tension so it cuts clean without rubbing.
Shovels, spades, and hoes
- File a clear bevel on cutting edges.
- Dip in oiled sand after drying to resist rust.
Hand saws and pole saws
- Remove resin with alcohol or mineral spirits. Avoid soaking the handle.
- Light silicone spray can reduce sap build-up on blades.
Rakes and forks
- Check tines for bends. Clean the crown where soil packs tight.
Watering cans and sprayers
- Rinse well. Run clean water through nozzles. Disinfect if used on sick plants.
Power tools
- Unplug or remove batteries before cleaning.
- Brush vents. Wipe housings. Avoid liquids on motors. Light oil on bare metal bars or chains as directed.
For all of these, the core idea is the same: know how to clean garden tools after use, then adjust for material and risk.
Safety, eco, and storage tips
Stay safe and keep things green while you work.
- Wear gloves and eye protection. Sharp edges can surprise you.
- Never mix bleach with ammonia or vinegar. It makes toxic gas.
- Use alcohol for frequent sanitation. Bleach is for heavy jobs and can corrode steel.
- Dispose of bleach solution the same day. Do not store it mixed.
- Store oils away from kids and pets. Lay oily rags flat to dry to prevent fire risk.
- Ventilate your work area. Choose mild, plant-safe cleaners when you can.
- Dry storage is key to how to clean garden tools after use. Moisture is the main enemy.
Mistakes to avoid and pro tips from the field
A few small errors cause big headaches. Skip them with these tips.
- Skipping the dry step. Water left in pivots is a rust starter.
- Using bleach too often. It pits metal. Use alcohol for daily cleanups.
- Over-oiling. A thick layer attracts dust. A thin film is best.
- Soaking wood. It swells and cracks later. Wipe, dry, then oil.
- Ignoring blade tension. Loose pruners crush stems. Tight ones wear fast.
- Pro tip: Keep alcohol wipes in your pocket. You will use them all day.
- Pro tip: Add a calendar note for monthly sharpening. It keeps you honest about how to clean garden tools after use.

Frequently Asked Questions of how to clean garden tools after use
How often should I disinfect my pruners?
Disinfect between plants when you see signs of disease. For routine pruning on healthy plants, disinfect at the end of the session.
Is bleach or alcohol better for disinfecting tools?
Alcohol at 70% is fast, convenient, and less corrosive. Bleach is strong for high-risk cases but must be rinsed and dried right away.
Can I put tools away when they are a little damp?
No. Any leftover moisture invites rust and mold. Always dry fully before storage.
What oil should I use on blades and pivots?
Use a light machine oil or mineral oil for metal parts. For wood handles, rub in boiled linseed oil and wipe off excess.
How do I remove sticky sap from blades?
Use 70% alcohol or a citrus-based cleaner to break down resin. For stubborn spots, a small amount of mineral spirits works, then wash and dry.
Do I need to sharpen after every use?
No. Touch up edges when you feel resistance or see ragged cuts. A few light strokes on a stone often restore a sharp edge.
What is the fastest way to follow how to clean garden tools after use on busy days?
Brush off dirt, spray with alcohol, wipe dry, and add a drop of oil. Do a full wash later that day or week when time allows.
Conclusion
Clean tools cut better, last longer, and protect your garden. Build a simple routine you can do in minutes, and you will see the rewards all season. Make today the day you commit to how to clean garden tools after use with a small kit and a few smart steps.
Ready to take the next step? Put together your cleaning caddy, set a weekly reminder, and share your results. Subscribe for more practical garden care guides, or leave a comment with your best tool tip.