How To Use A Leaf Blower For Yard Cleanup: Quick, Safe Tips
A leaf blower can turn a tedious afternoon of raking into a focused 30-minute job—but only if you use it with a strategy. Most people pick up a blower, pull the trigger, and chase leaves around the yard until they end up back where they started. That's exhausting and ineffective.
The good news? Proper leaf blower technique is simple to learn. It comes down to working with the wind, sweeping in controlled arcs, and building rows instead of random piles. With the right setup and a few pro-level habits, you'll clear your lawn faster, protect your equipment, and avoid the rookie mistakes that turn a quick cleanup into an all-day chore. You can also read our guide on how to fix a leaf blower that won t start.

Photo: A modern handheld blower is enough for most residential lots.
Choose the Right Leaf Blower for Your Yard
Before you even think about technique, you need the right tool for the job. The best leaf blower for your situation depends on three factors: yard size, noise tolerance, and the type of debris you deal with.
| Blower Type | Best For | Pros | Cons |
|---|---|---|---|
| Corded Electric | Small yards under ¼ acre | Lightweight, no fueling, unlimited runtime | Cord management, limited reach |
| Cordless Battery | Mid-size yards ¼–½ acre | Quiet, portable, low maintenance | Runtime limits, needs spare batteries |
| Gas Handheld | Large yards with heavy leaf drop | High power, no cord, long runtime | Louder, requires fuel mixing |
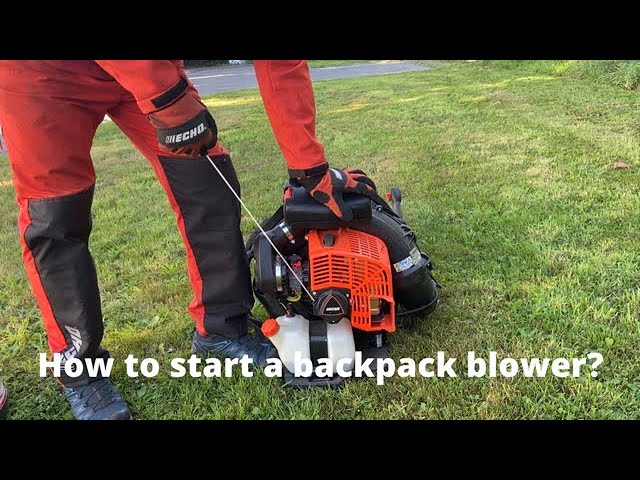
| Gas Backpack | Professional or multi-acre jobs | Maximum power and comfort | Heavy, expensive, loudest option |
Two numbers matter when comparing blowers: CFM (cubic feet per minute) and MPH (miles per hour). CFM tells you how much air the blower moves—higher CFM handles big piles of leaves. MPH tells you how fast that air travels—higher MPH lifts wet or stuck debris off the ground.
For most home yards, a unit with at least 400 CFM and 100 MPH will handle standard leaf cleanup comfortably. If you're shopping for your first blower, compare top-rated cordless models to find one that balances power with battery life.
Also consider the nozzle. Round nozzles are ideal for pushing large volumes of loose leaves. Flat or narrow nozzles concentrate airflow, which helps cut under wet leaves and debris stuck to hard surfaces.

Photo: Flat nozzles concentrate airflow for stubborn debris; round nozzles move bulk leaves faster.
Safety First: Protect Yourself Before You Blow
Leaf blowers kick up far more than leaves. Dust, pollen, mold spores, small stones, and debris all become airborne projectiles the moment you pull the trigger. Skipping basic safety gear is a false economy—one eye injury or a lung full of moldy dust isn't worth saving 30 seconds.
Essential safety gear for every job:
- Safety glasses or goggles — non-negotiable. A flying pebble can permanently damage your eyes.
- Hearing protection — even battery blowers run at 60–80 dB. Gas models regularly exceed 100 dB, which can cause permanent hearing loss with prolonged exposure.
- Dust mask or respirator — especially when blowing dry leaves or material that's been sitting in damp piles.
- Sturdy gloves and closed-toe shoes — protect against debris and give you better grip on the blower.
- Long pants — guard against thrown sticks and stone chips.
In practice, a common mistake is skipping hearing protection for a "quick five-minute job." Loud noise exposure is cumulative. Keep earplugs or earmuffs near your blower so they're never out of reach.
Also check local noise ordinances before you start. Many municipalities restrict gas-powered blowers to specific daytime hours. A quick online search of your town's regulations can save you from a fine and an angry conversation with a neighbor.
Prep the Yard Before You Start
Walking the yard for two minutes before you begin saves twenty minutes of frustration later. Preparation is the single most underrated step in efficient leaf cleanup.
- Clear the battlefield: Pick up branches, toys, dog waste, hoses, and landscaping stones. A blower won't move these—it will just turn them into projectiles or clog your machine.
- Check your equipment: Fully charge batteries or top up fuel. Inspect the air intake, tube connections, and filter for blockages.
- Plan your zones: Mentally divide the yard into manageable sections. Work in small chunks rather than trying to "do the whole lawn" in one continuous sweep.
- Survey the wind: Notice which direction the breeze is blowing and plan to move with it, not against it.
- Close gates and cover vents: The last thing you want is a leaf pile being sucked into an AC unit or under a deck.
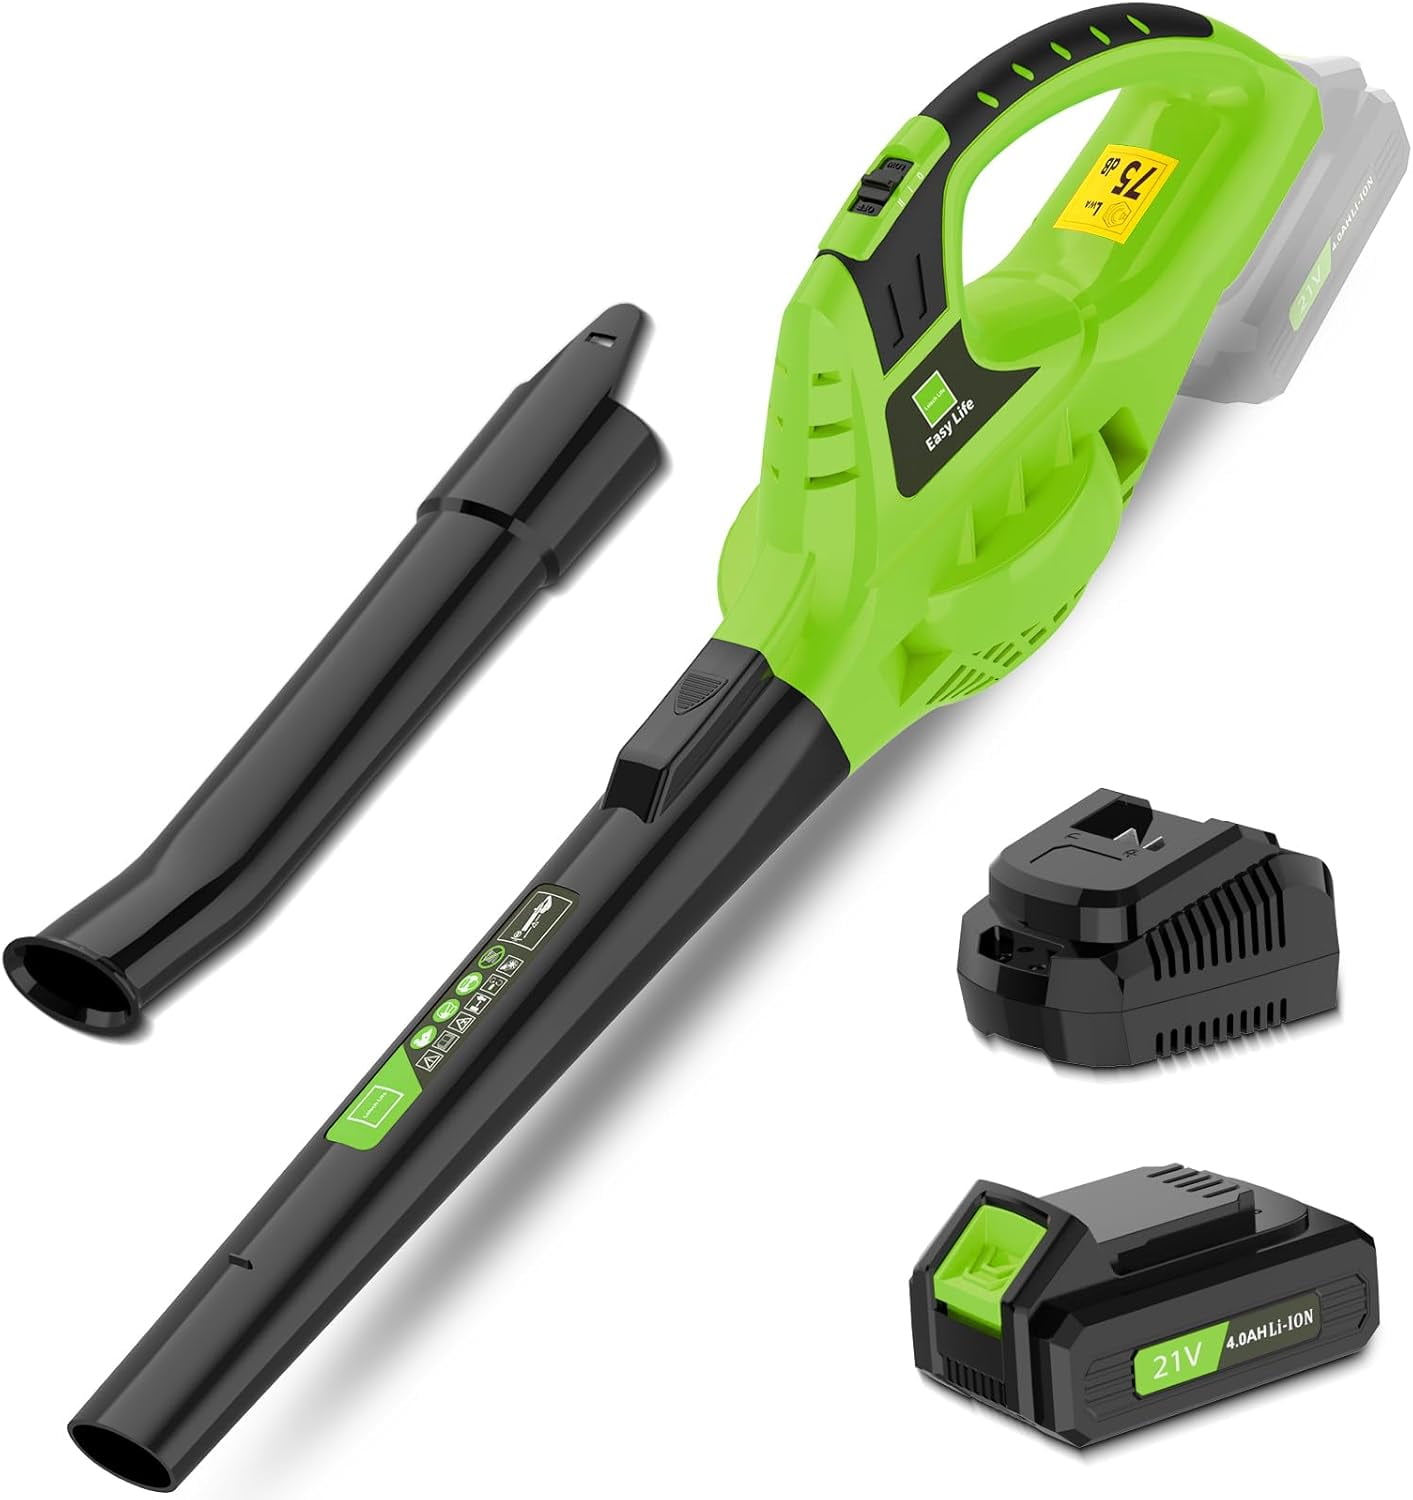
Photo: A quick pre-sweep of the yard prevents damage to your blower and keeps debris from becoming projectiles.
Pro tip: Lay a large tarp near your planned final pile location. When you're done, drag the tarp—not the leaves—to your compost bin or collection area. This simple trick cuts removal time roughly in half.
Core Technique: The Step-by-Step Method
Good leaf blowing is about controlled, repeatable movements. If you find yourself chasing leaves or creating scattered piles, slow down and follow this sequence.
1. Start at the Edges
Begin along fences, walls, and garden borders. Blow leaves away from these barriers first, creating a clean boundary. Working inward from the edges prevents leaves from being trapped in corners later.
2. Use Low to Medium Power
Resist the urge to run full throttle. High power scatters leaves, kicks up dust, and makes you lose control. Start on a lower setting and increase only when you encounter wet clumps or thick accumulations.
3. Sweep in Smooth Arcs
Keep the nozzle 3–6 inches above the ground and move it in steady, overlapping arcs. This lifts leaves without blasting dirt, gravel, or mulch. Think of the blower as a broom, not a cannon.
4. Build Windrows
Guide leaves into long, narrow rows (windrows) rather than random piles. Rows keep the debris contained and make the final collection much simpler. Work with the wind direction so the leaves naturally move away from you.
5. Combine into a Single Pile
Once your windrows are built, push them together into one large pile at the dumping point. Again, work with the wind, not against it.
6. Collect and Finish
Pull the pile onto your tarp, then either bag the leaves, move them to a compost area, or run a mulching mower over them. For large properties, you might also consider a dedicated leaf mulcher to reduce volume dramatically.
Adapting to Different Surfaces
Driveways and patios: Keep the nozzle lower and closer to the surface. Push debris in one consistent direction. Finish with a light, high-speed pass to remove fine dust and grit.
Around shrubs and flower beds: Drop to a lower throttle setting. Angle the air stream to skim just above the mulch surface rather than pointing straight down. If mulch shifts, reset it by hand after blowing.
Lawns: Keep the nozzle slightly higher to avoid scalping the grass or pulling up turf. A medium throttle is usually sufficient for lifting leaves without damaging the lawn.
Special Situations: Wet Leaves, Pine Needles, and More
Real yards don't cooperate. Here's how to handle the messy situations that stump most homeowners.
Wet Leaves
Wet leaves are heavy, clumpy, and stubborn. Don't fight them with brute force.
- Use a narrow or flat nozzle to direct concentrated airflow.
- Lift in short bursts to break the suction between leaves and the ground.
- Push in low, steady sweeps once you've loosened them.
- If leaves are completely soaked, rake them first, then blow—you'll save time in the long run.
Pine Needles
Pine needles tangle and are nearly impossible to bag loose.
- Use short strokes with a low-angle nozzle to gather them.
- Push needles directly onto a tarp for easy collection.
- Avoid dragging a full throttle across them—they'll scatter like crazy.
Gravel Driveways
Blowing gravel is every homeowner's nightmare. The secret is airflow angle, not speed.
- Aim the air just above the stones, not directly at them.
- Use low power—just enough to move leaves.
- Pull debris off in thin, careful layers rather than trying to clear everything at once.
Gutters
Only use gutter attachment kits designed for your specific blower model. Stand firmly on the ground with feet planted. Never lean from a ladder while a blower is running—the torque can throw you off balance.
Vacuum and Mulch Modes
Many blowers double as leaf vacuums with a collection bag. These work well for tight spaces, patios, and small debris piles. Avoid sucking up sticks, stones, or acorns—they'll damage the impeller. Empty the bag frequently to maintain strong airflow.
Work Smart: Ergonomics, Efficiency, and Maintenance
Leaf blowing is physical work. Protect your body and your equipment, and the job becomes noticeably easier.
Posture and Movement
- Keep your elbows close to your body and your shoulders relaxed.
- Switch hands every few minutes to avoid fatigue in one arm.
- Walk in straight lines, making passes rather than zigzagging randomly across the yard.
- Bend your knees, not your back, when reaching down for low sweeps.
Time-Saving Habits
- Build your windrows first, then combine. Don't try to "finish" one corner completely before moving on.
- Keep a spare battery charging while you work so you can swap without a break.
- Use a tarp or a dedicated dump cart rather than carrying individual bags around the yard.
Regular Maintenance
- Clean or replace the air filter according to the manufacturer's schedule. A clogged filter is the number one cause of power loss I see in the field.
- Check tube connections periodically—a loose tube kills airflow and makes you work harder.
- For gas models, always use fresh fuel mixed to the proper ratio. Old fuel causes hard starts and poor performance. Stabilized fuel like TruFuel for lawn equipment eliminates mixing errors.
- Store batteries at partial charge (around 50%) in a cool place. Extreme temperatures degrade lithium-ion cells.

Photo: Backpack blowers distribute weight better for long sessions, reducing arm fatigue.
Troubleshooting and Mistakes to Avoid
Most "bad blower" problems are actually technique problems. Before you blame the equipment, check these common errors.
| Mistake | The Fix |
|---|---|
| Full throttle everywhere | Use only enough power to move leaves. High settings scatter debris |
| Blowing against the wind | Always work with the breeze; you'll cover ground twice as fast |
| Random piles everywhere | Build organized windrows, then combine into one large pile |
| Ignoring wet spots | Break up clumps with short bursts or loosen them with a rake first |
| Skipping the yard check | Stones and toys become dangerous projectiles. Walk the area first |
Quick fixes for airf low issues:
- Weak airflow: Check the air filter, tube, battery charge, or spark plug (gas models).
- Static cling on dry days: Lightly mist the area with a hose or take a short break to let conditions settle.
- Dust clouds: Reduce power and use tighter arcs closer to the ground. Misting the lawn beforehand also helps.
Be a Good Neighbor and an Eco-Friendly Cleaner
Leaf blowers have a reputation problem—mostly because of poorly used, excessively loud gas models. You can avoid being "that neighbor" with a few simple practices.
- Respect quiet hours. Mid-morning or late afternoon is typically acceptable. Early Sunday morning is not.
- Control dust production. Misting dry areas before blowing reduces airborne particles dramatically.
- Keep leaves out of storm drains. Clogged drains cause localized flooding and environmental damage.
- Compost or mulch your leaves. Leaves are carbon-rich and excellent for garden soil. Check your local waste collection rules, but home composting is almost always the better option. Healthy soil benefits from the organic matter, and building better soil supports your entire lawn.
- Consider timing your blow around neighbors' outdoor activities. A quick message before a big cleanup goes a long way.
Frequently Asked Questions
What power setting should I use most of the time?
Start on low to medium power. Reserve high throttle for wet clumps, thick piles, or hard surfaces where you need extra lift.
How close should the nozzle be to the ground?
Keep the nozzle a few inches above the surface. This lifts leaves effectively without blasting dirt, gravel, or mulch.
Is a battery blower strong enough for a big yard?
Yes—if you choose a high-CFM model and keep a spare battery charged. For very large properties or professional use, a gas backpack remains the fastest option.
What's the best way to handle wet leaves?
Use a narrow nozzle with short bursts to loosen them, then push in low, steady sweeps. Heavily soaked leaves are easier to rake first.
Can I use a leaf blower on gravel without scattering stones?
Absolutely. Aim above the stones, use low power, and pull debris off in thin layers rather than attempting one aggressive pass.
Should I blow or rake first?
Blow first to gather bulk leaves quickly. Follow with a rake for tight corners, under shrubs, and final touch-ups. For heavy leaf drop, consider a mulching mower to break down leaves in place.
Your Turn: Make Leaf Blowing Feel Effortless
Mastering a leaf blower isn't about raw power—it's about control and planning. Prepare your yard, work with the wind, sweep in smooth arcs, and build rows before piling. Safety gear, regular maintenance, and respect for your neighbors complete the picture.
Here's a quick summary of the key principles:
- Walk the yard and clear debris before you start.
- Work with the wind direction, not against it.
- Keep the nozzle low and use only the throttle you need.
- Build windrows, then combine into a single pile.
- Bag, tarp, or mulch the results immediately.
- Maintain your blower regularly and store it properly.
The next time you grab your blower, try this method. Time yourself. You'll likely finish faster, with a cleaner result and far less frustration. If you're still shopping for the right tool, compare the top-rated cordless blowers to find one that fits your yard's size and your noise tolerance.
Got a leaf-blowing trick that works for your yard? Put it to the test and enjoy the cleanest fall cleanup yet.