Let engine cool, drain coolant, hose-flush gently, then refill with the right mix.
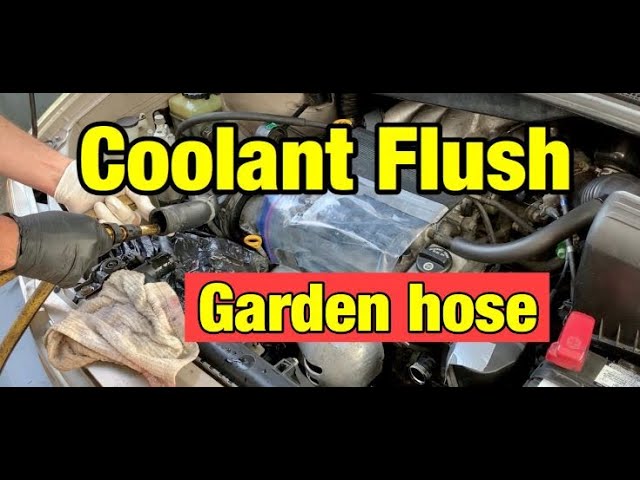
If you want a clean, healthy cooling system without a shop visit, you can do it at home. This expert guide on how to flush radiator with garden hose shows each step, the tools you need, and the mistakes to avoid. I’ll share field insights from years under the hood, so you finish with a smooth, safe flush and a cooler-running engine.

Why flushing your radiator matters
Over time, coolant breaks down. Rust, scale, and silica form. Flow drops. Heat transfer suffers, and your engine runs hot. A careful flush restores flow and protects the water pump, thermostat, and heater core.
If you are learning how to flush radiator with garden hose, know this: a gentle rinse clears debris fast. You avoid harsh pressure and save the rubber parts from stress. Done right, it can add years to your cooling system life.
A clean system also helps the cabin heater. Warm winter drives are a bonus most people forget. Clean coolant keeps small passages open and stable.

Tools and materials you will need
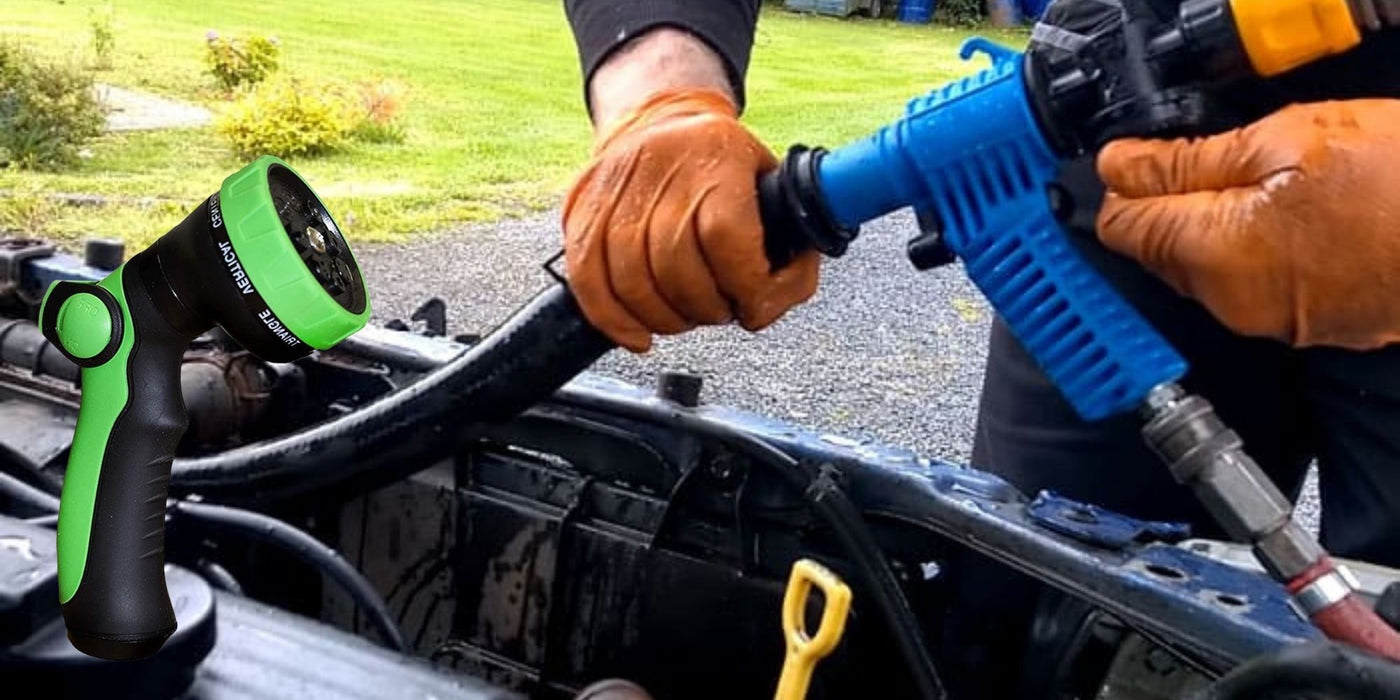
- Garden hose with a spray nozzle for low, steady flow.
- Large drain pan or bucket, at least 2 to 3 gallons capacity.
- Gloves, safety glasses, and rags to protect hands and paint.
- Pliers or hose clamp pliers, flat and Phillips screwdrivers, socket set.
- Funnel and a clear measuring jug for mixes.
- Distilled water, 2 to 4 gallons.
- Correct coolant type for your vehicle, premix or concentrate.
- Optional flush tee or hose adapters for heater core lines.
- New hose clamps, radiator cap, or thermostat gasket if needed.
- Optional chemical cooling system flush if heavy rust is present.
- Shop light and vehicle service guide for locations and torque specs.
This simple kit is enough for how to flush radiator with garden hose on most cars and trucks.
Safety and environmental prep
Only work on a cold engine. Hot coolant can spray and burn. Never open a cap on a hot system. Set the heater to full hot to open the heater valve on older cars.
Place the car on level ground and set the parking brake. Put a drain pan under the radiator drain. Antifreeze is toxic and sweet to pets. Store it in sealed containers and take it to a recycling center.
Keep hose pressure low. A garden hose can exceed 40 psi. That is too high for a heater core. Use a gentle flow. If the car has no radiator cap and uses a pressurized reservoir, follow the service guide for the right fill and bleed steps during how to flush radiator with garden hose.

Step-by-step: how to flush radiator with garden hose
Follow these steps to do a clean, careful flush at home. Keep the flow light, and do not rush.
- Let it cool and prep
- Park the car and let it cool fully.
- Set the heater to max hot.
- Remove the radiator cap or reservoir cap when cool.
- Drain the old coolant
- Place the pan under the radiator drain.
- Open the drain cock and let coolant flow.
- If the engine block has a drain, crack it open briefly to empty more. Close drains when done.
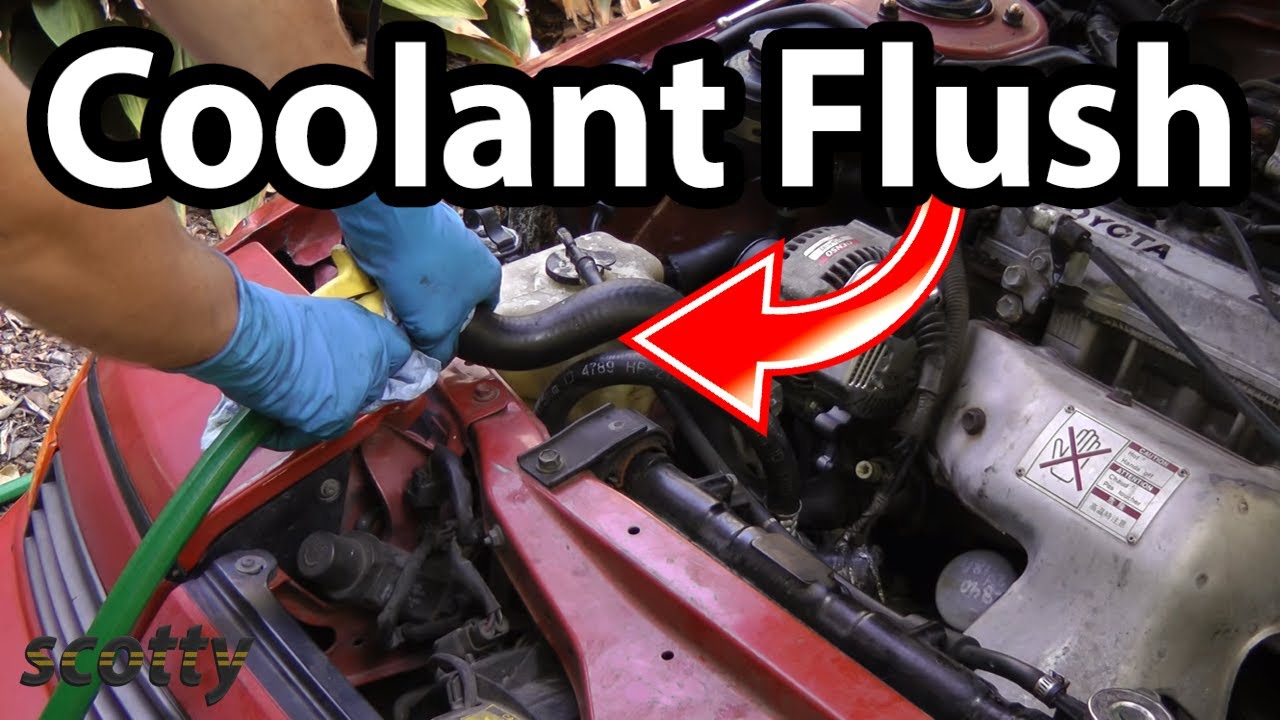
- Disconnect the upper radiator hose
- Loosen the clamp at the radiator end.
- Twist and pull the hose free.
- Aim it into the drain pan to catch any extra fluid.
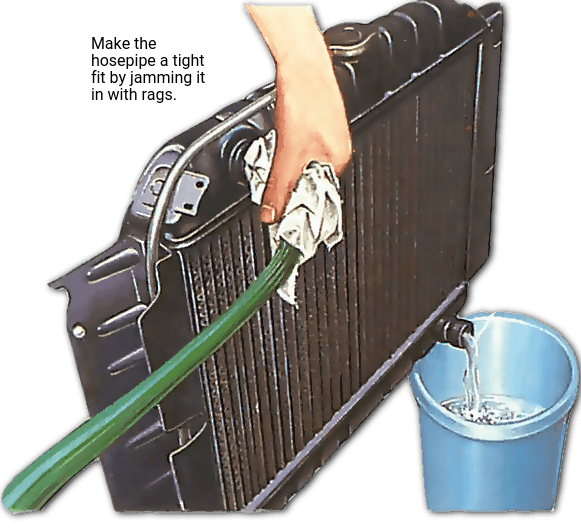
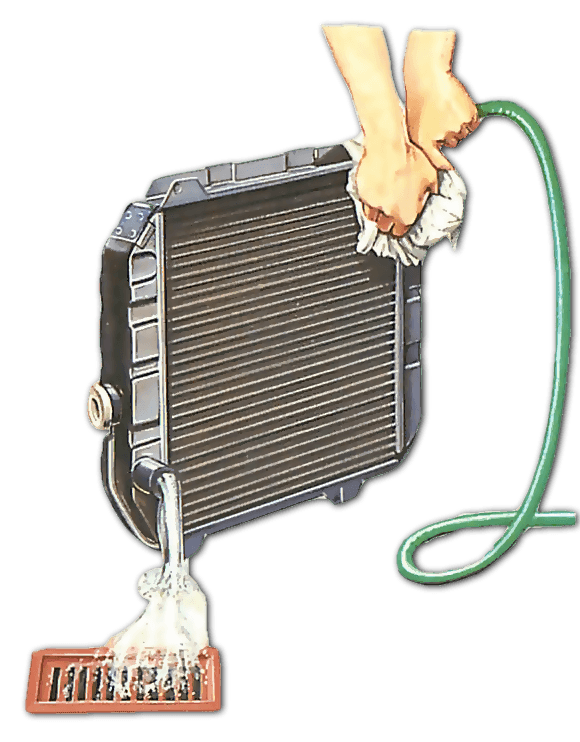
- Flush the radiator core
- Insert the hose into the radiator filler neck or the upper radiator inlet.
- Run water at a gentle flow.
- Watch the outlet and drains. Continue until water runs clear.
- Flush the engine through the upper hose
- Place the garden hose into the loose upper radiator hose.
- Run a light flow so water moves through the engine and out the lower hose or drain.
- Stop when the water runs clear.
- Backflush the heater core
- If easy to access, remove the two heater hoses at the firewall.
- Gently run water through one hose, then the other.
- Keep pressure low to avoid damage. Flush until clear.
- Optional chemical rinse for heavy rust
- Reconnect hoses and close drains. Fill with water and a flush chemical as directed.
- Idle the engine until warm with the heater on. Do not drive hard.
- Let it cool, then drain again and rinse with plain water until clear.
- Rinse cycles with distilled water
- Close drains and reconnect all hoses.
- Fill the system with distilled water only.
- Idle until warm with heater on, then cool and drain.
- Repeat if the water still shows color. This step reduces minerals and old coolant traces.
- Final fill with the right mix
- Know your system capacity.
- Use a 50/50 mix unless your climate or OEM says otherwise.
- If using concentrate, add half the system capacity in concentrate, then top with distilled water.
- If using premix, fill to the neck or max line.
- Bleed air from the system
- Open any bleed screws.
- Start the engine with the heater on.
- Squeeze upper and lower hoses to burp air.
- When the thermostat opens and fans cycle, top off as needed.
- Close the cap and fill the overflow bottle to the mark.
- Check for leaks and test drive
- Look at hose ends, drains, and the water pump.
- Wipe areas dry and recheck after the drive.
- Monitor the temp gauge and cabin heat.
This is the safe way for how to flush radiator with garden hose while protecting fragile parts and seals.
Aftercare: testing, bleeding, and monitoring
Watch the temperature gauge on your first drive. It should rise to normal and stay steady. The heater should blow warm air at idle. If the gauge climbs or drops, you may still have air.
Let the engine cool and recheck the overflow level. Top off if the level drops. A day or two later, check again and inspect for damp spots around hose joints. This is normal after a flush, and small burps may settle. After how to flush radiator with garden hose, stable temps and clean coolant mean you did it right.
Common mistakes and troubleshooting when you flush a radiator with a garden hose
Avoid these common errors during how to flush radiator with garden hose. They are simple to fix, but better to prevent.
- Opening the cap on a hot engine. Always let it cool fully.
- Using full city water pressure. Keep the flow soft to save the heater core.
- Mixing coolant types. Use the coolant your manufacturer specifies.
- Skipping the heater core flush. Many clogs hide there.
- Filling with tap water. Only use distilled for the final fill.
- Forgetting to bleed air. Trapped air causes hot spots and pinging.
- Reusing weak hose clamps or old caps. Replace worn parts to prevent leaks.
If you still overheat, check for air pockets, a stuck thermostat, a weak cap, or a clogged radiator that needs replacement. If water stays brown after many cycles, consider a professional power flush. When in doubt, a technician can pressure test the system and confirm your work after how to flush radiator with garden hose.

How often to flush and signs you need it
Most modern coolants last 5 years or 100,000 miles. Some older blends need service every 2 to 3 years. Always follow your vehicle guide. Use test strips if you want proof of pH and freeze point.
You likely need service if you see rusty fluid, sludge, a sweet smell after a drive, or if the cabin heat is weak. Overheating on hills or at stops is another cue. If you search how to flush radiator with garden hose because of these signs, act soon to avoid costly damage.

Cost, time, and skill level
Plan for 1 to 3 hours for how to flush radiator with garden hose, depending on access and rust. Expect to spend $30 to $100 for coolant, distilled water, and small parts. It is a solid DIY job if you are patient and neat.
Hire a pro if the car has complex bleeders, electric water pumps, active shutters, or cramped access. Hybrids and some European cars need special steps. A pro can also handle disposal and reset maintenance logs if needed.
My hands-on tips from the garage
Over the years, I learned to pre-mix coolant in a clean jug. That makes top-offs simple and keeps ratios exact. I also keep a towel around the neck to catch tiny splashes when burping air.
On one mid-size SUV, the heater was dead in winter. A gentle backflush of the heater core with a garden hose fixed it in minutes. Flow came back, and the cabin heat was toasty. That is why I always include the heater core in how to flush radiator with garden hose. The small details make the big wins.
Frequently Asked Questions of how to flush radiator with garden hose
Can I use tap water to fill the system after a flush?
Use tap water for flushing only. For the final fill, switch to distilled water to prevent mineral deposits.
Do I need to remove the thermostat to flush?
Not usually. A careful garden hose flush works with the thermostat in place, and a distilled water rinse clears the rest.
Can I flush through the overflow tank only?
On systems without a radiator cap, yes, but follow the factory steps. Some cars require specific bleed procedures to avoid air pockets.
How long should I run the hose during the flush?
Until the water runs clear from each section. This often takes a few minutes per section and a couple of rinse cycles.
Will a garden hose damage my heater core?
Not if you keep flow low. Use a gentle stream and avoid full house pressure.
What coolant should I use after the flush?
Use the coolant type and spec listed for your vehicle. Do not mix different chemistries.
Can I do how to flush radiator with garden hose if I have an aluminum radiator?
Yes, but be gentle and avoid harsh chemicals. Low pressure and distilled water for the final fill protect aluminum.
Conclusion
A careful, low-pressure rinse, the right coolant mix, and thorough bleeding are the keys to a successful radiator service. With the steps above, you now know how to flush radiator with garden hose the right way, protect your heater core, and keep temps steady.
Set aside a calm afternoon, gather your gear, and give your cooling system the attention it deserves. If you found this helpful, subscribe for more step-by-step car care guides, or leave a comment with your setup and results.