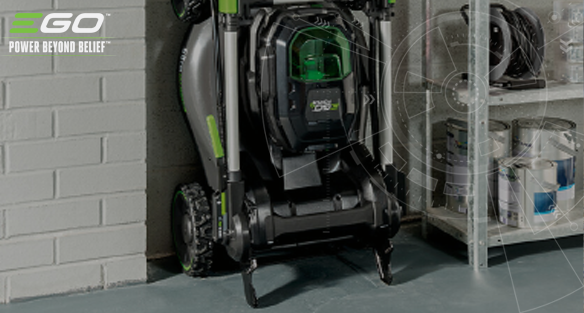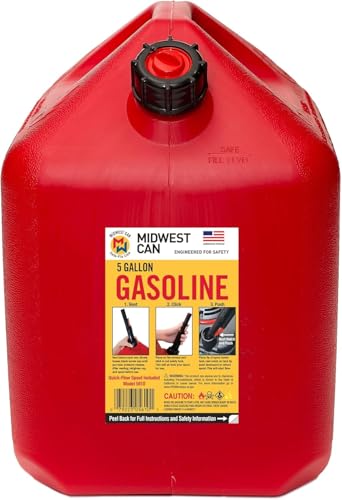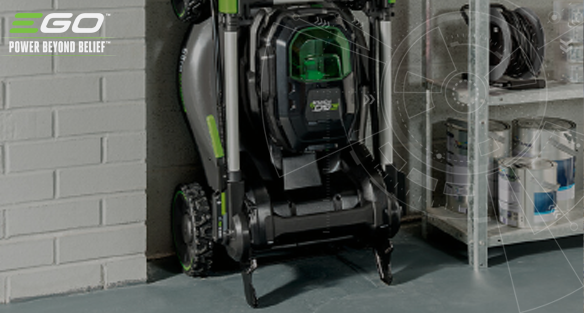
Clean, treat or drain fuel, change oil, remove battery, and store dry and upright.
If you want to know how to store a lawn mower for winter the right way, you are in the right place. I service dozens of mowers each fall, and I have seen what works and what fails. In this guide, I share a clear, proven plan so your mower starts fast in spring, runs smooth, and lasts longer. Stick with me for simple steps, expert tips, and the small details that prevent big repairs.

Why winter storage matters
Cold weather is not the only risk. Stale fuel, moisture, and rust do the real harm. Ethanol fuel attracts water. It can gum up jets and clog the carb. Batteries also drain when stored wrong. Belts crack. Rodents chew wiring.
I have fixed many spring no-starts caused by old gas and wet decks. A few minutes now stops those costs later. If you learn how to store a lawn mower for winter with care, you protect your engine, deck, and wallet.

Tools and supplies checklist
Gather what you need before you start. It makes the job faster and safer.
- Fuel stabilizer or a gas-safe siphon
- Fresh gas if you plan to run stabilized fuel through the system
- Engine oil and a new oil filter if your model has one
- Spark plug and air filter if they are due
- Fogging oil for long storage of gas engines
- Battery maintainer for riding or battery mowers
- Deck scraper, brush, and mild soap
- Silicone spray or light oil to coat bare metal
- Clean rags, drain pan, and gloves
- Blocks or a stand to lift the mower safely
- Rodent deterrents if your storage has pests
Use the owner’s manual for specs. That is your trusted map.
:max_bytes(150000):strip_icc()/lawn-mower-storage-ideas-7228646-01-13dc4f23d0c34bfba9314c72ae35b9ff.jpg)
Step-by-step: how to store a lawn mower for winter
The steps below are simple and safe. They work for most push, self-propelled, and riding mowers. Always remove the spark plug wire before working under the deck on gas models. Unplug batteries on electric models.
Step 1: Clean the deck and frame
- Brush off dry grass from the top and wheels.
- Tip the mower with the carb and air filter up. Scrape the deck.
- Wash with mild soap. Rinse. Dry well.
- Spray a light coat of silicone or oil on the deck underside. It fights rust.
Personal tip: I let the deck sit in the sun or near a fan. Dry metal does not rust.
Step 2: Deal with fuel the right way
You have two safe paths. Pick one and stick with it.
- Run it dry
- Use up most of the fuel during the last mow.
- Let it idle until it stalls. Crank once more to clear the carb.
- Stabilize it
- Add stabilizer to fresh gas per the label.
- Fill the tank 95% to limit air.
- Run the mower 5 to 10 minutes. This pulls treated fuel into the carb.
I use the stabilize method on newer engines. It protects seals. If you ask how to store a lawn mower for winter without carb issues, this is my top tip.
Step 3: Change the oil
- Warm the engine first. Warm oil drains fast and clean.
- Drain into a pan. Refill with the correct grade.
- Replace the filter if your engine has one.
Fresh oil stops acid and moisture from eating bearings over winter.
Step 4: Service the air filter and spark plug
- Replace a paper air filter if dirty. Wash foam filters and oil them lightly.
- Pull the spark plug. Add a tiny shot of fogging oil to the cylinder.
- Pull the starter rope a few times. Reinstall a new plug.
This coat protects rings and walls. It is cheap insurance.
Step 5: Battery care (gas riders and battery mowers)
- For riding mowers, disconnect the negative cable first. Then the positive.
- Store the battery in a cool, dry spot. Keep it on a smart maintainer.
- For lithium battery mowers, remove packs. Store at about 40% to 60% charge.
- Do not leave lithium packs on the tool or on a dumb charger.
I never store batteries on concrete floors. It is not the old myth about discharge. It is about moisture. A shelf stays drier.
Step 6: Belts, blades, and cables
- Inspect belts for cracks. Replace if worn.
- Check the blade. Sharpen and balance now so you are ready in spring.
- Lube cables and pivot points with a dry lube or light oil.
When readers ask how to store a lawn mower for winter and save time later, I say sharpen now. Spring time is precious.
Step 7: Tires and frame position
- For riders, inflate tires to the label PSI. This prevents flat spots.
- Store push mowers upright on all four wheels. Do not hang by the handle.
- Use blocks to take weight off rider tires if storage will be long.
Step 8: Store in a dry, safe place
- Choose a clean, dry area with airflow.
- Keep it off bare concrete. Use a mat, pallet, or plywood.
- Cover with a breathable cover. Avoid plastic tarps that trap moisture.
- Use rodent deterrents if needed. Peppermint packs or sealed bait work.
Follow these steps and you will master how to store a lawn mower for winter and avoid spring repairs.

Special notes by mower type
Gas push and self-propelled mowers
- Most use four-stroke engines and E10 gas. Treat fuel or run dry.
- Fog the cylinder if storage will be longer than 3 months.
- Keep the air filter clean and dry.
Battery-electric push mowers
- Remove battery packs. Store cool and dry at partial charge.
- Clean grass from cooling slots and under the deck.
- Do not cover the charger while in use. It needs air.
Riding mowers and lawn tractors
- Add stabilizer. Run it. Change oil and filters.
- Grease fittings. Check belts and blades.
- Clean the deck top and underside. Mice love dry grass nests.
- Disconnect or remove the battery. Use a maintainer.
Robotic mowers
- Clean sensors and wheels. Remove the battery if the manual says so.
- Bring the charging base indoors if possible.
- Update firmware before storage if an update is due.
These details round out how to store a lawn mower for winter across all models.

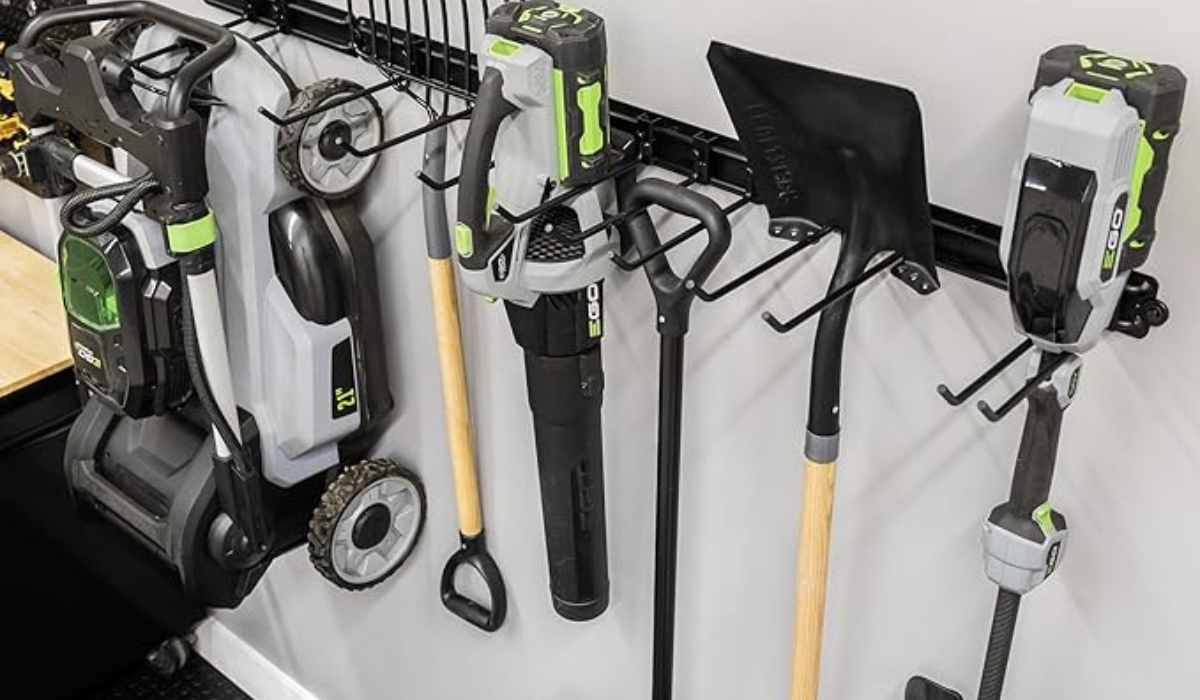
Where and how to store if space is tight
Not everyone has a big garage. You can still do it right.
- Garage or shed
- Use a dry corner with airflow.
- Add a desiccant bucket to control humidity.
- Basement
- Only store electric mowers here. Never store gas or fuel indoors near flames.
- Outdoor shed without power
- Elevate the mower on a pallet.
- Use a breathable cover and vent the shed ridge if you can.
- Self-storage unit
- Check the rules. Many ban fuel. Drain or run the tank dry if needed.
If you must store outside, focus on airflow and keeping it off the ground. That simple step alone helps when you plan how to store a lawn mower for winter in damp climates.
Common mistakes to avoid
- Leaving old fuel in the carb. It turns to varnish and blocks jets.
- Using a plastic tarp. It traps moisture and causes rust.
- Storing with a weak battery. Deep discharge kills it.
- Skipping oil change. Old oil holds acids that bite soft metals.
- Hanging the mower by the handle. It bends it and can leak oil.
- Forgetting rodents. They chew wires and air filters.
Avoid these traps and you have the core of how to store a lawn mower for winter locked in.
:strip_icc()/BHG-organized-garden-equipment-in-garage-FeUq9r_sKI58012P6niyxA-9831396d2d8248f1be3f19996c06f1af.jpg)
Spring wake-up checklist
When warm days return, do a fast check before the first cut.
- Remove the cover. Inspect for leaks, nests, and loose parts.
- Reinstall the battery or reconnect cables.
- Check oil level, air filter, and blade tightness.
- Add fresh fuel if you ran it dry.
- Start it and let it run. Listen for smooth idle and throttle.
This simple list ties back to how to store a lawn mower for winter. Good storage makes spring fast and easy.

Frequently Asked Questions of how to store a lawn mower for winter
Should I run the tank dry or use stabilizer?
Both work if done right. I prefer stabilizer with fresh fuel because it protects seals and keeps the carb clean.
How long does fuel last with stabilizer?
Most stabilizers protect for 6 to 12 months. Use as directed and run the engine so treated fuel reaches the carb.
Do I need to fog the engine?
Fogging helps if storage is longer than 90 days or in damp areas. It coats the cylinder and prevents rust on rings.
Can I store my mower outside under a tarp?
Use a breathable cover, not a plastic tarp. Elevate the mower on a pallet to keep moisture away.
What is the right battery storage level for lithium packs?
Store at about 40% to 60% charge in a cool, dry place. Top up every few months if the manual advises it.
Is it safe to tip a mower on its side to clean?
Yes, but keep the carb and air filter side up. This prevents oil and fuel from flooding the air box.
How often should I replace the spark plug?
Many users replace it every 1 to 2 seasons. Check your manual and replace sooner if starts are hard or idle is rough.
Conclusion
Winter care is simple when you break it into steps. Clean the deck, treat or drain fuel, change oil, protect the battery, and store dry with airflow. Do this once and you will see smooth starts and fewer repairs next spring.
Take one hour this week and set up your space. Make a small kit so you never wonder how to store a lawn mower for winter again. If this guide helped, subscribe for more hands-on yard care tips or share your storage setup in the comments.