How To Start A Leaf Blower Backpack: Quick Guide 2026
A backpack leaf blower is one of the most powerful tools in your yard-care arsenal, but that power means nothing if you can't get the engine running. Whether you're staring down a freshly purchased Stihl, Echo, or Husqvarna, or wrestling with a stubborn older model, the starting procedure follows a predictable sequence—and most starting problems are caused by user error, not mechanical failure.
This guide walks you through the complete starting process: the pre-start preparation, the exact cold-start sequence, warm restarts, flood recovery, and the most common issues you'll encounter. By the end, you'll be able to start your backpack blower in fewer pulls without flooding the carburetor. For more on this, see our guide on how to start stihl leaf blower bg 86.

Source: powuse.com
Why Backpack Blowers Need a Specific Start Sequence
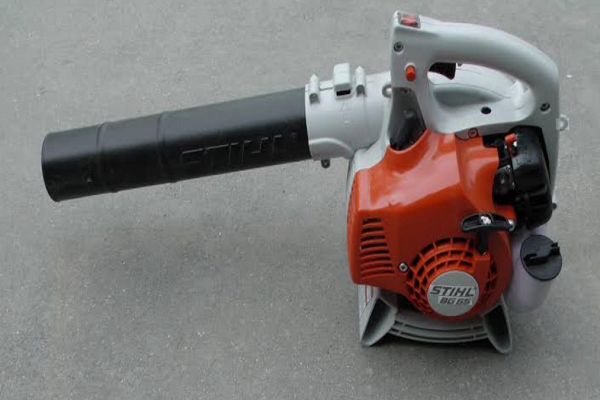
Backpack blowers rely on small internal combustion engines—typically two-stroke (oil mixed into the fuel) or four-stroke (separate oil reservoir). These engines rotate a high-speed impeller that forces air through the tube at velocities exceeding 150 mph on professional models.
For the engine to fire, three things must align: fuel reaching the carburetor, air mixing with that fuel at the right ratio, and a spark from the ignition coil. The choke restricts airflow to enrich the fuel mixture when the engine is cold. The primer bulb physically pushes fuel into the carburetor. The pull cord spins the flywheel, generating the spark. For more on this, see our guide on how to start stihl bg 86 leaf blower.
Understanding this basic sequence turns the starting process from blind guesswork into a logical procedure. Each step exists for a specific reason, and skipping steps—or doing them in the wrong order—creates the exact problems most people encounter.
Step 1: Pre-Start Safety and Preparation
Rushing the start is the most common mistake I see. A quick 30-second preparation check saves you from frustration, injury, and engine damage.
Personal Protection
Blowers are loud—often exceeding 100 decibels at the operator's ear. Electric models are quieter, but you should still recognize that gas backpack models generate significant noise.
- Wear ANSI-rated hearing protection (earmuffs or earplugs)
- Use safety glasses or goggles rated for impact
- Gloves with rubber or textured palms reduce vibration and improve grip on the pull cord
- Close-toed boots with good traction on slippery grass
Machine Check
Before pulling the cord, inspect the blower itself:
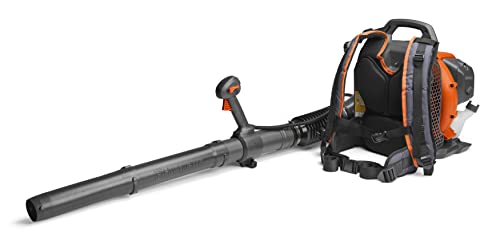
- Verify the harness straps and buckles are intact and adjusted (weight should rest on your hips, not shoulders)
- Confirm all bolts and screws are snug, particularly around the impeller housing
- Check the air filter is clean—a clogged filter significantly increases starting effort
- Inspect fuel lines for cracks or brittleness
- Look at the fuel tank for debris or water contamination
Environment Survey
Take a ten-second scan of your work area:
- Clear any objects that could be blown into windows, vehicles, or people
- Keep children and pets at a safe distance
- Place the blower on flat, stable ground—never grass with morning dew or loose mulch
For more detailed guidance on using the tool once it's running, our cutting through leaf piles guide provides practical technique tips.
Step 2: Cold Start Procedure (The Complete Sequence)
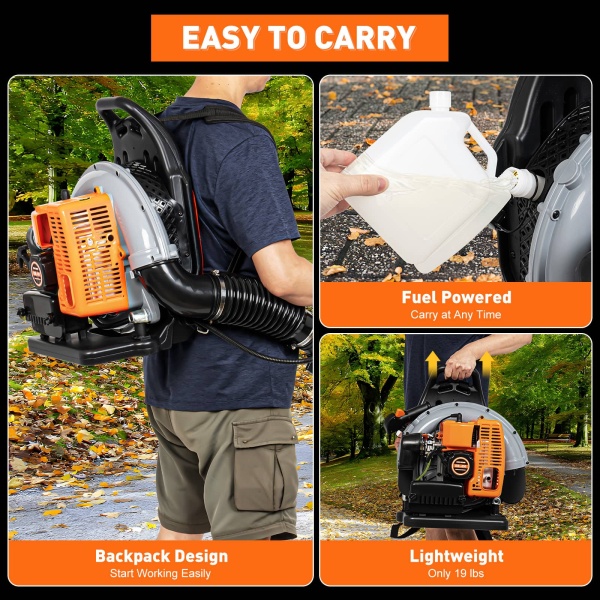
Cold starts are where most people go wrong. Follow these steps in order for any make—Stihl, Echo, Husqvarna, RedMax, or generic.
Source: cncest.com
Step 2.1: Switch and Throttle
- Move the on/off switch to the "I" or "On" position
- Depress the throttle trigger and engage the throttle lock if your model has one (this holds the throttle partially open for starting)
- Release the trigger; the lock should hold the throttle at the starting position
Step 2.2: Engage the Choke
- Rotate the choke lever to "Full" or "Closed" for a cold start
- Some models have a "Half" position—you'll use this later in the sequence
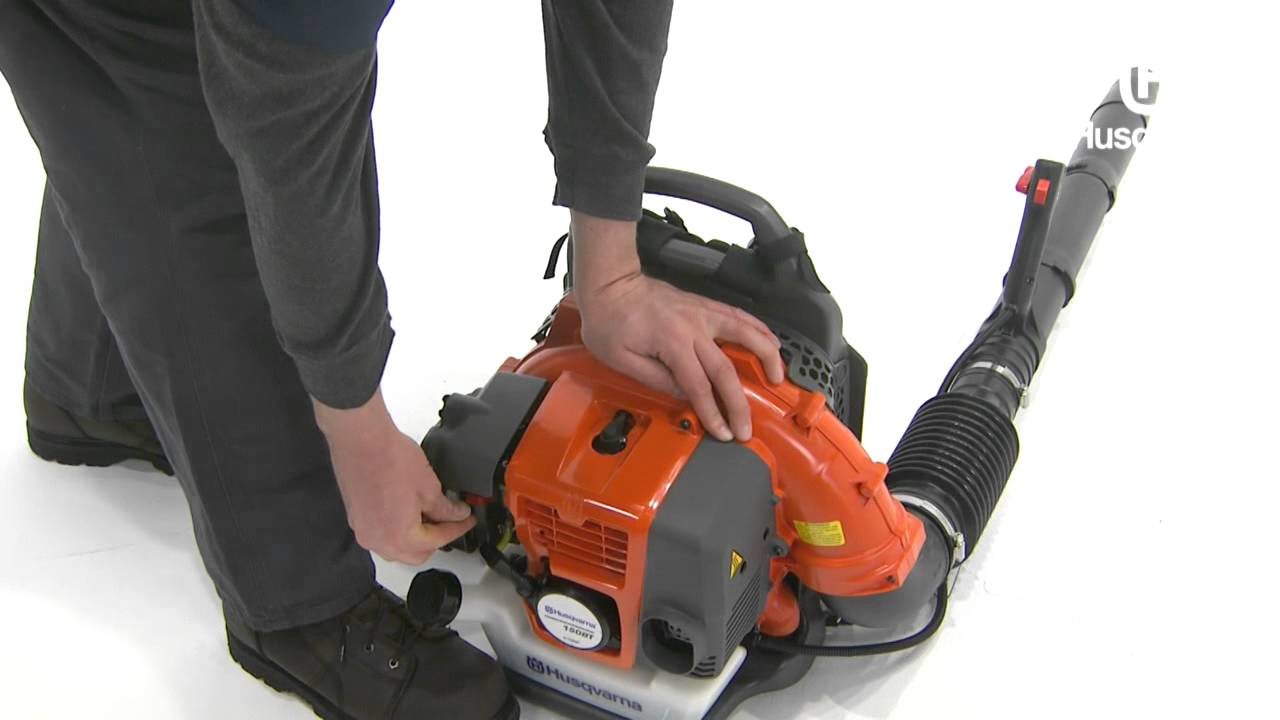
Step 2.3: Prime the Carburetor
- Press and release the primer bulb firmly
- 5 to 8 times is the standard range, but stop the moment you see fuel inside the bulb
- The bulb being full means the carburetor bowl has enough fuel
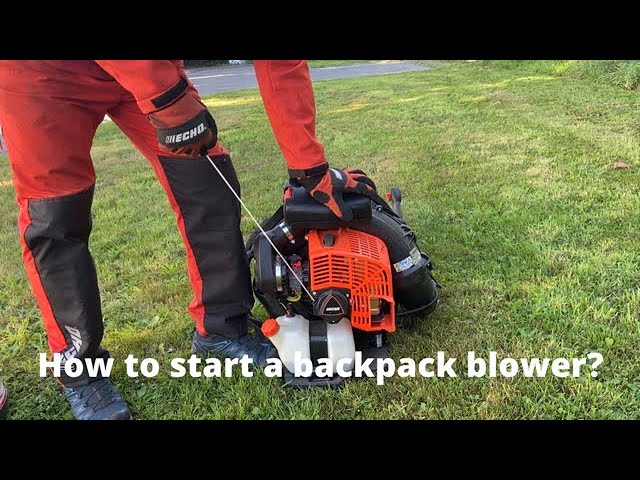
Step 2.4: Position the Blower for the Pull
- Place the blower on the ground with the bottom resting flat
- Put your foot through the back frame and onto the base plate to keep the unit stable
- This frees both hands and prevents the blower from tipping during the pull
Step 2.5: Pull the Cord
- Grip the top handle with one hand
- Pull the cord in one smooth, continuous motion—do not yank with a short tug
- Let the cord return fully before pulling again
- Expect the engine to sputter or fire within 3 to 6 pulls
Step 2.6: Transition to Half Choke
The moment you hear the engine sputter or fire briefly, act fast:
- Move the choke from "Full" to "Half" position
- Pull again—the engine should start and run briefly
- Tap the throttle gently to keep it alive if needed
Step 2.7: Full Run Position
- Open the choke completely to the "Run" position once the engine runs steadily
- Let the engine warm up for 15 to 30 seconds at low-to-mid throttle
- Only mount the blower on your back after the idle is smooth with the choke fully open
Pro Tip: The "Clear the Flood" Method
If you've pulled 6 times on full choke with absolutely no sputter, the engine may already be flooded. Open the choke to Run, hold the throttle wide open, and pull 3-4 times. This opens the throttle plate and clears excess fuel. Then return to half choke and try again.
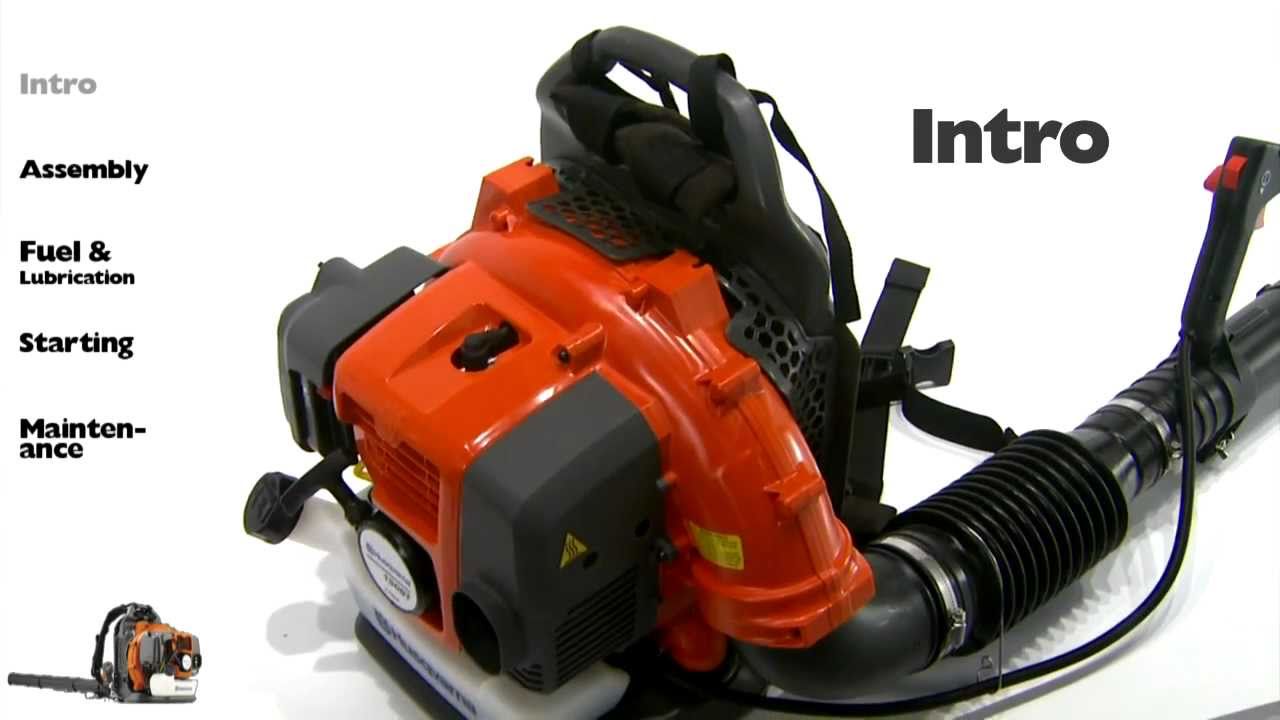
Step 3: Warm Restart (The Easy Sequence)
If the engine has been running within the last hour, the procedure is dramatically simpler—and over-complicating it causes unnecessary flooding.
Source: youtube.com
Warm Start Steps
- Confirm the switch is on
- Leave the choke in the "Run" or "Open" position—do not engage the choke
- Skip priming—the carburetor still has fuel from the last run
- Pull 1 to 3 times
- Tap the throttle to keep the engine running
When Warming Up Doesn't Work
If the engine is warm but won't fire after 3 pulls:
- Move to "Half" choke and try 1 to 2 pulls
- Return to "Run" position immediately once it fires
- Check for old fuel or a blocked tank vent by loosening the fuel cap slightly
Over-priming a warm engine is the single fastest way to flood it. Resist the habit of pressing the primer bulb every time just because "it worked last time." The fuel system only needs priming when fuel has evaporated from the carburetor bowl, which typically takes 30+ minutes of sitting.
Step 4: Flooded Engine Recovery
Every gas-powered tool owner will flood an engine eventually. The recovery procedure is straightforward—you just need to let excess fuel escape.
- Turn the ignition switch Off, then back On (this resets the CDI or coil circuitry)
- Make sure the choke is fully open
- Hold the throttle trigger wide open
- Pull the cord 6 to 10 times until the engine sputters
- Once it fires, release the throttle trigger immediately and let the engine settle to idle
Using the Decompression Valve
Professional-grade models often feature a decompression valve on the cylinder head. Press it before each pull to reduce the resistance you feel on the cord. This valve bleeds off cylinder compression, making the pull dramatically easier. It automatically closes once the engine starts.
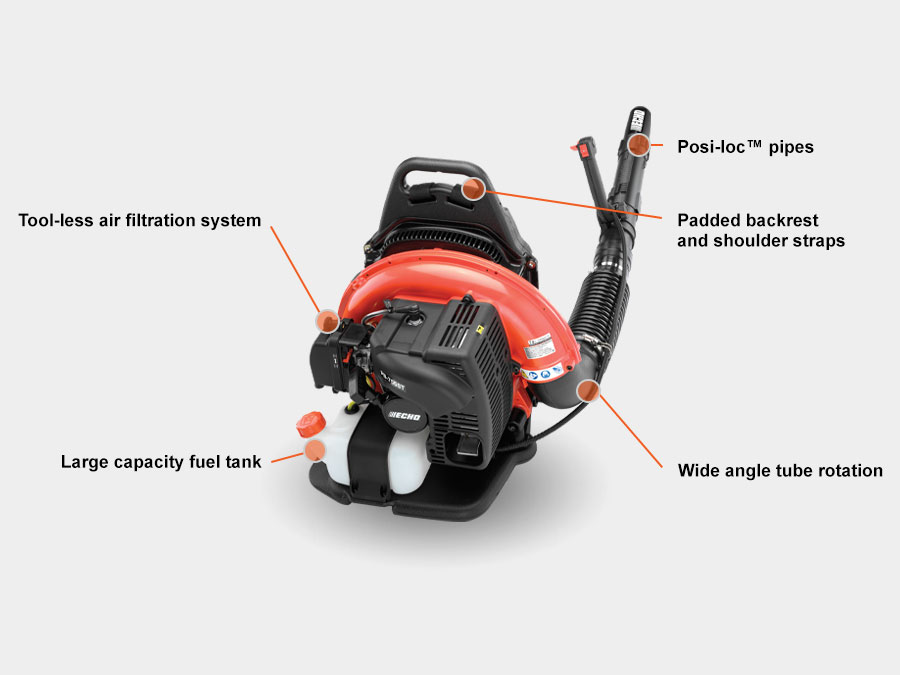
Step 5: Correct Fuel and Oil Mix
Dirty or stale fuel is responsible for more starting problems than any mechanical failure.
Source: echo-usa.com
Gasoline Selection
- Use fresh fuel—anything older than 30 days begins losing volatility
- Prefer premium 89-octane gasoline or higher
- Ethanol-free fuel is ideal if available in your area; ethanol attracts water and can degrade carburetor seals
- Never use fuel from a can that has sat through the previous season
Two-Stroke Mixing
- Most backpack blowers specify a 50:1 ratio (2.6 ounces of oil per gallon of gas)
- Always verify your model's requirement—some older designs use 40:1
- Mix in a separate approved fuel container, not directly in the blower's tank
- Add the oil first, then the gasoline, and shake the container thoroughly
If you need exact mixing instructions with measurements, our oil-to-gas mixing basics covers the ratios in detail.
Four-Stroke Models
Four-stroke backpack blowers use straight gasoline—no oil mixing required. However, they have a separate engine oil reservoir that needs periodic checking and changing. Low oil levels cause hard starting and potential engine damage.
Step 6: Maintenance That Prevents Starting Problems
Preventive maintenance is simpler than troubleshooting. A regular schedule eliminates most common failure modes.

Source: youtube.com
Every 10 Hours of Use
- Clean the air filter—tap it against a hard surface rather than washing unless the filter is sponge-type
- Inspect fuel lines for cracks
Every 25 Hours of Use
- Inspect the spark plug: replace if oil-fouled or if the electrode gap is beyond specification
- Check the recoil starter rope for fraying
- Clean the cylinder cooling fins of debris buildup
Every 50 Hours of Use
- Service the fuel filter inside the tank
- Clean the spark arrestor screen in the muffler (a clogged screen causes hard starting and poor throttle response)
- Reset valve clearances on four-stroke models if equipped with adjusters
Consistent upkeep on your blower's engine is one reason keeping routine engine maintenance is worthwhile.
Step 7: Troubleshooting Start Problems (The Fuel-Air-Spark Checklist)

Source: youtube.com
When your blower refuses to start, work through this sequence in order. Most problems appear intimidating but have simple, field-fixable causes.
Symptom: No Sputter At All
| Likely Cause | Check & Fix |
|---|---|
| Kill switch off | Toggle to On position |
| Empty fuel tank | Fill with fresh mix |
| No fuel in primer bulb | Inspect fuel lines, fuel filter in tank |
| Stale gas | Drain, refill fresh fuel |
| Fouled spark plug | Remove, clean or replace |
| No spark | Test ignition coil wire connection |
Symptom: Sputters Then Dies
- Choke timing off—you're keeping it on full choke too long after first fire. Switch to half choke immediately.
- Clogged air filter—clean or replace.
- Idle speed too low—adjust idle screw 1/8 turn clockwise (per the manual).
Symptom: Starts Then Bogs Under Throttle
- Spark arrestor clogged—clean the screen with a wire brush.
- Carburetor tuning—slightly suspect on adjustable H/L screws.
- Fuel tank vent blocked—test by loosening the cap; replace the vent if it fixes the symptom.
Symptom: Repeated Flooding
- Reduce primer presses to 4-5 for smaller engines
- Never use choke for warm starts
- Replace fouled plug before further attempts
Pro Tips From Field Experience
These observations come from years of operating and supervising crews on professional-grade equipment.
- Prime only until the bulb fills. Clear fuel visible in the bulb means the carburetor bowl is full. Additional presses do nothing except increase flooding risk.
- Full-length pulls matter. A smooth 1-1.5 feet of rope travel generates the crank speed needed for a strong spark. Short, jerky pulls waste energy.
- Listen for the "first fire." A single sputtering cough is your signal to move the choke to half. Waiting too long floods the engine instantly.
- Dedicate a weekly fuel jug. Mix a fresh batch every 7 days and date it on the lid. Never dilute a fresh mix with leftover fuel from an old container.
- Store dry for the off-season. Run the carburetor dry before winter storage, or use a fuel-stabilizer treatment per your manufacturer's recommendation. Check with the EPA's guidance on fuel storage best practices at epa.gov if storing for extended periods.
- Find the starting quirks of your model. Some blowers fire best with a small throttle blip during warm starts. Others flood if you so much as look at the primer bulb. These quirks become reflexive after a few weeks of use.
Frequently Asked Questions
Why does my backpack blower only start on full choke?
This typically indicates a lean fuel condition or an air leak. Check the fuel filter, supply lines, carburetor gaskets, and intake boot for cracks. A vacuum leak draws excess air into the mixture, requiring the rich choke setting to compensate. Services the carburetor per your manual's specification.
How many times should I press the primer bulb?
Press 5 to 8 times until fuel visibly fills the bulb. Stop immediately once it appears full. Additional presses fight the float valve and cause flooding.
Can I use last season's gasoline?
No. Gasoline degrades after approximately 30 days—volatility drops, and varnish begins forming in the carburetor. Always drain stored equipment or add a stabilizer before storage.
What fuel mix ratio does my two-stroke require?
Most modern models specify 50:1 (2.6 ounces of 2-cycle oil per gallon). Older designs may require 40:1. Confirm your manufacturer's specification in the user manual—never guess.
How do I start a cold blower in winter?
Use full choke, add 2-3 extra primer presses beyond the bulb-fill point (cold weather makes fuel less volatile), and pull smoothly. Once the engine fires, allow a longer warm-up—45-60 seconds—before loading it onto your back.
Why does my blower start but stall when I hit the throttle?
The most common culprit is a clogged spark arrestor screen in the muffler. Clean it with a wire brush. If the problem persists, the carburetor requires minor tuning—check H/L screw adjustment against your manual.
How do I start without flooding?
Prime only until the bulb fills, use full choke only for cold starts, and transition to half choke immediately at the first sputter. If flooding occurs, hold the throttle wide open and pull the cord 6-10 times to clear the cylinder.
Conclusion
Starting a backpack leaf blower doesn't require mechanical genius—it requires attention to sequence and routine preparation. The cold-start process (choke + prime + pull + half-choke transition) becomes second nature after a few uses. Warm starts are even simpler: no choke, no priming, pull and go.
Your starting consistency depends entirely on fuel freshness and a clean carburetor. Implement the 10-hour maintenance checks and you'll drastically reduce frustrating mornings. The extra 15 seconds you spend on preparation pays off in fewer pulls, less starter-cord strain, and a longer-lasting engine.