How To Unfreeze Garden Hose

How To Unfreeze Garden Hose: 2026 Quick Guide

Waking up to a frozen garden hose is a frustration every homeowner knows. The water won’t flow, the hose feels like a solid rod, and you’re left wondering whether you’ve ruined your equipment for good. The good news? A frozen hose is almost always salvageable when you thaw it correctly. The bad news? Rushing the process with boiling water or a torch is the fastest way to turn a fixable problem into a cracked coupling or a melted liner.

This guide walks you through every safe, proven method for thawing a frozen garden hose in 2026, explains which techniques to avoid at all costs, and shows you how to keep your hose from freezing again next winter. No guesswork, no risky shortcuts — just practical steps that protect your gear and your plumbing. You can also read our guide on how does a chainsaw work.

Why garden hoses freeze (and what that means for you)

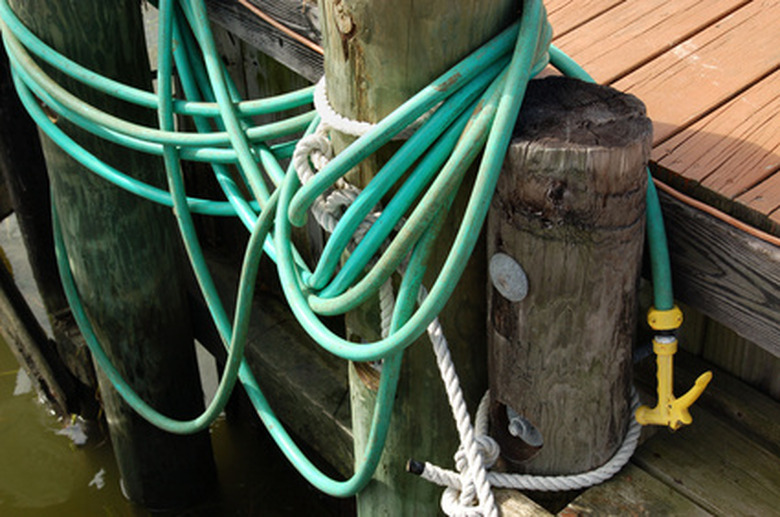
Water expands as it freezes, creating internal pressure that stresses hose walls and fittings.

Source: hunker.com

Why Garden Hoses Freeze and What That Means

Water freezes at 32°F (0°C), and a garden hose is essentially a long, narrow tube of water waiting to solidify. Because the hose’s diameter is small, ice can form rapidly once temperatures dip below freezing — often within a few hours on a cold night. When water turns to ice, it expands by roughly 9 percent in volume. Inside a confined hose, that expansion pushes against the walls, the brass or plastic couplings, and any attached nozzle or spigot.

The damage isn’t always immediate. Sometimes a frozen hose looks fine after thawing, only to develop a pinprick leak weeks later. In other cases, the ice expands enough to crack the hose’s outer jacket or split the fitting clean in two. Even worse, if the hose is left connected to an outdoor spigot, freezing can extend back into the valve inside your wall, potentially causing a burst pipe and water damage to your home’s interior. You can also read our guide on how to fix a leaf blower that won t start.

Understanding this pressure dynamic is why the first rule of thawing is always: relieve pressure and use gentle, even warmth. Rapid temperature changes create thermal shock, which weakens rubber compounds and embrittles plastic fittings.

Safety first: what to do before you start

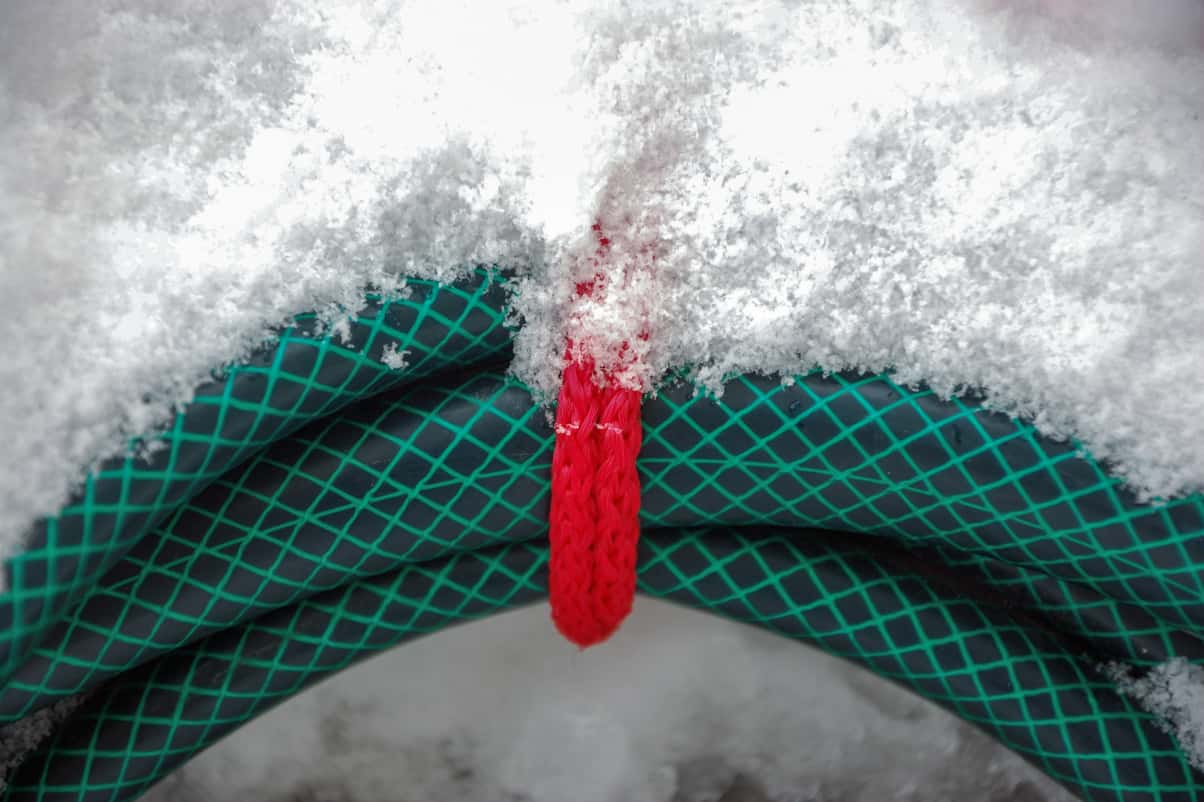
Before thawing, shut off the water supply and inspect the hose for visible cracks or bulges.

Source: youtube.com

Safety First: What To Do Before You Start

Before reaching for any tool, take these precautions. They take less than two minutes and can prevent a costly accident.

Shut off the water at the spigot. This is non-negotiable. As ice melts, it creates liquid water with no place to go. If the spigot is still open to house pressure, that pressure has nowhere to escape and can burst the hose or damage the valve.

Disconnect the hose if it’s safe. Sometimes the fitting is frozen solid to the spigot threads. Don’t force it — you can strip the brass threads or crack the spigot. We’ll cover how to loosen a stuck connection in the methods below.

Lay the hose out straight. Kinks and tight coils trap ice and create weak points where the hose is most likely to split as it thaws. If the hose is on a reel, unspool as much as you can before warming.

Never use open flames. Torches, heat guns on high, or any direct flame will melt rubber, scorch the liner, and can even ignite the hose material. This is the single most common cause of ruined hoses during winter thawing attempts.

Check for visible damage first. If you already see a split, crack, or bulging section, skip the thawing process — the hose is compromised and needs repair or replacement. Attempting to thaw a damaged hose under pressure will only make the split worse.

Tools and supplies that make thawing easier

Essential items for safe thawing: towels, a bucket, and a low-heat source.

Source: freezemiser.com

Tools and Supplies That Make Thawing Easier

You don’t need specialized equipment to thaw a frozen hose, but having the right items on hand makes the job faster and safer. Here’s what we recommend assembling before you begin:

  • Large bucket, tub, or utility sink — for the warm water bath method
  • Old towels or rags — for warm wraps and catching drips
  • Hair dryer — the most versatile low-heat tool for the job
  • Low-heat heat gun — optional, works faster but requires more care
  • Infrared thermometer — helps you monitor surface temperature (keep it under 110°F)
  • Space heater or heated garage — useful for the indoor thaw method
  • Hose repair kit with barbed couplers and clamps — for fixing small splits after thawing
  • Spare hose washers — worth replacing after any freeze event

The key principle with every tool is temperature control. You want warmth, not heat. A good rule of thumb: if it’s uncomfortable to hold your hand against the hose surface, it’s too hot.

Step-by-Step: How To Unfreeze a Garden Hose Fast and Safely

There are five proven methods for thawing a frozen garden hose, listed here from gentlest to most aggressive. Start with the least risky option available to you, and only escalate if the ice isn’t yielding.

Method 1: Bring It Indoors (Lowest Risk)

This is our top recommendation whenever the hose can be disconnected and carried inside. It’s simple, requires no tools, and has virtually zero risk of damage.

  1. Carry the hose into a warm room, basement, or heated garage.
  2. Lay it out straight — either along the floor or in a wide, loose coil. Avoid tight bends.
  3. Place a towel underneath to catch melting water.
  4. Let it sit for 1 to 3 hours, depending on how solid the ice is. Flip the hose once halfway through to expose all sides.
  5. Test the flow by reconnecting to the spigot and opening the valve slowly — or blow through one end to check for airflow.

This method works best when the entire hose is frozen uniformly. If you have a partially frozen hose with just one ice plug, you can often target just that section using the warm towel method below.

Method 2: Warm Water Bath

The warm water bath is ideal for hoses that can’t be brought inside — or for quickly thawing a stubborn section in the middle of the line.

  1. Fill a tub or large bin with warm tap water, aiming for 90–110°F. It should feel pleasantly warm, never hot.
  2. Submerge the frozen section of hose completely. If the entire hose is frozen, coil it loosely in the tub and rotate it every few minutes.
  3. Replace the water as it cools. A frozen hose will pull heat out of the water fast, so you may need 3–4 refills for a full hose.
  4. Once the hose feels pliable, drain it, shake out any residual water, and hang it to dry.

The water bath is particularly effective at thawing ice plugs near couplings, where the metal fittings conduct cold more aggressively.

Method 3: Hair Dryer or Low-Heat Gun

When you need to thaw a hose that remains connected to the spigot — or you want to target a specific ice block — a hair dryer is your best tool.

  1. Set the dryer to low or medium heat. High heat concentrates too much energy in one spot.
  2. Start at the end nearest the spigot and work toward the free end. This pushes melting water toward the outlet rather than trapping it against the fitting.
  3. Hold the nozzle 3 to 6 inches away and keep it moving constantly. Never linger in one spot for more than a few seconds.
  4. Watch for signs of softening or steam. If the hose starts to feel tacky or change color, back off immediately.

A low-heat gun works the same way but requires even more care. Most heat guns on their lowest setting are still hotter than a hair dryer, so keep the distance greater and the movement faster. The extension service at the University of Minnesota recommends a similar gentle-warming approach for any frozen outdoor plumbing components.

Method 4: Warm Towel Wrap

If you don’t have access to electricity outdoors, the warm towel wrap is a dependable fallback that’s also completely safe.

  1. Soak towels in warm water (100–110°F) and wring them out thoroughly.
  2. Wrap the wet towels around the frozen sections of hose, covering as much surface area as possible.
  3. Replace with freshly warmed towels every 5 to 10 minutes. Cold towels stop helping quickly.
  4. Work your way down the length of the hose as sections soften.

This method is slower than the others but works well for a partially frozen hose or when you’re dealing with a stuck connection at the spigot (see Method 5).

Method 5: When the Hose Is Stuck to the Spigot

A frozen connection between the hose fitting and the outdoor spigot is one of the most common winter headaches. Forcing it can crack the spigot’s internal valve or strip the threads — both expensive repairs.

  1. Wrap the spigot and the first 2 feet of hose with warm, wet towels.
  2. Let them sit for 10–15 minutes to conduct heat into the metal fitting.
  3. Use a hair dryer on low to warm the brass or plastic coupling directly.
  4. When the fitting feels warm to the touch, try turning it gently. If it resists, reapply heat — never use a wrench with leverage, as that transfer of force can easily break the spigot.

A quick note on chemicals: never pour de-icers, salt, or antifreeze into the hose. Salt water corrodes brass fittings and leaches into your soil, potentially harming plants. Standard rock salt also doesn’t melt ice effectively inside a confined hose because it needs liquid water to dissolve into.

How to unfreeze garden hose when it's on a reel, with a nozzle, or kinked

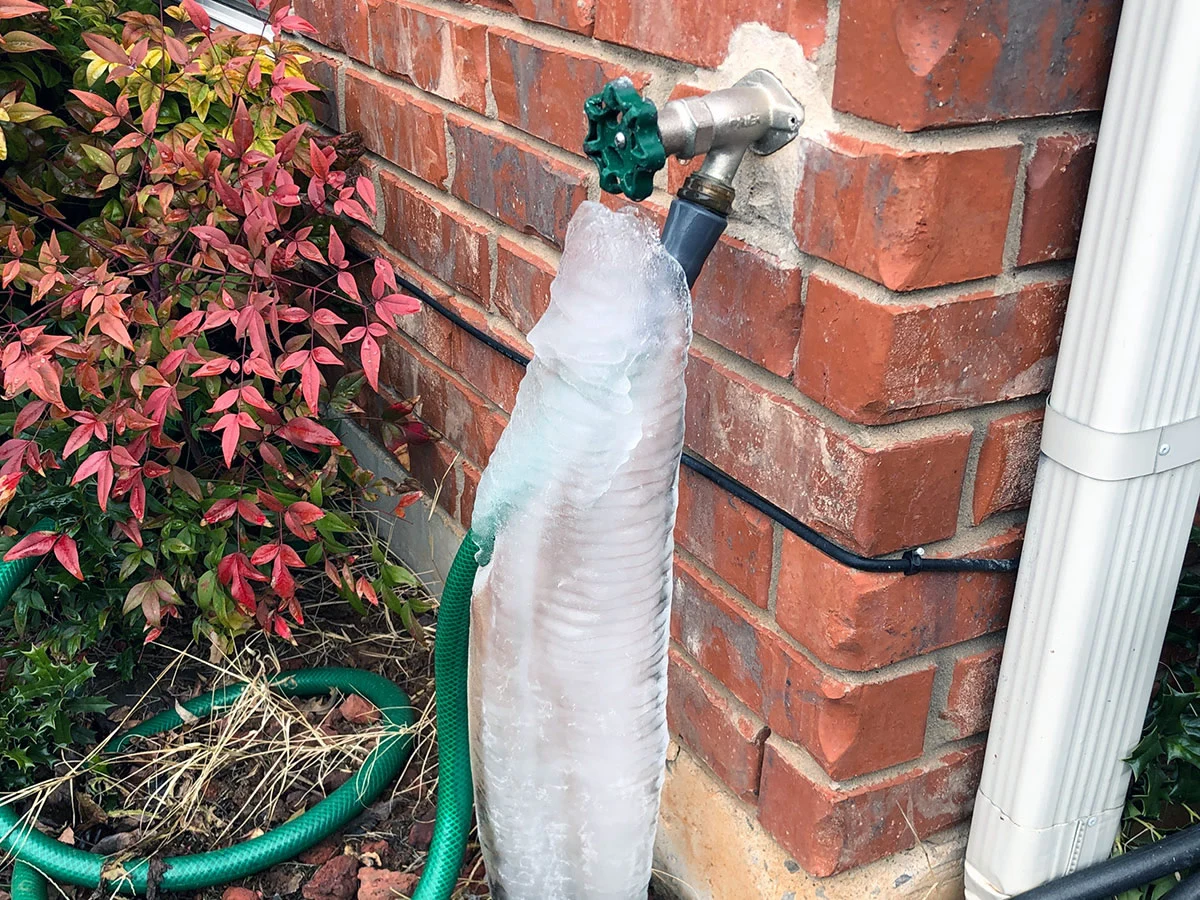
Locate the ice plug by feeling along the hose for the firmest section.

Source: cabindiy.com

Special Cases: Reels, Nozzles, and Kinked Lines

Every garden hose setup has its quirks. Here’s how to adapt the basic methods to common scenarios.

Hose on a reel. Move the entire reel into a warm garage or shed if possible. If not, unspool as much hose as you can reach and treat the exposed portion. The plastic or metal drum of a reel holds cold longer, so be patient. As the hose thaws, unspool more to expose fresh sections.

Spray nozzle attached. Remove the nozzle as soon as you can, even if it takes a few minutes of gentle warming on the fitting. Nozzles trap ice and pressure, and the small internal passages freeze faster than the hose body. Leaving the nozzle on during thawing also prevents you from testing flow without risking a spray of ice water.

Kinks and tight coils. Straighten every kink you can find before starting any thawing method. Kinks create pinch points where ice forms thicker and where the hose material is already stressed. As the hose warms and becomes pliable, reposition it so no sharp bends remain.

Metal or brass fittings. Metal warms and cools much faster than rubber. When you’re applying heat near a brass coupling, the fitting can reach high temperatures while the adjacent hose is still cold. This temperature difference can stress the crimped connection where the fitting meets the hose. Warm metal fittings slowly and stop frequently to check the joint area.

Preventing Freezing in the Future

Once you’ve successfully thawed your hose, the priority shifts to making sure it never freezes again. A few minutes of prevention saves you an hour of thawing — and potentially the cost of a replacement hose.

  • Drain after every use. It sounds obvious, but water left in a hose is what freezes. After watering, lift one end and walk the length to push water out. Hang the hose in a gentle U-shape so residual water can drip free.
  • Store indoors during winter. A garage, shed, or basement keeps the hose above freezing and out of the elements. If indoor storage isn’t an option, at least disconnect it and lay it flat — never leave it connected to the spigot.
  • Install quick-connect fittings. Quick-connects make detaching a hose a two-second job, which means you’re more likely to actually do it before a cold snap. They also prevent the spigot valve from freezing through the hose.
  • Insulate the outdoor spigot. Foam pipe sleeves, an insulated spigot cover, or even a towel wrapped and secured with a bag help keep the valve above freezing. A faucet cover from your local hardware store is inexpensive and effective.
  • Consider a frost-free sillcock. If you live in a region with hard freezes, a frost-free sillcock drains its own vertical pipe when turned off, which means there’s no standing water to freeze. This is the permanent fix for spigot freeze-ups.
  • Use a heated hose for winter watering. If you genuinely need water outdoors in freezing temperatures, a self-regulating heated hose maintains its own temperature and prevents ice formation. Look for models with a built-in thermostat — they’re worth the higher price if you need them regularly.

Proper winter preparation applies to more than just your hose. Checking your broader lawn and garden setup before winter starts — including soil health and drainage — helps prevent water from pooling around outdoor fixtures and freezing against them.

Common mistakes to avoid

Avoid boiling water and open flames — both cause permanent hose damage.

Source: youtube.com

Common Mistakes To Avoid

After years of field calls and firsthand experience with frozen hoses, these are the mistakes we see most frequently — and the ones that cause the most damage.

Pouring boiling water on the hose. Boiling water softens the rubber liner and can warp the hose’s internal structure. The sudden temperature change also stresses the couplings, often causing them to loosen or crack. Stick to warm water (under 110°F) or skip the water entirely.

Using a torch or open flame. This is never acceptable. Even a brief pass with a propane torch can melt through the hose wall in seconds. The fire risk to nearby structures and dried foliage is real, too.

Forcing a frozen fitting. A wrench, pliers, or pipe wrench applied to a frozen coupling transfers torque to the spigot body. The spigot inside your wall isn’t designed to handle that force — it can crack, causing a leak inside your home. Always warm the fitting first.

Leaving the hose connected overnight. This is how indoor pipes freeze. The water inside the hose freezes and conducts cold back into the spigot valve, which can freeze the vertical pipe behind it. A burst pipe behind your wall is a far worse repair than any hose replacement.

Skipping the leak check after thawing. Even with careful thawing, a hose can develop microcracks that only show under pressure. Always test at low pressure before regular use.

Troubleshooting After Thaw: Check For Damage and Leaks

Thawing is only half the job. Once the ice is gone, you need to verify the hose is structurally sound before putting it back into service.

  1. Inspect the couplings and washers. Look for cracks in the brass or plastic fittings — they often fracture during freeze-thaw cycles. Replace the rubber washer if it’s compressed, cracked, or missing.
  2. Run water at low pressure. Open the spigot just a crack and watch the full length of the hose for drips, misting, or bulging sections.
  3. Flex the hose gently. Bend the hose into a gentle curve and watch for creases or soft spots that indicate internal liner damage.
  4. If you find a split, cut it out. Use a sharp knife to remove the damaged section, then install a barbed repair coupler with two hose clamps. This is a permanent fix that extends the life of the hose.
  5. Replace badly damaged hoses. If the hose has multiple splits or the liner is separating from the outer jacket, replacement is the safer and more economical choice.

Frequently Asked Questions About Thawing a Garden Hose

How long does it take to thaw a garden hose?

Most hoses thaw in 30 minutes to 3 hours, depending on the method and how frozen the hose is. Indoor warm-air thawing is typically the fastest and safest. A warm water bath works in about half the time for heavily frozen sections.

Can I use hot water to thaw a hose?

Use warm water (90–110°F), not hot or boiling. Extreme heat softens the rubber and can cause permanent warping or damage to the hose’s internal lining.

What if the hose is frozen to the spigot?

Warm the spigot and the hose fitting with warm, wet towels for 10–15 minutes, then use a hair dryer on low to further warm the metal. When the fitting is warm to the touch, gently twist to disconnect. Never use leverage tools.

Will salt help melt ice inside the hose?

No. Salt can corrode brass fittings and harm your soil and plants. It also works poorly inside a confined hose because the ice-to-salt contact is minimal.

How can I prevent freezing in the future?

Drain the hose after every use, store it indoors during winter, install quick-connect fittings, and insulate the spigot. A frost-free sillcock is the best long-term solution for the spigot itself. Maintaining good drainage in the surrounding area also reduces moisture near outdoor fixtures — improving your lawn’s soil health helps water absorb rather than pool.

Is it safe to use a heat gun?

Yes, but only on the lowest heat setting, with constant movement and a distance of at least 6 inches. High heat will scorch the hose. Never use a heat gun on a kinked or folded section, as the material is already stressed.

Can a frozen hose burst?

Yes. Ice expansion can crack the hose wall, split couplings, or damage the spigot valve. This is why slow, gentle thawing matters — and why you should always check for leaks after thawing.

Conclusion

A frozen garden hose doesn’t have to mean a trip to the hardware store. By bringing the hose indoors, using a warm water bath, or applying gentle heat with a hair dryer, you can safely restore full flow without damaging your equipment. The golden rule is patience: warm, gentle, and even heat is always the answer. Avoid boiling water, open flames, and forced fittings — those are the shortcuts that turn a minor inconvenience into a costly repair.

Once your hose is thawed and leak-checked, make prevention a habit. Disconnect and drain after every use, store it indoors during freezing weather, and insulate your spigot. These small steps take minutes but save hours of frustration — and potentially hundreds of dollars in repair costs. For more winter-proofing advice around your outdoor space, including proper tool selection and yard cleanup strategies, explore our other winter readiness guides. Your garden gear will thank you when spring arrives.

Similar Posts

Leave a Reply

Your email address will not be published. Required fields are marked *