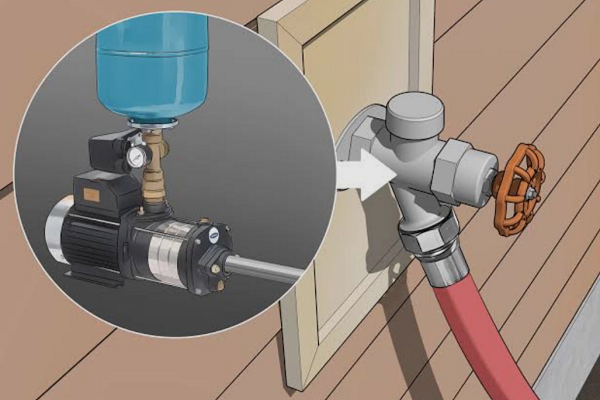
Attach a gasketed hose to the spigot threads, hand-tighten, then test for leaks.
I have connected hundreds of hoses on jobs and at home. In this guide, I show how to connect garden hose to outdoor faucet the right way. You will learn each step, the parts that matter, and how to avoid leaks and cross-threading. Follow along, and you will get a watertight, code-friendly setup that lasts.

What you need before you start
A good setup starts with the right parts. Before you learn how to connect garden hose to outdoor faucet, gather these simple tools and fittings.
- Garden hose with an intact rubber washer in the female end
- Outdoor faucet (hose bibb) in good shape, not cracked or corroded
- Vacuum breaker or anti-siphon attachment if not built in
- Quick-connect couplers for fast on and off (optional)
- Splitter (Y-connector) if you run more than one line (optional)
- Adapter if you need to change from NPT to GHT threads
- Thread seal tape for NPT-to-GHT adapters only
- Small brush or old toothbrush to clean threads
- Silicone grease for washers (a thin film helps them last)
- Bucket and towel for test runs
Note on sizes: US hose threads are 3/4 inch GHT. They are different from 3/4 inch NPT pipe threads. GHT seals with a washer. NPT seals on the threads, so use tape there.

Step-by-step: how to connect garden hose to outdoor faucet
Follow these steps on how to connect garden hose to outdoor faucet. Go slow. Do not force threads.
- Shut off the water. Turn the handle clockwise until snug. Do not overtighten.
- Inspect the faucet threads. Clean grit with the brush. Wipe dry.
- Check the hose washer. Replace it if it is cracked, flat, or missing.
- Add a vacuum breaker if your faucet does not have one. Thread it on by hand. If it has NPT threads on the faucet side, wrap the male NPT with two to three wraps of thread seal tape first.
- Add any needed adapter. Make sure you match GHT to GHT and NPT to NPT as needed. Hand-tighten only.
- Align the hose end straight to the faucet or vacuum breaker. Support the hose to keep it level.
- Turn the hose collar clockwise by hand. Stop when the collar is snug. Do not use pliers on GHT collars. The washer makes the seal.
- Turn the water on slowly. Listen and watch.
- Check for leaks at the collar. If it drips, turn the water off. Remove the hose. Re-seat or replace the washer. Try again.
- If it still leaks, inspect threads for damage or cross-threading. Clean again. Reconnect with gentle, straight pressure.
- Add quick-connects if you swap tools often. Install the male half on the faucet side and the female half on hoses. This saves wear on threads.
- Coil slack and remove kinks. A smooth path keeps flow high and strain low.
Take a minute to adjust and test. You now know how to connect garden hose to outdoor faucet without leaks or damage.

Choosing the right hose, faucet, and adapters
Great results start with good matches. Here is how to pick parts that work well and last.
- Hose type. Standard hoses use 3/4 inch GHT. For heavy use, choose a rubber hose with crush-proof ends. For light use, a lightweight hybrid works fine.
- Hose length. Use the shortest hose that reaches. Long hoses drop flow and pressure.
- Inside diameter. A 5/8 inch hose covers most needs. A 3/4 inch hose moves more water for sprinklers or pressure washers.
- Faucet type. Some faucets are frost-free and put the shutoff inside the wall. Many newer faucets include a built-in vacuum breaker. If yours does not, add one.
- Thread standards. Outdoor faucets use GHT on the hose side. If you must connect to an NPT stub or a metric thread, use the correct adapter. Do not force a mismatch.
- Quick-connects. Brass sets last longer than plastic. They make it easy to swap nozzles and reduce wear on the faucet.
If you plan complex setups, like drip lines or split runs, plan flow. This will help you decide how to connect garden hose to outdoor faucet and still get even water at the end of the line.
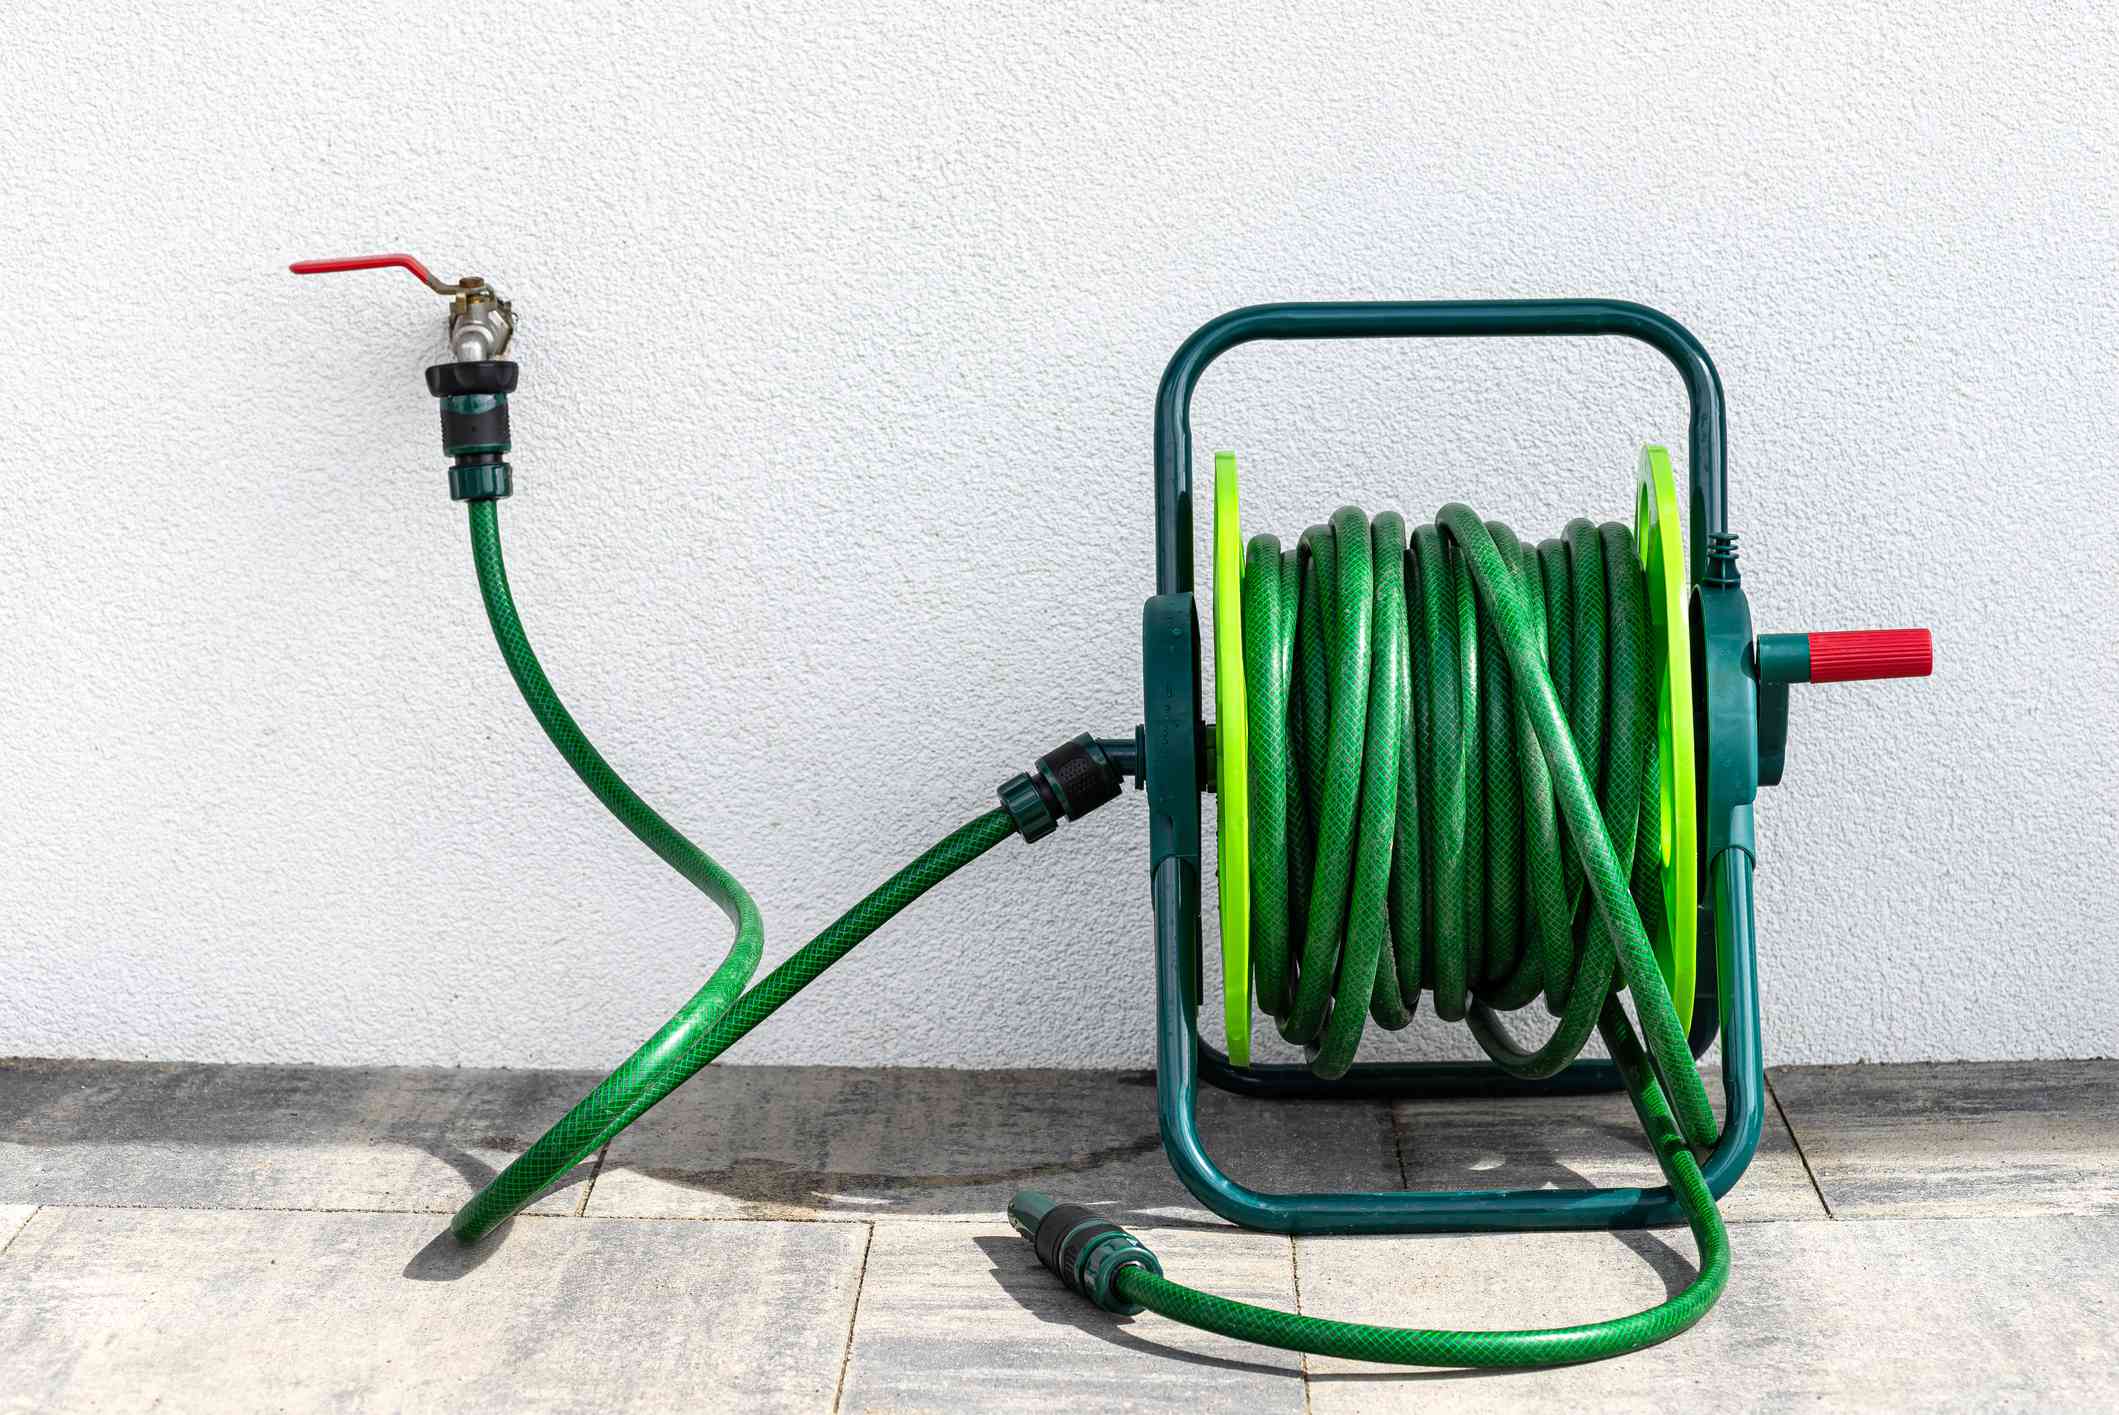
:max_bytes(150000):strip_icc()/ConnectedGardenHose-d93a552672774965b236cb9e6d5e0748.jpg)
Troubleshooting leaks and weak flow
If you still wonder how to connect garden hose to outdoor faucet with no drip, check these common problems first. Most fixes take two minutes.
- Drip at the collar. Replace the hose washer. Add a thin film of silicone grease. Hand-tighten again.
- Spray at the joint. The connection is cross-threaded. Remove and reconnect with straight, gentle pressure.
- Leak at the vacuum breaker. Its internal washer may be worn. Replace the breaker or the washer kit.
- Water at the stem while open. The faucet packing may be loose. Snug the small packing nut behind the handle a quarter turn.
- Weak flow. Remove kinks. Clean sediment from the hose screen. Open the faucet all the way. Check the splitter or quick-connect for debris.
- Very low flow on long hoses. Step up to a larger hose ID. Shorten the run. Use a high-flow nozzle.
A note from the field: nine times out of ten, a fresh washer fixes the drip. Keep a small pack on hand.

Seasonal care and winterizing
Cold snaps can break pipes. Protect your setup once the season ends. This also helps the next time you plan how to connect garden hose to outdoor faucet in spring.
- Always disconnect the hose before freezing weather. Trapped water can freeze and split a frost-free faucet.
- Drain the hose fully. Store it in a coil out of the sun.
- If you have an indoor shutoff for the outdoor faucet, close it. Open the outdoor faucet to drain.
- Use an insulated cover on the faucet in cold regions for extra protection.
- In hot regions, shade hoses to slow UV wear and stop taste or odor issues.
Small steps here save big repairs later. I have seen walls opened because a hose was left on in winter.

Safety, backflow, and water quality
Backflow protection is a must for safe use. This matters every time you decide how to connect garden hose to outdoor faucet for filling pools, mixing spray, or washing tools.
- Use a vacuum breaker or an anti-siphon faucet. Many codes require this.
- Do not submerge the hose end in buckets, ponds, or tanks without backflow protection.
- When using hose-end sprayers or fertilizer, keep the sprayer above the faucet level. Follow the label.
- If you use a pressure washer, follow the maker’s guide for backflow and screen filters.
These simple parts keep your home water safe and clean.

Common mistakes and pro tips from the field
After years in the field, I see the same errors repeat. Here is how to avoid them and master how to connect garden hose to outdoor faucet like a pro.
- Over-tightening the collar. The washer seals the joint. Tighten by hand only.
- Using tape on GHT hose threads. Do not. Tape is for NPT pipe threads and adapters.
- Ignoring worn washers. Replace them at the first drip. It costs cents and saves time.
- Forcing mismatched threads. GHT and NPT look alike. They are not. Use proper adapters.
- Leaving the hose pressurized. Turn the faucet off when done. This extends hose and washer life.
- Skipping quick-connects. They prevent wear on the faucet and speed tool changes.
- Forgetting a splitter shutoff. Close the unused leg to avoid backflow or leaks.
Pro tip: label hoses by zone or tool. A simple tag saves guesswork on busy days.

Frequently Asked Questions of how to connect garden hose to outdoor faucet
What size are outdoor faucet and garden hose threads?
Most outdoor faucets and hoses use 3/4 inch GHT. This is different from 3/4 inch NPT pipe threads used on plumbing pipes.
Should I use thread seal tape on the hose connection?
No, not on GHT hose threads. Use tape only on NPT threads when you install an adapter or vacuum breaker that has NPT.
How tight should I make the connection?
Hand-tight is enough when the washer is good. If it drips, reseat or replace the washer before using tools.
What if my faucet has no threads?
You need a clamp-on spigot adapter designed for smooth taps, or replace the faucet with a hose bibb. In rentals, ask your landlord before changes.
Can I leave the hose connected all year?
It is best to disconnect and drain before freezes. Leaving a hose on in winter can trap water and burst pipes behind the wall.
How do I stop constant leaks at the faucet handle?
Snug the packing nut behind the handle a quarter turn. If it still leaks, replace the packing or the faucet.
Conclusion
You now have a clear plan to connect a hose fast, clean, and safe. You know the parts, the steps, and the simple fixes that stop leaks before they start. When you think about how to connect garden hose to outdoor faucet next time, use the washer-first mindset and protect the line with a vacuum breaker.
Put these steps to work today. Test your setup, swap in fresh washers, and add quick-connects to save time all season. Want more tips like this? Subscribe for field-tested guides, or leave a question and I will help you fix it.