

How To Choose The Right Digging Tool For Garden Soil: Guide
Standing in the garden shed staring at a wall of shovels, spades, and forks is a familiar moment of indecision. Every tool looks like it could dig a hole, but each one is engineered for a specific task — and using the wrong one turns a thirty-minute job into an afternoon of frustration, blistered hands, and a sore lower back.
The real secret to choosing the right digging tool is not about buying the most expensive option or owning every implement on the market. It is about matching three things: the condition of your soil, the task at hand, and how the tool feels in your hands. Get those three right, and digging becomes almost effortless. This guide will walk you through exactly how to make that match, with practical details you can use the next time you head out to the garden. You can also read our guide on how to choose the right garden hose length.
Checking soil texture and moisture is the first step before picking any digging tool.
Source: cairocommunity.com
Start With Your Soil: The Ground Rules
Before you can choose a tool, you need to understand what you are digging into. Soil is not uniform — it varies dramatically from one garden bed to the next, and even from one corner of your yard to another. Taking two minutes to assess your soil type will immediately narrow down your tool options.
A simple hand test works well: take a moist handful of soil and squeeze it. Sandy soil will crumble almost immediately. Loam will hold a loose ball that breaks apart easily. Clay will form a smooth, sticky ball that holds its shape. Rocky or root-filled ground is obvious from the moment you try to dig. You can also read our guide on how to care for lawn during dry season.
Here is a quick breakdown of how different soils behave and which tools tend to work best in each:
| Soil Type | Key Characteristics | Best Tool Matches |
|---|---|---|
| Sandy | Loose, drains fast, easy to dig | Round-point shovel, trenching spade |
| Loam | Balanced, holds nutrients, moderate density | Garden spade, digging fork |
| Clay | Heavy, dense, sticky when wet, rock-hard when dry | Digging fork, mattock, sharp spade |
| Rocky | Hard to penetrate, unpredictable | Pick mattock, digging bar |
| Root-bound | Full of woody roots and organic debris | Digging fork, sharp spade, root saw |
A common mistake is treating all soil the same. In practice, a round-point shovel that glides through sandy soil will bounce off compacted clay, leaving you frustrated and the soil barely scratched. Conversely, a heavy mattock is overkill for loose, sandy beds and will only tire you out. Match the tool to the ground, not the other way around.
Core Digging Tools and Their Purpose
Every digging tool serves a distinct function. Once you understand what each one is designed to do, selection becomes logical rather than guesswork. Here is a closer look at the essential tools most gardeners need.
Garden Spade
The garden spade features a flat, slightly curved blade with a straight or slightly angled edge. This design makes it the go-to tool for clean, precise cuts. Use it for edging flower beds, slicing through sod, and cutting clean lines in established turf. Its flat blade gives you excellent control and allows you to create a neat, defined edge that a shovel simply cannot produce. A sharpened spade also works well in loam and lighter clay. The key is keeping the edge honed — a dull spade crushes rather than cuts.
Round-Point Shovel
If you only buy one tool, make it a round-point shovel. Its curved scoop is designed for moving loose material — soil, compost, mulch, and sand. The shape holds more per load and reduces spillage, making it the most efficient choice for transplanting, filling holes, and shifting piles of material. That said, it is not ideal for hard, compacted clay. The curved blade tends to glance off tough surfaces, whereas a spade’s flat edge can bite in more effectively.
Digging Fork
The digging fork has four sturdy tines and is arguably the best tool for heavy, compacted soil. The tines slide between soil clumps, roots, and stones, breaking up hard ground without the sheer force a solid blade requires. This makes it incredibly effective for loosening beds, turning soil, and lifting root vegetables. In clay, use a fork to loosen the top layer, then switch to a spade to lift clean slabs — a combination that dramatically reduces effort. For fall bed preparation and clearing root-heavy areas, the digging fork is hard to beat.
Mattock and Pick Mattock
When you meet hardpan, buried rocks, or thick matted roots, the mattock is your answer. It has a heavy head with a horizontal blade on one side and either a pick or an axe blade on the other. The weight and design give it a deep, powerful bite that shovels and spades cannot match. Use it to break up uncultivated ground, chop through stubborn roots, and pry out rocks. It is a heavy tool, so it is best for focused, demanding work rather than all-day digging.
Trenching Spade
For narrow trenches — drain lines, cable runs, or neat root barriers — a trenching spade is unbeatable. Its long, narrow blade cuts a precise, clean trench with straight walls, saving effort when space is tight. If you are installing edging or running irrigation lines, this tool will make the job significantly neater and faster.
Trowel and Hand Fork
Small jobs demand small tools. A hand trowel is essential for planting bulbs, seedlings, and small container work. A hand fork works well for spot weeding and loosening soil in tight spaces. Always choose a full-tang trowel, where the handle and blade are one continuous piece of metal. This design prevents bending and breaking at the handle joint, a common failure point on cheaper tools. Keeping your trowel sharp makes it far more effective for cutting through roots and compacted soil in pots.
Post Hole Digger and Digging Bar
For deep, narrow holes — fence posts, fruit trees, or structural supports — a post hole digger is the correct tool. The two hinged blades clamp around soil and lift it out in one motion. In ground that is rocky or compacted, start with a digging bar to break up the material, then switch to the digger to remove it. This two-step process is essential for fence lines and orchard planting, where speed and clean holes matter.
If you are uncertain which of these fits your typical garden tasks, this overview of digging tools with pictures is a useful visual reference to have on hand.
Ergonomics, Size, and Weight: Fit Is Everything
A tool that does not fit your body is a tool you will not use. Ergonomics directly impacts both your comfort and your digging efficiency. A handle that is too short forces you to bend and strain your back. One that is too long wastes power and makes precise control difficult.
Handle Length
A good rule of thumb: when the blade rests on the ground, the handle should reach about your sternum. At this height, you can dig with a mostly straight back while still having sufficient leverage. Shorter handles offer more control for close work like edging, while longer handles provide greater leverage for deep digging. Test a few lengths in the store to find what feels natural.
Grip and Diameter
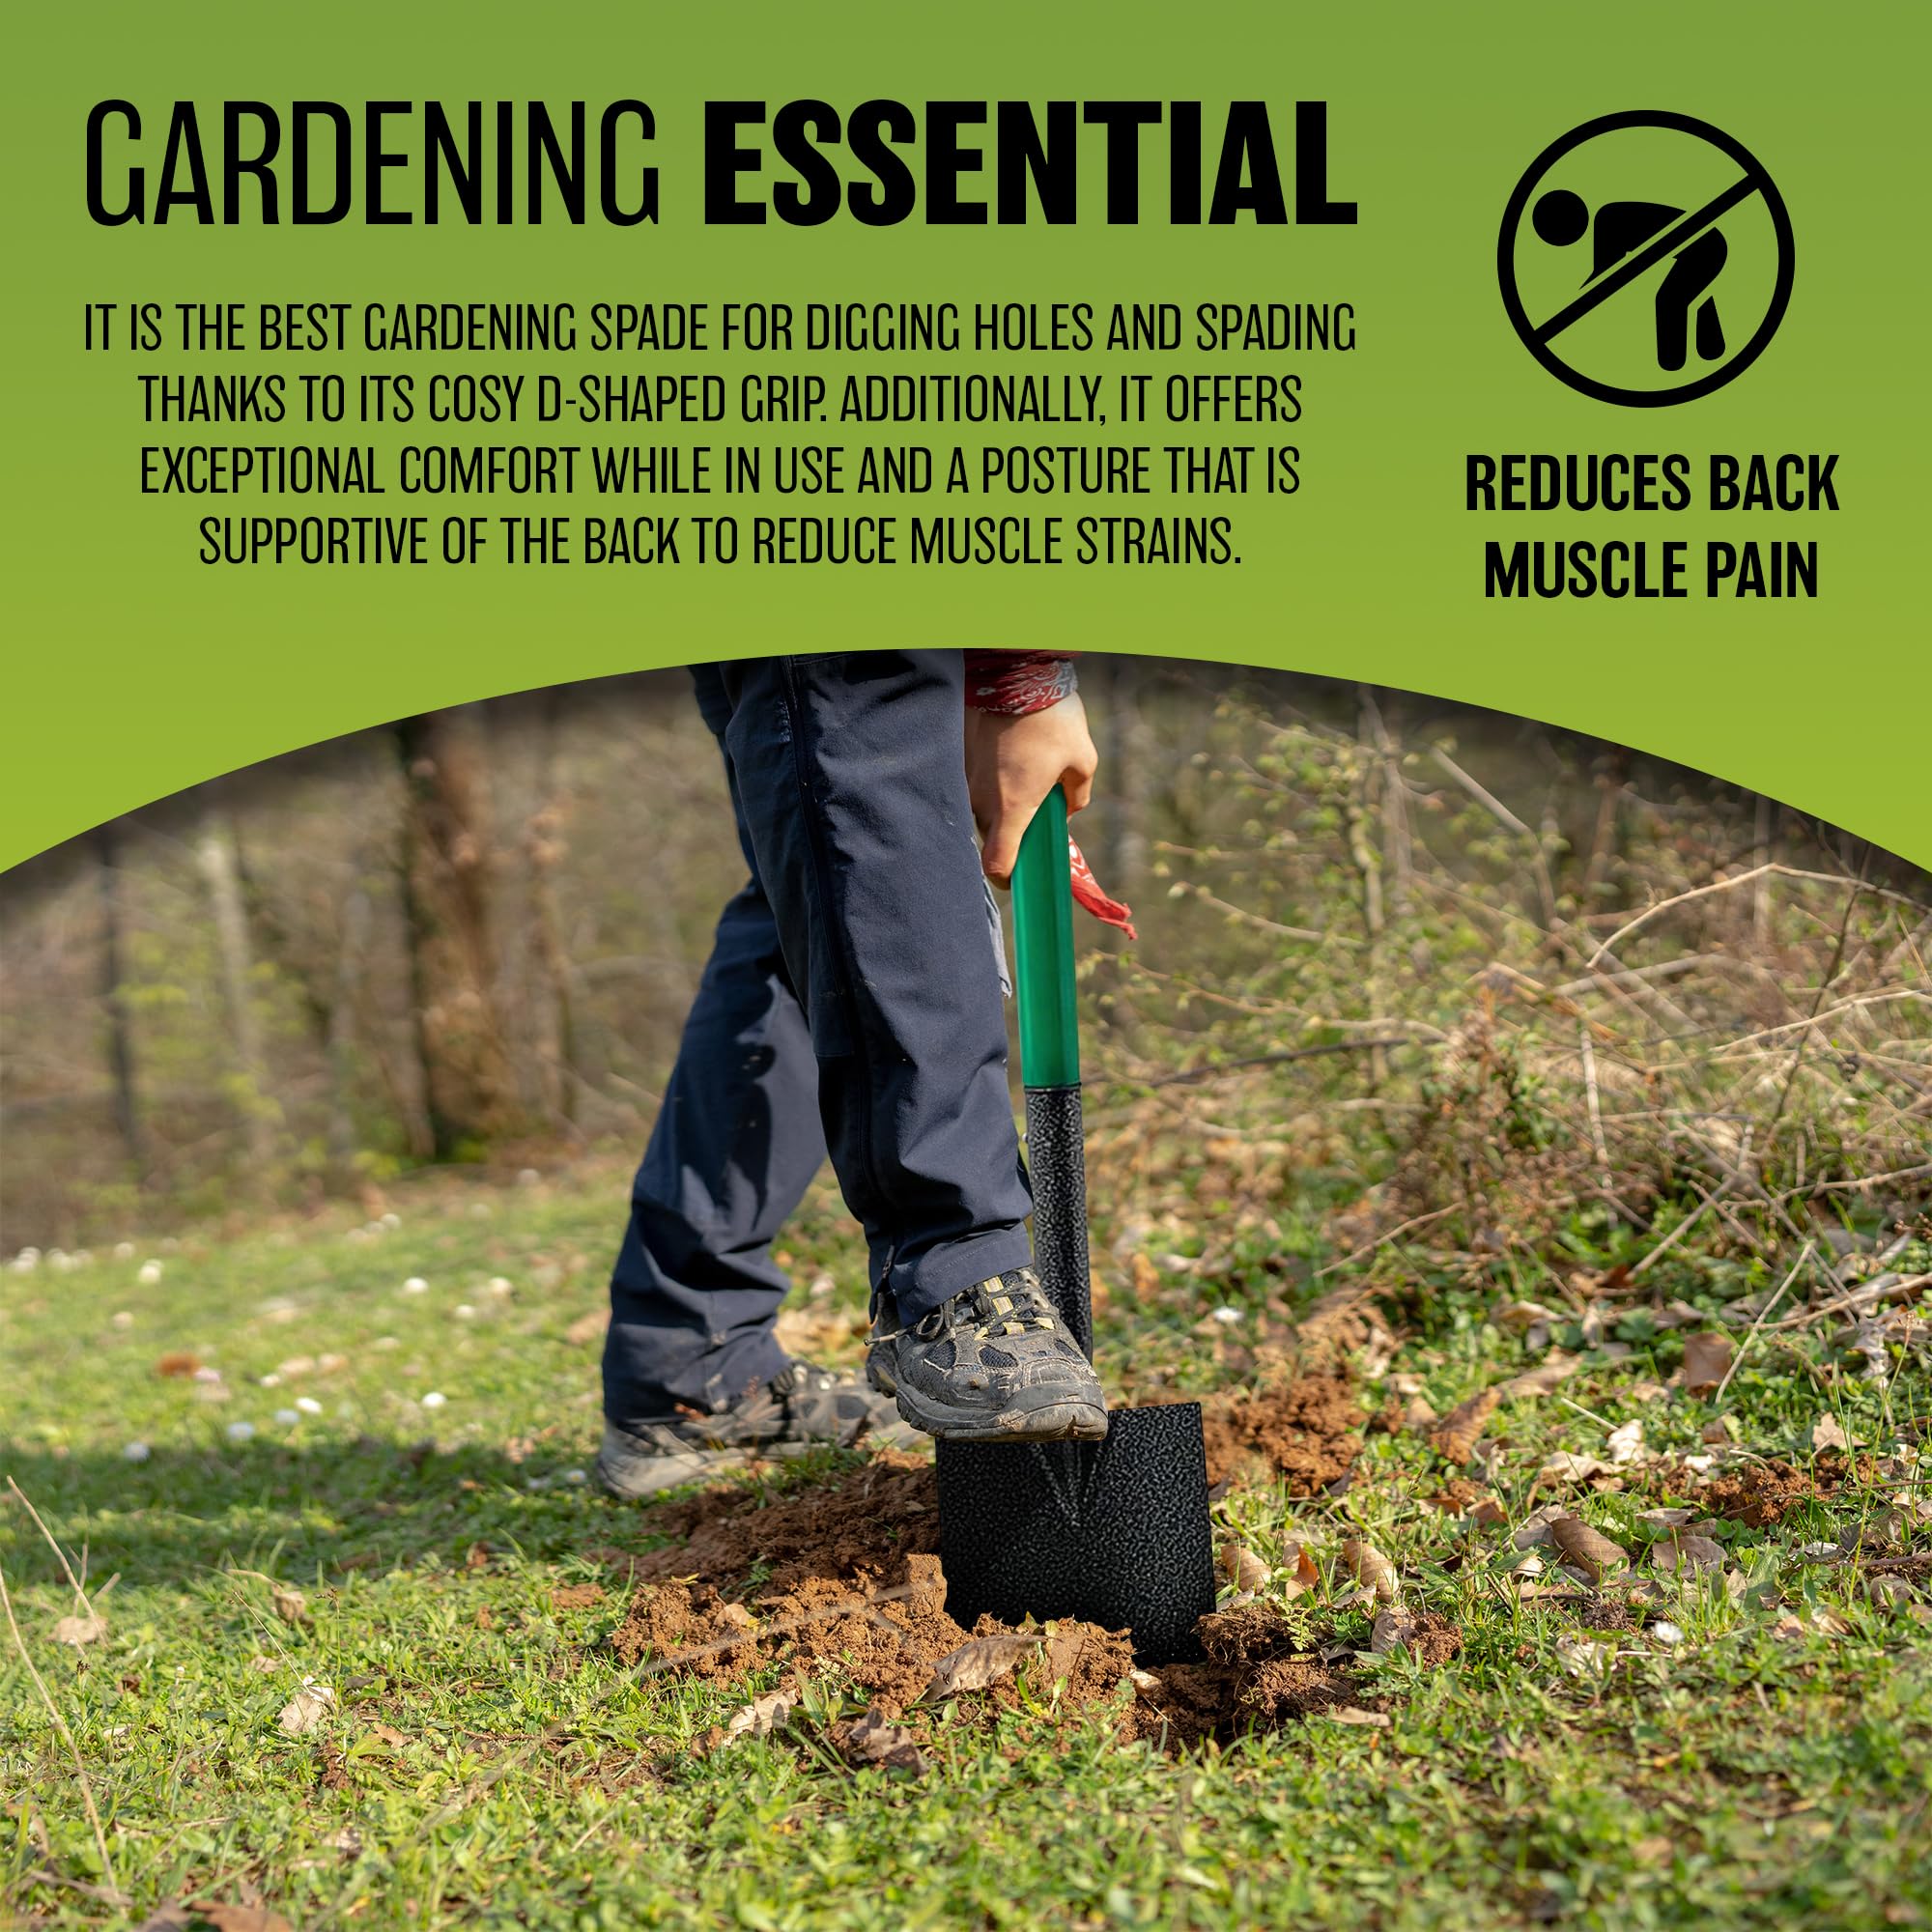
The handle should fit comfortably in your closed hand, with your fingers nearly touching your palm. A grip that is too thick cramps your hand; one that is too thin causes you to over-grip and tire quickly. D-handles, where the top of the handle forms a D shape, offer extra control for pulling, edging, and lifting. Many gardeners find that switching to a D-handle spade noticeably improves their wrist comfort over a long season.
Weight Considerations
Heavier tool heads cut through tough soil more effectively, but they also exhaust you faster. For all-day work, a mid-weight tool is the smarter choice. A well-sharpened mid-weight spade will outperform a heavier dull one every time. Choose your weight based on the duration of your typical work session, not just the immediate task.
Materials and Build Quality That Last
Build quality determines whether your tool survives the season or ends up in a landfill. Inspecting a few key areas before purchasing will save you money in the long run.
Blade Quality
Look for forged or tempered steel blades. These hold their shape and edge far better than thin, stamped steel, which can bend under pressure. A sharpened edge is essential for cutting through sod, roots, and clay. High-quality blades can be repeatedly sharpened over many years, making them a better long-term investment.
Handle Materials
Fiberglass handles are resistant to rot and moisture, and they absorb shock well, making them a solid low-maintenance choice. Ash or hickory wood handles feel warm and natural in the hand, and they can be sanded and refinished when they wear. Avoid cheap softwood handles — they are prone to splitting under stress. Whichever material you choose, the handle-to-blade connection needs to be solid.
The Ferrule and Collar
The joint where the handle meets the blade is the most common failure point on cheap tools. Look for a long socket with solid rivets, or a reinforced collar. A weak connection will loosen or snap under the prying pressure that digging often requires. A sturdy joint signals that the manufacturer built the tool to handle real work.
Warranty as a Signal
A solid warranty is not just paperwork — it is a signal of manufacturer confidence. Quality brands back their tools because they expect them to last. While you do not need to buy the most expensive option, avoid tools with no warranty and visibly thin construction. Investing slightly more upfront in a durable tool costs less than replacing a broken one each season. Also, remember to keep your friend’s garden shears, pruners, and spades sharp with the same diligence — a good sharpener for garden tools is a small investment that extends the life of everything you own.
Timing: Soil Moisture and Season Matter
Timing is one of the most overlooked factors when choosing a digging tool. The same soil that is miserable to dig in July can be a joy in May — and the difference has little to do with the tool.
Clay Soil
Clay is the most timing-sensitive soil. Dig when it is moist but not sticky. If a handful of clay clumps together and shines like a smooth ball, it is too wet to dig. Working wet clay smears it into heavy, lumpy slabs that dry brick-hard. Conversely, bone-dry clay can be nearly impenetrable. The sweet spot is a few days after rain in spring or fall, when the soil holds moisture but does not cling.
Sandy Soil
Sandy soil is generally easy to dig at any time. However, working it very early in the morning or after light watering can reduce collapse in trenches and reduce dust. Sandy soil drains so quickly that it rarely becomes too wet to work.
Frozen or Parched Ground
Frozen ground, with its hard surface crust, is best attacked with a mattock or digging bar to break through the surface layer before switching to a spade. Similarly, ground that has baked dry in summer heat benefits from a mattock’s breaking power. Trying to force a spade into these conditions risks damaging the tool and your back.
A practical habit: plan major digging projects for the day after rain in spring. The fork sinks in with noticeably less effort, and the spade slices through roots cleanly. In practice, timing your work around soil moisture makes every tool you own work better. For those building entirely new beds or working on poor soil structure, understanding how to improve garden soil naturally will reduce how much brute-force digging you need to do in the first place.
Budget, Durability, and Maintenance
You do not need to spend a fortune on garden tools, but you should spend strategically. The goal is to own a small set of quality tools that last, not a shed full of cheap ones that fail.
Where to Spend More
Invest in one premium spade for the jobs that demand precision — cutting sod, clean edges, and hard work. This is the tool you will reach for most often, and quality here pays off. Similarly, do not skimp on a digging fork. Weak tines bend or snap in heavy clay, and a bent fork is useless. These two tools deserve your best budget.
Where to Spend Less
A mid-range shovel is fine for moving loose soil, compost, and mulch. This is a volume tool, not a precision implement, and even a modest shovel will handle these tasks for years. The same goes for hand tools like trowels, where the main requirement is a full-tang design.
Care and Maintenance
Regular maintenance takes minutes but adds years to a tool’s life. Clean soil off after each use, dry the metal, and wipe a thin coat of oil on the steel to prevent rust. Sharpen the edges with a file a few times per season — a sharp edge halves the effort required. Sand wooden handles and apply boiled linseed oil once a year to prevent drying and cracking. Store all tools dry and off the ground, preferably hanging, to keep them in good condition and out of the way.
Safety, Technique, and Efficiency: Work Smarter
Even the best tool will hurt you if you use it badly. Proper technique is free power — and it prevents the back, wrist, and shoulder injuries that send many gardeners indoors for weeks.
Use Your Legs, Not Your Back
The most common digging mistake is lifting with the spine. Bend your knees, keep your back straight, and drive the tool with your hips and legs. Let your body weight do the work of pressing the blade into the ground instead of muscling it with your arms and back.
Take Smaller Bites
In heavy soil, resist the urge to take large scoops. Smaller bites keep a steady pace, reduce fatigue, and are significantly safer for your joints. Working quickly with a full spade leads to poor lifting form and strain. Steady, moderate strokes win over sporadic heavy ones.
Use Leverage
Step on the top of the spade blade with your boot to drive it into the ground. Then rock the handle back to break the cut before lifting. This technique uses the tool’s leverage to loosen the soil, making the lift far easier. Trying to push the blade in with your foot and then immediately lift while it is still deep wastes energy.
Switch Sides Regularly
Digging is asymmetrical work. Switching your lead foot and hand every few minutes distributes strain across both sides of your body and reduces repetitive strain injuries. It takes a moment of adjustment but pays off over a long working session.
Asking for a Hand
For heavy roots or deep anchoring, a hole digging tool designed for such tasks can be a safer and more efficient option than trying to adapt a standard spade.
A Quick Decision Checklist
When you are standing in the store or ready to head to the garden, run through this checklist to make your choice quickly and confidently.
- Name the task. Are you breaking new ground, edging a bed, trenching for irrigation, or moving soil?
- Check your soil type. Is it sandy, loam, clay, rocky, or full of roots?
- Match the tool. Use a fork for loosening, a spade for cutting, a shovel for moving, and a mattock for breaking hard ground.
- Test the fit. Grip the handle and check the length and weight. Try a few motions to make sure it feels balanced and comfortable.
- Inspect the build. Look at the blade steel, the joint construction, the handle material, and check for warranty coverage.
- Plan for care. Sharpen, oil, and store the tool properly so it is ready for next time.
Following this sequence — rather than grabbing whatever is closest — will make every digging session smoother.
Common Mistakes and How to Avoid Them
Even experienced gardeners fall into these traps. Recognizing them early prevents wasted effort and wasted money.
- Using one tool for every job. A shovel cannot replace a fork in hard clay, and a spade is a poor substitute for a mattock on rocky ground. Each tool has a purpose.
- Ignoring fit. A tool that causes pain will end up abandoned in the shed. Test the fit before you buy.
- Skipping maintenance. A dull spade doubles the work and triples the frustration. A quick sharpening session a few times a season pays dividends.
- Digging at the wrong time. Wet clay smears, dry clay fights back. Learn to read your soil’s moisture.
- Buying cheap joints. A weak socket is the most common failure point. Inspect the collar and rivets before purchase.
Frequently Asked Questions
What is the best all-around digging tool for most gardens?
A round-point shovel is the most versatile for moving soil and general digging. Pair it with a garden spade for clean cuts and a digging fork for loosening compacted areas. These three tools cover the vast majority of garden tasks.
How do I know if I need a digging fork or a spade?
Use a fork to loosen compacted soil or lift roots with less strain — the tines break up clumps without the full force a blade requires. Use a spade for straight cuts, edging, and slicing sod, where a clean, flat edge is needed.
Does tool weight matter for long jobs?
Yes, significantly. A mid-weight tool protects your joints over time, especially during all-day work. Heavier heads do cut faster, but they fatigue you sooner. Choose based on how long you typically work, not just the immediate task.
Should I pick wood or fiberglass handles?
Fiberglass resists moisture, will not rot, and absorbs shock well — a strong low-maintenance choice. Wood offers a warm, natural feel and can be repaired with sanding and oiling, but only choose ash or hickory. Avoid cheap softwood handles.
How often should I sharpen my spade or shovel?
Lightly file the edge every few weeks during heavy use, or whenever you notice the tool bouncing off roots and sod. A sharp edge cuts dramatically better and is worth the ten minutes of maintenance.
What is the right time to dig clay soil?
Dig when the soil is moist but not sticky. If it smears, clumps, or shines, wait a day or two for it to dry slightly. The perfect window is after rain has soaked in but before the surface dries hard.
Do I need a mattock for a small garden?
Not always. A mattock is only essential if you have hardpan, buried rocks, or thick matted roots. For most small gardens, a fork and spade are sufficient, with a mattock used occasionally when you hit trouble.
Conclusion
Choosing the right digging tool does not have to be complicated. Start by reading your soil — its texture, moisture, and obstacles. Then match the tool to the task: a spade for cutting, a shovel for moving, a fork for loosening, a mattock for breaking. Test the tool for fit and weight, inspect its build quality, and commit to simple, regular maintenance.
The result is not just faster work. It is safer work, more efficient work, and a more enjoyable time in the garden. Start with one quality spade or fork, sharpen it, and see the difference it makes. Your back — and your flower beds — will thank you.


