Tools For Digging Fence Posts: Top Picks And Pro Tips 2026
Best tools for digging fence posts include augers, post hole diggers, and digging bars.
If you want straight, sturdy posts that last, you need the right tools for digging fence posts and a smart plan. I have set hundreds of posts in clay, sand, and rock. This guide shares what works, what fails, and how to pick the best setup for your yard, your soil, and your budget.

What qualifies as tools for digging fence posts
Tools for digging fence posts help you make a clean, deep, and plumb hole. The best tools match your soil, your post size, and your crew. Some are simple hand tools. Others add power for speed. The goal is a round hole with solid walls, the right depth, and a flat base.
Here is the core list most pros use:
- Measuring tape, string line, marking paint, and stakes for layout and spacing
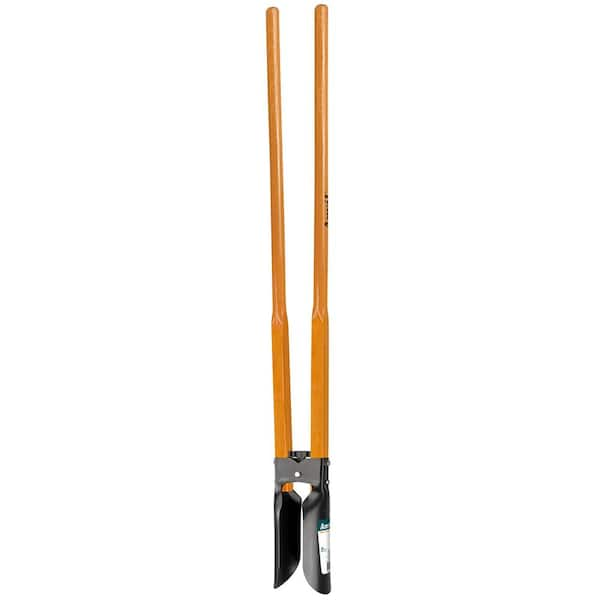
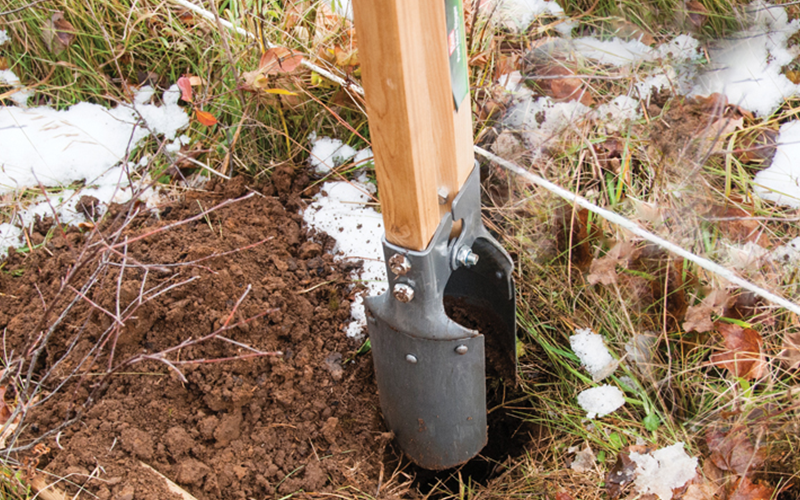
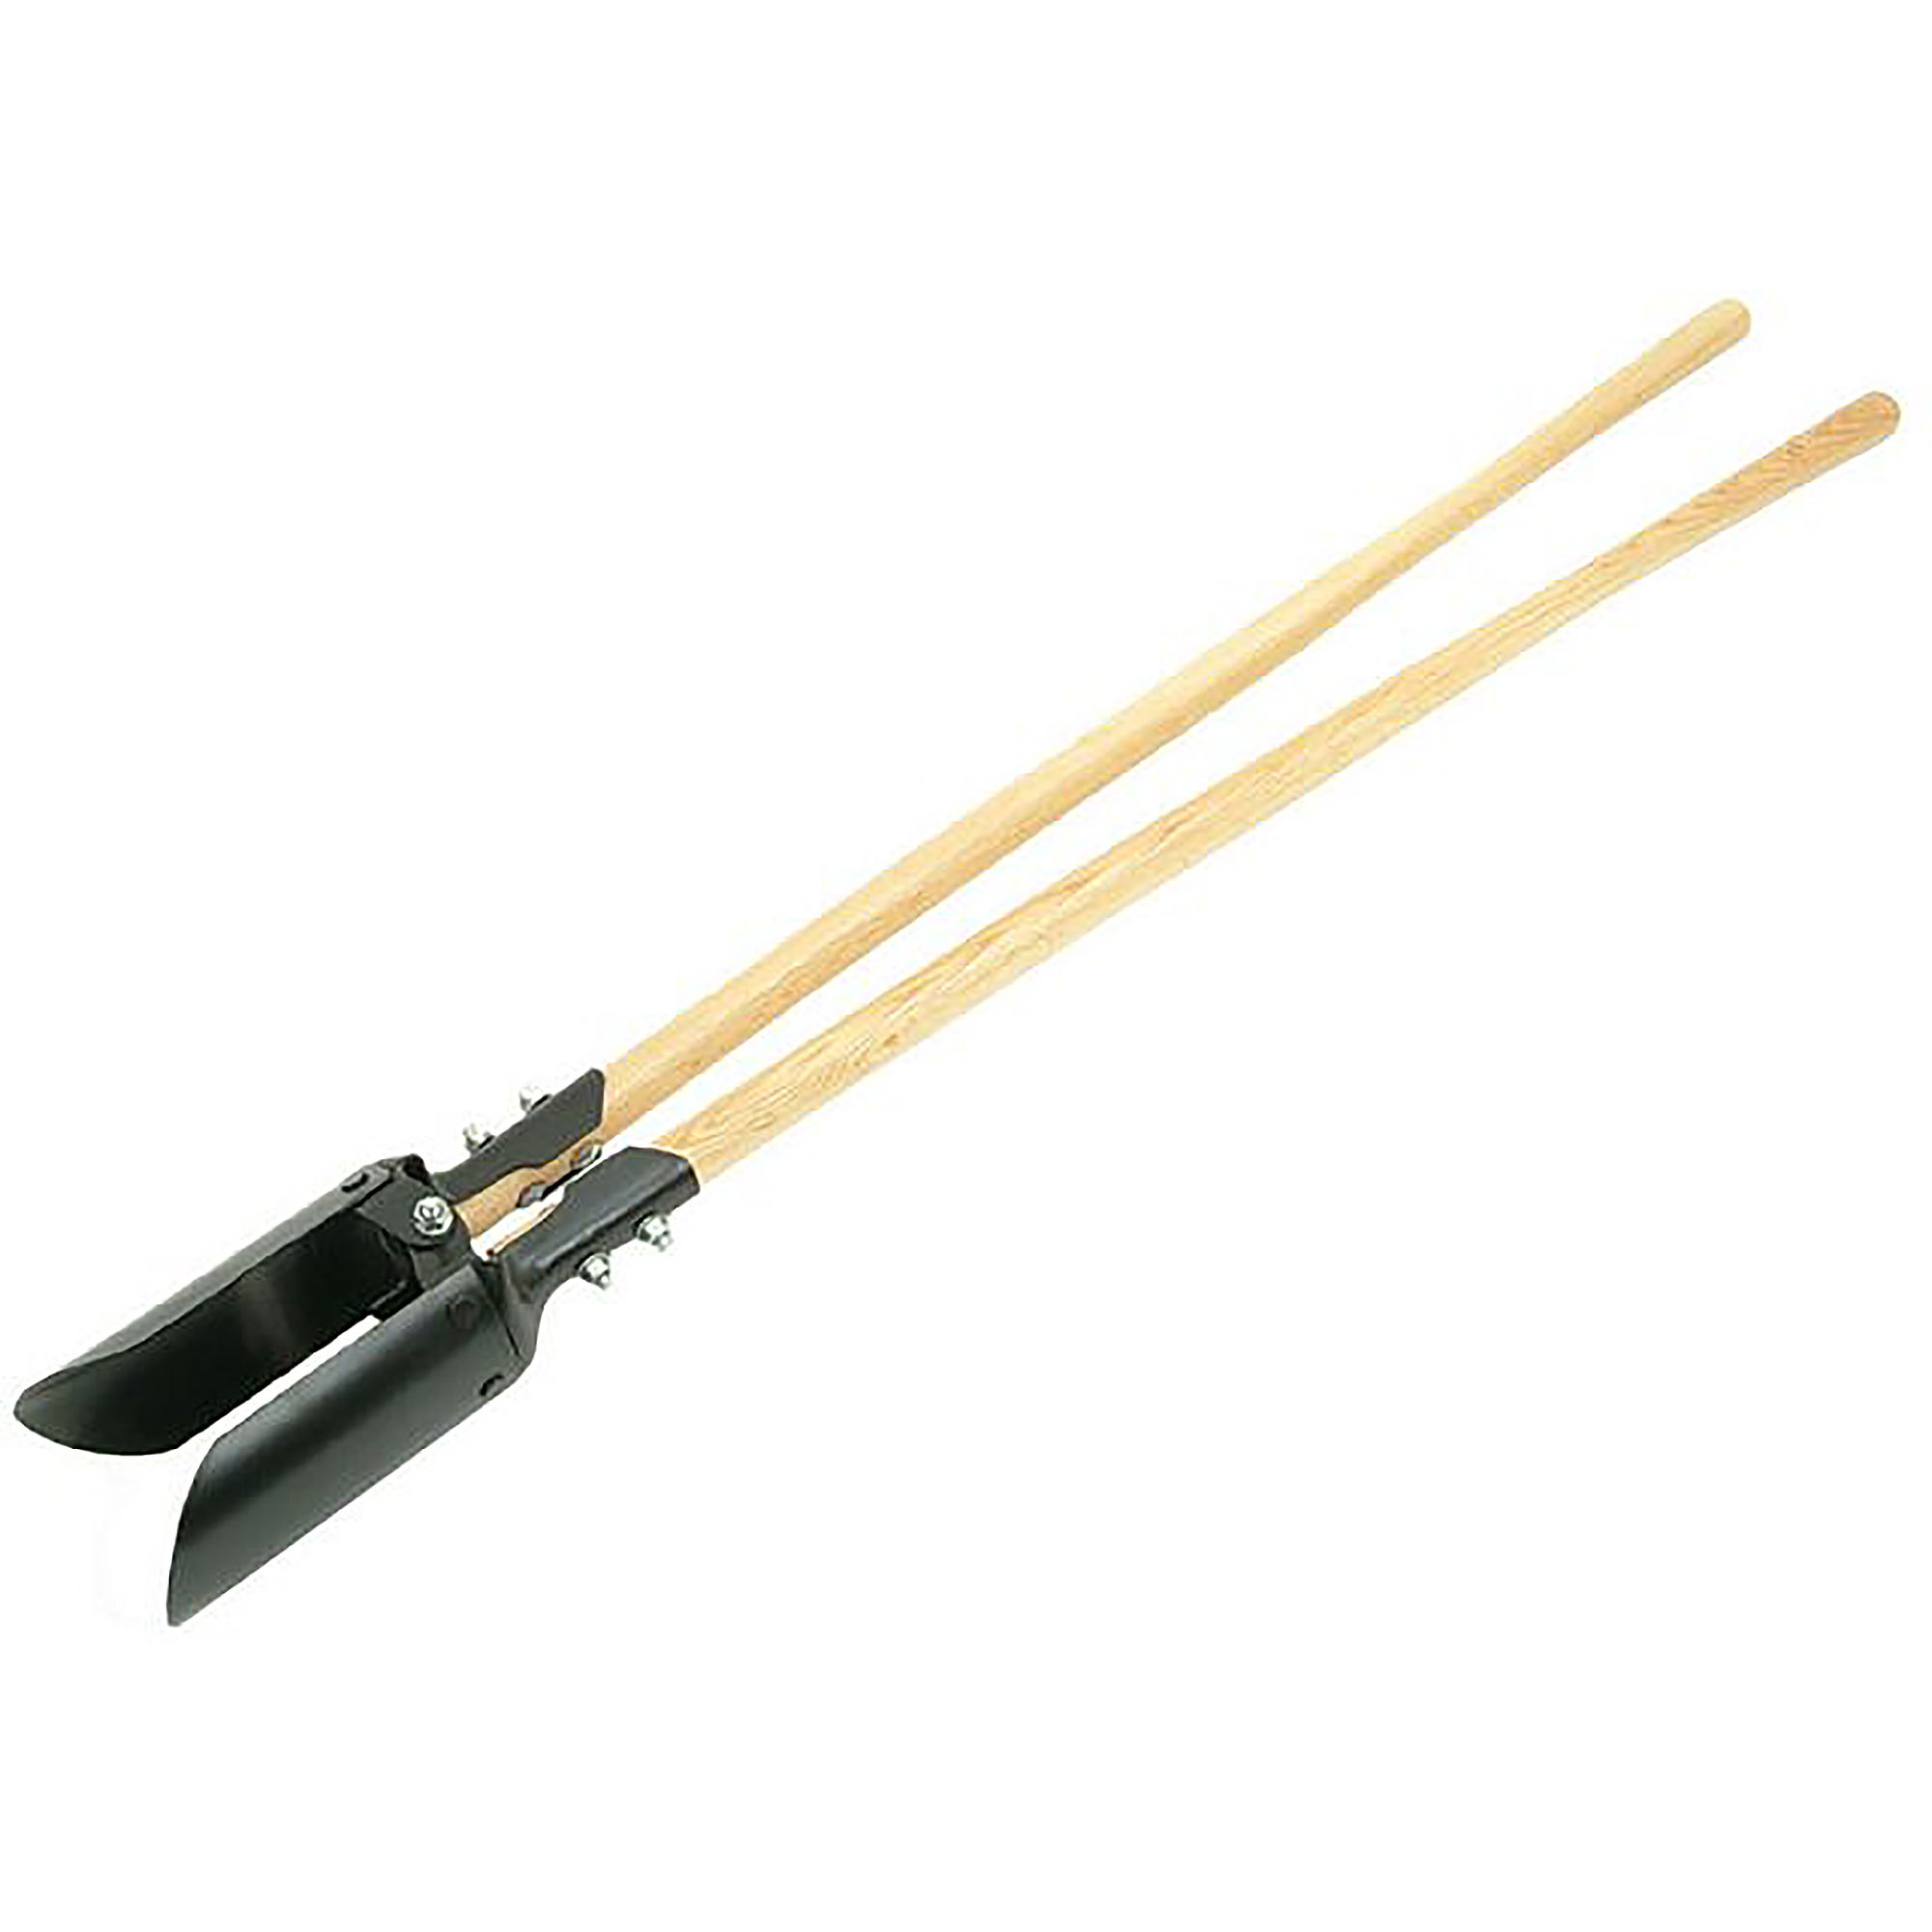
- Post hole digger, also called a clamshell, for clean holes and side trimming
- Manual earth auger for small jobs and soft soils
- Gas or battery auger for speed and medium soils
- PTO or hydraulic auger on a skid steer for hard ground or many holes
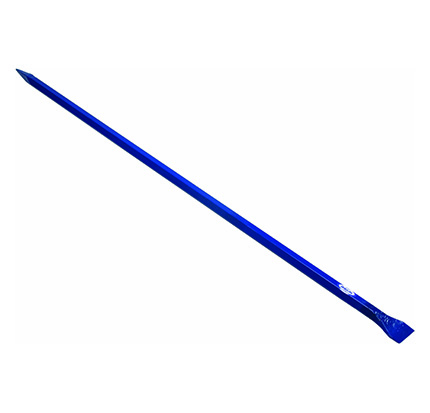
- Digging bar or rock bar for prying stones and cutting hardpan
- Mattock or pick for roots and compacted layers
- Trenching or tile spade for shaping and scooping loose spoil
- Tamping bar or hand tamper for firm backfill
- Root saw, loppers, or a reciprocating saw for roots near trees
- Wheelbarrow, tarp, or buckets to move spoil
- Post level and long level to set plumb
Tools for digging fence posts do not stop at digging. Add gravel, forms, and concrete tools to finish. A simple change like a flared base can fight frost heave. Your tools should help you do that fast and safe.
Core manual tools you will actually use
Post hole digger (clamshell)
- Best for soft to medium soil.
- Scoops loose dirt and trims sides.
- Slow in rock and wet clay.
Pro tip: Open the blades at the bottom, then close as you pull up. Do not jab from the top. It keeps the hole round.
Manual earth auger
- Good for a few holes in loam or sand.
- Gives a straight bore with little mess.
- Struggles in roots and stones.
Pick the bit that matches the post. For a 4×4, a 6 to 8 inch bit is common. I use 8 inch if I plan to set in concrete.
Digging bar or rock bar
- Heavy steel bar with a chisel or point.
- Breaks hardpan and pries rocks.
- Also tamps the base flat.
I never start a rocky site without this. It saves your back and your schedule.
Mattock or pick
- Cuts roots and breaks compacted soil.
- Great in dry clay.
- Use short swings to avoid strain.
Trenching or tile spade
- Narrow blade to shape and clean the hole.
- Reaches deep spots the clamshell misses.
These manual tools shine when you have fewer than 10 holes, tight spots, or many roots. They are cheap, quiet, and need no fuel. They are slower but give you control. For many homeowners, these are the best tools for digging fence posts on small lots.

Power augers and when to use them
Gas-powered two-person auger
- Fast for 10 to 40 holes.
- Works well in loam and light clay.
- Can kick if it hits a rock.
Use sharp blades. Keep a digging bar ready for big stones. A second person helps steady and lift.
One-person gas or battery auger
- Safer and lighter than many two-person units.
- Good for 6 to 10 inch bits.
- Battery augers cut noise and fumes.
Modern battery augers have strong torque. Bring extra batteries. Cold weather cuts runtime.
Skid steer or tractor with hydraulic or PTO auger
- Best for many holes, hard clay, or rocky sites.
- Wide range of bits and rock teeth.
- Higher rental cost and transport needs.
Add a rock bit for cobble or shale. A pilot bit helps start straight. For slopes, use a spotter to watch plumb.
SDS-max hammer, breaker, or rotary hammer
- For boulders near the surface.
- Not a first tool, but a great rescue tool.
Power augers speed up work but still need manual tools. I often auger to depth, then use a digging bar to knock out one stone. This mix keeps you fast and safe.
Choose the right tool by soil, post size, and project scale
Match tools for digging fence posts to site and scope. Use this simple guide.
- Soft loam or sandy soil: Manual auger and clamshell. Battery auger if many holes.
- Heavy clay: Gas auger with sharp blades. Mattock and bar on hand.
- Rocky soil or hardpan: Skid steer auger with rock teeth. Digging bar and breaker as backup.
- Root-heavy areas: Mattock, root saw, and a manual auger. Take your time to avoid pipes.
- Tight backyards: Manual tools or a one-person auger. Protect turf with tarps and boards.
Size and depth rules of thumb:
- Depth: At least one third of post length in the ground. Many fences need 24 to 36 inches.
- Diameter: Two to three times the post width. A 4×4 often needs an 8 to 10 inch hole.
- Frost zones: Go below frost depth. Flare the base for grip. Use clean gravel for drainage.
If you plan to set in concrete, size up one bit. If you will tamp native soil and gravel, keep walls tight for better hold.

Step-by-step workflow for fast, straight holes
Follow a clean workflow to save time and avoid rework.
- Call to locate utilities
- Always mark gas, power, water, and fiber before you dig.
- Shift post layout at least 24 inches off any marked line.
- Layout the fence line
- Set corner stakes, pull a tight string, and square corners.
- Mark each hole with paint and a tape measure.
- Precut plugs and prep the site
- Mow grass low and roll out tarps for spoil.
- If soil is like concrete, wet the area the night before.
- Start the hole
- Use a manual or power auger to start 6 to 10 inches.
- Check plumb early with a post level.
- Break and clear layers
- In clay, chip with a mattock between auger passes.
- In rock, use a digging bar to wedge and remove stones.
- Final depth and shape
- Go 2 to 3 inches deeper than target, then flatten the base with the bar.
- Bell the bottom slightly in frost zones.
- Set the base
- Add 3 to 6 inches of compacted gravel for drainage.
- Tamp well to avoid future slump.
- Place posts and backfill
- Use concrete, foam, or tamped gravel per design.
- Check plumb on two faces. Recheck after the first tamp or pour.
- Cure and brace
- Brace posts until set. Follow mix cure times.
- Keep water off fresh concrete in heavy rain.
This workflow fits any mix of tools for digging fence posts. It keeps holes neat, straight, and to code.

Cost, time, and ergonomics comparison
- Few holes, soft soil: Manual tools cost little and are easy to store. Time per hole is 15 to 30 minutes.
- Many holes, mixed soil: Rent a gas auger for a day. Time per hole drops to 5 to 10 minutes.
- Tough soil or big run: A skid steer auger cuts days to hours. Add delivery and fuel to budget.
Ergonomics tips:
- Switch hands often with the clamshell to avoid strain.
- Let the auger cut at low throttle. Do not force it.
- Work in pairs to lift spoil and hold plumb.
Hidden costs:
- Extra bits for rock add to rental fees.
- Blades dull fast in sand. Keep spares.
- Fuel, oil mix, and batteries add up on long jobs.
Safety, accuracy, and code considerations
Safety comes first on every dig.
- Call utility locates before you mark holes.
- Wear eye, ear, and toe protection. Gloves help with blisters and heat.
- Keep bystanders clear of a spinning auger. Brace your stance for kickback.
Accuracy avoids rework.
- Use a string line for straight runs and an offset line for curves.
- Check plumb every 6 to 12 inches of depth.
- Keep a hole log for depth, soil type, and any changes.
Codes and good practice:
- Many areas need posts below frost depth.
- Some cities limit concrete above grade.
- Gates need deeper, wider footings and extra bracing.
These checks matter as much as your tools for digging fence posts. A safe, accurate hole sets you up for a long-lasting fence.
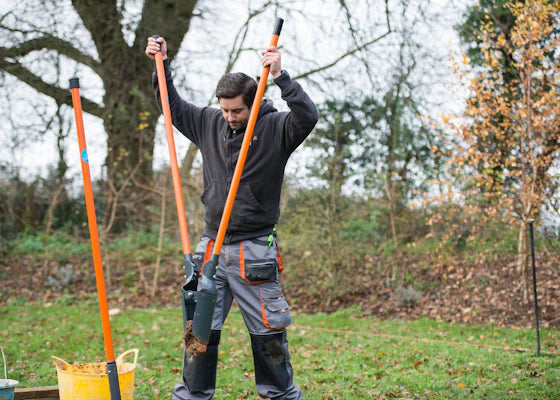
Maintenance and setup tips that pay off
- Sharpen clamshell edges with a file for cleaner cuts.
- Grease auger gearboxes per the manual.
- Use fresh fuel and the right oil mix for two-stroke engines.
- Clean tools after each use. Dry metal to prevent rust.
- Store bits with blade guards to protect edges.
- Mark bit sizes clearly to avoid mix-ups on site.
Small habits keep tools for digging fence posts ready and safe. They also make the next job faster.

Mistakes to avoid and pro tips
Common mistakes:
- Starting too wide. Oversized holes waste concrete and weaken support.
- Ignoring water. Wet clay can smear and glaze. Rough the walls to help bond.
- Skipping gravel. A dry base helps fight frost and rot.
- Pouring concrete in standing water. Pump or bail first.
- Not bracing. Posts can drift while the mix cures.
Pro tips from the field:
- In stubborn clay, add a short soak 12 hours before digging. Not right before.
- Use a shop vac to clean loose fines at the bottom. It keeps the base flat.
- In sand, sleeve holes with a sonotube as you dig. It stops cave-ins.
- On slopes, cut a flat pad for your feet and tool. It keeps holes plumb.
- For roots, cut clean with a saw. Do not twist or lever live roots near trunks.
These simple ideas turn basic tools for digging fence posts into a pro-grade setup.
Frequently Asked Questions of tools for digging fence posts
What is the best tool for beginners?
A manual post hole digger and a digging bar are the best start. They are cheap, safe, and teach control before you move to power.
How deep should fence post holes be?
Go at least one third of the post length in the ground. In frost zones, go below frost depth, often 30 to 48 inches.
What size auger bit for a 4×4 post?
Use an 8 to 10 inch bit. Pick 10 inches if you will set posts in concrete.
Can I dig in rocky soil without a machine?
Yes, but plan more time. Use a digging bar, a mattock, and a rock-tooth auger bit if you rent power.
Is concrete always required for posts?
No. In well-drained soils, tamped gravel can work. Concrete adds stiffness and is best for gates, corners, and wind loads.
How do I keep holes from caving in?
Work fast, use a sonotube in sand, and avoid soaking the area right before digging. Shovel out in stages and tamp the walls.
Gas or battery auger, which is better?
Battery augers are cleaner and quieter, great for small to medium runs. Gas augers run longer and handle tougher soils without swapping batteries.
Conclusion
The right tools for digging fence posts turn hard ground into clean, straight holes. Match the tool to your soil, plan your layout, and follow a steady workflow. Add sharp blades, safe habits, and solid backfill, and your fence will stand true for years.
Pick your setup, mark your line, and dig your first perfect hole today. Want more expert tips on layout, concrete, and bracing? Subscribe and leave your questions so we can tackle your exact site together.