Drain or stabilize fuel, change oil, clean, charge the battery, and store dry.
When you master how to winterize a riding lawn mower, you protect an engine you count on and save money in spring. I’ve winterized many riders for clients and my own shop, and small steps make a big difference. This guide explains how to winterize a riding lawn mower with clear, proven steps and pro tips you can trust.

Why winterizing your riding mower matters
Cold months are hard on small engines. Fuel can go stale. Moisture can rust parts. Batteries lose charge. Rubber dries out. A short, smart routine stops all that and keeps your rider ready when grass starts to grow.
In my work, the riders that start clean in spring all have one thing in common. The owners took time to do a simple winter prep. If you want to know how to winterize a riding lawn mower, think of it as an oil change plus storage steps. The cost is small, and the payback is big.
Good winter prep helps with:
- Fast spring starts and smoother idle
- Longer engine and battery life
- Less rust, less belt slip, and fewer fuel issues
- Lower repair bills and less downtime
Tools and supplies you will need
Gather what you need first. It makes the job quick and safe.
- Work gloves and safety glasses
- Fuel stabilizer rated for ethanol blends
- Engine oil and filter that match your model
- Oil drain pan, funnel, shop towels
- Air filter and spark plug if due
- Fogging oil or a spoon of engine oil
- Battery maintainer or smart charger
- Degreaser, putty knife, soft brush
- Grease gun and the right grease
- Torque wrench for blade bolts
- Jack stands or mower lift
- Wheel chocks
- Anti-rodent deterrent, breathable cover, and desiccant packs
Tip from the field: Check the manual for oil grade and torque specs. Many riders take SAE 10W-30 or 5W-30 and have blade bolts that need firm torque. Knowing how to winterize a riding lawn mower starts with the right parts on the bench.

Safety first: prepare the mower and workspace
Set up safe before you touch a blade or drain fuel.
- Work in a dry, well-lit space with good air flow
- Let the engine cool
- Remove the key, set the brake, and chock the wheels
- Disconnect the spark plug wire
- If lifting, use a mower lift or jack stands on solid ground
A clean floor and steady light lower the risk of slips and missed steps. Safety is step one in how to winterize a riding lawn mower.
Step-by-step: how to winterize a riding lawn mower
Follow these steps in order. Each step helps the next one work better.
1) Deep clean the mower and deck
Dirt traps water and salt. That leads to rust. Clean now to stop it.
- Blow off loose grass with air or a soft brush
- Wash the deck top and underside with low pressure
- Scrape compacted clumps with a putty knife
- Let it dry fully, then mist bare metal with a light oil
I once skipped a deck clean after a late fall job. By spring, the deck had scale rust. A 10-minute clean would have saved an hour of wire brushing.
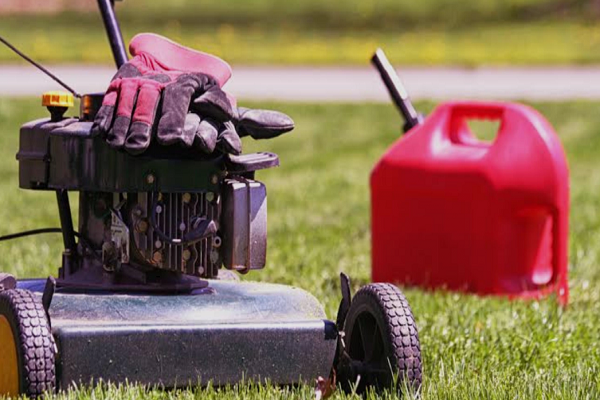
2) Fuel system: stabilize or drain
Old fuel is the top cause of no-start calls I see in spring.
Option A: Stabilize and run
- Add the right dose of fuel stabilizer to a near-full tank
- Run the engine 10 minutes to draw treated fuel into the carb
- Top off the tank to reduce air space and moisture
Option B: Drain and dry
- Shut off the fuel valve and drain the tank into a safe can
- Run the engine dry to empty the carb
- For some carbs, drain the bowl with the drain screw
Most riders do best with stabilizer, not a dry system, unless you store very long or use poor fuel. If you ask how to winterize a riding lawn mower in areas with E10 gas, stabilize it the same day you buy fuel.
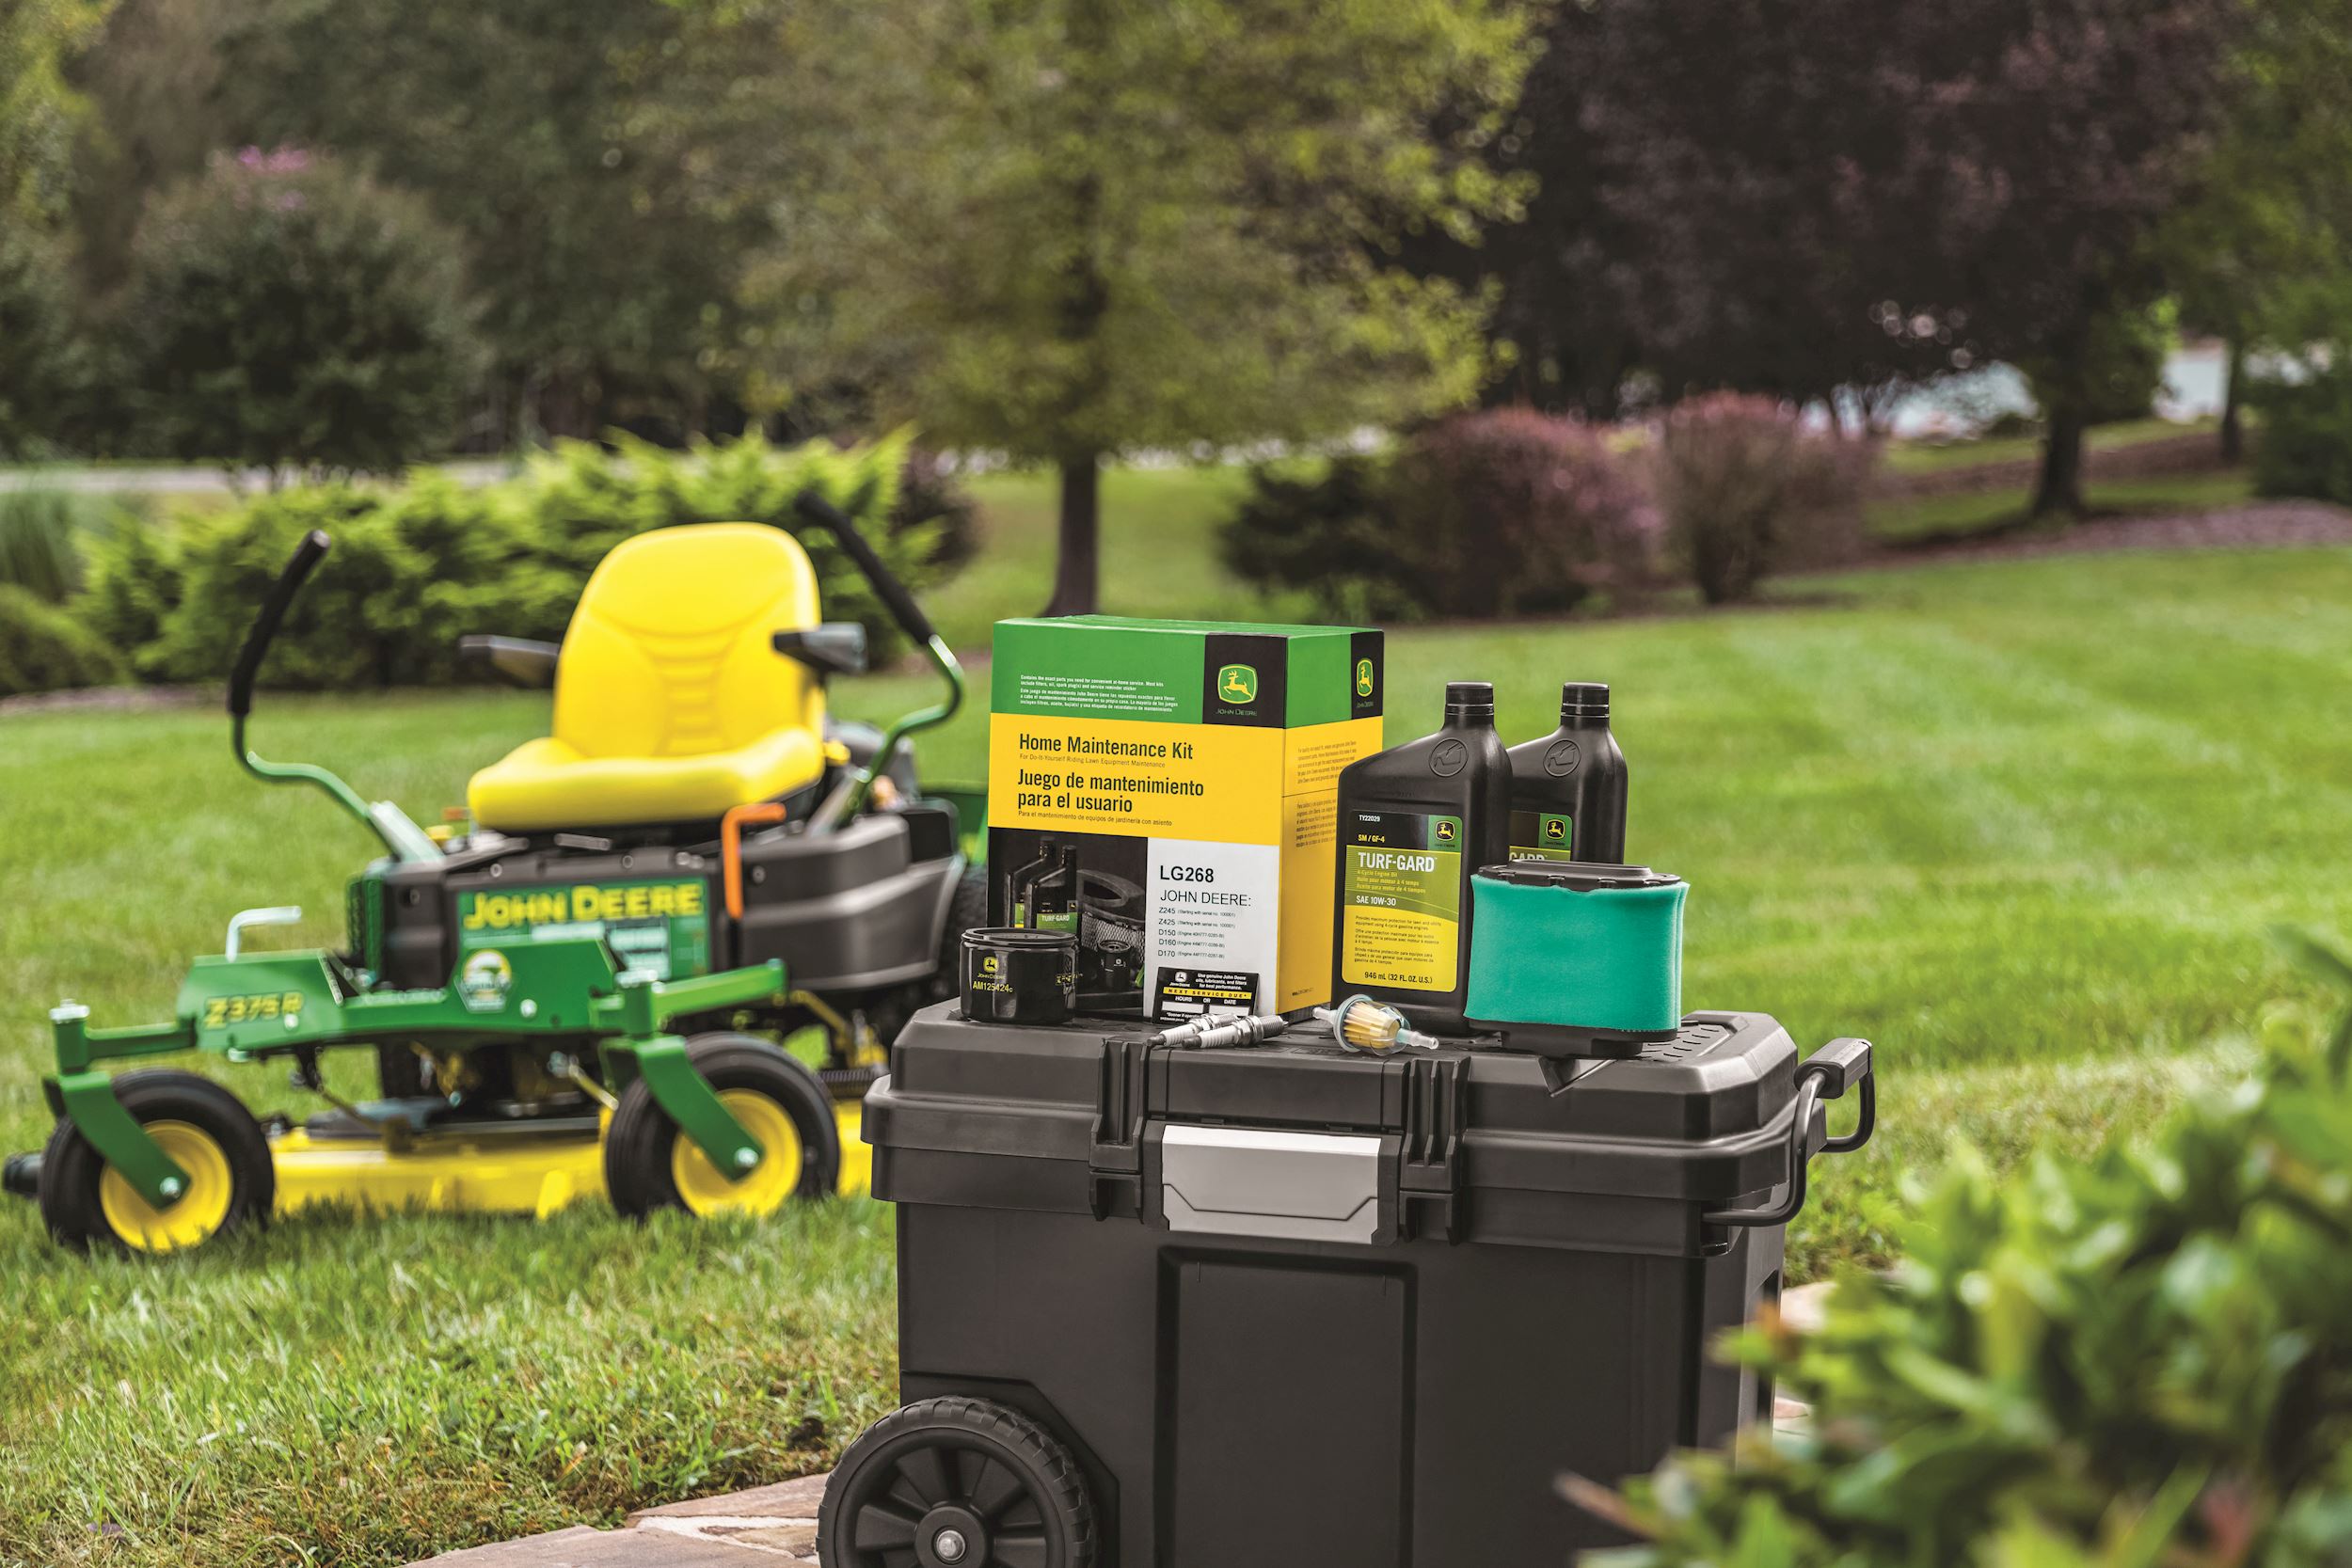
3) Change engine oil and filter
Old oil holds acids and water. Fresh oil shields metal in the cold.
- Warm the engine for 3–5 minutes
- Drain oil into a pan, swap the filter, and install the plug
- Refill with the correct grade and amount
- Start, check for leaks, and confirm the level
Pro tip: Use a clean funnel and wipe the dipstick before checks. Do not overfill.
4) Air filter and spark plug check
Your rider will thank you in spring.
- Inspect or replace the air filter
- Pull the plug, inspect the tip, and replace if worn
- Set gap to spec if reusing
5) Fog the engine (optional but great for long storage)
Extra care for metal parts inside the cylinder.
- With the plug out, spray fogging oil into the cylinder or add a teaspoon of clean oil
- Crank the engine by hand a few turns
- Reinstall the plug and reconnect the wire later, at spring start
I use fogging oil on coastal jobs where salt air is harsh. It keeps rings and walls in great shape.
6) Battery care
Batteries hate the cold when they sit.
- Remove the negative cable first, then positive
- Clean posts with a brush and a bit of baking soda mix
- Store the battery indoors on a wooden shelf, not on concrete
- Put it on a smart maintainer once a month, or leave a maintainer connected
A maintained battery saves a spring purchase. It is a core step in how to winterize a riding lawn mower.
7) Blades, belts, and hardware
Store it ready to mow.
- Inspect belts for cracks or glazing
- Check idlers and pulleys for play
- Sharpen and balance blades now, then torque bolts to spec
- Replace worn parts so spring is easy
8) Grease and lube points
Dry pivots and spindles wear fast.
- Pump grease into zerks until fresh grease shows
- Wipe excess
- Mist cables and pivot points with a light oil
9) Tires and brake
Stop flat spots and sticking brakes.
- Inflate tires to spec
- If possible, roll the mower a few inches once a month
- Store with the parking brake off and use chocks to prevent binding
10) Rodent and rust control
Critters love warm nooks.
- Seal entry points around storage with steel mesh
- Use traps or repellents near the storage area
- Place desiccant packs under the seat and near the deck
- Cover the exhaust and air intake with breathable mesh to block nests
Skip dryer sheets. In my tests, mice used them as bedding. Peppermint oil helps, but traps work better.
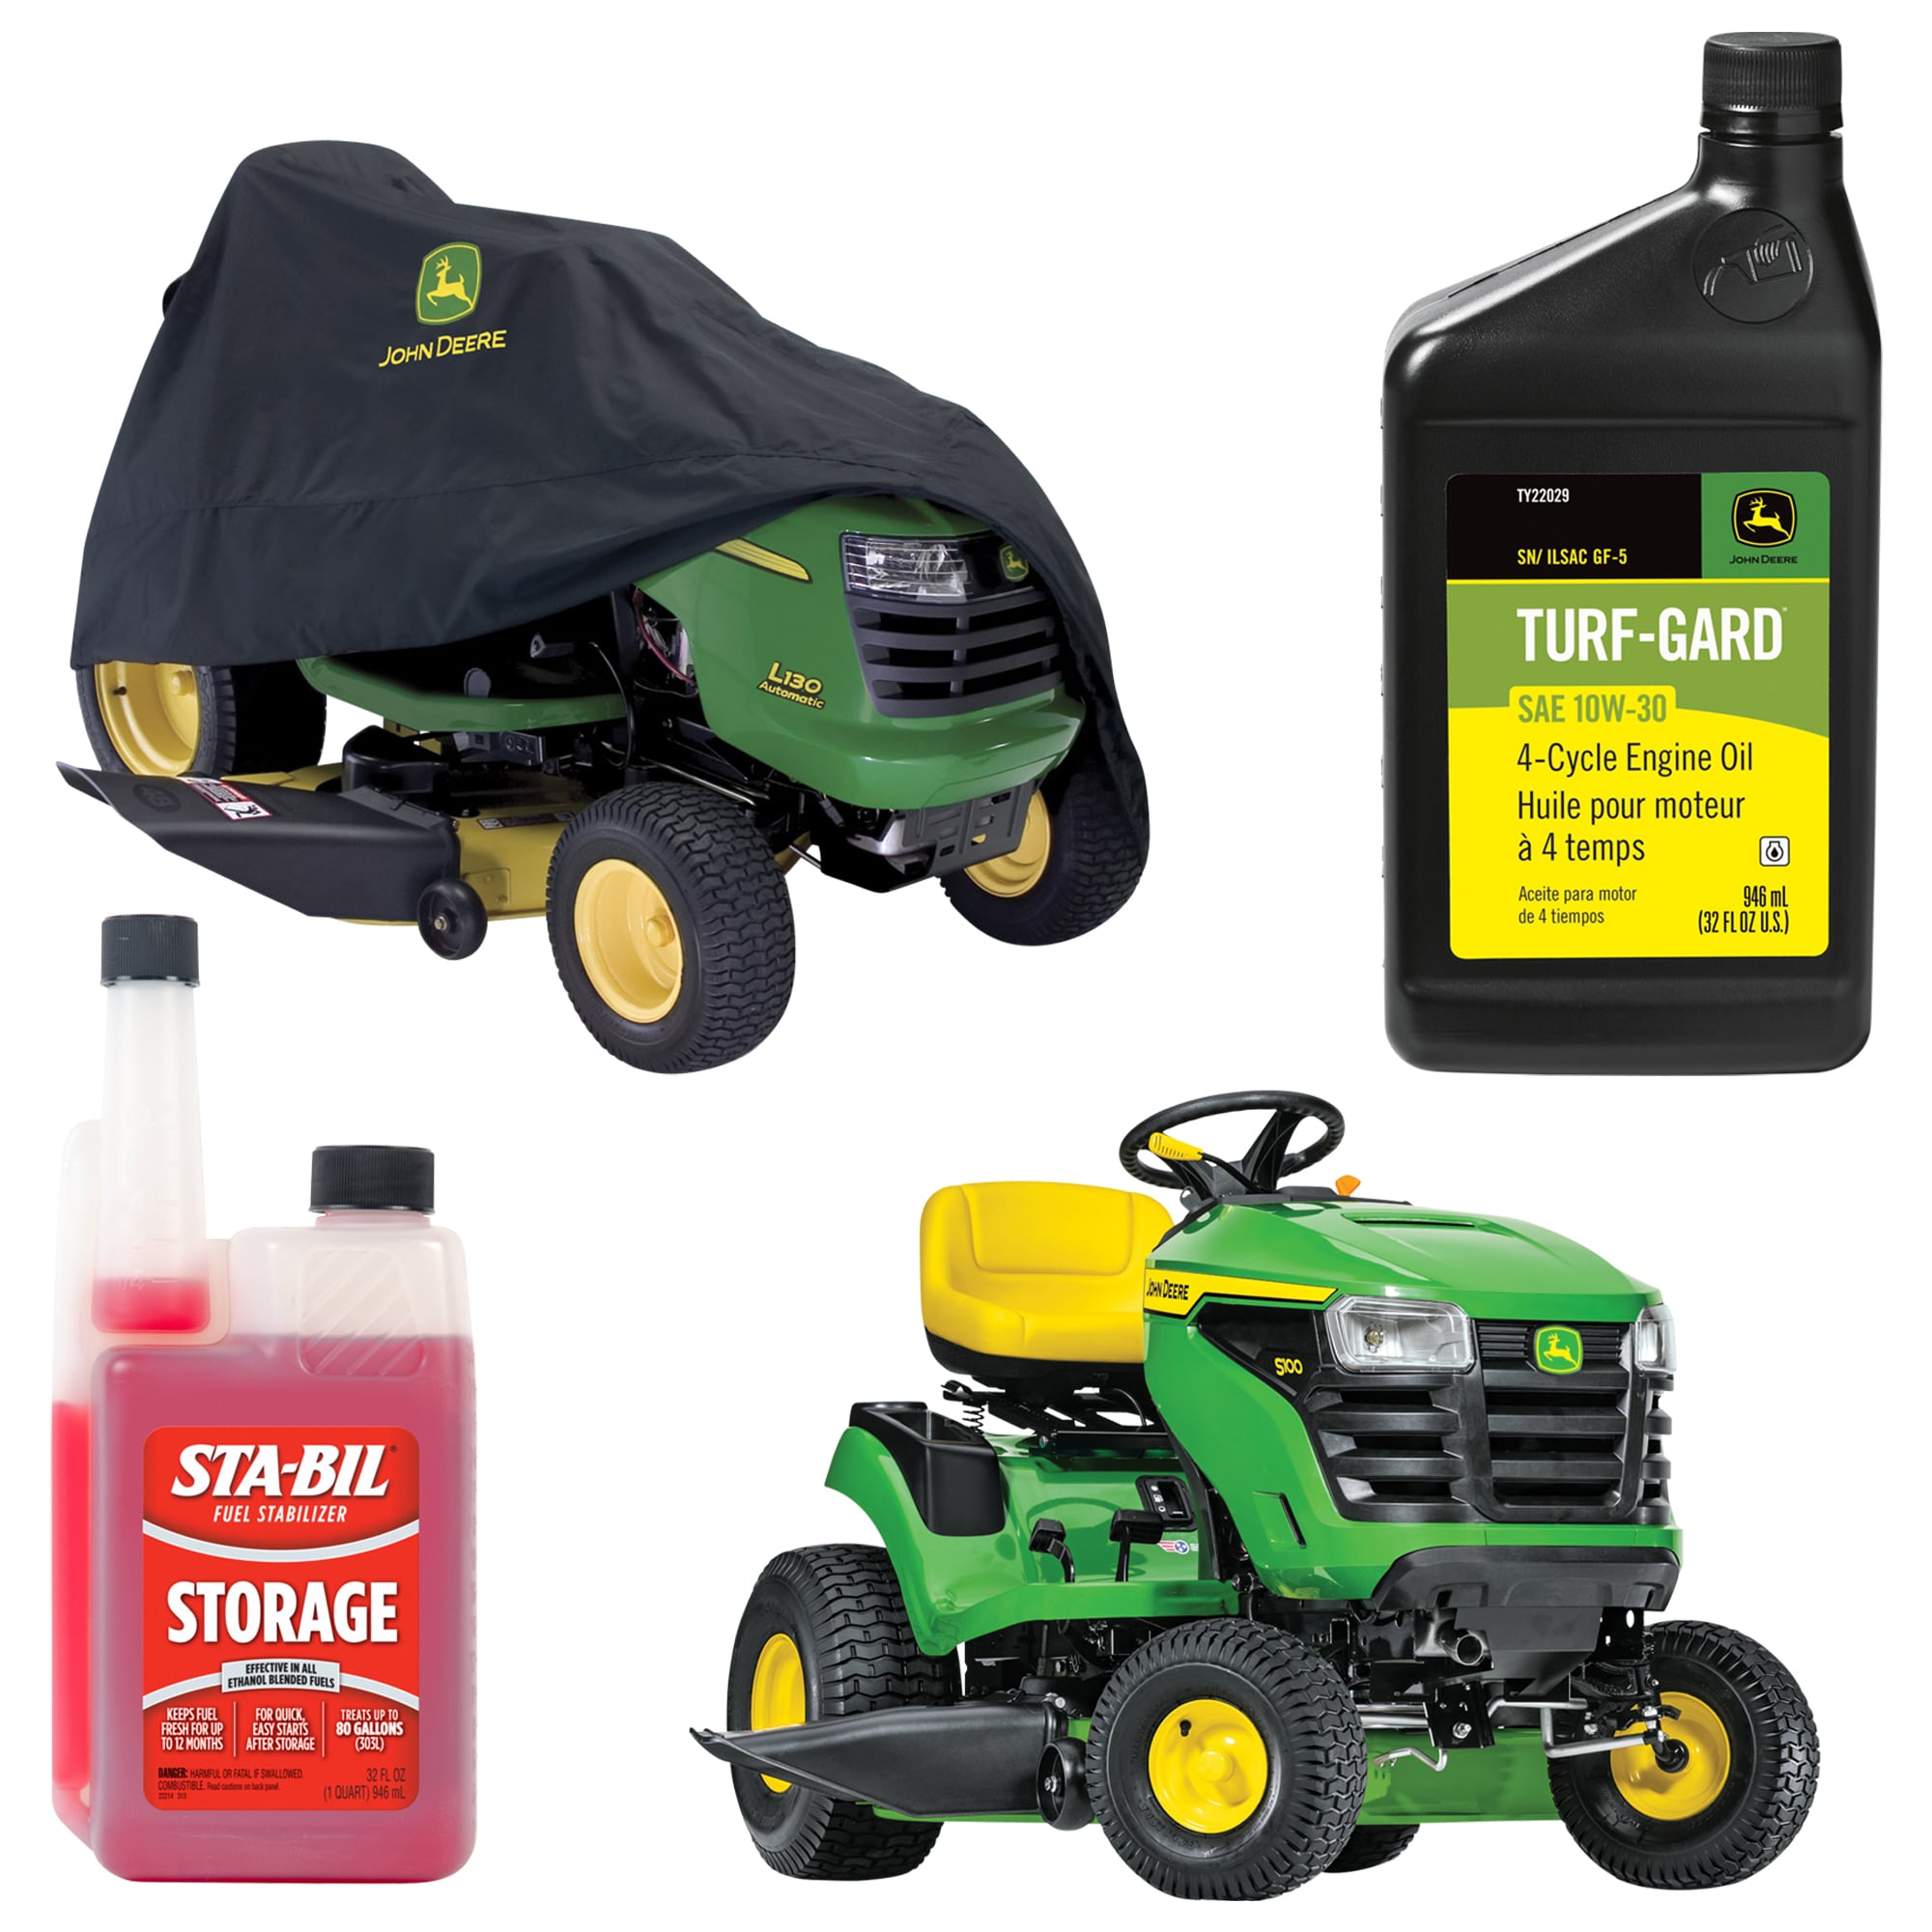
11) Storage spot and cover
Good storage is dry, stable, and clean.
- Store indoors if possible, away from fertilizers and pool chemicals
- Put a vapor barrier under the mower if on bare concrete
- Use a breathable cover, not a blue tarp
- Leave the tank full with stabilizer, or dry and open the cap slightly if fully drained
If someone asks how to winterize a riding lawn mower in a shed, the same rules apply. Dry air, clean floor, and a breathable cover win every time.

Pro tips and common mistakes
Lessons learned from years in the field.
- Treat fresh fuel the day you buy it. Stabilizer is not magic if added months later.
- Do not skip the oil change. Fresh oil prevents acid pitting over winter.
- Avoid plastic tarps. They trap moisture and cause rust bloom.
- Label the key steps on a sticky note and tape it to the seat.
- Keep a log of date, oil type, filter part, and blade torque.
Mistakes to avoid:
- Leaving ethanol fuel untreated over winter
- Parking with the brake on for months
- Storing outside under a non-breathable cover
- Forgetting to disconnect or maintain the battery
- Ignoring belt cracks and blade nicks
When people ask how to winterize a riding lawn mower fast, I say this. Do the five that matter most: stabilize fuel, change oil, clean the deck, maintain the battery, and store dry.
Spring restart checklist
Make the first mow smooth.
- Remove rodent covers from intake and exhaust
- Reinstall the battery, positive first, then negative
- Check oil, fuel, tire pressure, and belt routing
- Prime or choke per the manual and start the engine
- Let it warm for a few minutes, then check for leaks or odd sounds
- Re-torque blade bolts after the first mow if you sharpened them
This is the payoff for learning how to winterize a riding lawn mower. A clean start, a steady idle, and a ready machine.

Frequently Asked Questions of how to winterize a riding lawn mower
How late can I wait to winterize my rider?
Do it right after your last mow of the season. The sooner you treat fuel and change oil, the less damage from stale gas and acids.
Should I run the carb dry or use stabilizer?
Both work, but stabilizer with a full tank is best for most users. Running dry is fine for very long storage or uncertain fuel quality.
Do I have to change oil before storage?
Yes, it is one of the best steps you can take. Old oil holds moisture and acids that can harm bearings and rings.
Can I leave the battery in the mower all winter?
You can, but it is not ideal. A removed, maintained battery stored indoors lasts longer and cranks stronger in spring.
Is a tarp OK as a cover?
Use a breathable cover made for mowers. Plastic tarps trap moisture and can cause rust and mold.
What fuel works best for storage?
Use fresh fuel from a busy station, then add stabilizer. Non-ethanol fuel stores better, but treated E10 works well for winter.
Do I need to fog the engine?
Fogging is optional for short storage. It helps more in humid or coastal areas, or when storing over six months.
Conclusion
A small winter routine pays off with fast starts, smooth cuts, and fewer repairs. Now you know how to winterize a riding lawn mower the right way, with steps that guard fuel, oil, battery, and steel. Pick a weekend, gather your supplies, and protect your investment. If this guide helped, subscribe for more mower care tips, share it with a neighbor, or leave a question and I’ll help you plan your winter prep.


