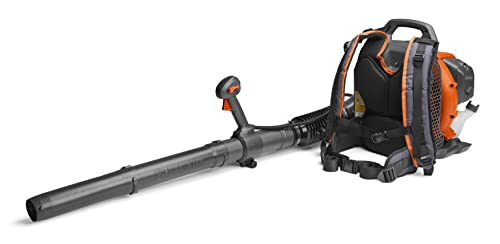
How To Clean Leaf Blower Air Filter: Quick Guide 2026
A dirty air filter is one of the most common reasons a leaf blower loses power, runs rough, or refuses to start. The fix takes about ten minutes and costs almost nothing. This guide walks you through exactly how to clean a leaf blower air filter the right way—matching the method to your filter type, avoiding the mistakes that damage engines, and building a simple maintenance routine that keeps your blower running strong all season.
Why a Clean Air Filter Matters More Than You Think
Your leaf blower's engine is essentially a controlled explosion machine. It needs a precise mix of fuel and air to run efficiently. The air filter is the only barrier between that combustion chamber and the dust, pollen, grass clippings, and fine grit that your blower kicks up with every pass.
A clogged filter starves the engine of air. This causes the fuel mixture to run rich—too much fuel, not enough oxygen. The symptoms are unmistakable:
- Hard starting, especially when cold
- Reduced blowing force (weak airflow)
- Rough idling or stalling
- Black smoke from the exhaust
- Fouled spark plugs
- Increased fuel consumption
In practice, a severely clogged filter can also make the engine run hotter than designed, which accelerates wear on the piston and cylinder walls. Replacing a cleanable filter costs pennies compared to an engine rebuild.
Most manufacturers recommend inspecting the filter before each use. In dusty conditions—think dry autumn leaves, dirt driveways, or construction cleanup—you should clean it far more often than the seasonal schedule in your manual. If you want your blower to last, make filter checks second nature, just like checking the fuel level.

Image source: youtube.com
Safety First and the Tools You'll Need
Cleaning a leaf blower air filter is a simple job, but a few precautions prevent accidents and wasted effort.
Essential Safety Steps
- Shut off the engine and let it cool completely. A hot engine can ignite fuel vapors or burn your hands.
- Disconnect the spark plug boot. This eliminates any chance of the engine firing while you work near the intake.
- Work on a clean, flat surface. A workbench with good lighting is ideal. A dirty bench can introduce more grit into the air box while it's open.
What You'll Need
| Tool / Material | Purpose |
|---|---|
| Clean rag or shop towel | Wipe out the air box interior |
| Soft-bristled brush | Loosen debris from pleats or foam |
| Mild dish soap | Wash foam and felt filters |
| Warm water | Rinse away dirt |
| Foam filter oil (or lightweight engine oil) | Re-oil foam filters after cleaning |
| Small screwdriver or nut driver | Open the air box cover |
| Paper towels | Dry components |
| Optional: low-pressure compressed air | Blow out paper pleats |
| Optional: nitrile gloves | Keep hands clean during oiling |
That's it. You don't need specialty tools or a workshop. Almost every handheld and backpack blower on the market uses one of two simple cover designs—a screw-down cap or a spring clip—both of which open with basic hand tools.
Identify Your Air Filter Type First
Here's the most important step: you cannot clean every filter the same way. The method that's perfect for a foam filter will destroy a paper one. Knowing what you're working with takes about ten seconds.
The Four Common Filter Types
- Foam filter: Looks like a sponge, usually tan, yellow, or grey. Found on many two-stroke blowers. It is washable, reusable, and must be re-oiled before reinstalling.
- Paper or pleated filter: Stiff, folded material similar to a car engine filter. Common on four-stroke blowers. Do not wash it. Tap, brush, or replace.
- Felt or fabric pad: A dense, cloth-like pad used on some models. It can be rinsed gently and air-dried, but never wrung out.
- Foam pre-filter with inner paper filter: Some blowers (especially backpack models) use a washable foam outer sleeve that protects a non-washable paper inner element. Clean the foam, replace the paper when dirty.
If you're unsure which type you have, check the owner's manual or the manufacturer's website. Many brands print the filter part number directly on the filter frame. When in doubt, replacing a dirty filter is always safer than attempting an aggressive cleaning that might damage the media. Refer to your blower's specific documentation rather than guessing, since the wrong method can void the warranty.

Image source: youtube.com
Step-by-Step: How to Clean a Leaf Blower Air Filter
The core process is the same across brands, whether you own a handheld, backpack, or wheeled blower. Follow this sequence and you won't miss anything.
- Turn the blower off and let it cool. Remove the spark plug boot for safety.
- Open the air box cover. Most covers are held by one or two screws, a quarter-turn knob, or a spring latch. Note the filter's orientation or snap a photo with your phone before removing it.
- Remove large debris by hand. Pick out leaves, twigs, and grass clumps. Wipe the inside of the air box with a clean rag to capture loose dust.
- Clean the filter using the method that matches its type (detailed below).
- Let the filter dry completely if you used water. Reinstalling a wet filter can cause the engine to hydrolock or pull moisture into the carburetor.
- Lightly oil foam filters. Work a few drops of foam filter oil into the foam, then squeeze out the excess in a paper towel. It should feel tacky, not dripping.
- Reinstall the filter in the original orientation. Ensure the edges are seated evenly under the cover's lip.
- Close the air box cover and tighten screws just snug. Overtightening can warp the cover or strip threads.
- Start the blower and test the throttle. It should idle smoothly and rev without hesitation.
This entire process takes about ten minutes the first time, and less once you're familiar with your model.
Cleaning Methods by Filter Type
Here is where the real detail lives. Match the method to the media.
Foam Filters
Foam filters are the most forgiving and the most common on two-stroke blowers.
- Rinse the foam under warm running water to remove loose dirt.
- Add a drop of mild dish soap and massage the foam gently with your fingers until it lathers. Work the soap through every pore.
- Rinse thoroughly until the water runs clear. Squeeze, don't twist—twisting tears the foam structure.
- Air-dry completely. A damp foam filter can cause starting issues.
- Add foam filter oil (available at any small-engine shop) or a lightweight engine oil. A few drops are enough. Work the oil through the foam, then squeeze out the excess with a paper towel.
A practical tip: Keep a clean zip-top bag dedicated to oiling. Drop the foam inside, add a few drops of oil, seal the bag, and knead it for thirty seconds. This distributes the oil evenly without getting your hands dirty.
Paper or Pleated Filters
Paper filters cannot be washed. Water breaks down the resin that holds the paper together, causing it to tear or collapse.
- Tap the filter gently against your palm to knock out loose dust.
- Use a soft brush to sweep debris from the pleats. Brush with the folds, not across them, to avoid damaging the paper. Your vacuum cleaner's brush attachment works well here.
- If you use compressed air, blow from the clean side out (the side that faces the carburetor) at low pressure. High pressure can punch holes in the paper.
- Replace the filter if the pleats are dark, stained, torn, or heavily clogged. Paper filters are inexpensive; the engine damage they prevent is not.
Felt or Fabric Pads
These dense pads sit between foam and paper in their characteristics.
- Rinse with cool water. Add a tiny amount of mild soap if heavily soiled.
- Press the water out using a clean towel. Never wring or twist.
- Air-dry fully before reinstalling.
What to Avoid on All Filter Types
- Gasoline or harsh solvents. These dissolve the bonding agents in foam and paper.
- High-pressure air. It tears media and forces dirt deeper into the fibers.
- Over-oiling foam filters. Excess oil migrates into the carburetor and makes the engine run rich, recreating the exact symptoms you're trying to fix.
Image source: centromedicoloira.com
Reassembly, Re-oiling, and Testing
The job isn't done when the filter is clean. Proper reassembly is what actually protects the engine. A poorly seated filter lets unfiltered air pour into the combustion chamber, which wears out the cylinder and ring in a single dusty season.
- Inspect the gasket and cover. A warped, cracked, or missing air box cover seal is a major dust leak point. Replace the gasket if it's brittle or torn.
- Verify the filter orientation. Most filters have a directional lip or arrow. Installing it upside down can break the seal.
- Test the blower before you put it away. Let it idle for thirty seconds, then snap the throttle open. It should rev cleanly with no bog. If it hesitates, check the filter seating and, for foam filters, whether you've over-oiled.
A quick run test now saves you from discovering a problem mid-job in a pile of wet leaves.

Image source: amazon.com
Maintenance Schedule and Pro Tips
There's no universal interval that works for everyone because conditions vary drastically. A blower used to clear a dry, sandy lot in August will clog a filter much faster than one used to blow damp grass clippings in June.
Realistic Cleaning Intervals
| Condition | Foam Filter | Paper Filter |
|---|---|---|
| Light use (damp leaves, short sessions) | Every 10 hours or monthly | Replace each season |
| Heavy use (dry leaves, dusty areas) | Every 5 hours or after each big job | Replace when visibly dark |
| Extreme duty (construction, sand, dirt) | After every session | Replace frequently |
Pro Habits That Save Money
- Keep a spare filter on hand. Swap in a clean one when you're mid-job and the current filter is loaded. Clean the dirty one later at your leisure.
- Use an outer pre-filter if your model supports one. These washable foam sleeves cost a few dollars and dramatically extend the life of the main element.
- Store the blower clean. Dust left in the air box settles onto the filter even when the machine is sitting in the shed. A quick wipe-down after the final use of the season pays dividends.
- Label your filters. If you own multiple blowers, write the model name on each filter with a permanent marker to avoid mix-ups.
Troubleshooting After Cleaning
You've cleaned the filter, put everything back together, and the blower still runs poorly. Don't assume the filter was the only issue. Work through these checks in order.
- Is the choke off? It's embarrassingly common to leave the choke on after a cold start, which causes exactly the rich-running and bogging symptoms a dirty filter creates.
- Is the spark arrestor screen clogged? Located at the muffler output, this small screen traps glowing carbon particles. Over time it fills with soot, restricting exhaust flow and killing power. Remove, clean with a wire brush, and reassemble.
- Is the fuel fresh? Fuel that's more than 30 days old loses its volatility and can cause hard starting and poor performance. Ethanol-blended fuel absorbs water over time. For optimal performance, consider using a treated fuel like the options discussed in quality fuel choices, which contain stabilizers and remain fresh longer than pump gas.
- Are the fuel lines cracked? Spray the lines with a little carburetor cleaner while the engine idles. If the RPM changes, you have an air leak.
- Is the primer bulb working? A collapsed primer bulb won't draw fuel into the carburetor. It should spring back when released.
If you've gone through all of these and the blower still surges or bogs, the carburetor itself may need adjustment or a rebuild—a job better suited to a small-engine shop. At that point, the air filter is no longer the problem. Proper fuel mixing is also critical for two-stroke blowers; see the guidance on correct fuel ratios to rule out a fuel-related issue.
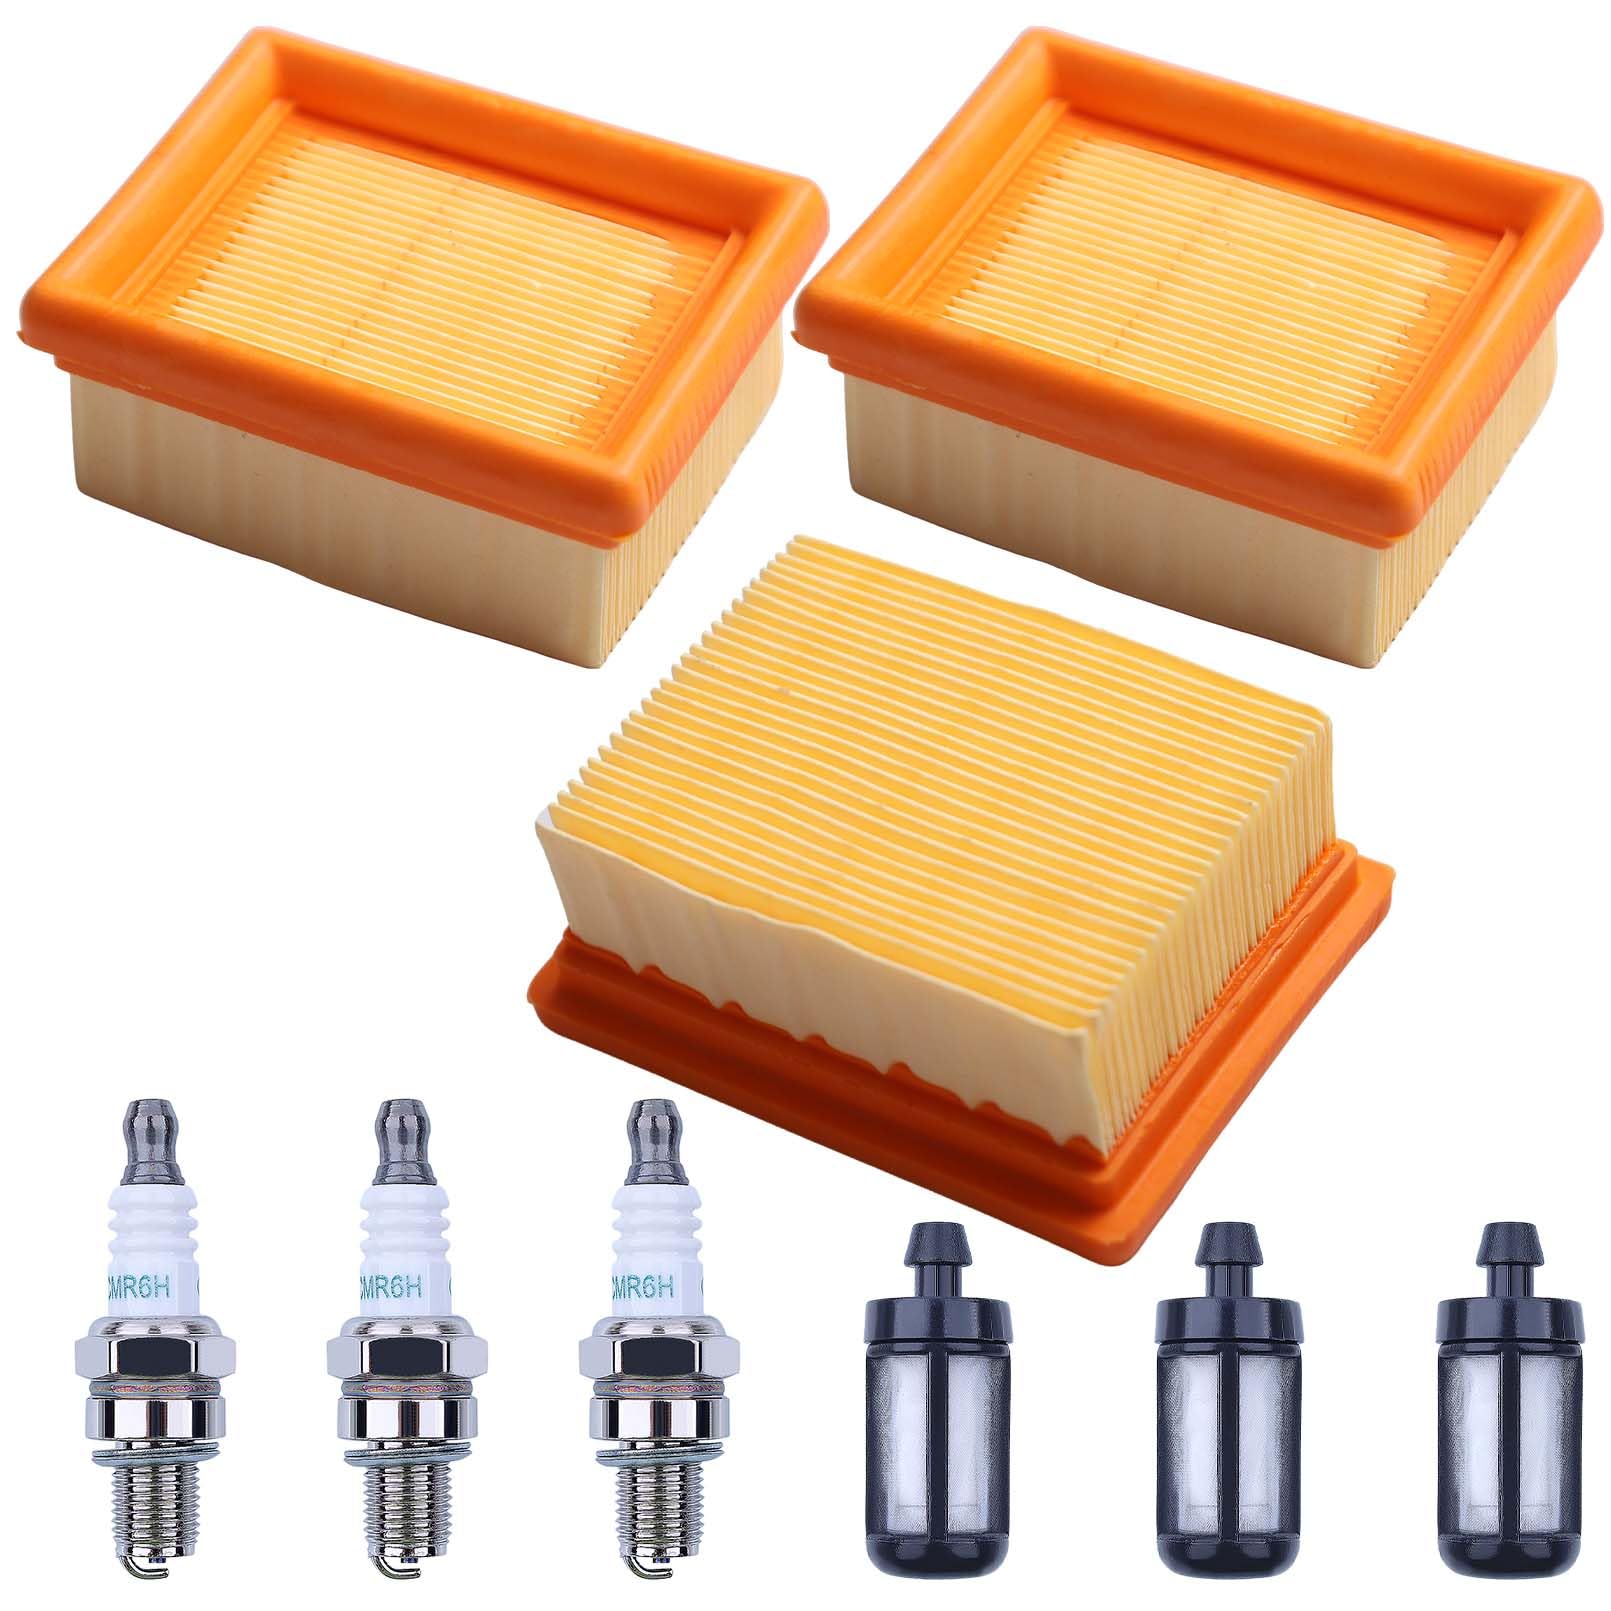
Image source: amazon.com
Common Mistakes to Avoid
These are the errors that end up costing owners real money in repair bills. Every one of them is preventable.
- Over-oiling foam filters. A dripping filter chokes airflow and pulls oil into the carburetor, causing the exact rich-running symptoms you just fixed.
- Washing paper filters. Water destroys the filter structure. It might look clean when it dries, but it won't filter properly, and it may tear apart under engine vibration.
- Using gasoline or brake cleaner as a solvent. These destroy foam and disintegrate filter adhesives.
- Running with no filter even "just for a few seconds." It only takes a single puff of dust to start scoring the cylinder.
- Forgetting the filter lip. A filter that's not fully seated creates an air gap that bypasses the filter entirely.
- Overtightening the cover screws. A cracked cover lets unfiltered air in. Snug is enough.
If you're also performing routine maintenance on other yard equipment, remember that air filter care follows the same principles across machines. Keep an eye on your mower's air intake as part of your broader lawn care routine to maintain equipment health and healthy turf. For power equipment like chainsaws, a clean air filter is equally critical for long-term performance.

Image source: darmizananak.com
Frequently Asked Questions
How often should I clean my leaf blower air filter?
Check the filter before every use. Clean foam filters every 5–10 hours of operation in dusty conditions. Replace paper filters each season or when they appear dark, torn, or saturated with oil. If you're working in heavy dust, check more frequently.
Can I use motor oil on a foam air filter?
Use actual foam filter oil if possible, or a lightweight engine oil as a last resort. Heavy motor oil is too viscous and will restrict airflow. Apply sparingly—the foam should feel slightly tacky, not wet.
Is compressed air safe for paper filters?
Yes, if you keep pressure low and blow from the clean side (the side facing the carburetor) toward the dirty side. High pressure can tear the pleats. A low-pressure can of compressed air is often easier to control than a shop compressor.
What if my filter is torn or brittle?
Replace it immediately. A damaged filter cannot stop dust. A torn paper filter can let debris directly into the combustion chamber, causing scratches in the cylinder wall that permanently reduce engine performance.
Why does my blower still bog after cleaning the filter?
Check the choke, spark arrestor screen, fuel freshness, and fuel lines, in that order. If those all check out, the carburetor may need adjustment. Cleaning the air filter is often the first fix, but it's not always the only fix.
Can I wash a felt or fabric pad?
Yes, with mild soap and cool water. Press the water out with a towel and air-dry completely. Never wring or twist—the pad will deform and lose its sealing properties.
Do I need to oil a paper filter?
Never. Paper and pleated filters are used dry. Only foam filters require oiling. Oil on a paper filter clogs the pores and can eventually soak into the carburetor.
Conclusion
A clean air filter is the cheapest insurance policy your leaf blower will ever have. It takes ten minutes, costs nothing if you clean what you have, and directly protects the engine from the dust and grit that are the number one cause of premature wear in small engines.
Now you know the full process: identify the filter type, clean it with the right method, oil foam filters correctly, reassemble with care, and test before you call it done. You also know what not to do—never wash a paper filter, never over-oil foam, and never run the engine bare.
Build this into your routine. Check the filter before each use, keep a spare on hand, and clean after heavy or dusty jobs. Your blower will start easier, blow harder, and last for years longer than one that's left to choke on its own dirt. If you'd rather take a deeper look at choosing your next blower, our guide to reliable cordless models covers what to look for in a new machine. For other common leaf-clearing tasks, the proper technique for using a mulcher can help you make the most of every season.