
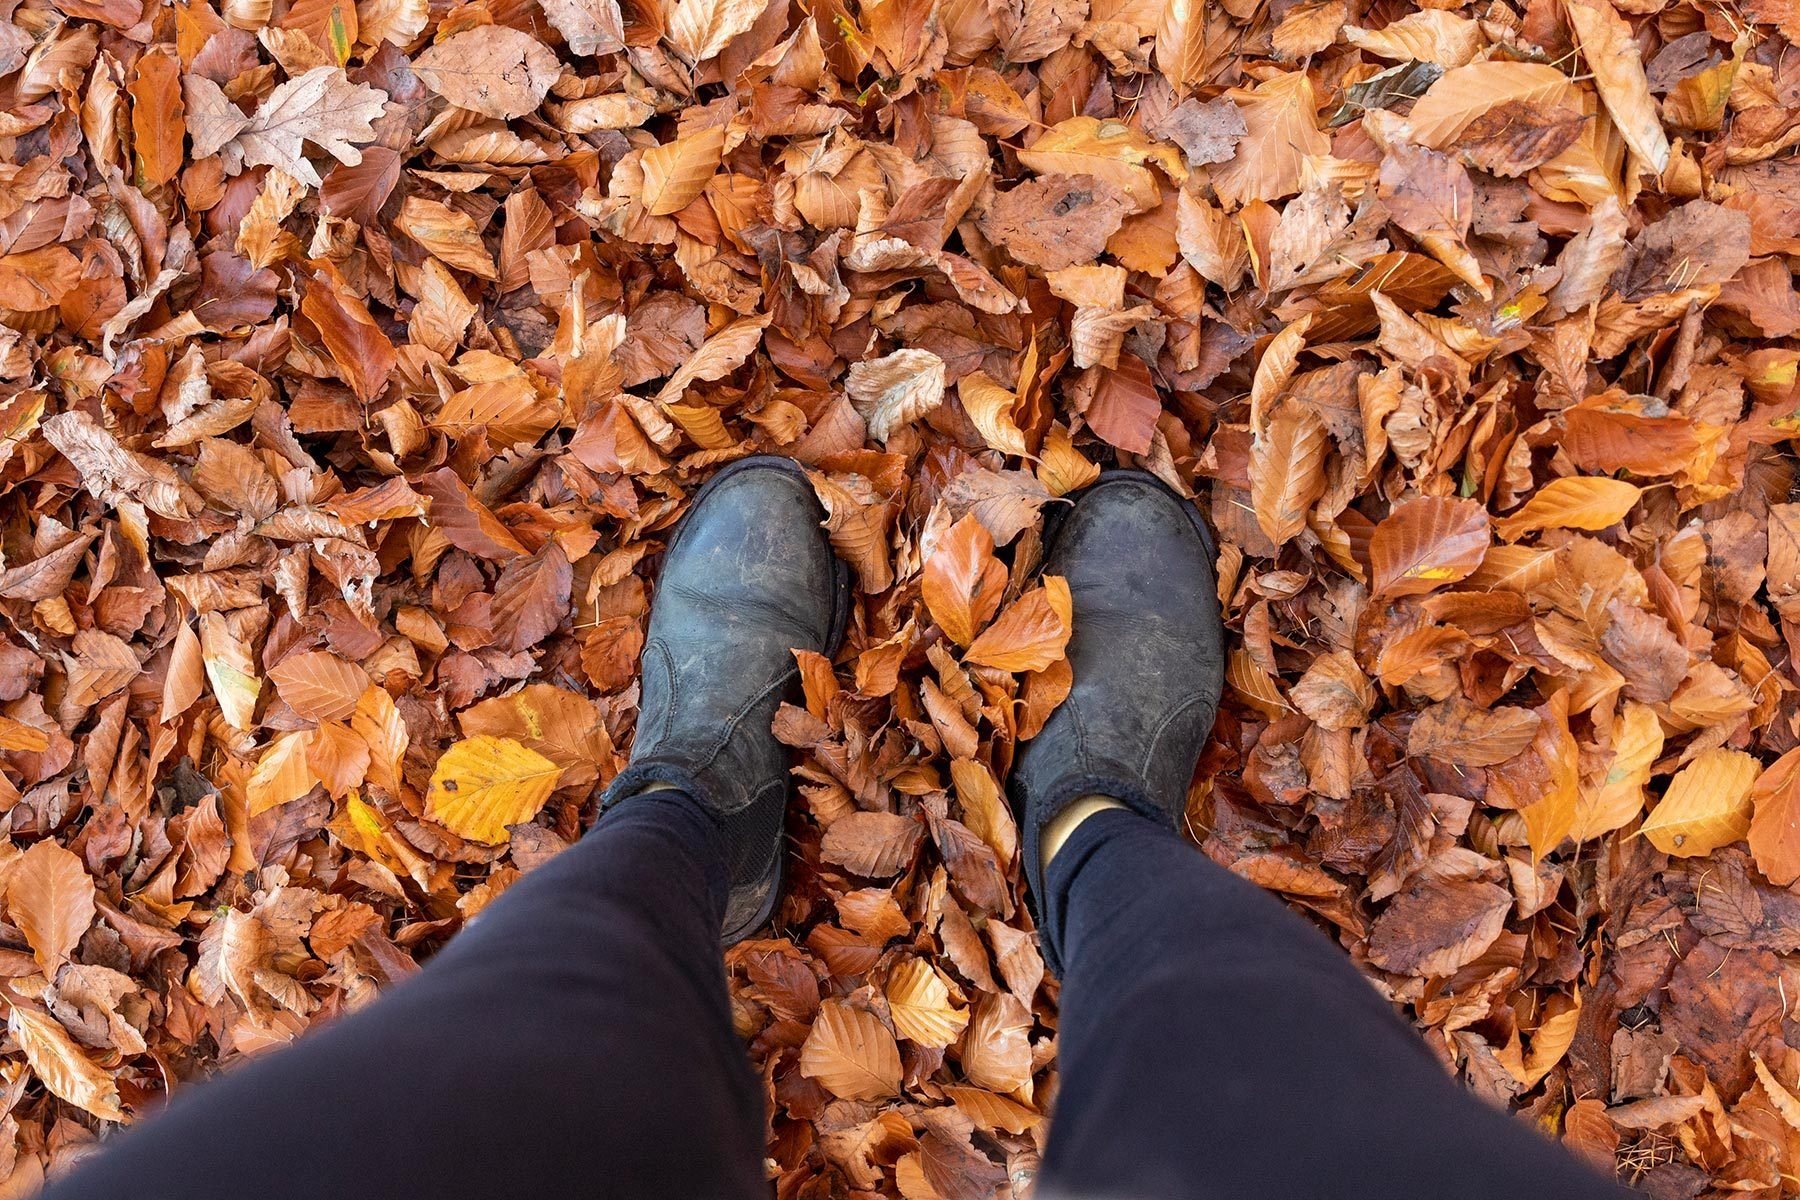
Shred leaves with simple tools: rake piles, use trimmer, bag, or bin.
If you want to know how to mulch leaves without a mower, you’re in the right place. I’ve mulched city-sized courtyards and big suburban yards using only simple gear. In this guide, I’ll show you safe, proven methods, step-by-step, with real tips from hands-on experience. By the end, you’ll know how to mulch leaves without a mower fast, clean, and with great results for your soil.
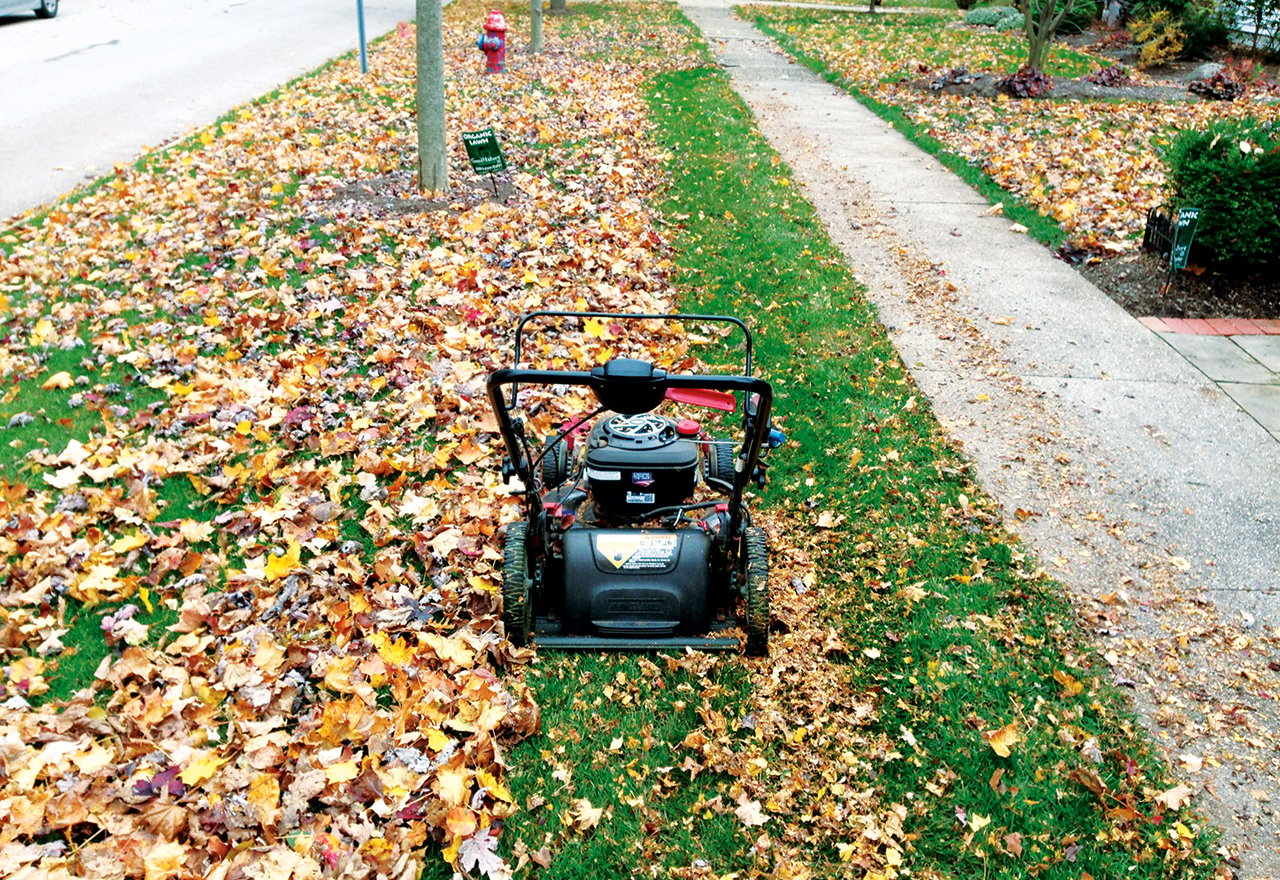
Why mulch leaves instead of bagging
Mulching turns “yard waste” into free soil food. Shredded leaves build soil, hold water, and help plants grow strong. If you learn how to mulch leaves without a mower, you skip the landfill and feed your garden.
Shredded leaves break down faster than whole leaves. They make a soft blanket that locks in moisture and blocks weeds. I have seen garden beds hold water longer after one fall of leaf mulch.
Leaf mulch adds carbon. It balances high-nitrogen materials like grass or kitchen scraps. This helps compost heat up and break down well. You also save time and money on bagging and hauling.

Tools and methods that work without a mower
You do not need a fancy setup. You can learn how to mulch leaves without a mower using common tools. Pick one method or mix a few to fit your space, time, and budget.
Safety first. Wear gloves, eye protection, and a dust mask. Dry or crisp leaves shred best. Slightly damp is fine. Soaked leaves clump and slow you down.
Method 1: String trimmer in a bin or bag
This is my go-to for small to mid yards. It is fast and tidy.
Steps:
- Fill a large trash can or heavy-duty bag half full of leaves. Do not pack too tight.
- Hold a string trimmer with both hands. Keep the guard on.
- Insert the trimmer into the can and run at low to medium speed. Move in slow circles.
- Stop and check often. When pieces are about the size of a dime, you are done.
Tips:
- Use fresh trimmer line for a clean cut.
- Work in short bursts to control dust.
- This is one of the easiest ways to handle how to mulch leaves without a mower on patios or small lawns.
Method 2: Tarp and trimmer corral
This is great for big leaf piles.
Steps:
- Lay a tarp on flat ground. Pile leaves in the center.
- Fold the tarp edges up to make a low wall. Stand on the edge to hold it.
- Use a string trimmer to shred the pile inside the tarp.
- Rake the shredded leaves into bags, bins, or right into beds.
Tips:
- Work in thin layers for even shredding.
- Keep the trimmer guard on and aim down.
- This method helps you learn how to mulch leaves without a mower in wide, open spaces.
Method 3: Dedicated leaf shredder
Electric leaf shredders are light and simple. They are not mowers. They are safe and made for leaves.
Steps:
- Set the shredder on level ground.
- Feed dry leaves in small batches.
- Collect mulch in a bin or bag below.
Tips:
- Adjust the screen for finer or coarser mulch.
- Shredders shine when you have lots of leaves and limited time.
Method 4: Manual chop in a bin
No power tools? You can still do it.
Steps:
- Fill a trash can half full of leaves.
- Use long hedge shears or loppers to chop inside the can.
- Shake the can to settle leaves and chop again.
Tips:
- It takes more effort, but it works.
- Best for small yards or balcony setups.
Method 5: Rake, stomp, and bag
This is low tech, but handy.
Steps:
- Rake leaves onto a tarp.
- Stomp or knead the pile with your feet to crack and crinkle.
- Scoop into bags or bins for use.
Tips:
- This gives a rough mulch, not fine shreds.
- Use it for paths or base layers in beds.
Knowing how to mulch leaves without a mower gives you freedom. You can match the method to your space and energy.

Step-by-step plans for different yard sizes
You can tailor how to mulch leaves without a mower to any yard. Here are simple game plans that I use with clients and at home.
Small yard plan (under 2,000 sq ft)
- Use the string trimmer in a trash can.
- Work in 10-minute rounds to limit dust.
- Spread a thin layer on beds as you go.
- Time needed: about 45 to 90 minutes per full leaf drop.
Medium yard plan (2,000 to 8,000 sq ft)
- Stage leaves on a tarp.
- Shred on the tarp with a trimmer in thin layers.
- Bag mulch to move it. Use leaf scoops to speed up.
- Time needed: 1 to 3 hours, depending on trees and leaf type.
Large yard plan (over 8,000 sq ft)
- Use a dedicated leaf shredder or a trimmer-tarp setup.
- Work in zones. Do one zone per day.
- Stockpile shredded leaves in a corner bin for later use.
- Time needed: spread across a weekend for sanity and safety.
Smart ways to use leaf mulch
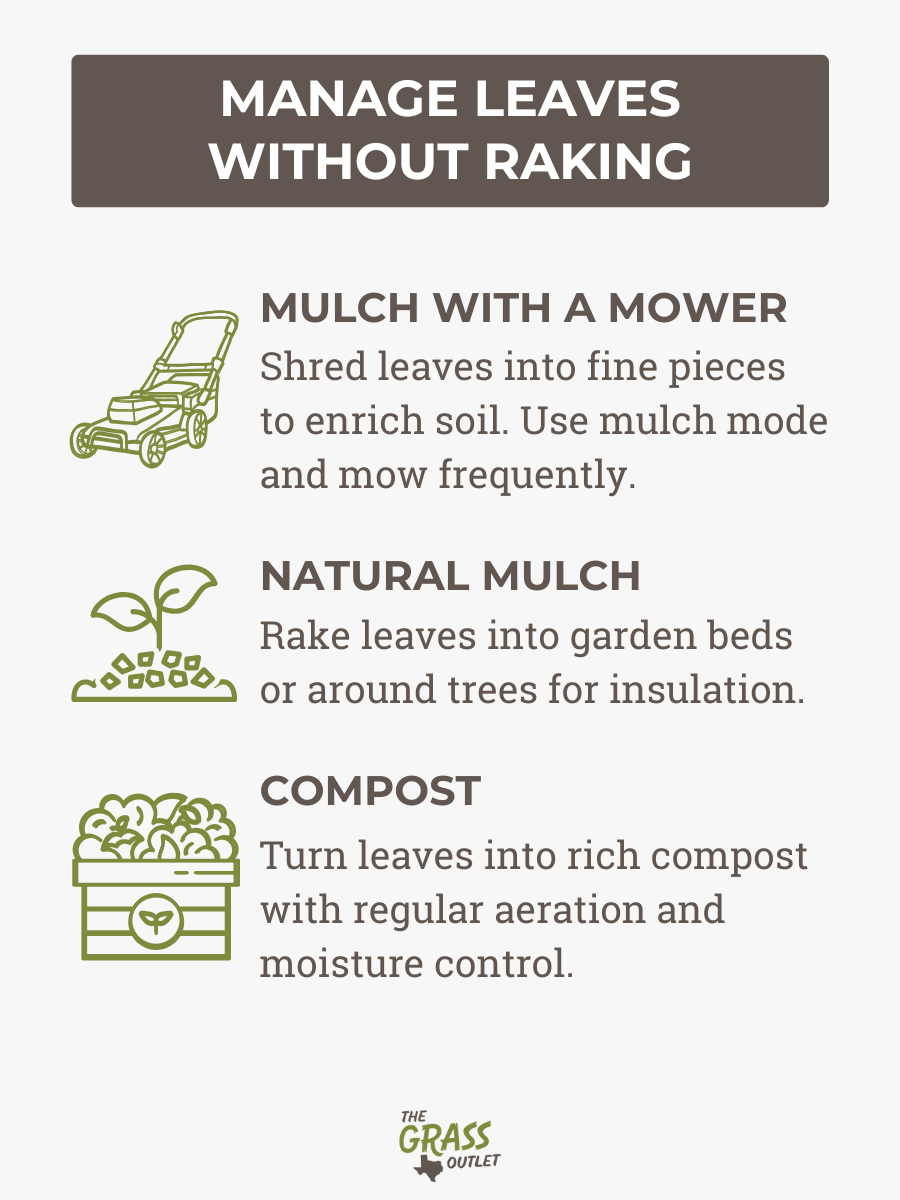
Once you learn how to mulch leaves without a mower, you get a goldmine of uses. Shredded leaves fit almost every part of the yard.
For garden beds:
- Spread 2 to 3 inches around plants.
- Keep mulch a few inches away from stems and trunks.
- Top up mid-season if it thins out.
For lawns:
- Topdress with a very thin layer, about a quarter inch.
- Rake it in so grass tips stay exposed.
- Use fine shreds only, so the lawn breathes.
For compost:
- Use three parts shredded leaves (browns) to one part greens.
- Mix well for airflow and faster heat.
- Turn weekly until it cools, then cure.
For leaf mold:
- Pile shredded leaves in a vented bin or bag with holes.
- Keep slightly moist, like a wrung-out sponge.
- Wait 6 to 12 months. The result is dark, springy, and great for soil.
Troubleshooting and common mistakes to avoid
When you figure out how to mulch leaves without a mower, a few issues can pop up. These quick fixes will help.
Clumping leaves:
- Shred when leaves are dry or just slightly damp.
- Spread the pile thin before shredding.
- If clumps form, shred again or fluff with a rake.
Too much mulch:
- Beds need about 2 to 3 inches, not more.
- On lawns, keep it very thin.
- If a mat forms, rake it to loosen.
Leaf types:
- Oak leaves are tough. Shred them well.
- Black walnut leaves can inhibit some plants. Compost them hot or use in areas away from sensitive crops.
- Diseased leaves can be composted hot if you maintain heat. When in doubt, dispose of them or hot compost with care.
Dust and safety:
- Wear a mask and eye protection.
- Take breaks.
- Keep kids and pets at a safe distance.
Timing and weather tips
Good timing makes how to mulch leaves without a mower faster and cleaner. It also improves breakdown.
Best time:
- Late morning or early afternoon on a dry day.
- After a few windy days when leaves collect in corners.
- Aim for light, frequent sessions during peak fall drop.
Weather watch:
- Avoid rain-soaked leaves. They stick and bog down gear.
- A light dew is okay and controls dust.
- If wind is high, work behind a fence or hedge or use the bin method.
Storage:
- Keep shredded leaves dry in bins or bags with small vents.
- Label a few bags for beds, lawn, and compost.
- Use the oldest stock first.
Safety and environmental notes
Learning how to mulch leaves without a mower is low impact and safe when you follow basics. Respect your tools and your body.
Personal safety:
- Wear gloves, eye protection, and a dust mask.
- Use hearing protection with power tools.
- Keep both hands on the trimmer and the guard in place.
Tool safety:
- Check cords and batteries before use.
- Replace worn trimmer line for clean cuts.
- Do not overload bins or bags when shredding.
Environmental care:
- Keep mulch off sidewalks and storm drains.
- Do not pile mulch against tree trunks.
- Use shredded leaves to reduce irrigation and fertilizer needs.

Frequently Asked Questions of how to mulch leaves without a mower
What is the fastest way to mulch leaves without a mower?
Use a string trimmer in a large trash can or a tarp corral. It is quick, tidy, and works well in small and mid yards.
Can I mulch wet leaves without a mower?
Slightly damp leaves are fine. Very wet leaves mat and resist shredding, so let them dry or mix with dry leaves.
How small should the leaf pieces be?
Aim for dime-sized pieces. Fine shreds break down faster and look better in beds and on lawns.
Are some leaves bad for mulch?
Shred tough leaves like oak very well. Avoid using diseased leaves on beds, and compost black walnut leaves hot or away from sensitive plants.
Will leaf mulch harm my lawn?
It helps if you spread a thin layer. Too much can smother grass, so rake it in and keep blades visible.
Do I need special tools to mulch leaves without a mower?
No. A rake, tarp, and string trimmer work great. A dedicated leaf shredder speeds up big jobs.
How long do shredded leaves take to break down?
In beds, they settle in a few weeks and break down over months. In compost, with the right mix, they break down much faster.
Conclusion
You now know how to mulch leaves without a mower using simple tools and clear steps. Pick a method that fits your space, work in small batches, and turn every pile into free, rich mulch. Your soil will thank you.
Put one method to the test this week. Start with a trash can and a trimmer, or try the tarp corral. Share your results, ask a question, or subscribe for more practical garden how-tos.


