How to maintain garden digging tools: clean, dry, sharpen, oil, and store.
I have kept shovels, spades, and forks working hard for decades. In this guide on how to maintain garden digging tools, I share proven steps and simple habits that protect your time, budget, and plants. Follow along to get cleaner cuts, safer work, and tools that last.
Why maintenance matters for digging tools
A clean, sharp tool cuts soil fast and saves your back. It also protects roots and reduces plant stress. Rusted edges and loose handles slow you down and can cause injury. If you learn how to maintain garden digging tools, you save time, money, and effort.
Well-kept tools spread less disease. They also need less force, so blisters and strain drop. In short, good care is smart safety and smart economy.

Daily and after-use care routine
Here is how to maintain garden digging tools with a quick end-of-day routine. It takes five minutes and adds years to tool life.
- Knock off soil with a scraper or a stiff brush. Dry soil is easier to remove, so let it air for a minute if needed.
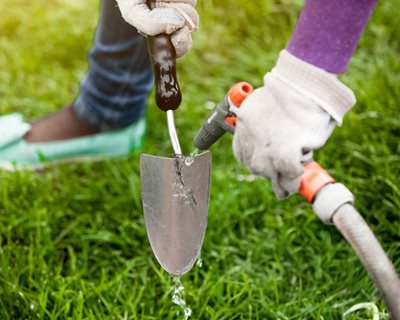
- Rinse with low-pressure water if clay sticks. Wipe dry right away with a rag.
- Spray metal with a light oil. Wipe to a thin film. Focus on the blade and any joints.
- Check the handle and ferrule. Tighten loose screws. If wood feels rough, note it for a quick sand later.
- Store off the ground in a dry spot. Hang by a hook, blade down in a guard, or in a rack.
Personal tip: I keep a brush, rag, and oil at the hose. It makes this step hard to skip.
Deep cleaning and rust control
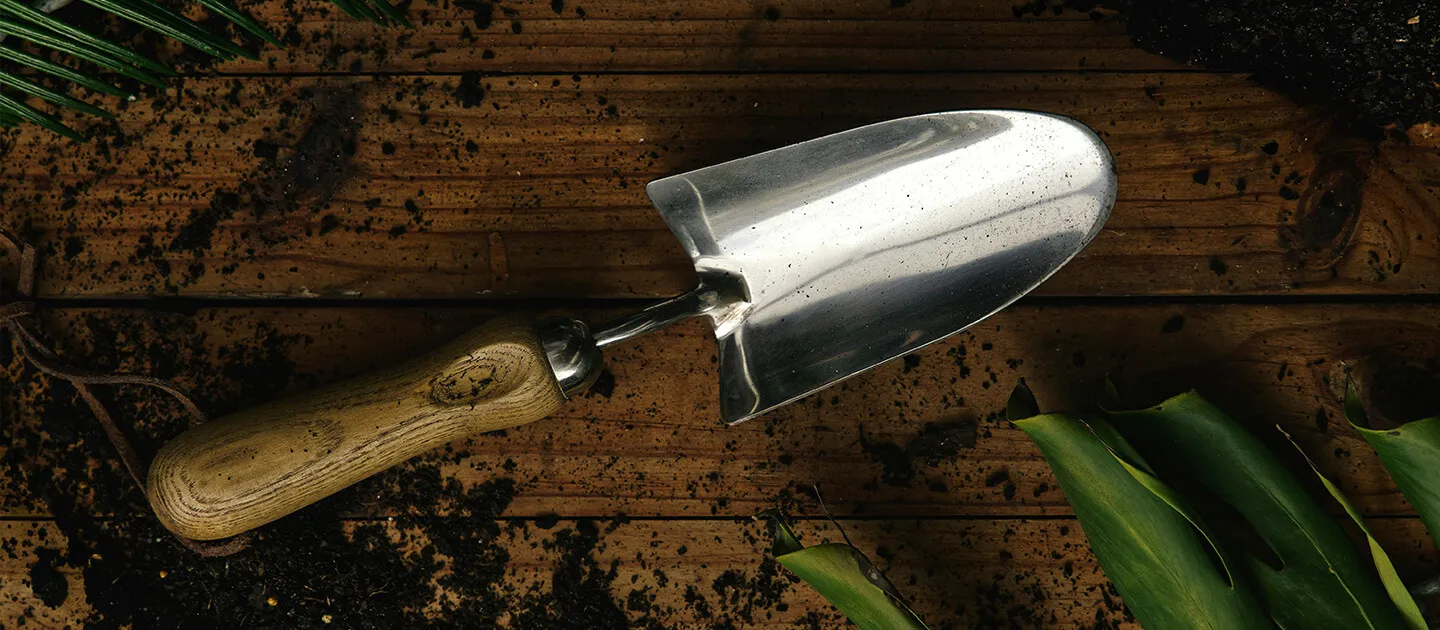
Rust grows fast when tools stay wet. Sand it off early and protect the steel.
- Scrub light rust with a wire brush or medium steel wool. Wipe clean.
- For stubborn rust, soak the blade in white vinegar for a few hours. Rinse, dry, and neutralize with a little baking soda and water. Dry again.
- Sand pitted spots with 120–220 grit paper until smooth. You do not need a mirror finish.
- Wipe on a thin coat of light machine oil or food-grade mineral oil. Avoid vegetable oils; they can turn sticky and smell over time.
- If you ask how to maintain garden digging tools in very wet areas, consider a rust converter for deeply pitted zones, then prime and paint non-cutting surfaces.
Wear gloves and eye protection. Work in open air. Dispose of rusty sludge and rags in line with local rules.
Sharpening spades, shovels, and hoes
A sharp edge means cleaner cuts and less effort. You do not need power tools. A mill file works fast and is safer.
Tools you need
- Mill bastard file, 10–12 inches
- File handle and gloves
- Clamp or vise
- Marker and rag
Steps for a spade or shovel
- Clamp the tool. The bevel faces up. Mark the edge with a marker so you can see your progress.
- File in one direction, away from you. Keep a 30–45 degree bevel. Match the factory angle if you can.
- Remove the burr on the back with a light, flat pass.
- Wipe clean and oil the edge.
Steps for a hoe
- Keep the factory bevel. Most hoes are single-bevel. File only the beveled side.
- Use short, steady strokes. Finish with a light pass on the back.
Common mistakes to avoid:
- Do not overheat the edge with a grinder. It can soften steel.
- Do not create a double bevel on shovels. A single, clean bevel cuts best.
- Do not leave filings on the tool. Wipe and oil right away.
I sharpen every 4–6 weeks in peak season. It takes five minutes and feels like new. This is core to how to maintain garden digging tools and keep work easy.
Handle care: wood, fiberglass, and fasteners
A strong handle is key for safe leverage. Small cracks and rough spots grow if ignored.
- Wood handles: Sand splinters with 120–220 grit. Wipe off dust. Rub in boiled linseed oil. Let it soak, then wipe dry. Lay oily rags flat to dry fully. Do not ball them up.
- Fiberglass handles: Wash with soapy water. Check for fiber bloom and sand smooth if needed. Use a clear coat if the surface feels chalky.
- Fasteners and ferrules: Tighten screws or rivets. For loose heads, add a metal wedge or replace the handle if the mortise is worn.
If you wonder how to maintain garden digging tools when handles are very old, replace rather than patch. A new handle is cheaper than a wrist injury.

Storage and organization best practices
Good storage keeps tools dry, safe, and ready.
- Hang tools on a wall rack. Keep blades from touching each other.
- Use blade guards. A piece of hose slit lengthwise works in a pinch.
- Keep tools off concrete floors. Moisture wicks up and rust starts fast.
- Add airflow. A dry shed beats a sealed box. Use desiccant in closed bins.
- Group by task. Put digging tools near the door for quick grab-and-go.
For anyone learning how to maintain garden digging tools, storage is half the game. Dry air and order protect the work you put into cleaning.
Seasonal maintenance and winterizing
Give tools a deeper service as seasons change.
- Spring: Inspect all tools. Sharpen cutting edges. Replace worn handles and missing guards. Refresh oil on metal and linseed oil on wood.
- Mid-season: Remove any rust bloom. Tighten fasteners. Check for bends or cracks after heavy jobs.
- Fall or pre-winter: Wash, dry, de-rust, sharpen, and oil. Hang tools indoors. Mark items to replace in winter sales.
- Cold-climate tip: Avoid freezing mud on blades. It lifts paint and invites rust.
This routine is a simple frame for how to maintain garden digging tools all year.

Sanitation to prevent plant disease
Soil and sap can carry disease. Clean tools help keep beds healthy.
- Between beds or after sick plants, wipe metal with 70% isopropyl alcohol. Let it sit 30 seconds and dry.
- As an option, use a 10% bleach solution for 30 seconds. Rinse and dry to limit corrosion.
- Disinfect handles if you worked with infected plants.
This step matters for anyone focused on how to maintain garden digging tools and protect plant health. Sanitation is rapid and pays off in yield.

Quick troubleshooting and simple repairs
Small faults grow big with hard digging. Fix them early.
- Bent shovel tip: Clamp the blade and tap true with a hammer. Work slow to avoid creases.
- Loose head: Add a wedge or replace the handle. Do not epoxy alone if wood is cracked deep.
- Wobbly rivet or bolt: Replace with stainless hardware and lock washer.
- Deep pitting: Sand smooth, treat, then paint non-cutting areas to seal.
Knowing how to maintain garden digging tools includes knowing when to retire one. If steel is thin or cracked, recycle it and move on.
Eco-friendly products and safety
Choose safe products and protect yourself.
- Use biodegradable soap for cleaning. Catch rinse water if you used solvents.
- Prefer food-grade mineral oil or a light machine oil on blades. Avoid cooking oils that turn rancid.
- Wear gloves, eye protection, and a dust mask when sanding or filing.
- Collect metal filings with a magnet and toss them in the trash.
These choices support a greener plan for how to maintain garden digging tools without harsh impact.
Maintenance schedule and checklist
A clear checklist keeps you on track. Post it in your shed.
Daily or after every use:
- Brush off soil, rinse if needed, and dry.
- Oil metal lightly and store off the floor.
Monthly:
- Sharpen edges.
- Check handles and fasteners. Sand and oil wood if dry.
- Remove any rust spots.
Seasonal:
- Deep clean, de-rust, sharpen, and oil metal.
- Apply linseed oil to wood handles.
- Replace worn parts and add blade guards.
If you want a fast plan for how to maintain garden digging tools, follow this checklist and set phone reminders.
Frequently Asked Questions of how to maintain garden digging tools
How often should I sharpen a shovel or spade?
Sharpen every 4–6 weeks during heavy use. If soil is sandy or rocky, sharpen more often.
What oil should I use on metal parts?
Use a light machine oil or food-grade mineral oil. Apply a thin film and wipe off extra.
Is the sand-and-oil bucket method still good?
It works, but can be messy and waste oil. I prefer a quick brush, rinse, dry, and a light oil wipe.
How do I stop handles from splintering?
Sand rough spots as soon as you feel them. Rub in boiled linseed oil two to three times a year.
Can I use bleach to disinfect tools?
Yes, a 10% bleach solution for 30 seconds works. Rinse, dry, and oil after to prevent rust.
What angle should I use when filing edges?
Keep a 30–45 degree bevel for shovels and spades. Match the factory angle on hoes.
Conclusion
Good care is a small habit with a big return. Clean, dry, sharpen, oil, and store well, and your tools will reward you with smooth soil cuts and safe, strong work. Start today with one five-minute routine and mark your calendar for a monthly sharpen. Share this guide, subscribe for more hands-on tips, and tell me which tool you will tune up first.