Clean tools after use, dry well, sharpen often, oil parts, and store dry.
If you want clear, proven steps on how to maintain garden tools, you are in the right place. I have restored rusty pruners, saved old shovels, and kept a busy garden running smoothly. This guide shows how to maintain garden tools with simple habits, expert tips, and easy routines you can start today.

Why garden tool maintenance matters
Healthy tools make clean cuts, stop disease spread, and save money. Sharp blades reduce strain on your hands and back. Dry, oiled metal resists rust for years. Clean handles help you work safer and faster.
If you want to master how to maintain garden tools, focus on a few habits done well. Think of it like brushing your teeth for tools. A little effort now avoids big fixes later.
From my own beds and borders, I can tell you this: a five-minute wipe today beats an hour of rust removal next month. Your plants will thank you with fewer ragged cuts and fewer infections.

Source: homedepot.com
The basic kit you need
Start simple. You do not need fancy gear. You just need the right basics close at hand.
- Stiff brush and old rag. Fast soil removal.
- Bucket, mild soap, and warm water. Easy cleaning.
- 70% isopropyl alcohol or 10% bleach. Quick disinfection.
- Light machine oil or dry PTFE spray. Smooth pivots and rust defense.
- Multipurpose grease. For gears and sliding parts.
- Mill file and diamond stone. Sharp edges on shovels and pruners.
- Steel wool or wire brush. Surface rust removal.
- White vinegar and baking soda. Gentle rust fixes.
- Sandpaper and boiled linseed oil. Wood handle care.
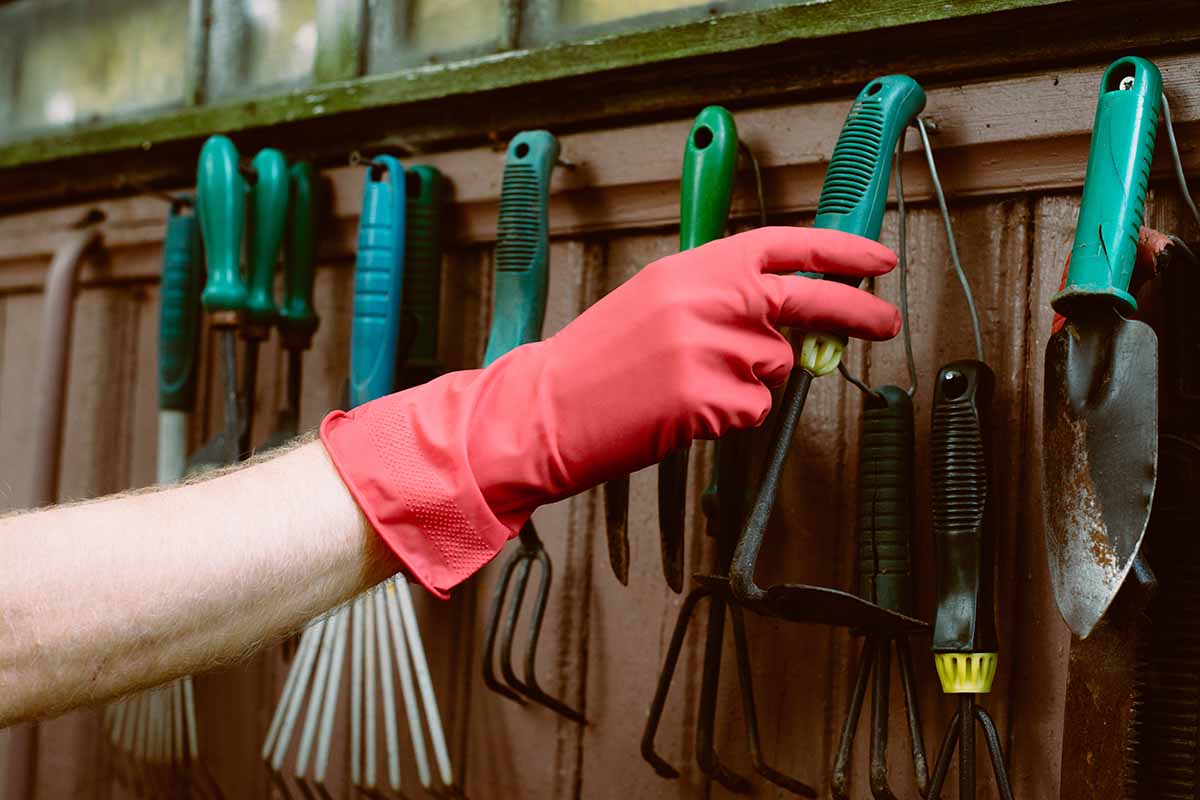
- Safety gloves and eye protection. Keep yourself safe.
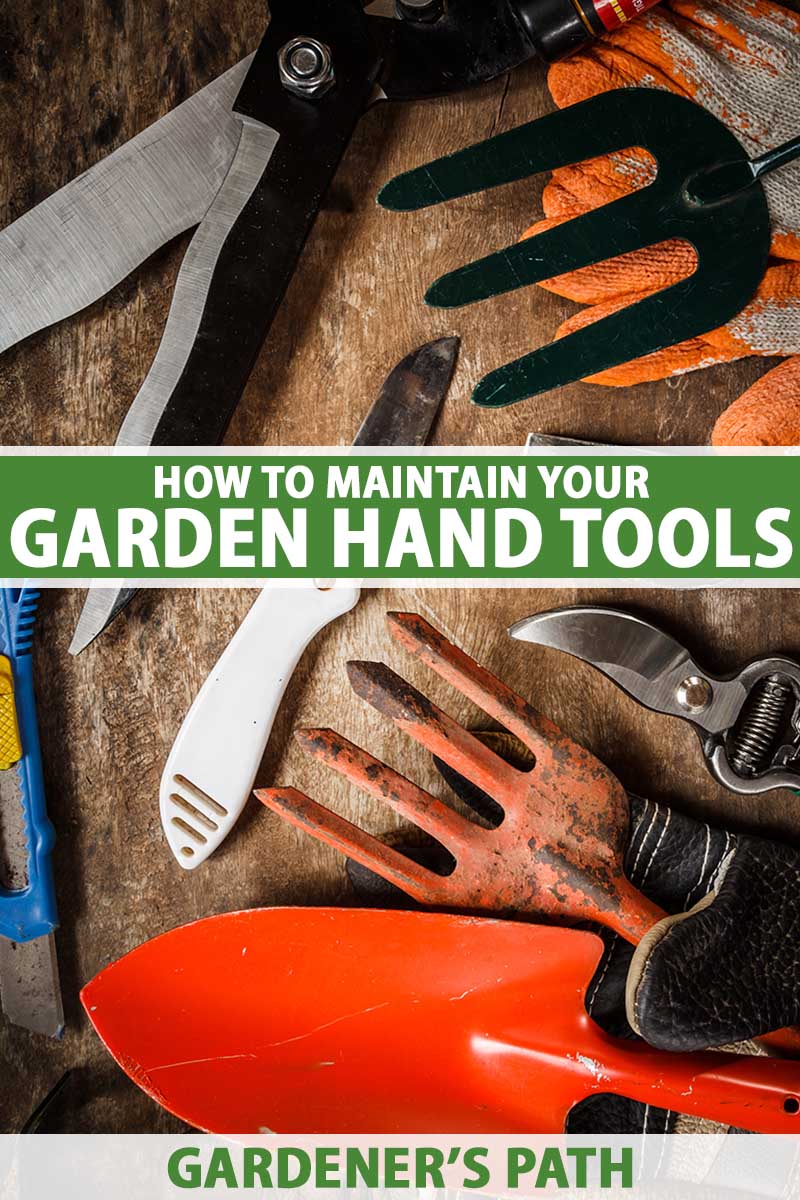
Knowing how to maintain garden tools starts with having this kit in a small tote or bucket. Keep it near where you store tools so you use it often.

Source: co.uk
Daily and weekly care checklist
This fast routine keeps tools ready and safe. Follow this routine to master how to maintain garden tools without stress.
- Knock off soil. Tap tools together and use a brush.
- Wash if needed. Use mild soap and water, then rinse.
- Dry fully. Wipe with a rag and air dry for a few minutes.
- Disinfect blades. Use 70% alcohol. After diseased plants, use a 10% bleach dip for one minute, then rinse and dry.
- Oil metal. Light coat on blades and springs. Wipe off excess.
- Check hardware. Tighten loose screws, nuts, and bolts.
- Store off the floor. Hang tools or place in a dry rack.
Do this after each use or at least weekly. This is the backbone of how to maintain garden tools with little time.
Source: gardenerspath.com
Deep cleaning and rust removal
When tools get sticky or rusty, give them a reset.
- Remove sap. Wipe blades with mineral spirits or citrus-based cleaner.
- Lift light rust. Rub with steel wool or a wire brush.
- Soak for heavier rust. Submerge metal parts in white vinegar for a few hours. Scrub, rinse, dry, then oil.
- Use baking soda paste. Apply, wait 30 minutes, scrub, and rinse.
- Protect after cleaning. Oil or wax the metal to block moisture.
Wear gloves and eye protection. Work in fresh air. A key part of how to maintain garden tools is gentle rust control before it becomes pitting.
Source: mygardenlife.com
Sharpening guide for common tools
Sharp tools make clean, safe cuts and reduce effort. Another pillar of how to maintain garden tools is keeping edges keen.
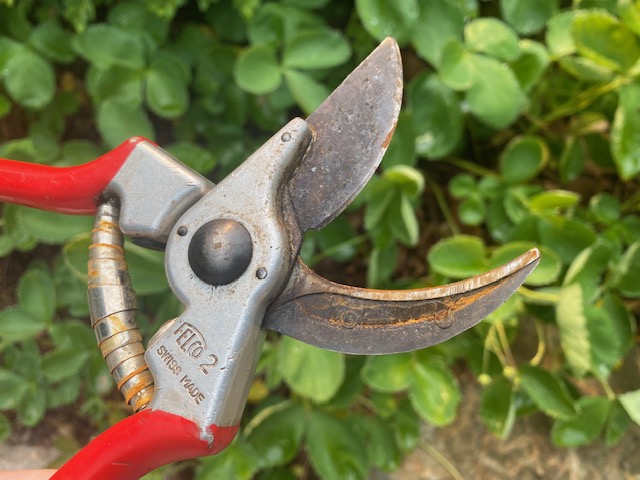
- Hand pruners and loppers. Clean first. Lock open and clamp. File the beveled edge only, 20 to 25 degrees, in one direction. Remove the burr with one light pass on the flat side. Oil and adjust tension.
- Hedge shears. Match the factory bevel. Keep strokes even across the blade. Check alignment and tighten the pivot.
- Hoes and shovels. File a slight bevel on the leading edge, about 30 degrees. Aim for a smooth, even edge, not razor sharp.
- Soil knives and trowels. Touch up nicks. Keep a modest bevel to avoid chipping.
Take your time. A few steady strokes beat many rushed ones. Sharpening done right is a core step in how to maintain garden tools year-round.
Source: gardensavvy.com
Lubrication, adjustment, and protective finishes
Lubrication is central to how to maintain garden tools. It reduces wear and blocks rust.
- Pivots and springs. Use a drop of light oil or a dry PTFE spray if you garden in dusty areas.
- Sliding parts and gears. Use a tiny dab of multipurpose grease.
- Wood handles. Lightly sand to remove splinters. Wipe on boiled linseed oil, let it soak, then wipe off. Repeat until the wood looks rich and sealed.
- Fasteners. Tighten so tools move smoothly but are not stiff.
- Protective coats. A thin coat of paste wax on blades can shed moisture and sap.
Test movement. Tools should open and close with little effort. This is how to maintain garden tools so they feel like new.
Source: thegardencontinuum.com
Smart storage and organization
Storage answers half of how to maintain garden tools. Dry air and good order beat rust and damage.
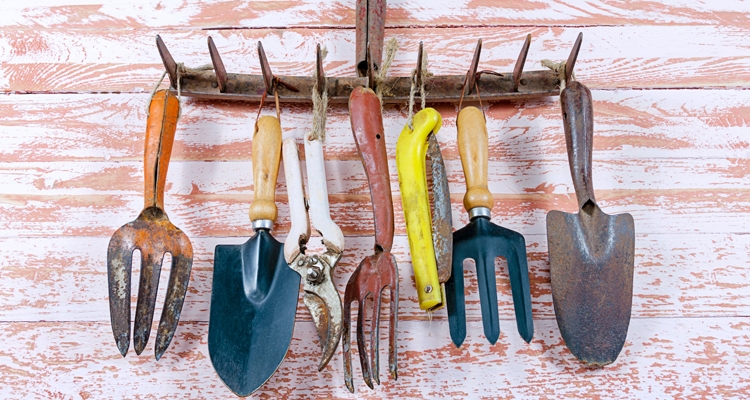
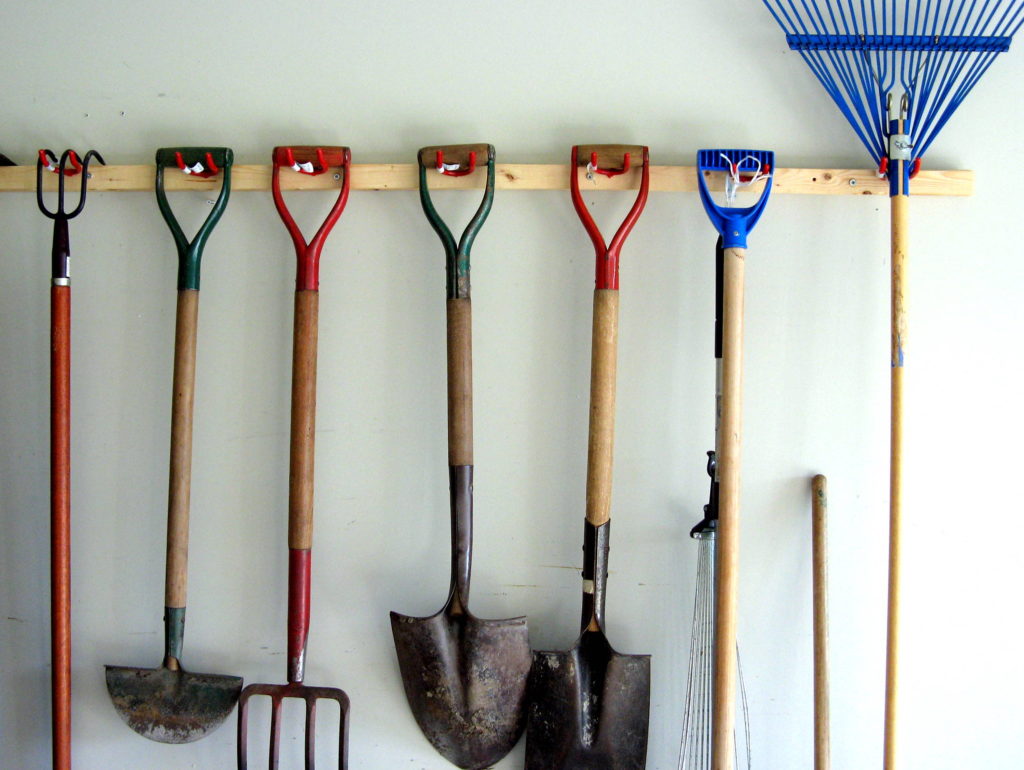
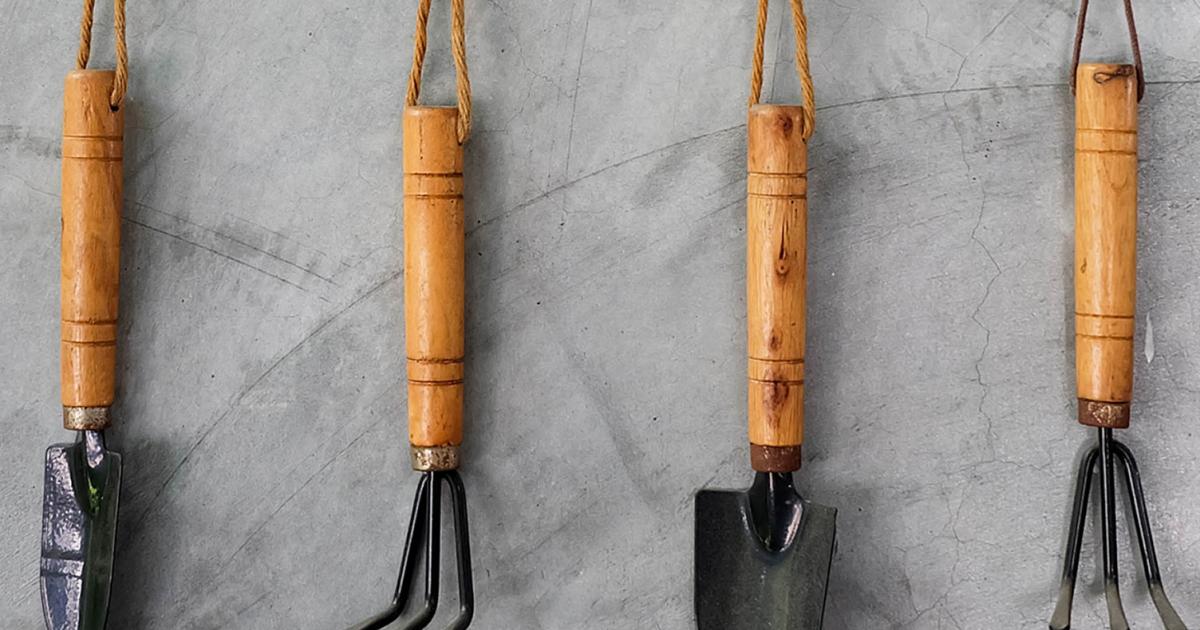
- Keep tools off the floor. Hang on a wall rack or pegboard.
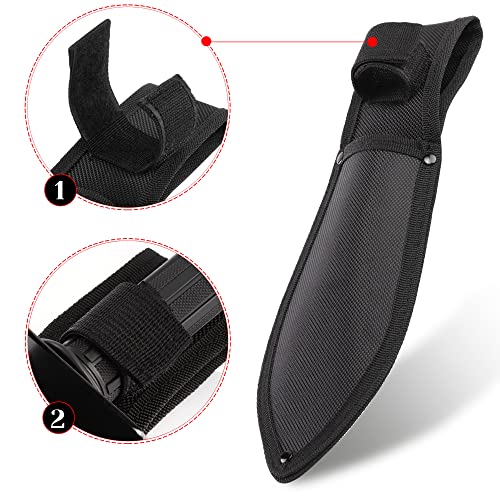
- Use blade covers. Simple guards protect edges and fingers.
- Avoid damp spots. Do not lean metal on concrete, which wicks moisture.
- Add airflow. A small fan or vents help in humid spaces.
- Prep for rain. Place silica gel packs or a desiccant bucket in the shed.
- Make a hygiene station. Mount a brush, rag, oil, and alcohol by the door.
Label hooks and zones. You will put things back faster and use them more.
Source: gardenerspath.com
Seasonal maintenance calendar
Use this calendar as a map for how to maintain garden tools all year.
- Early spring. Deep clean, sharpen all edges, and oil pivots. Replace worn parts before the busy season.
- Mid-summer. Quick touch-up sharpening. Disinfect more often during disease outbreaks.
- Fall. Wash off sap and soil after heavy harvest work. Oil metal before storage.
- Winter. Full service. Sand and oil handles, de-rust any spots, and plan replacements.
Short sessions work best. Ten minutes per tool keeps the load light and the results strong.
Source: lovethegarden.com
Safety, sanitation, and sustainability
Safety and sanitation round out how to maintain garden tools. Clean tools protect plants and people.
- Disinfection. Use 70% isopropyl alcohol between cuts on infected plants. For bleach, mix 1 part bleach to 9 parts water, soak for one minute, then rinse and dry to prevent corrosion.
- Personal safety. Wear gloves and eye protection. Sharpen away from your body. Clamp tools before filing.
- Handle care. Replace cracked or loose handles to prevent injuries.
- Oily rags. Lay linseed-oil rags flat to dry outside or store in a sealed metal can. This lowers fire risk.
- Greener choices. Choose plant-based oils where they suit, and dispose of chemicals per local rules.
These steps protect your garden’s health while keeping you safe.
Troubleshooting and when to replace
Sometimes repair is not worth it. Knowing when to repair or replace is part of how to maintain garden tools with wisdom.
- Replace if metal is deeply pitted, bent beyond straightening, or cracked.
- Replace handles with long splits or loose heads.
- Replace springs or blades that no longer hold tension or edge.
- Repair when rust is only surface deep, screws are loose, or edges are dull.
Do a quick cost check. If parts and time near the price of a new, quality tool, upgrade.
Frequently Asked Questions of how to maintain garden tools
How often should I clean my garden tools?
Clean after each use and do a deeper clean monthly. This stops rust and keeps edges sharp.
What is the best oil for garden tools?
Use light machine oil for metal parts and boiled linseed oil for wooden handles. Wipe off all excess.
How do I disinfect pruners between plants?
Use 70% isopropyl alcohol on a cloth or a quick dip. Let it sit for 30 seconds, then wipe dry.
How sharp should a shovel or hoe be?
Aim for a clean, even bevel that can slice soil but is not razor sharp. This balance prevents chips and stays safe.
Can I remove heavy rust at home?
Yes. Soak in white vinegar, scrub with a wire brush, rinse, dry, and oil. Repeat as needed for stubborn spots.
How do I stop wooden handles from splintering?
Lightly sand, then apply thin coats of boiled linseed oil. Let it soak and wipe dry after each coat.
Is bleach safe for metal tools?
Yes, in a 10% solution for brief soaks, then rinse and dry right away. Oil afterward to prevent corrosion.
Conclusion
Good tool care is simple: clean, dry, sharpen, oil, and store well. When you follow these steps, you save time, avoid injury, and help your plants thrive. This is how to maintain garden tools the smart way, from daily wipes to seasonal service.
Pick one habit today. Brush soil off after use or add a drop of oil to your pruners. Small actions stack up fast. Want more hands-on tips? Subscribe for new guides, ask a question in the comments, and share your own tool care wins.