Replace worn washers, tighten fittings, or install a hose mender to stop leaks.
If you want a clean, fast, and lasting fix, you are in the right place. I have repaired hundreds of hoses for clients and my own garden. In this guide, I show how to fix garden hose leak the right way, with clear steps, simple tools, and pro tips that prevent the same drip from coming back. You will learn why leaks start, the best repair parts, and how to test your work like a pro.

Tools and materials you need
Having the right kit makes how to fix garden hose leak simple and fast. Gather everything first so you do not run back and forth.
- Replacement rubber washers for hose ends
- O-rings for quick-connects and spray nozzles
- Hose mender kit sized for your hose (common size is 5/8 inch)
- Two stainless clamps that match the mender
- Utility knife with a sharp blade
- Pliers or a screwdriver for clamps
- PTFE thread tape for damaged threads only
- Self-fusing silicone tape for pinholes
- Bucket or tub to test under pressure
- Marker and measuring tape
- Work gloves and eye protection
Expert tip: Brass parts last longer than plastic in sun and heat. If you often drop the hose on concrete, brass couplings are worth it. These parts are the backbone of how to fix garden hose leak with results that last.
Find the leak: common types and causes
You cannot solve how to fix garden hose leak until you know the source. Pressurize the hose and watch where water shows first.
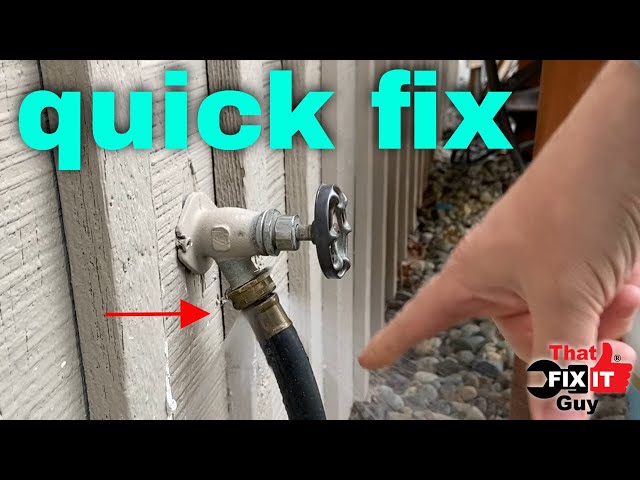
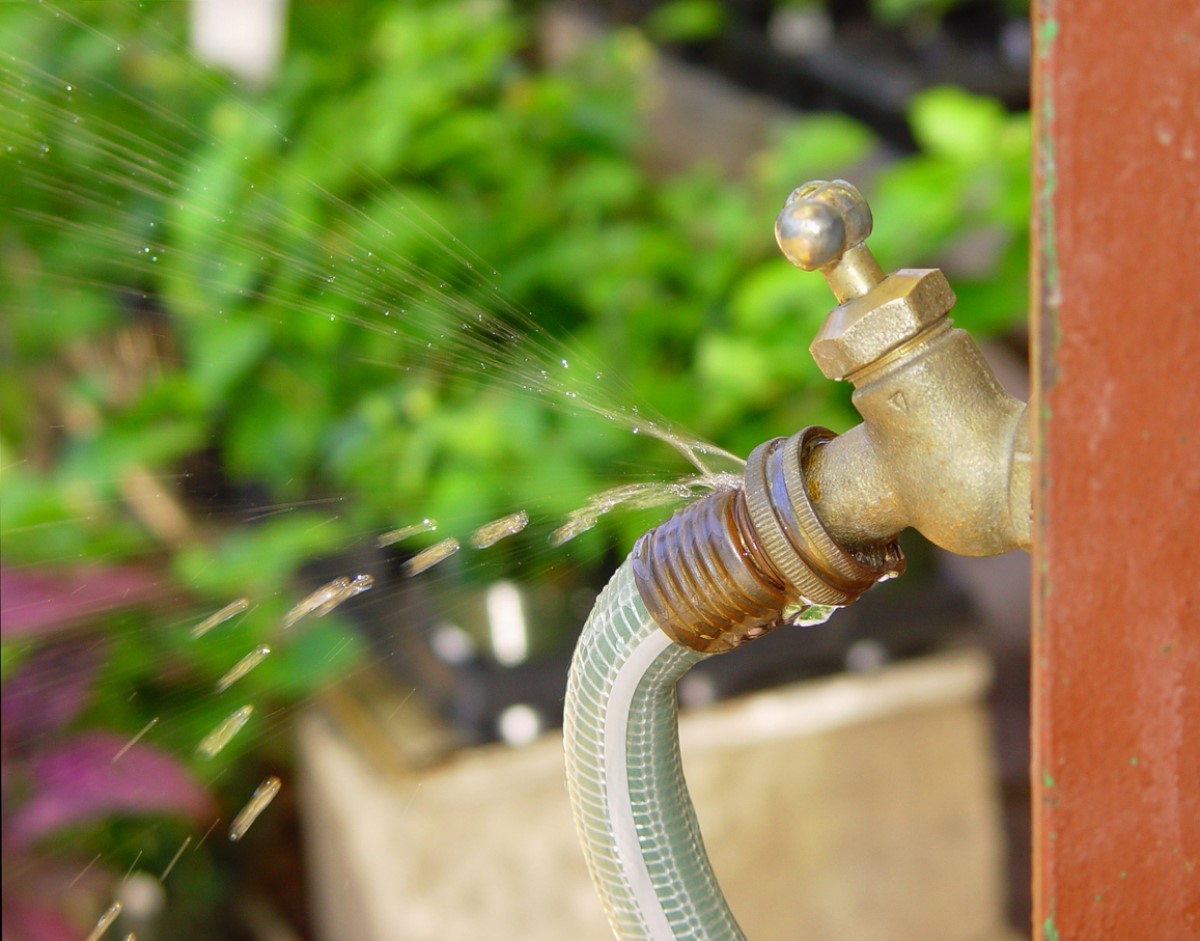
- At the spigot or nozzle end: Often a flat rubber washer is worn or missing.
- At the threads: Cross-threaded fittings or bent couplings can weep.
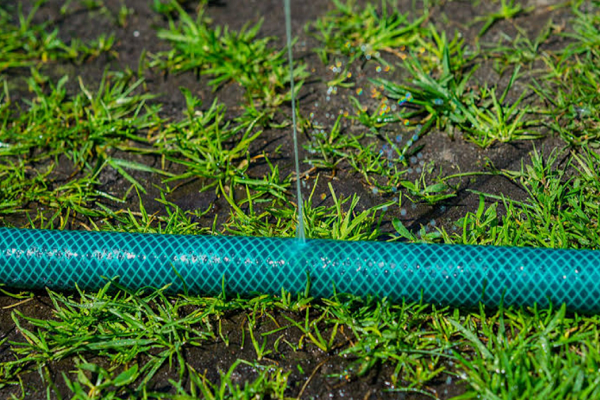
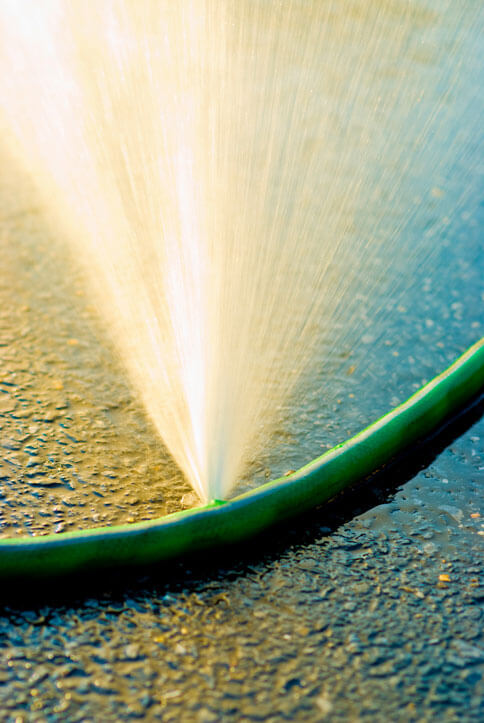
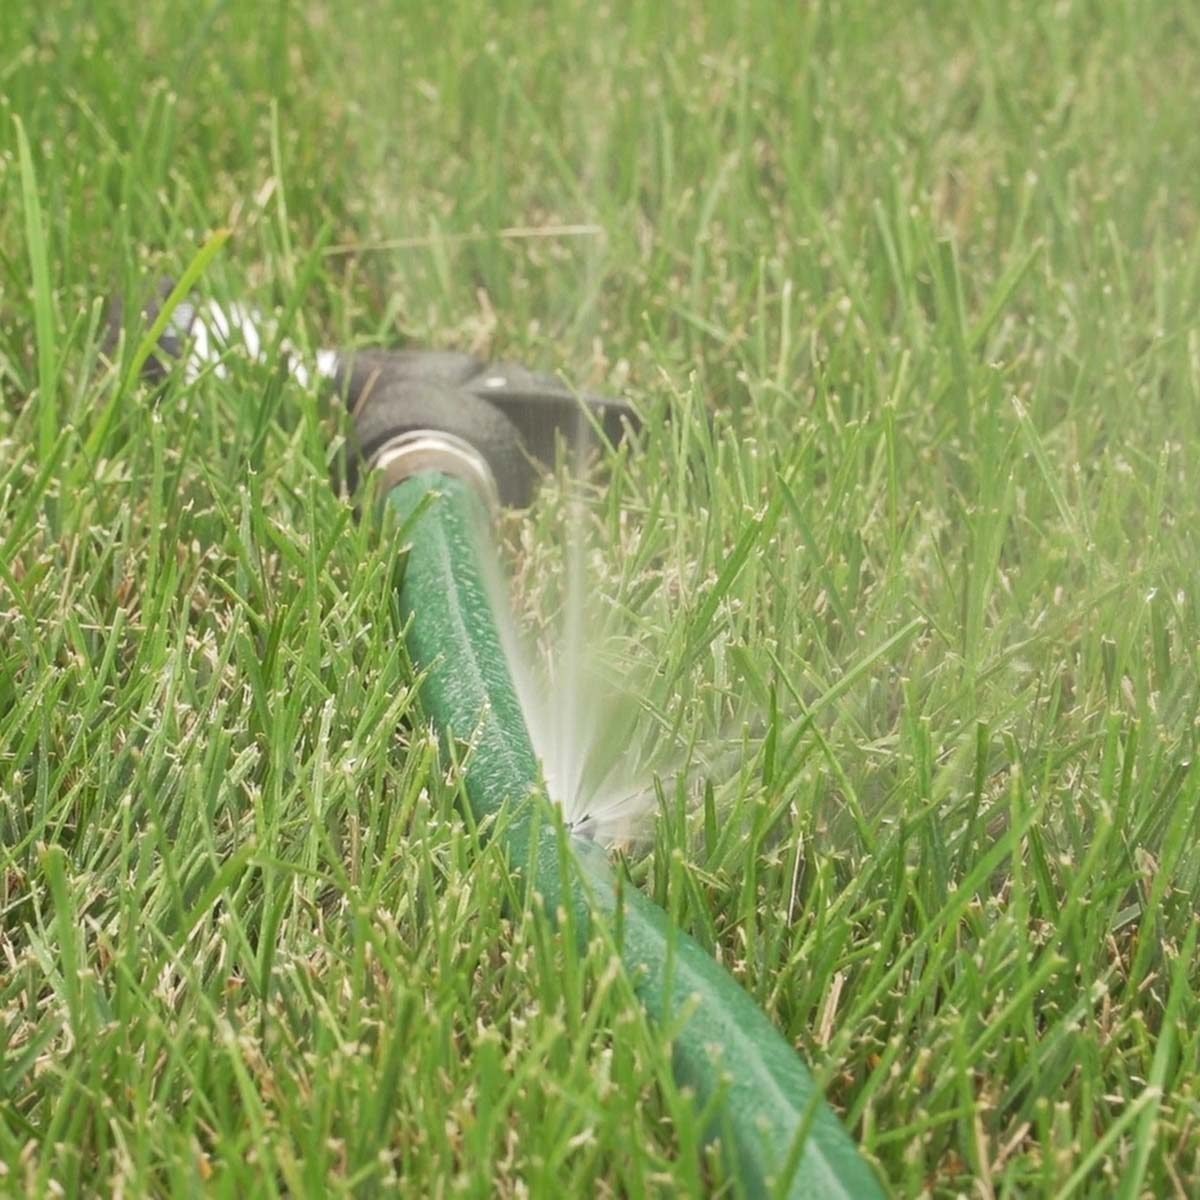
- Mid-hose pinhole: A tiny spray from a kink or thorn puncture.
- Long split or bulge: Freeze damage or a burst from high pressure.
Why leaks start:
- UV and heat make vinyl stiff and cracked over time.
- Freezing water expands and splits the hose wall.
- Kinks weaken the same spot again and again.
- Sand, grit, and mineral scale chew on seals and threads.
When I service a hose, I wipe the fittings and feel for nicks with a fingernail. Small burrs at the coupling can cut a washer fast. That habit has saved me many callbacks and speeds up how to fix garden hose leak for clients.
Fix leaks at the ends: washer, threads, and couplings
Here is how to fix garden hose leak at the faucet or nozzle in minutes.
Replace the flat rubber washer
A missing or hard washer is the top cause of drips at the female end.
- Unscrew the hose from the spigot or nozzle.
- Pry out the old washer with a small flat tool.
- Clean the seat. Remove grit and scale.
- Press in a new flat rubber washer of the same size.
- Hand-tighten the fitting. Do not wrench it hard.
- Test under pressure.
Pro note: Garden hose threads (GHT) are straight. The seal is the washer, not the threads. This fact is key to how to fix garden hose leak at the end.
Repair a weeping thread
If threads are nicked, PTFE tape can help.
- Wrap 2 to 3 turns of tape on the male threads.
- Keep tape off the first thread to avoid shredding.
- Reconnect and hand-tighten. Check for drips.
Use tape only if metal threads are worn. For normal GHT joints, a fresh washer is the correct seal.
Replace a damaged coupling
If the end is crushed or split, install a new end.
- Cut off the damaged section square.
- Slide the clamp(s) onto the hose.
- Push the barbed replacement end into the hose.
- Seat it fully. Warm the hose in hot water if tight.
- Tighten clamps evenly. Do not over-torque.
- Test for leaks.
This is a clean and strong method in how to fix garden hose leak at the ends when parts are bent or cracked.
Fix mid-hose pinholes and splits
Here is how to fix garden hose leak in the middle with the right method for the size of damage.
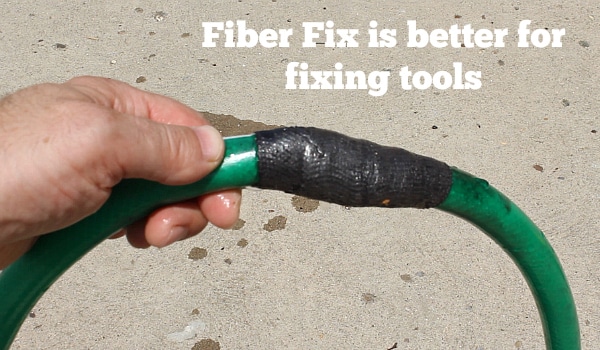
Small pinhole or hairline crack
Self-fusing silicone tape works well for tiny sprays.
- Dry the hose fully.
- Stretch the tape and wrap tightly over the hole.
- Overlap by half the width. Wrap at least 4 inches past the hole on both sides.
- Press and smooth the wrap. Wait a few minutes for self-bonding.
- Test under pressure.
Silicone tape forms a solid, waterproof sleeve. It is fast, but it is a temporary fix under high pressure.
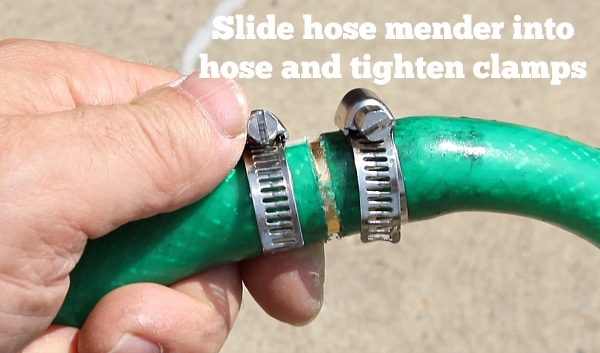
Larger split or blowout
Use a barbed hose mender to replace the bad section.
- Mark two cuts to remove the split area.
- Cut the hose square at both marks.
- Slide a clamp onto each hose end.
- Push the barbed mender halfway into one side.
- Push the other side onto the remaining barb.
- Tighten clamps evenly on both sides.
- Test and retighten if needed.
Personal tip: Warm the hose ends in hot water for 30 seconds. The barb slides in much easier. This small step speeds up how to fix garden hose leak and avoids tearing the hose wall.
Special cases and pro tips
Some leaks hide in adapters and add-ons. Here is how to fix garden hose leak when parts stack up.
- Quick-connect sets: Replace the O-ring in the female half. Keep a spare pack. A dry O-ring is a drip that waits to happen.
- Spray nozzles: If it drips while off, the internal valve may be worn. Many nozzles have service kits. If not, replace the nozzle.
- Split near the end: Install a short anti-kink spring or a new end with a strain relief. This reduces repeat kinks.
- Freeze damage: If there are several long splits, replacement is smarter. Repairs may hold for a week, then fail again.
- Metal vs plastic: Brass couplings resist sun and impact. Plastic is light and cheap but wears faster. Choose brass for high-use hoses.
If you need how to fix garden hose leak on a premium rubber hose, use quality brass menders and clamps. They match the hose strength and last longer in sun and cold.

Test and troubleshoot your repair
After you try how to fix garden hose leak, confirm the seal and the strength.
- Pressurize the hose with the nozzle closed.
- Watch for slow weeps at joints and clamps.
- If it drips at a clamp, add a quarter turn.
- If it still leaks, release pressure, remove the joint, and check for a square cut or debris.
- Reassemble and test again.
- Flex the hose near the repair. It should not open or bubble.
A steady 2-minute pressure test is a fair proof. If it holds dry, you have solved how to fix garden hose leak the right way.
Prevent future leaks
Prevention is part of how to fix garden hose leak for good. Small habits make big gains.
- Drain the hose after each use. Water left inside can freeze or grow algae.
- Store in shade or a shed. UV breaks down vinyl fast.
- Coil in wide loops. Avoid tight kinks.
- Remove nozzles before winter. Replace washers in spring.
- Use a pressure reducer if you have very high line pressure.
- Keep a small kit: washers, O-rings, silicone tape, and a mender.
These steps keep seals fresh and walls strong. They also cut water waste, which lowers bills and helps the yard.

Cost and time: what to expect
Plan your budget so how to fix garden hose leak does not stall.
- Rubber washer: a few cents each; 1 minute to replace
- O-ring pack: a few dollars; 2 minutes to swap
- Silicone tape: low cost; 5 minutes to wrap
- Brass hose mender with clamps: low to mid cost; 10 to 15 minutes to install
- New coupling end: low to mid cost; 10 minutes to install
- New mid-grade hose: moderate cost; sometimes better than many patches
Most repairs take under 20 minutes with basic tools. That is time well spent when you compare with buying a new hose every season.
Repair or replace: making the smart call
Sometimes how to fix garden hose leak means knowing when to stop repairing.
Replace the hose if:
- There are many brittle cracks along the length.
- The hose wall is flat or kinked in many spots.
- The coupling is corroded through or spins freely.
- You see a warning about lead and you use it near food gardens.
- Repairs fail more than once in the same area.
If the hose is high quality rubber and the damage is local, repairs with brass parts are worth it. That choice aligns with how to fix garden hose leak with a long-term view.
Common mistakes to avoid
Avoid these errors that I see often in the field. They slow or ruin how to fix garden hose leak.
- Skipping the washer and over-tightening the fitting
- Wrapping PTFE tape on GHT threads when a washer is the actual seal
- Cutting the hose at an angle, which weakens the clamp seal
- Using the wrong size mender for the hose ID
- Under-tightening or over-tightening clamps
- Patching a long split with tape only
A careful setup takes a few extra minutes. It saves hours later.
Frequently Asked Questions of how to fix garden hose leak
What size washer do I need for a standard garden hose?
Most standard garden hoses use a 3/4 inch GHT size with a flat rubber washer. Bring the old washer to match thickness if unsure.
Should I use PTFE tape on garden hose threads?
You usually do not need it. GHT seals with a flat washer, not tapered threads. Use tape only on worn or damaged threads.
How do I fix a pinhole without cutting the hose?
Use self-fusing silicone tape. Clean, dry, stretch, and wrap tightly with overlap for a quick, short-term fix.
Can I repair a hose that split from freezing?
If the split is short, use a mender. If there are several long splits, replace the hose because the wall is weakened.
Why does my new nozzle still leak at the connection?
Check the washer in the hose end and the O-ring in the nozzle. Replace them and hand-tighten the joint.
How long will a hose mender repair last?
With brass parts and good clamps, a mender can last for years. Protect it from kinks and UV to extend life.
Is silicone tape safe for drinking water hoses?
Use silicone tape labeled for potable water if needed. For drinking water hoses, prefer a proper cut-and-mender fix.
Conclusion
A dry, strong hose is easy when you use the right steps, parts, and checks. You learned how to fix garden hose leak at the ends, in the middle, and at add-ons, plus how to prevent the next drip. Start with a fresh washer, use a proper mender for bigger damage, and test under pressure.
Take action today. Set up a small repair kit, fix the worst leak, and enjoy a tidy, efficient yard. Want more practical guides like this? Subscribe, share your repair wins, or leave a question and I will help.


