Composting For Beginners At Home: Easy Guide 2026
Composting at home turns kitchen scraps into rich soil with little effort.
If you want a clean, simple guide to composting for beginners at home, you are in the right place. I’ve helped many households build tidy, low-odor bins in small spaces and big yards. This article gives you clear steps, smart tips, and tested fixes, so you can start today and see results fast. You will finish with the skills and confidence to run composting for beginners at home like a pro.

What Is Composting and How It Works
Composting is nature’s recycling. Microbes break down plant waste and turn it into dark, crumbly soil called compost. This process needs air, moisture, and the right mix of greens and browns. Greens add nitrogen. Browns add carbon. The balance keeps the pile active and odor-free.
For composting for beginners at home, think of a sponge. The pile should feel like a wrung-out sponge. Not too wet. Not too dry. When air flows and moisture is right, the pile can heat up. Heat speeds decay and kills many weed seeds.

Benefits of Composting at Home
Composting cuts trash and supports healthy soil. It helps your garden hold water and grow strong roots. It saves money on soil and fertilizer. It also cuts methane from landfills, which helps the climate.
Key benefits you will notice:
- Less kitchen waste in your trash can
- Softer soil with better drainage and water hold
- Fewer weeds and less need for store-bought fertilizer
- A simple project that builds a green habit for your home
Composting for beginners at home is a fast win. You turn peels, coffee, and leaves into value you can see and touch.

What You Need to Start
You do not need fancy gear to begin composting for beginners at home. Start with a simple bin, a pitchfork or hand tool, and a supply of browns and greens.
Basic setup:
- A bin or pile Space in a yard, a tumbler, a lidded tote with holes, or a worm bin.
- Browns Dry leaves, straw, shredded cardboard, paper, and small sticks.
- Greens Fruit and veggie scraps, coffee grounds, tea leaves, fresh grass clippings.
- Tools A garden fork or compost aerator, gloves, and a small kitchen caddy with a lid.
Apartment tip Use a worm bin or a sealed bokashi bucket. For a balcony, a tidy lidded tote with air holes works well.

Choosing a Composting Method
Pick a method that fits your space, time, and goals. Composting for beginners at home works best when the method matches your life.
Cold or passive compost
- Best for low effort. You add scraps and browns, then wait.
- It takes 6 to 12 months. Turn when you can.
Hot or active compost
- Best for speed. You build a big pile, about 3 feet by 3 feet, all at once.
- Turn weekly. Keep it damp. You can finish in 4 to 8 weeks.
Worm composting or vermicompost
- Best indoors or in small spaces.
- Red wigglers eat scraps and make rich castings. Keep the bin moist and in the shade.
Bokashi pre-compost
- Uses a bran inoculant to ferment scraps in a sealed bucket.
- Great for meat and dairy in small amounts. After ferment, bury or add to a hot pile to finish.
Trench compost
- Dig a trench, bury scraps with soil, and plant above later.
- Very low smell. Good for gardens with active beds.
Note on “electric composters” Many units dehydrate scraps. They are handy, but the output is not finished compost. Mix it into soil or a compost pile to break down fully.
Step-by-Step: How to Compost at Home
Follow these steps to start strong. This flow works for most bins and piles.
- Choose a spot
- Pick shade or part shade. Keep it near a hose and your kitchen door.
- Build your base
- Add a layer of sticks or coarse browns for air flow at the bottom.
- Add materials
- For each part greens, add two to three parts browns.
- Chop scraps small. Smaller pieces break down faster.
- Adjust moisture
- Aim for a wrung-out sponge feel. Add water if dry. Add browns if wet.
- Add air
- Turn the pile every 1 to 2 weeks. In a tumbler, spin it 3 to 4 turns.
- Keep feeding
- Each time you add greens, cover with browns. This controls flies and smell.
- Monitor heat
- A warm or hot core is a good sign. No thermometer? Use your hand near the center. It should feel warm, not scalding.
- Cure and finish
- When the pile stops heating and looks dark and crumbly, let it sit 2 to 4 weeks to cure. Then screen and use.
My field note When I set up composting for beginners at home workshops, we always start with a “rule of three.” Mix, moisture, movement. Mix greens and browns. Keep moisture like a sponge. Keep the pile moving with a turn. It works every time.
What to Compost and What to Avoid
The right inputs lead to quick, clean compost. Use this guide as you sort scraps.
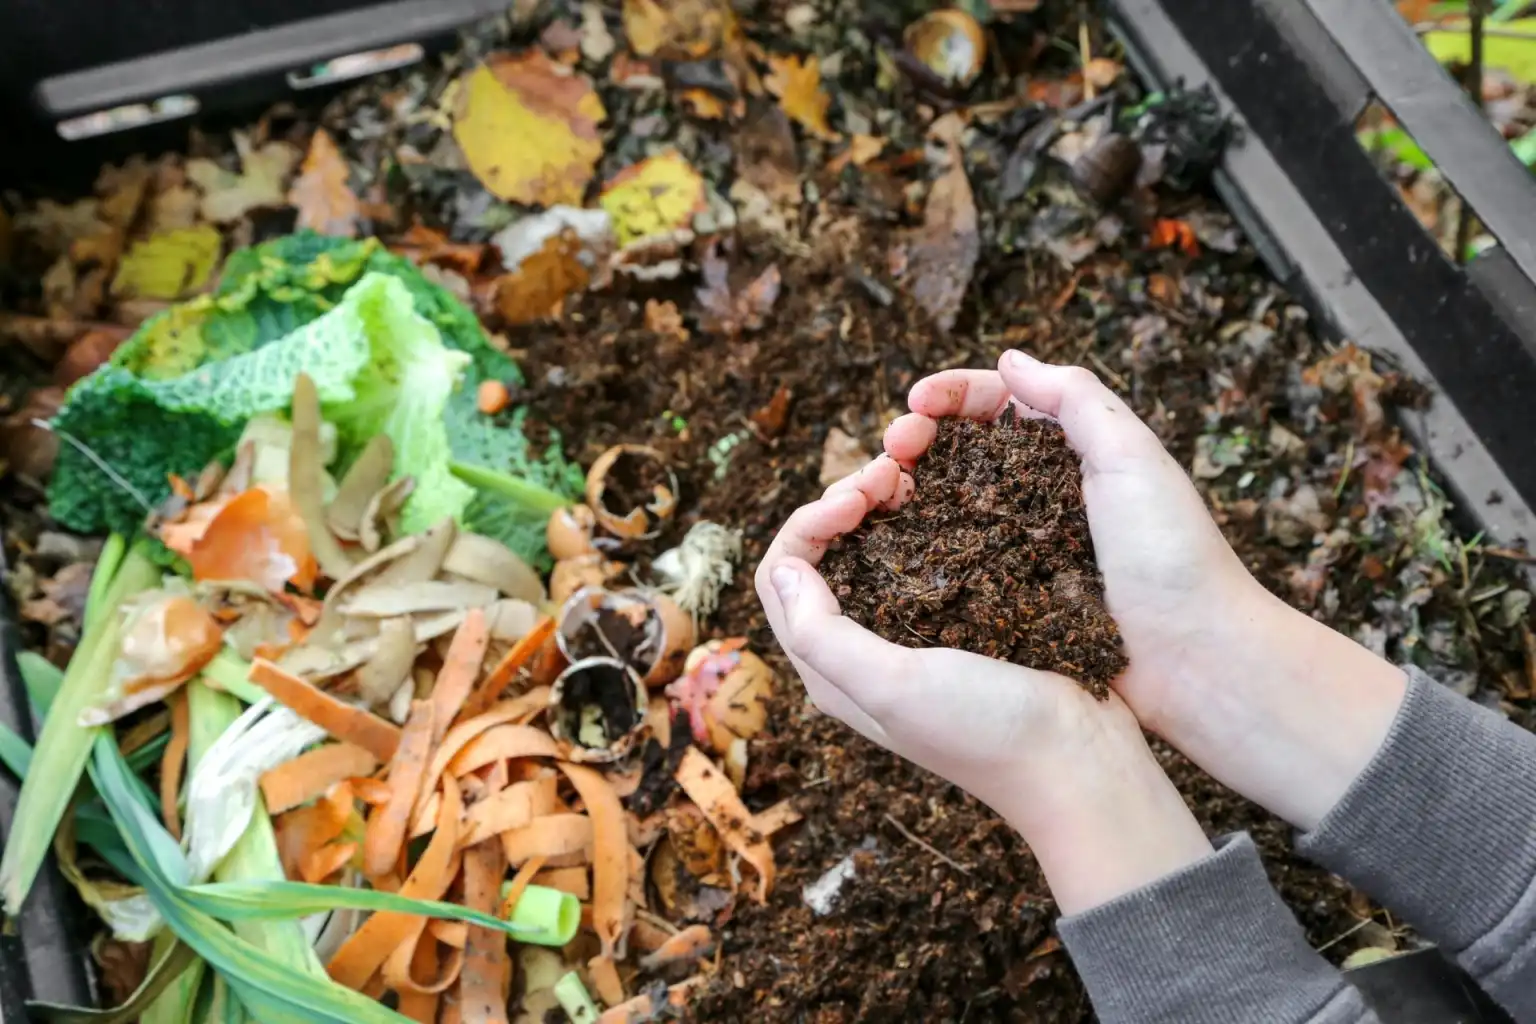
What to compost
- Fruit and veggie scraps
- Coffee grounds and paper filters
- Tea leaves and paper tea bags
- Crushed eggshells
- Yard waste like leaves and grass
- Shredded paper and cardboard
What to avoid
- Meat, fish, and dairy These can smell and draw pests.
- Oily foods and large bones These slow the process.
- Diseased plants and weeds with mature seeds Risk of spread if the pile stays cool.
- Glossy or plastic-coated paper This does not break down well.
- Pet waste from dogs and cats Pathogen risk in home systems.
- “Compostable” plastics Most need industrial heat, not home piles.

Managing Odor, Pests, and Moisture
Most problems come from too much wet green waste and not enough dry browns. Fix the mix and most issues fade fast.
Common problems and quick fixes
- Rotten smell Add dry browns and turn. Keep new greens covered.
- Ammonia smell Add more browns and water lightly if bone dry.
- Fruit flies Bury scraps under 3 inches of browns. Use a tight lid on your caddy.
- Ants or mice Moisten lightly and turn. Seal gaps. Use a bin with a base.
- Too dry Add water with a fine spray and mix well.
- Too wet Fluff with a fork. Add shredded cardboard or leaves.
PAA-style quick answers
Does compost smell?
A healthy pile smells earthy. If it stinks, add browns, add air, and keep greens covered.
How often should I turn my compost?
For hot compost, turn weekly. For a passive pile, turn when you have time, and add extra browns.
How do I keep rats out of my compost?
Use a closed bin with a tight lid and a solid base. Do not add meat, dairy, or oily food.
Personal tip I once had a fruit fly bloom after adding a week of melon rinds. I buried the next load under leaves, added a layer of finished compost on top, and the flies cleared in two days.
Composting for beginners at home gets easier fast when you watch moisture and keep a cover layer of browns on hand.
How to Know When Compost Is Ready and How to Use It
Finished compost looks like dark soil. It smells like a forest floor. You should not see clear food scraps. A few eggshell bits and twigs are fine.
Readiness checks
- Sight and smell Dark, crumbly, earthy scent.
- Feel Cool, not heating anymore.
- Bag test Seal a handful in a bag for a day. If it still smells earthy, it is ready.
How to use compost
- Top-dress lawns and beds Spread a thin layer and water in.
- Mix into soil Blend 1 part compost to 3 parts soil for beds and pots.
- Mulch around plants Keep it an inch away from stems.
- Compost tea Use a simple soak, not aerated brews, to avoid risk.
Composting for beginners at home pays off when you spread that first batch. Plants perk up. Soil stays moist longer. You see the cycle close.
Safety, Myths, and Limitations
Stay safe and smart. Wear gloves. Wash hands after handling compost. If you have allergies or asthma, avoid breathing dust when turning dry piles.
Common myths
- Compost must be hot Not true. Cool piles work, but they are slower.
- You cannot add citrus You can, in small pieces and with enough browns.
- Coffee grounds are browns Grounds act like greens. Balance them with dry browns.
Limitations to note
- Home piles rarely get hot enough for compostable plastics. Skip them.
- Weed seeds and plant diseases may survive in cool piles. When in doubt, leave them out.
- Small spaces limit volume. Choose worm bins or bokashi to fit your home.
With composting for beginners at home, keep goals real. Start small. Learn the rhythm. Grow over time.
Frequently Asked Questions of composting for beginners at home
How long does compost take to finish?
A hot, well-managed pile can finish in 4 to 8 weeks plus curing. A passive pile may take 6 to 12 months, depending on size, mix, and weather.
Can I compost in winter?
Yes. The pile slows down but still works inside. Keep adding browns and greens, and turn on mild days. Worm bins do well indoors year-round.
Do I need worms for composting?
No. A regular bin works fine without added worms. For indoor bins, red wigglers speed things up and make rich castings.
Can I compost cooked food?
Avoid oily or saucy foods. Plain rice, pasta, or bread is fine in small amounts if you bury it under browns to prevent pests.
Is mold in my compost bad?
White or gray fungal threads are normal and helpful. If you see lots of black slime and stink, add browns and mix for more air.
Can I add eggshells and coffee grounds?
Yes. Rinse and crush eggshells to speed breakdown. Balance coffee grounds with dry browns to keep the mix right.
Will compost attract animals?
It can if you add meat, dairy, or leave scraps exposed. Use a secure bin, cover fresh greens with browns, and avoid problem foods.
Conclusion
You now have a simple, proven path to composting for beginners at home. Start with a bin, add the right mix, keep it like a wrung-out sponge, and turn on a routine. Watch for smell and moisture, and fix issues with more browns and air.
Your next step is small and clear. Set up a bin this week. Save your kitchen scraps. Add a cover layer of leaves or cardboard. You will cut waste and grow better soil at the same time. Want more guides like this? Subscribe for tips, or share your first-bin story in the comments.