How To Harvest Leafy Greens: Pro Tips For 2026 Gardens
There’s a moment every gardener knows: you walk out to the bed, the leaves look perfect, and suddenly you freeze. Cut too much and you might stall the plant. Cut too little and you’re back in the kitchen with a sad salad. Harvesting leafy greens shouldn’t feel like a gamble.
The good news? It’s a skill you can master in a single season. The fundamentals are simple: harvest young, cut clean, and cool fast. Get those three habits right, and one small patch of lettuce, kale, or chard can keep your kitchen supplied for months. You can also read our guide on how to remove rust from garden tools.
This guide walks through the exact timing, tools, and techniques I use for loose-leaf greens, head lettuces, and cut-and-come-again patches. You’ll also find a practical storage plan, troubleshooting tips, and a weekly harvesting schedule that takes the guesswork out of the process.
Why Harvesting Method Matters More Than You Think
How you harvest affects everything that comes after. A ragged tear invites rot. A cut too close to the crown can stop regrowth. And leaving greens in the sun for an hour after picking will shorten their fridge life by days. For more on this, see our guide on how to extend vegetable harvest season.
The core principle is simple: you are managing a plant’s regrowth, not just collecting dinner. Every cut is a signal to the plant. Cut above the growing point, leave enough leaf area for photosynthesis, and the plant will reward you with another flush of tender growth.
This is why most leafy greens are best treated as “cut-and-come-again” crops. Instead of pulling the whole plant, you harvest a portion of the outer leaves and let the center keep growing. Done right, a single spinach or lettuce plant can produce for six to eight weeks.
When to Harvest Leafy Greens: Timing by Signal, Not Calendar
Forget planting dates and days-to-maturity charts. The plant will tell you when it’s ready. Here’s what to look for.
Size Guidelines for Common Greens
| Green | Baby Leaf Size | Full Leaf Size | Harvest Window |
|---|---|---|---|
| Lettuce (loose-leaf) | 3–5 inches | 6–8 inches | 4–6 weeks |
| Spinach | 2–4 inches | 5–7 inches | 4–6 weeks |
| Kale | 4–6 inches | 8–10 inches | 6–10 weeks |
| Swiss chard | 3–5 inches | 6–8 inches | 6–8 weeks |
| Arugula | 2–3 inches | 4–6 inches | 3–5 weeks |
| Mustard greens | 3–5 inches | 6–8 inches | 4–6 weeks |
Visual and Tactile Cues
Size is a starting point, but your hands and eyes are better judges. Here’s what to check:
- Leaf texture: A ready leaf feels crisp and snaps cleanly when bent. If it feels thick, leathery, or waxy, it’s past its prime and likely bitter.
- Leaf color: Deep, even color indicates good health. Yellowing lower leaves are normal; yellowing new growth means trouble.
- Flower stalk formation: When you see a central stalk starting to elongate, bolting has begun. Harvest immediately — flavor fades fast once flowering starts.
The Time of Day Rule
Harvest in the cool morning, after dew has dried. Leaves are fully hydrated and crisp. Midday heat draws moisture out, leaving greens limp before you even get them indoors. Evening is a close second choice.
On very hot days, water the bed lightly 30–60 minutes before harvesting. This reduces field heat and makes leaves easier to handle.
Tools and Preparation for a Clean, Quick Harvest
You don’t need expensive equipment, but you do need the right basics. Dull or dirty tools create ragged cuts and spread disease between plants.
The Essential Harvest Kit
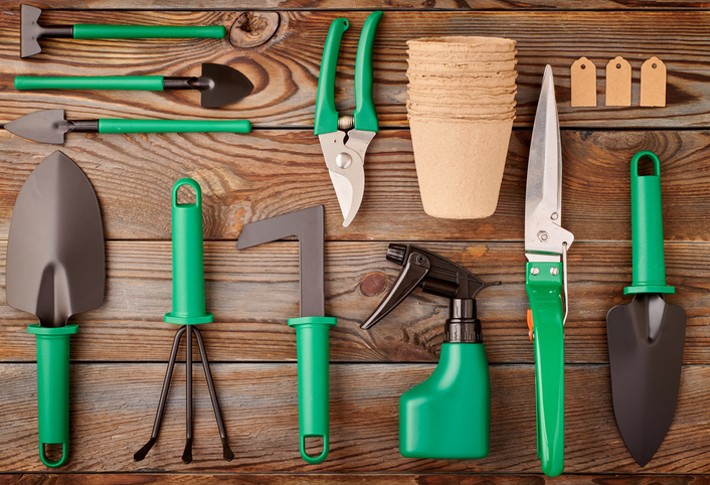
- Sharp scissors or a small harvest knife — A dedicated pair kept clean and sharp makes the biggest difference. Blunt blades crush stems.
- A clean tub or wide bowl — For collecting leaves without crushing them.
- A bucket or basket lined with a clean towel — To shade picked greens and absorb excess moisture.
- A spray bottle — For cooling greens if the day is warm.
- Food-safe sanitizer — A simple vinegar-water mix (1:3) works for wiping blades between beds.
Keep a dedicated sharpener on hand for your hand tools. A sharp edge is safer and produces cleaner cuts.
Sanitizing Between Beds
Leafy greens are susceptible to bacterial soft rot. Wipe your blade with a sanitizing solution when moving between different crop families — lettuce to kale, for instance. This simple step prevents cross-contamination that can silently spoil a whole batch.
Step-by-Step: The Cut-and-Come-Again Method
This is the core technique for loose-leaf greens like lettuce, spinach, arugula, and Asian greens. Follow these steps in order.
- Check the weather and time. If the soil is dry, water lightly 30–60 minutes before picking. This hydrates leaves and reduces stress.
- Sanitize your tool. A quick wipe with a sanitizing cloth or alcohol pad.
- Select the outer leaves. Choose the largest, oldest leaves on the plant’s exterior. Leave the inner rosette and growing point untouched.
- Gather a small bunch. Pinch the leaf stems between two fingers to keep them steady and prevent tearing.
- Position your cut. Slice 1–2 inches above the crown (the central growing point). This leaves enough stem for regrowth without damaging the core.
- Angle the blade. A slight diagonal cut sheds water and exposes a smaller wound surface.
- Place in a collection container. Avoid letting cut leaves touch bare soil or splash with dirt.
- Cool immediately. Move leaves to a shaded, cool container as soon as they’re gathered.
- Label containers by harvest date. First in, first out — this keeps older greens from being forgotten.
For Head Lettuce
Cut the entire head at soil level using a sharp knife. Lift and place gently in your container. The root system left in the soil may produce a second small flush of leaves, though quality is usually lower than the first head.
For Baby Green Patches
Shear the entire patch 1–2 inches above the soil line, like mowing with scissors. This works best for arugula, mustard, and mixed salad blends. Regrowth takes 7–14 days depending on season and water.

Checking leaf size and texture before making the first cut.
Crop-by-Crop Harvest Guide
Different greens need slightly different treatment. Here’s how to approach each major type.
Lettuce (Loose-Leaf and Romaine)
Method: Pick outer leaves when they reach hand length. For romaine, you can also harvest the whole head when the center feels firm and dense. A bitter taste suggests either heat stress or waiting too long. Shade cloth in hot afternoons helps maintain sweetness.
Spinach
Method: Harvest at 3–5 inches for baby leaves, or up to 7 inches for fuller leaves. Cut the petiole (leaf stem) cleanly, never pull. Spinach bolts quickly when temperatures rise above 75°F. Harvest more frequently during warm spells to keep plants in vegetative growth.
Kale
Method: Take the lowest 3–5 leaves from each plant, leaving at least 6 leaves for continued photosynthesis. Stems become woody and fibrous once leaves exceed 10 inches. Young leaves are notably sweeter after a light frost — cold weather converts starches to sugars.
Swiss Chard
Method: Cut outer stalks near the base, but avoid nicking the crown. Support the stalk with your hand while cutting to prevent bruising. Chard regrows quickly with consistent water and a light liquid feed every few weeks.
Arugula and Mustard Greens
Method: Shear as baby greens at 1–2 inches above the soil. Regrowth takes 7–14 days. Hot weather intensifies their peppery bite — harvest smaller leaves if you prefer mild flavor. In summer heat, some gardeners replace these with heat-tolerant varieties.
Asian Greens (Bok Choy, Tatsoi, Mizuna)
Method: For baby rosettes, cut at the base. For full heads, harvest when the plant is firm and glossy — usually 45–60 days. These leaves bruise easily; handle them gently and keep them cool.
Herbs Used as Greens (Cilantro, Parsley)
Method: Snip outer stems near the base, leaving the central rosette intact. For cilantro, harvest before flower stalks emerge to maintain the fresh citrus note. Regular harvesting keeps these plants productive for months.

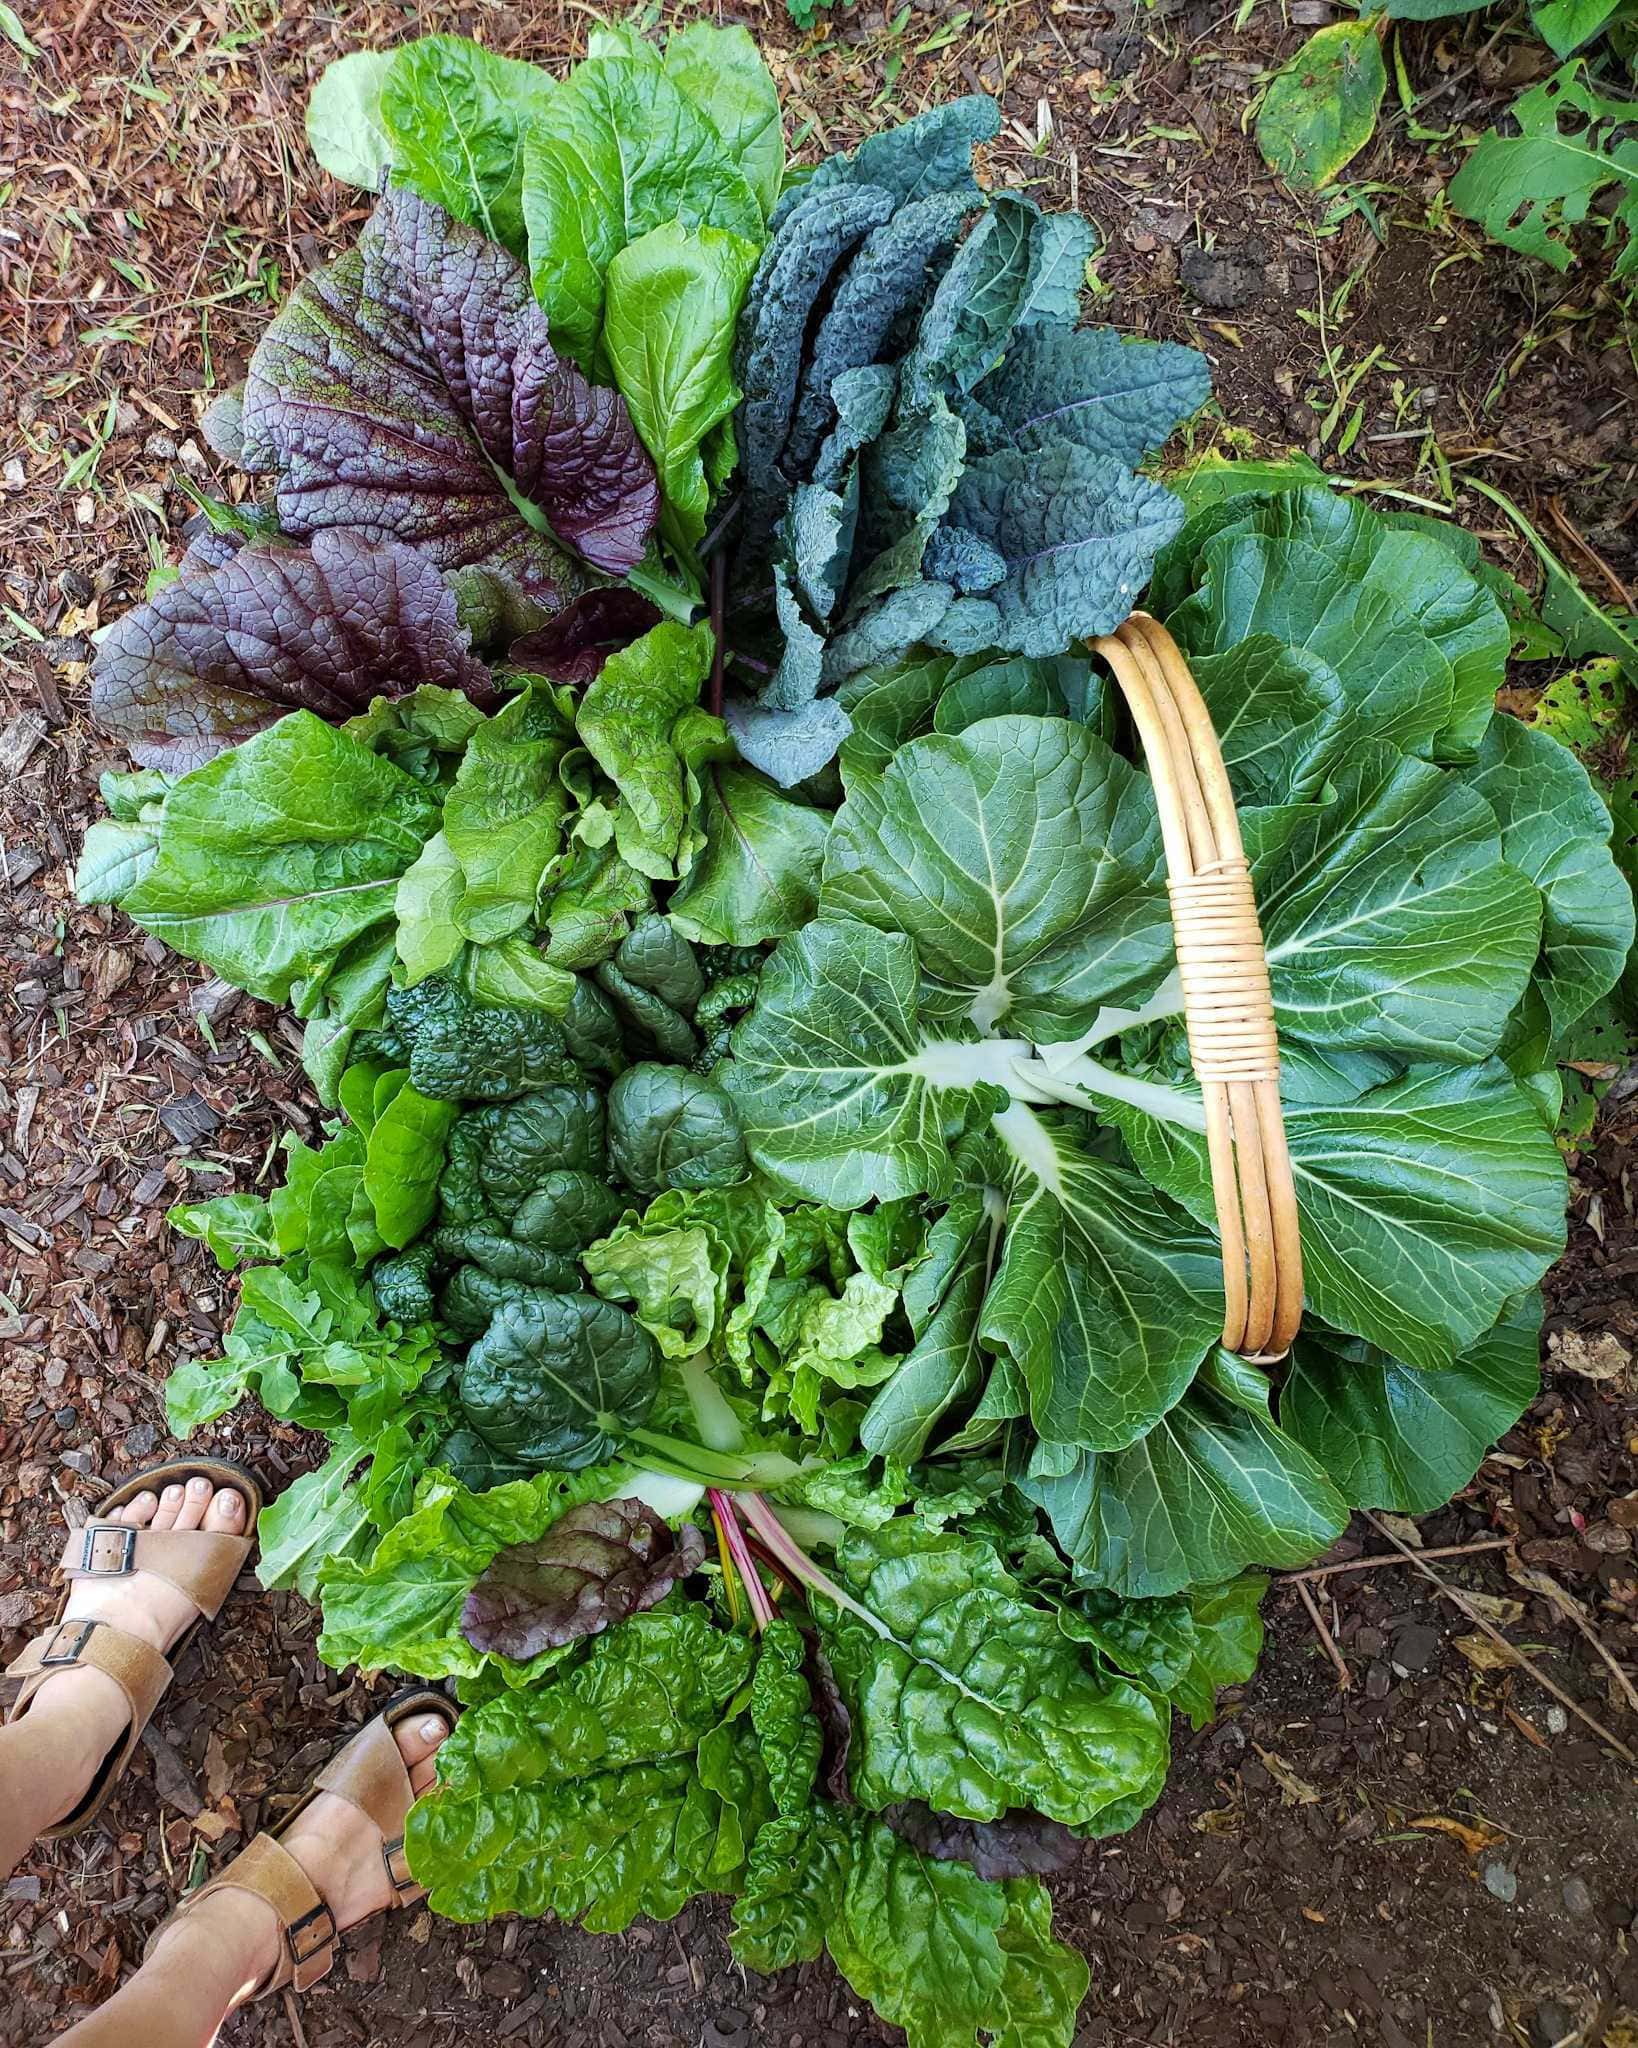
A clean cutting tool and a lined collection basket prevent bruising and rot.
Washing, Drying, and Storing for Maximum Shelf Life
The moments after harvest determine how long your greens last. Heat and moisture are the two enemies. Your goal: cool them down fast and remove surface water.
The Washing Process
- Dunk in cold, clean water. Swish gently to dislodge soil and grit.
- Repeat the rinse. If water becomes cloudy, change it and rinse again. Two or three quick baths beat one long soak.
- Dry thoroughly. Use a salad spinner or lay leaves on a clean towel and pat dry. Skip this step and your greens will turn slimy in the fridge.
- Store with a paper towel. Line a breathable container or bag with a dry paper towel to catch residual moisture. Replace the towel if it becomes damp.
Refrigerator Setup
- Temperature: 34–40°F (1–4°C)
- Humidity: High humidity is beneficial, but leaves must stay dry.
- Storage container: A lidded bin with a loose-fitting lid or a perforated plastic bag works best. Avoid airtight sealing.
Expected Shelf Life by Green
| Green | Expected Fridge Life |
|---|---|
| Lettuce (baby leaves) | 5–7 days |
| Kale | 7–10 days |
| Swiss chard | 7–10 days |
| Spinach | 5–7 days |
| Arugula | 3–5 days |
| Mustard greens | 5–7 days |
Avoid Proximity to Ethylene
Store greens away from apples, bananas, and tomatoes. These fruits release ethylene gas, which accelerates yellowing and decay of leafy vegetables.
Keeping Plants Producing Longer
A steady harvest is about plant management, not just cutting technique. Here are the habits that extend your harvest window.
- Harvest a third at a time. Never strip more than one-third of the plant’s leaves at once. The remaining leaves sustain photosynthesis for regrowth.
- Rotate patches. Split a bed into three zones and harvest a different zone every few days. This gives each area time to recover.
- Water consistently. Fluctuating moisture causes stress, bitterness, and bolting. A consistent 1–1.5 inches per week is a good baseline.
- Feed lightly after harvest. Apply a diluted liquid fertilizer (like compost tea or fish emulsion) after a heavy harvest. Nitrogen supports leafy regrowth.
- Use shade cloth in hot weather. A 30–40% shade cloth can lower leaf temperature by 10°F and significantly delay bolting.
- Remove yellow lower leaves. This improves airflow, reduces disease pressure, and redirects energy to new growth.
For a deeper look at building healthy soil that supports vigorous regrowth, read our guide on improving your garden soil naturally.
Common Mistakes and How to Fix Them
Even experienced gardeners slip up. Here are the most frequent issues and the corrections.
| Mistake | Problem | Fix |
|---|---|---|
| Cutting too low | Damages the crown, stops regrowth | Cut at least 1 inch above the growing point |
| Waiting too long | Tough, bitter leaves | Set a harvest window and stick to it — harvest in small amounts frequently |
| Tearing by hand | Ragged wounds invite rot | Use sharp scissors or a knife |
| Harvesting at midday | Leaves wilt fast | Pick in the morning or evening |
| Skipping the cool-down | Warm greens decay quickly | Rinse in cold water and refrigerate promptly |
Food Safety and Clean Handling from Bed to Bowl
Food safety is straightforward with leafy greens, but it deserves deliberate attention. After all, these leaves are eaten raw.
- Wash hands before harvesting and again after touching soil or pets.
- Use clean water for rinsing. Change the water when it becomes dirty.
- Wash containers and towels between harvests. Residual plant material breeds spoilage organisms.
- Cool fast and keep cold. Pathogen growth slows dramatically below 40°F.
- Separate from raw meat areas in the kitchen. Use separate cutting boards and counters zones for greens.
The USDA provides current handling guidance for leafy greens, and their food safety resources are a reliable reference for best practices.
Timing, Weather, and Day-of-Harvest Adjustments
Weather dictates harvest timing more than any calendar date. Here’s how to adapt.
- After rain: Wait until leaves are dry before harvesting. Wet leaves tear easily and spread disease.
- Before a heat wave: Pick a few days early to preserve flavor. Heat stress rapidly degrades leaf quality.
- After a light frost: Kale, spinach, and some lettuces become notably sweeter. This is a great time to harvest.
- In hard frost conditions: Cover plants with row cover or a cold frame. Harvest after they thaw fully to avoid leaf damage.
Adjusting your schedule to weather adds effort, but the payoff is measurably better flavor and texture.
A Simple Weekly Harvesting Schedule
Here’s a practical rhythm that keeps leaves coming without overwhelming your fridge.
| Day | Action |
|---|---|
| Day 1 | Harvest Zone A (outer leaves, one-third of the plants) |
| Day 3 | Harvest Zone B |
| Day 5 | Harvest Zone C |
| Day 7 | Return to Zone A, check regrowth (usually ready) |
If you have a 10-foot row of loose-leaf lettuce, expect roughly 1–2 pounds per harvest. That’s enough for 4–6 salads per week. For larger families, plant additional rows or stagger plantings every two weeks.
Frequently Asked Questions
What is the best time of day to harvest leafy greens?
Early morning is ideal. Leaves are fully hydrated, cool, and crisp. Evening is the second-best option. Avoid midday heat whenever possible.
How often can I harvest from the same plant?
Most loose-leaf greens can be harvested every 5–10 days. Leave the central growing point intact so the plant can rebound. If leaves are slow to regrow, check soil moisture and nutrition.
How do I avoid gritty leaves after rain?
Let leaves dry naturally before harvesting. If they’re still gritty, rinse them in two rapid baths of cold water, then spin or pat dry before storing. Soil splash is more likely to stick when leaves are wet.
What is the difference between cutting baby greens and harvesting full heads?
Baby greens are sheared 1–2 inches above the soil for fast regrowth. Full heads are cut at the base once they reach firmness. Baby greens regrow; head varieties do not.
How do I stop greens from tasting bitter?
Harvest younger, water consistently, and provide shade in heat. Quick cooling after harvest also preserves sweetness. Bitter greens beyond rescue can be blanched, but prevention is better than correction.
Can I harvest leafy greens in winter?
Yes, with protection. A cold frame or low tunnel allows kale, spinach, arugula, and mache to grow through winter in most climates. Growth slows dramatically, but quality can be excellent, especially after frost.
Conclusion
Mastering leafy green harvesting comes down to three habits: harvest young, cut clean, and cool fast. These simple practices keep plants productive, preserve flavor, and extend shelf life far beyond what most gardeners achieve.
Start with one bed and a cut-and-come-again plan. Track what you pick, how it tastes, and how long it lasts in the fridge. Within a few weeks, you’ll have a rhythm that keeps salads on the table all season.
For more on extending your gardening success, take a look at our guide to keeping your lawn healthy or the proper upkeep of your garden tools.