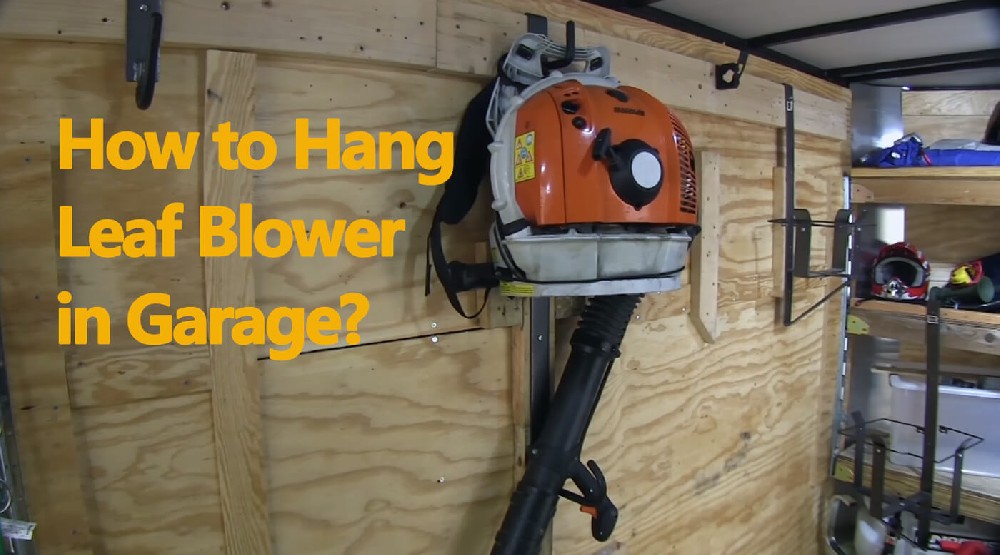
Feed dry leaves slowly, use safety gear, and follow the machine’s manual.
If you want a clean yard and free mulch, you are in the right place. I have spent years testing corded, cordless, and mower mulchers in real backyards. I will show you how to use leaf mulcher the simple way. You will learn how to use leaf mulcher with step-by-step steps, pro tips, and real results. Let’s turn leaf piles into garden gold, fast.
What a Leaf Mulcher Does and Why It Matters
A leaf mulcher shreds leaves into smaller pieces. This reduces volume and speeds up decay. Your bins fill slower. Your soil gets richer.
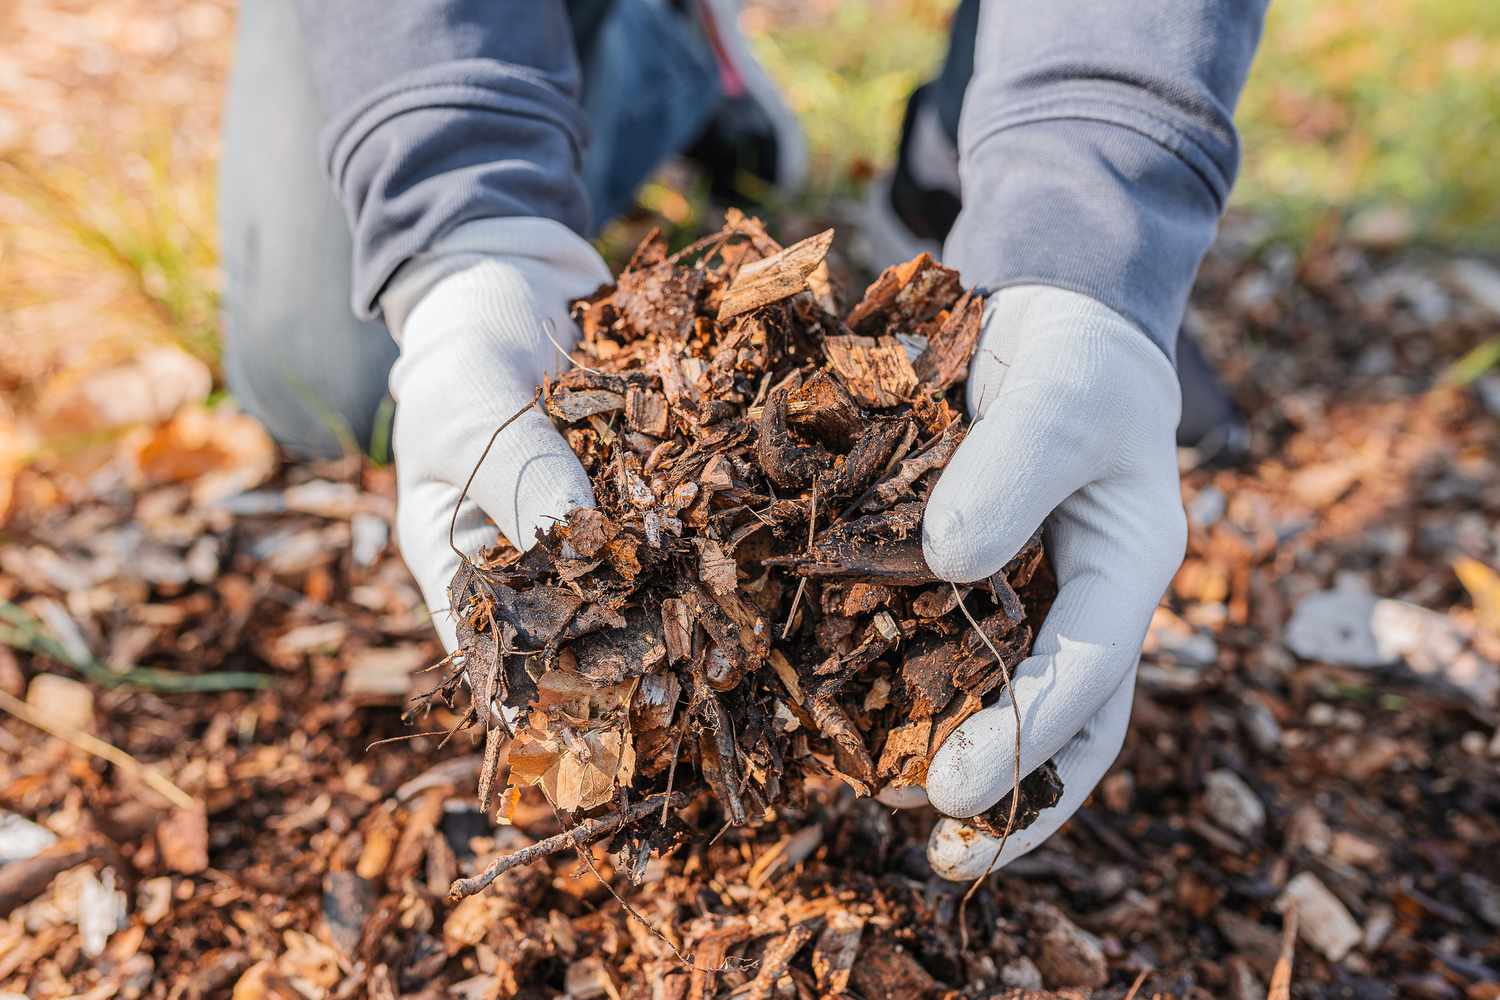
Shredded leaves work as mulch. They block weeds and hold water. They also feed soil life. Garden research shows mulch improves soil health and root growth.
Most mulchers claim a 10:1 to 16:1 reduction ratio. That means ten bags of leaves can fit into one. This is how to use leaf mulcher for space, time, and money savings.

Types of Leaf Mulchers
There are several styles. Pick one that fits your yard and your body.
- Handheld blower vac mulchers. They vacuum leaves and shred them. Look for higher CFM for airflow and good MPH for speed.
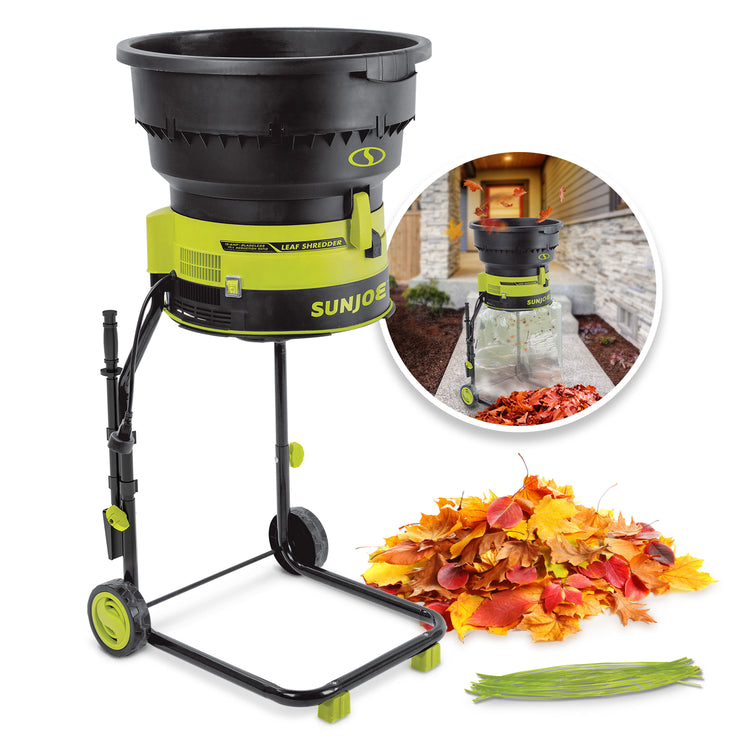
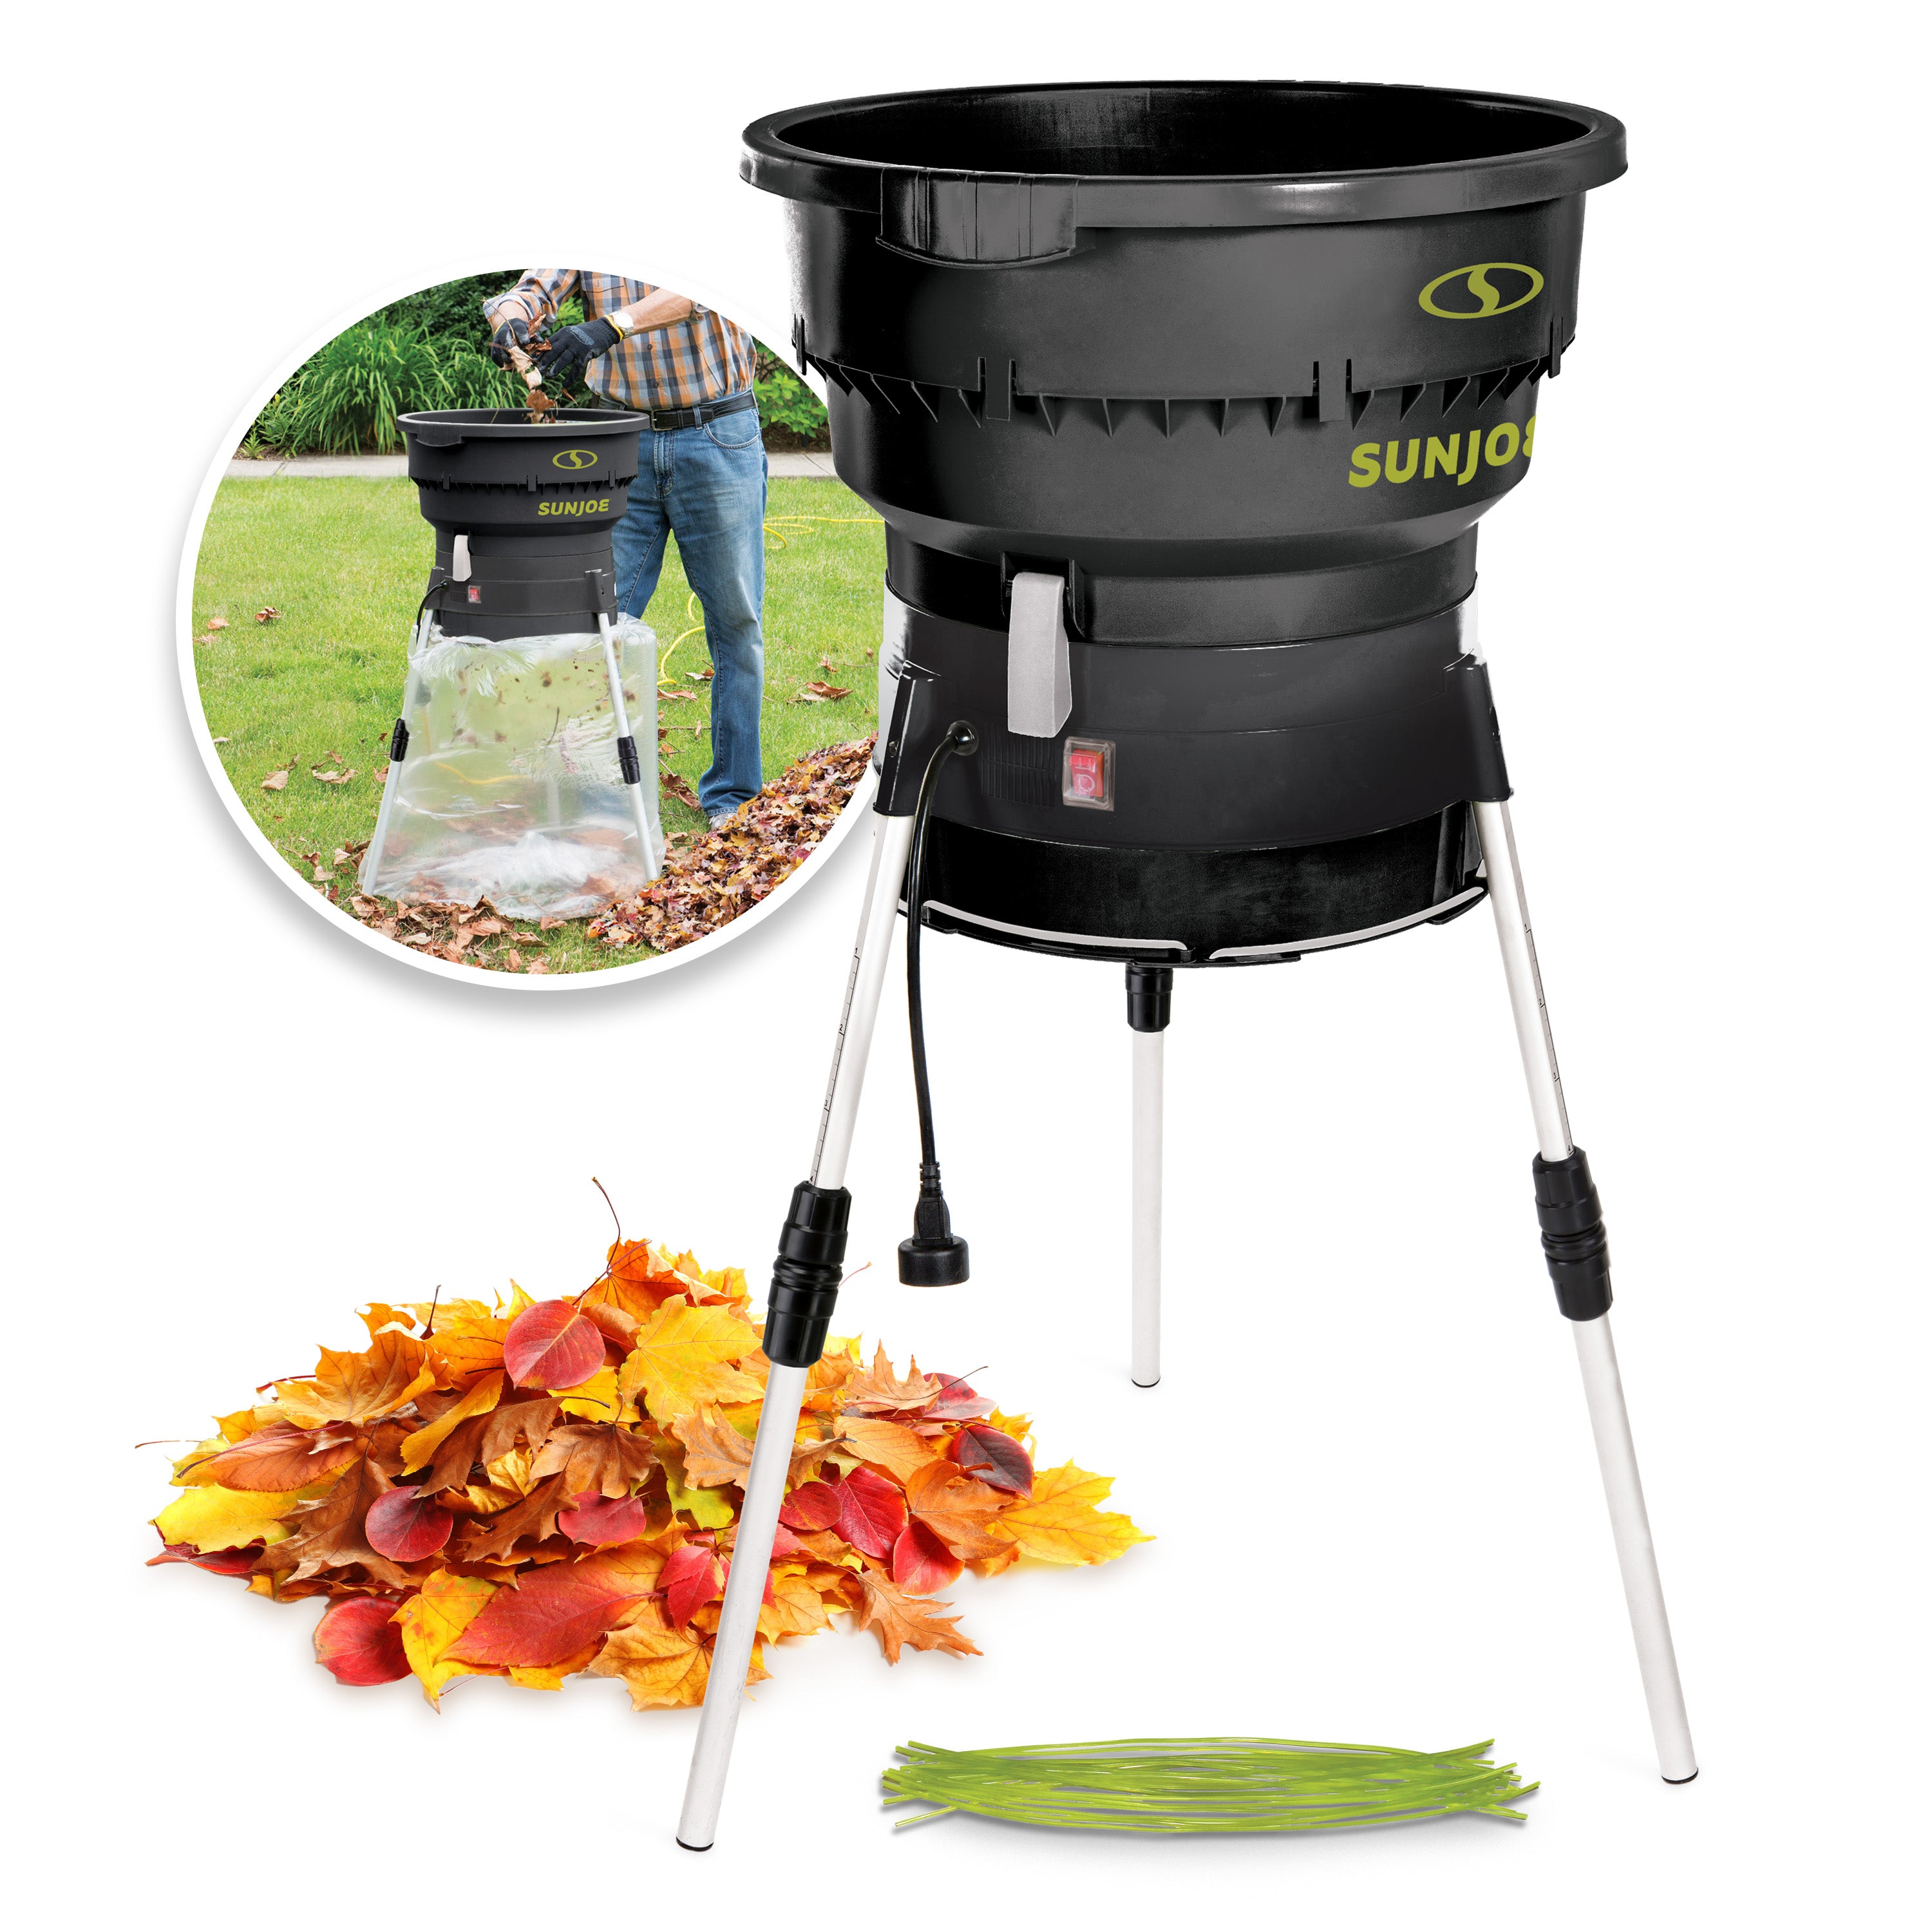
- Stand-alone electric mulchers. You drop leaves into a top hopper. They are simple and good for steady use.
- Gas or commercial mulchers. These handle big jobs fast. They are heavy and loud but strong.
- Mower mulchers. Many mowers have a mulching mode. You mow over leaves to shred them in place.
- Drill or string line bucket mulchers. Budget tools for small piles. They are slow but handy.
When you learn how to use leaf mulcher, match the tool to your leaf load. Big oak leaves need more power. Wet maple leaves need more passes.
Safety Checklist and Setup
Safety first. These tools move air and blades at high speed.
- Wear safety glasses. Leaves hide sticks and grit.
- Wear gloves. They help with grip and bag changes.
- Use ear protection if noise is high.
- Wear a dust mask if leaves are dry.
- Tie back hair and avoid loose clothes.
Work on a clear, flat area. Check cords for cuts. Use outdoor-rated extension cords for corded units. For battery units, start with a full charge. For gas units, check fuel and filters. Read your manual. This is the base of how to use leaf mulcher with confidence.
Step-by-Step: How to Use Leaf Mulcher
Follow these steps for smooth, safe work.
- Check leaf moisture. Dry and crisp leaves shred best. If leaves are wet, let them dry a bit.
- Sort the pile. Remove rocks, large sticks, and pine cones.
- Set up the collection bag or bin. Attach it tight to avoid clogs.
- Choose a reduction setting if your unit has one. Start medium. Adjust after a test run.
- Start the mulcher. Let it reach full speed before feeding leaves.
- Feed leaves slowly. Small batches prevent jams and dust clouds.
- Keep the intake clear. If sound changes, stop and check for a clog.
- Empty bags before they get too full. This keeps airflow strong.
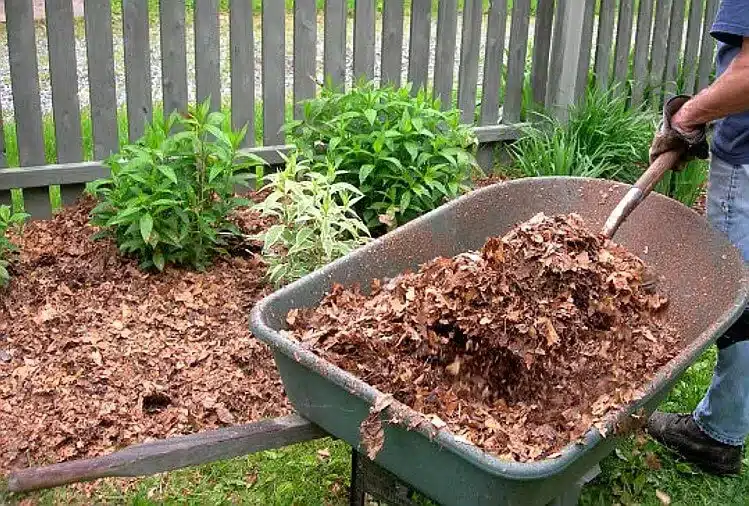
- Spread mulch in beds or store it dry. Keep mulch 3 to 6 inches away from trunks.
- Clean up. Unplug or power down. Brush off dust. Store in a dry place.
This is the core of how to use leaf mulcher. Go slow. Listen to the tool. Adjust as needed.
Pro Tips From the Yard
These tips come from many fall cleanups and a few mistakes.
- Time your work. Late morning is best. Dew has lifted. Wind is low.
- Mix leaf types. A blend shreds better than one thick kind.
- Double pass heavy leaves. One shred, then feed the mulch again.
- Control dust. Mist leaves very lightly if they are too dry.
- Layer right. Use 2 to 3 inches of mulch on beds. Thicker layers can block air.
- Keep blades sharp. Dull blades make dust and clog more.
Try these and you will feel how to use leaf mulcher like a pro. Small tweaks make a big change.

Troubleshooting and Maintenance
Most problems are simple once you know the signs.
Common issues and fixes:
- Frequent clogs. Slow your feed. Dry the leaves more. Check for string or twigs.
- Weak suction. Empty the bag. Clean the tube and filters. Check for air leaks.
- Dust blowback. Seal the bag tight. Use a dust mask. Reduce feed rate.
- Poor shredding. Sharpen or replace blades. Select a higher reduction setting.
Care tips:
- After each use, unplug and clean all intake areas.
- Check and tighten fasteners.
- For corded tools, inspect cords often.
- For gas tools, service the air filter and spark plug on schedule.
- Store dry. Moisture dulls blades and rusts parts.
Good care is part of how to use leaf mulcher for many seasons.
Garden Uses for Shredded Leaves
Shredded leaves are gold for the garden.
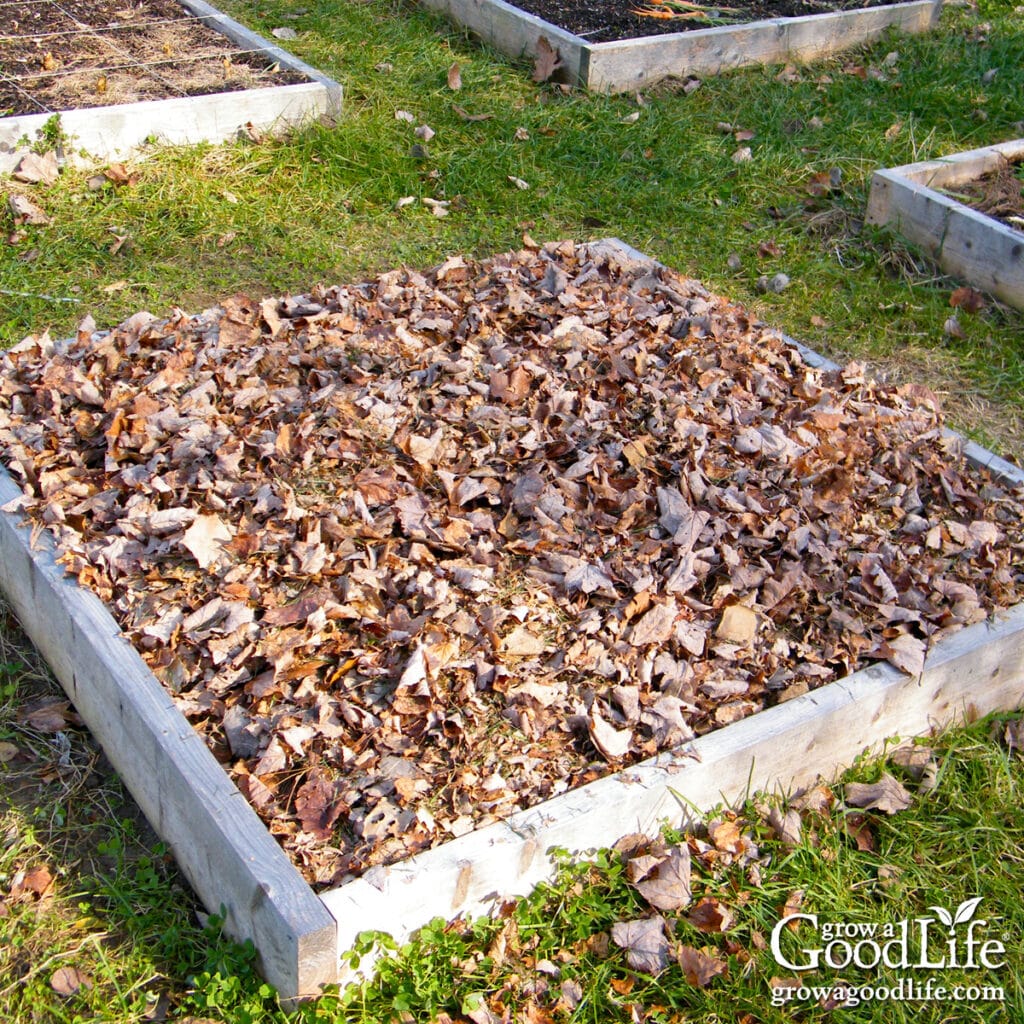
- Mulch flower beds and trees. Use 2 to 3 inches. Keep mulch off stems.
- Top-dress lawns. Spread a thin layer and water in.
- Make compost. Mix one part greens with about three parts leaves by volume.
- Insulate soil in winter. Mulch steadies soil temps and protects roots.
- Boost worm bins. Leaves add structure and air pockets.
When you know how to use leaf mulcher, you get free, local mulch that works better than many bagged products.

What to Look For When Buying
Match features to your yard and goals.
- Power and airflow. For vac mulchers, higher CFM moves more leaves. MPH helps lift stuck debris.
- Reduction ratio. A higher ratio saves space. Real results depend on leaf type.
- Weight and balance. You should lift and aim it with ease.
- Bag design. Look for durable fabric and easy clips or zips.
- Noise level. Quieter units are easier on neighbors and your ears.
- Maintenance access. You want easy blade and tube access.
- Warranty and parts. Check blade availability and service options.
A test run in store or at home helps. Your hands will tell you how to use leaf mulcher well with the right fit.

Storage and Off-Season Care
A little care now saves a headache next fall.
- Empty and dry the bag. Shake out dust.
- Clean blades and housing. Lightly oil metal parts.
- Coil cords loosely. Avoid sharp bends.
- Remove batteries and store at room temp.
- For gas models, stabilize fuel or drain it.
Label your mulch bags by date and leaf mix. This helps when planning beds. It also reminds you how to use leaf mulcher to make consistent mulch each year.
Frequently Asked Questions of how to use leaf mulcher
Can I mulch wet leaves?
You can, but results drop. Let them dry to damp at most, then feed in small amounts.
Is a blower vac mulcher or a stand-alone unit better?
Small yards do well with a blower vac mulcher. Large piles are faster with a stand-alone unit.
What reduction ratio should I expect?
Most home units claim 10:1 to 16:1. Real results vary with leaf type, blade sharpness, and feed rate.
How thick should I spread leaf mulch?
Use 2 to 3 inches on beds. Keep a mulch-free ring around trunks and stems.
Will mulching harm my lawn?
No, thin layers settle fast and feed the soil. Use a mower mulcher and spread evenly.
How often should I sharpen or replace blades?
Check each season. If shredding turns dusty or slow, sharpen or replace.
What safety gear is essential?
Wear eye protection, gloves, and ear protection. Add a dust mask for very dry leaves.
Conclusion
You now know how to use leaf mulcher from setup to storage. Start with dry leaves, feed slow, and keep your gear clean. Use the mulch to protect beds, build compost, and feed your soil.
Take one section from this guide and try it today. Your yard will look better, and your garden will thank you. Want more tips like this? Subscribe, share your results, or drop a question in the comments.