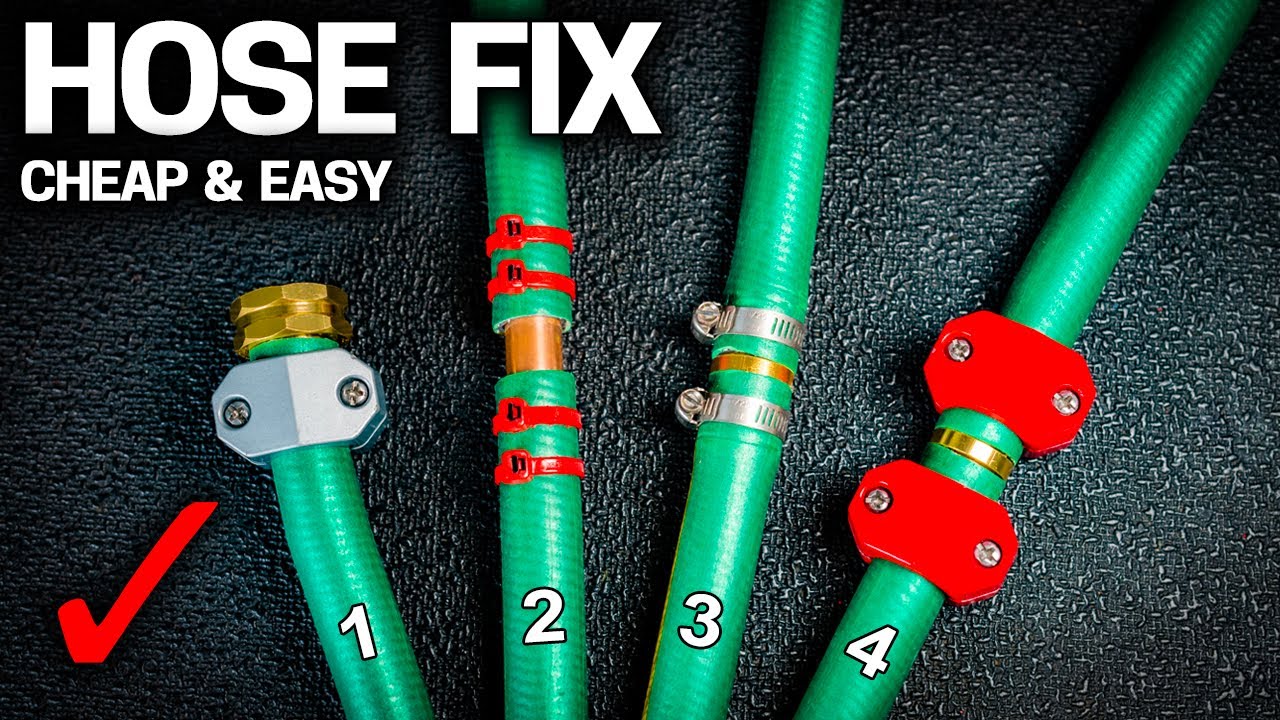
To fix a garden hose, cut out damage, install a repair kit, tighten, and test.
If you want clear, reliable steps on how to fix a garden hose, you are in the right place. I have repaired hundreds of hoses in yards, garages, and job sites. In this guide, I will show you what works, what fails, and how to avoid repeat leaks. You will learn simple methods, smart tools, and real tips you can use right now. Read on to master how to fix a garden hose with confidence.
Safety and preparation
Water pressure and sharp tools can cause injury. Wear gloves and eye protection. Shut off the spigot before you start. Open the nozzle to release pressure. Drain the hose.
Work on a flat, dry surface. Keep parts clean so seals seat well. Measure the hose before you buy parts. Most hoses are 1/2 inch or 5/8 inch inside diameter. Some heavy-duty hoses are 3/4 inch.
If you want to know how to fix a garden hose fast, set up a small test area. A bucket works well. You can check for leaks in seconds.
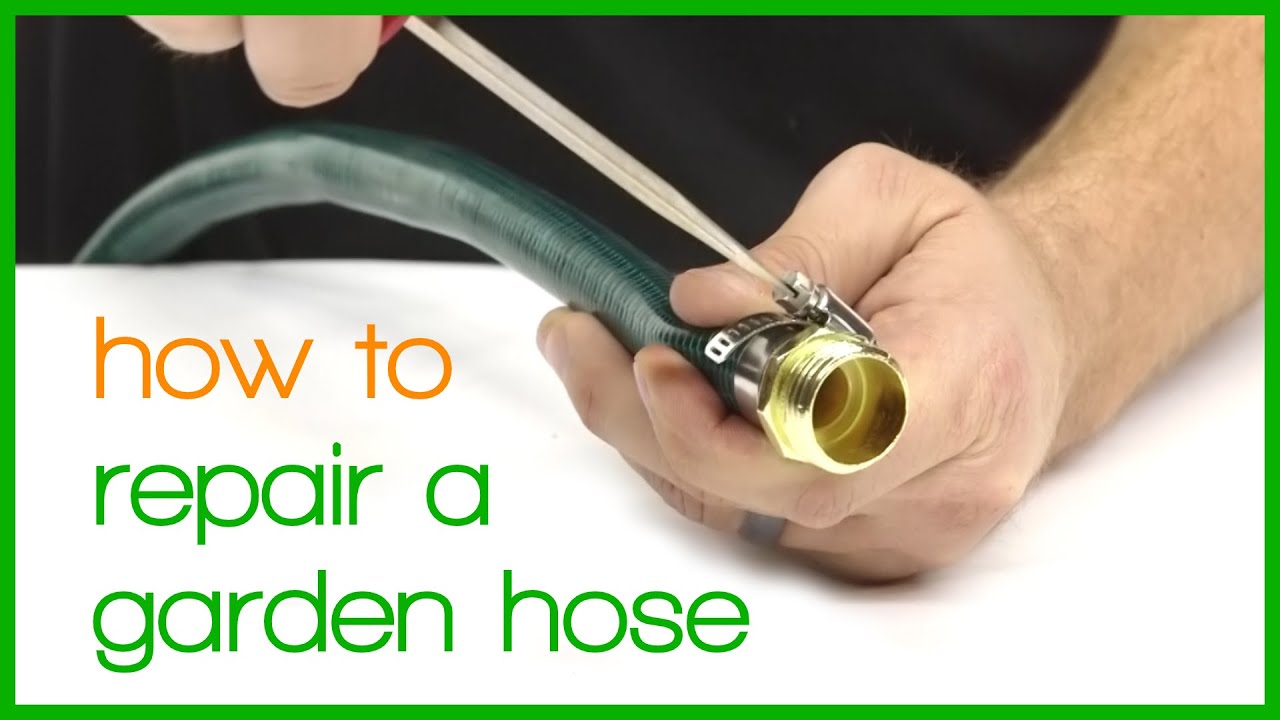
Tools and materials you need
Having the right gear makes the job quick and clean. If you want to know how to fix a garden hose without stress, gather these first.
- Hose repair kit for your hose size
- Utility knife or sharp hose cutter
- Screwdriver for worm clamps
- Replacement end fittings, male and female
- Barbed menders and clamps
- Rubber washers and O-rings
- Teflon tape for threaded connections
- Dish soap as a safe lubricant
- Clean rag and a marker
Choose brass parts for long life. Plastic parts cost less, but they can crack in sun and cold. I lean on brass for high-use hoses. It lasts and seals better.
Diagnose the problem
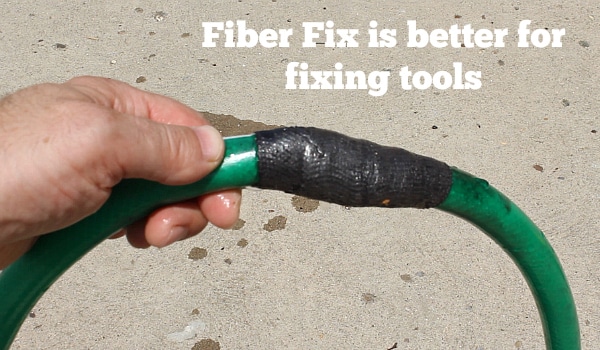
Every smart plan for how to fix a garden hose starts with finding the leak. Different leaks need different fixes. Turn the water on and watch.
Look for these signs.
- Drip at the faucet or nozzle. Likely a bad washer or loose fitting.
- Spray from a pinhole mid-hose. You need a splice or patch.
- Split near a kink. Cut out the damaged section.
- Leak at the crimped end. Replace the end fitting.
Mark the leak with a marker. Then shut off the water and drain the hose so you can work clean.
Step-by-step: how to fix a garden hose by problem
Leaky end fitting
This is the most common case when people ask how to fix a garden hose. It is often a worn washer or a cracked crimp.
- Unscrew the hose from the faucet or nozzle. Remove the old washer with a pick.
- Insert a new rubber washer. Seat it flat. Hand-tighten to test.
- If it still leaks, cut off the last 1 to 2 inches of hose. Cut square.
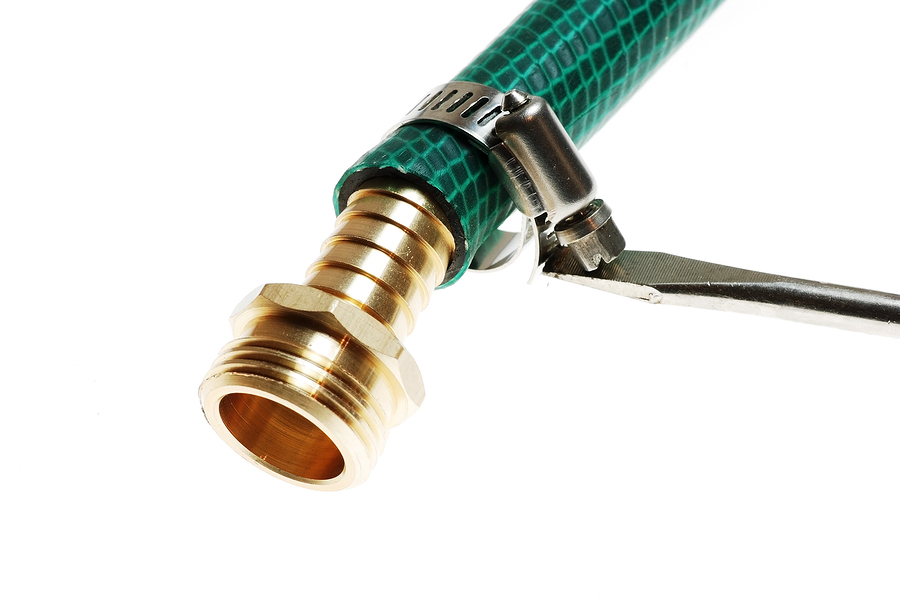
- Push on a new end fitting of the same size. Use a barbed fitting with a clamp.
- Tighten the clamp until snug. Do not crush the hose. Test with water.
Pro tip: A drop of dish soap helps the barb slide in. A heat gun on low can soften stiff hose ends in cold weather.
Pinhole or crack mid-hose
Here is how to fix a garden hose with a small hole. Splice out the damage.
- Mark one inch on each side of the hole. Cut out the bad piece.
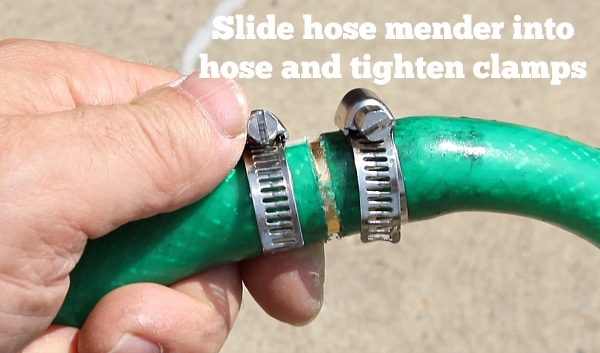
- Insert a barbed mender that matches the hose size.
- Slide clamps over both hose ends. Center the barb and seat fully.
- Tighten clamps evenly. Check that the hose is straight.
- Turn on water and inspect for drips. Retighten if needed.
I once repaired a contractor’s 100-foot hose this way. It lasted two more seasons with daily use.
Kink damage or oval squish
Kinks weaken the wall. The fix is a clean cut and a splice.
- Cut out the kinked section where the hose feels thin or cracked.
- Install a barbed mender and two clamps, as above.
- Add a kink protector spring near the ends to prevent repeat bends.
Kink memory is real in vinyl hoses. If the kink keeps coming back, store the hose in large loops.
Split near the nozzle connector
This area sees the most stress. When learning how to fix a garden hose here, a new end is best.
- Cut off the damaged end clean and square.
- Choose a metal female hose end with a barbed insert.
- Warm the hose end, add a little dish soap, and push the barb in.
- Tighten the clamp. Add a new washer inside the fitting.
- Reattach the nozzle. Hand-tighten, then a gentle quarter turn with pliers if needed.
Drip at the faucet
Not every drip calls for a big repair.
- Replace the washer in the female hose end.
- Wrap the male faucet threads with two wraps of Teflon tape.
- Hand-tighten the connection. Avoid over-tightening which can crush the washer.
If the faucet still leaks, the spigot’s own washer may be worn. That is a different fix at the valve.

When to repair vs replace
Sometimes how to fix a garden hose is not the best play. Some hoses are not worth the time or cost.
Repair when:
- The hose has one or two leaks.
- The braid still feels firm.
- The fittings are standard size.
Replace when:
- There are many cracks along the length.
- The hose kinks all the time and feels brittle.
- The inner tube flakes or peels (common in very old vinyl).
- The crimped ends are corroded beyond saving.
A good rule from the field: three fixes on one hose is the limit. Past that, replacement is cheaper in the long run.

Special cases: materials and hose types
Not all hoses fix the same way. Knowing how to fix a garden hose means knowing what it is made of.
- Vinyl hoses. Easy to cut. Prone to kinks. Use gentle heat to soften before inserting barbs.
- Rubber hoses. Durable and less likely to kink. Heavier. Use sharp blades and strong clamps.
- Hybrid hoses. Flexible with good strength. Follow the size on the label.
- Expanding hoses. Often have a fabric cover and thin inner tube. Most are not designed for splices. Replace the end fittings or the hose if the inner tube tears.
- Soaker hoses. Porous by design. Use barbed couplers for soaker hose material, not standard menders.
Water pressure matters. Typical homes run 40 to 60 psi. Most standard hose repair parts are rated for this. If you pump above that, use high-grade parts and double clamps.
Pro tips from real jobs
This is the part I wish someone told me when I first learned how to fix a garden hose.
- Cut square, not at an angle. A square cut seals better.
- Match sizes with a ruler, not by eye. A 5/8 inch hose will feel different than 1/2 inch when you push in a barb.
- Use two clamps on large hoses. Stagger the screws on opposite sides for even pressure.
- Replace washers every season. It stops most end drips for pennies.
- Keep a small kit in a zip bag. A cutter, clamps, barbs, and washers solve most issues in minutes.
- Label repaired spots with a marker and date. It helps track recurring weak points.

Preventive care that stops repeat leaks
If you know how to fix a garden hose, you also know how to prevent damage. Simple habits extend hose life a lot.
- Uncoil fully before use. Partial coils invite kinks.
- Do not drag a running hose across sharp edges.
- Drain and store out of sun when not in use.
- In winter, keep hoses indoors. Freeze cycles split inner tubes.
- Hang on a large hose hanger. Tight bends stress the wall.
I store my main hose in wide loops and use a short leader hose at the spigot. That leader takes the strain off the main line. It has cut my end repairs by half.

Time and cost estimates
The parts for how to fix a garden hose cost little. Time is short as well.
- Washer swap. 1 minute. A few cents each.
- End fitting replacement. 5 to 10 minutes. 5 to 12 dollars for brass.
- Mid-hose splice. 10 minutes. 4 to 10 dollars for barb and clamps.
- Full hose replacement. 10 to 20 minutes including shopping. 20 to 60 dollars for most hoses.
Think about the hose’s age. If it is old and brittle, do not chase leaks all season. Replace once and save time.
Troubleshooting checklist
Use this quick list on how to fix a garden hose fast. It keeps you on track.
- Does it leak at the ends? Replace the washer, then the end if needed.
- Is the leak mid-hose? Cut and splice with a barbed mender.
- Is the hose stiff or brittle? Replace rather than repair.
- Are clamps slipping? Use the correct size and tighten evenly.
- Is the leak still there? Check for hairline cracks you missed. Test under pressure and look closely.
Frequently Asked Questions of how to fix a garden hose
What tools do I need for how to fix a garden hose?
You need a sharp cutter, clamps, a barbed mender or end fitting, and new washers. Have Teflon tape and a screwdriver ready.
Can I learn how to fix a garden hose without a kit?
Yes. You can buy barbs, clamps, and fittings separately. Just match the hose size and use quality parts.
What size repair parts should I buy?
Most homes use 5/8 inch hoses. Check the label or measure the inside diameter before you buy.
How long will a repaired hose last?
A proper splice can last years under normal use. Store the hose well and avoid kinks to extend life.
Why does my hose leak at the faucet?
The washer is likely worn or missing. Replace it and add Teflon tape to the faucet threads if needed.
Is duct tape a good hose fix?
It may stop a drip for a day, but it will not hold under pressure. Use a proper mender instead.
Can I fix an expanding hose?
You can replace end fittings on some models. If the inner tube tears, replacement is often the only option.
Conclusion
You now know how to fix a garden hose the right way. Identify the leak, match the size, make a clean cut, and use quality parts. Test under pressure and store your hose well to avoid repeat work.
Start with one repair today. Keep a small kit on hand so the next leak is a five-minute job, not a weekend hassle. If this guide helped, share it with a neighbor, subscribe for more practical fixes, or leave a question and I will help you solve it.