How To Sharpen Garden Hand Tools

How To Sharpen Garden Hand Tools: Step-By-Step 2026

A sharp tool is the difference between a clean cut and a crushed stem. When your pruners slice through a branch like butter, your plants heal faster, you work with less effort, and the whole job feels easier. Dull blades, by contrast, tear and bruise plant tissue, leaving wounds open to disease and making every cut a struggle.

The good news? Sharpening garden hand tools isn't a mysterious skill reserved for professionals. It's a straightforward process that takes about ten minutes per tool once you understand the fundamentals. This guide walks you through every step—from cleaning and filing to honing and protecting—with the specific angles and techniques that work for each tool type. You can also read our guide on how to maintain a healthy lawn naturally.

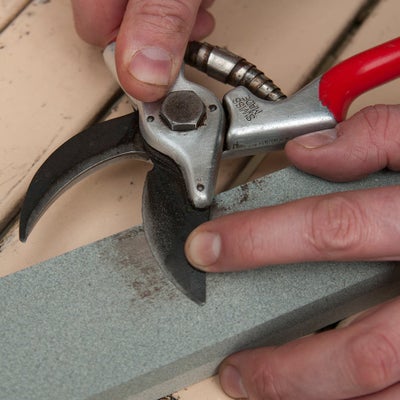
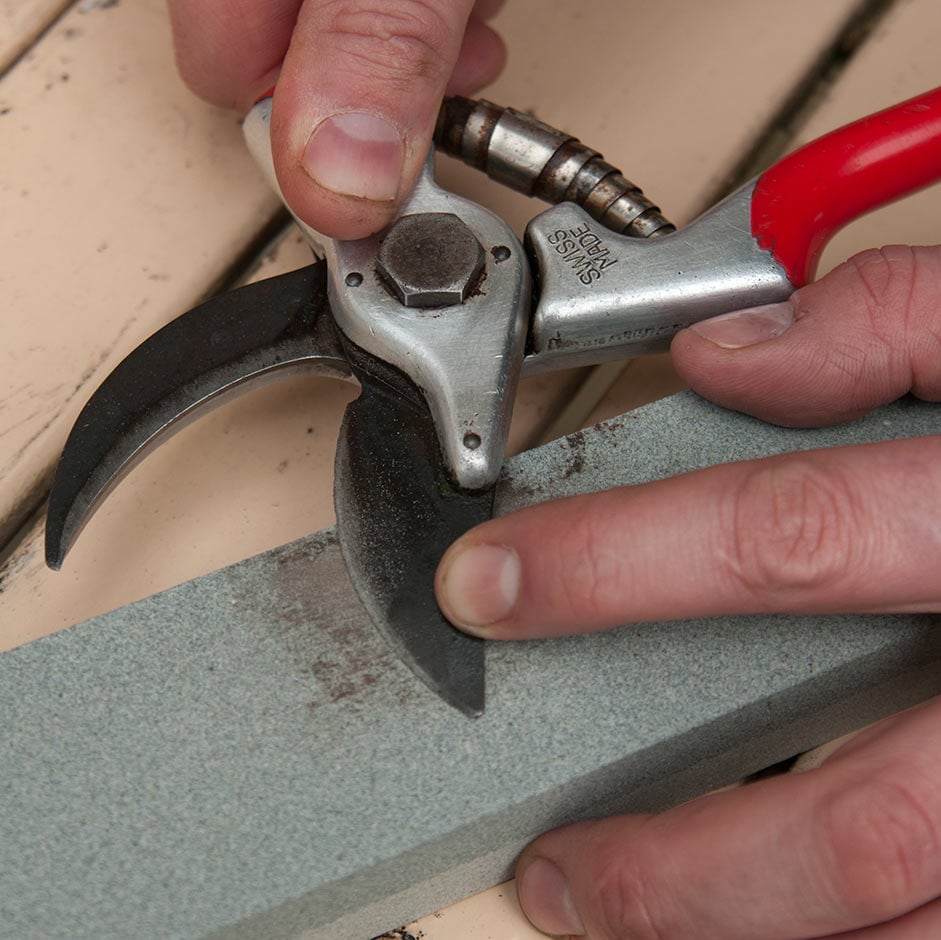
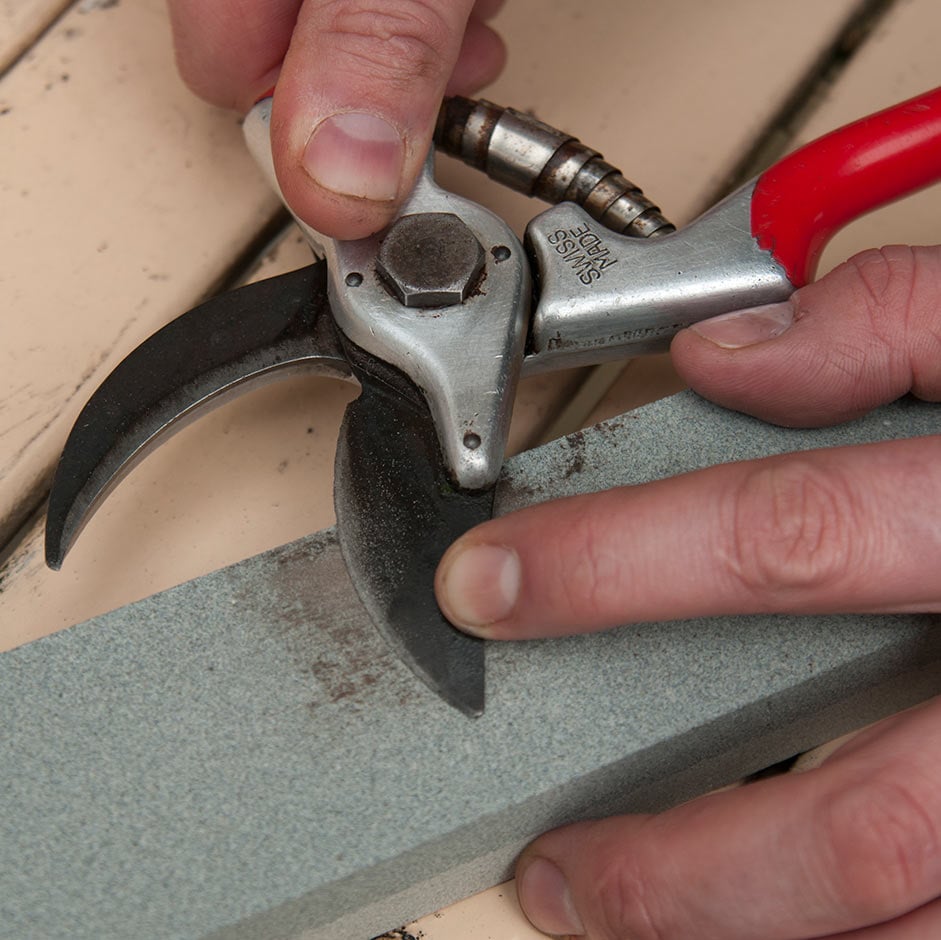
Sharpening secateurs on a workbench with a file

Properly sharpened bypass pruners make clean, healthy cuts on live wood.

Why Sharp Tools Matter More Than You Think

A sharp blade slices through plant tissue cleanly, creating a smooth wound surface that seals over quickly. This matters because torn or crushed tissue takes far longer to heal and creates an easy entry point for fungal spores and bacterial pathogens. When you prune with a dull tool, you're literally inviting disease into your garden.

There's also the physical side. A sharp tool cuts with less force, which means less strain on your hands, wrists, and shoulders. Anyone who has wrestled with a dull pair of hedge shears knows the fatigue that sets in after just a few minutes. Sharp tools also stay safer—you're far less likely to have a blade slip or bounce off a branch when it's actually cutting rather than crushing. You can also read our guide on how to remove rust from garden tools.

The performance gap is measurable. A properly sharpened shovel cuts through turf and roots with a fraction of the effort. A honed hoe glides through soil instead of bouncing off it. And a sharp pruner makes precise cuts on delicate plants without damaging surrounding tissue—critical when you're working on roses, fruit trees, or ornamental shrubs.

Beyond results, sharpening extends the life of your tools. A well-maintained edge resists chipping and rolling, meaning your investment lasts for decades rather than being replaced every few seasons. That's good for your wallet and better for the environment.

Sharpening a garden trowel with a diamond file

Cleaning and preparing the tool before sharpening ensures a smooth, accurate edge.

Essential Safety and Setup

Sharpening involves metal filings, sharp edges, and tools that can slip. A few basic precautions make the process safe and comfortable.

Safety first:

  • Wear cut-resistant gloves that give you a good grip on the tool
  • Use safety glasses to protect your eyes from metal filings
  • Work at a sturdy bench or table with good lighting
  • Secure small tools in a vise or clamp—never hold them in your hand while filing

Gather your sharpening kit:

  • Stiff wire brush and clean rag for removing dirt and debris
  • Mild soap or degreaser for cutting through sap and grime
  • Mill file (medium cut) and smooth file (fine cut)
  • Diamond plate or whetstone for honing
  • Permanent marker to mark the bevel angle
  • Rust eraser or fine sandpaper for surface corrosion
  • Light oil, dry lube, or paste wax for protection
  • Disinfectant spray for pruning tools used on diseased plants

Keep a small magnetic tray nearby to collect metal filings—it keeps your workspace clean and prevents stray filings from scratching other tools or ending up in your garden soil.

The Core Sharpening Method: 6 Steps That Work for Every Tool

Master this sequence and you can sharpen almost anything in your shed. The principles are universal; only the angles and techniques vary by tool type.

Step 1: Clean and Inspect

Remove all dirt, sap, and rust before you ever touch a file. A dirty blade will clog your file and leave an uneven edge. Use the wire brush for heavy grime, then follow with soapy water and a rag. Dry thoroughly before sharpening.

Inspect the edge closely. Look for nicks, chips, bent edges, or uneven wear. Small chips can be filed out; deep gouges may require reprofiling. Checking before you start tells you what you're dealing with and prevents surprises mid-project.

Step 2: Mark the Bevel

Use a permanent marker to color the entire bevel surface. This simple trick shows you exactly where you're removing metal as you file. If the marker disappears evenly across the bevel, you've got the right angle. If it wears off only at the edge or only at the base, you're filing too steep or too shallow.

Step 3: Set and Maintain the Angle

Here are the general angle ranges that work well for common garden tools:

Tool Type Recommended Angle Best For
Pruners, shears 20–25 degrees Clean cuts on live wood
Hoes 25–35 degrees Balance of sharpness and durability
Shovels, spades 35–45 degrees Tough digging edges that resist chipping
Trowels, edgers 30–35 degrees General garden work
Axes, hatchets 25–30 degrees Strong, convex edge for chopping

Match the factory bevel whenever possible. The manufacturer set that angle for a reason, and deviating too far weakens the edge or makes it too thick to cut effectively.

Step 4: File the Working Bevel

Place the file flat against the bevel and push it away from you in long, smooth strokes. Never pull the file back and forth—files cut in one direction only. Apply consistent, moderate pressure on the push stroke, then lift the file on the return.

Count your strokes and keep them even. This ensures you're removing metal uniformly across the entire edge. File until the marker is completely gone from the bevel, indicating you've worked the full surface.

Step 5: Raise and Remove the Burr

As you file, a thin wire edge—the burr—forms on the opposite side of the blade. Feel for it by running your finger carefully along the back edge. When you detect it, flip the tool over and make one or two light, flat passes to wipe the burr off.

This is critical: do NOT create a bevel on the back side. Single-bevel tools like pruners need a flat back. The burr removal pass should be flat against the steel, just enough to break the wire edge cleanly.

Step 6: Hone, Protect, and Test

Finish with a fine diamond plate or whetstone. Use light pressure and smooth strokes on the bevel, then a gentle kiss on the flat back to remove any remaining burr. Honing refines the edge far beyond what filing alone achieves.

Wipe the blade clean, then apply a thin coat of light oil or paste wax to protect the steel. Test the edge on a scrap branch, piece of cardboard, or old newspaper. A properly sharpened tool should cut cleanly with minimal force.

Tool-By-Tool Sharpenng Guide

Different tools have different requirements. Here's how to apply the core method to your specific tools.

Bypass Pruners and Loppers

Disassemble if the design allows, which makes cleaning and sharpening much easier. Remove sap with solvent or degreaser, then disinfect the blade—especially if you've been working on plants with signs of disease. This prevents transferring pathogens to healthy plants.

File only the beveled blade, keeping the non-beveled side perfectly flat. Maintain the factory angle, typically around 25 degrees. Use light, even strokes and keep the file full-length against the bevel. After filing, hone the bevel and wipe the back flat to remove the burr.

Reassemble with a drop of oil on the pivot, then set the tension so the blades close cleanly without play or excessive resistance.

Hedge Shears and Grass Shears

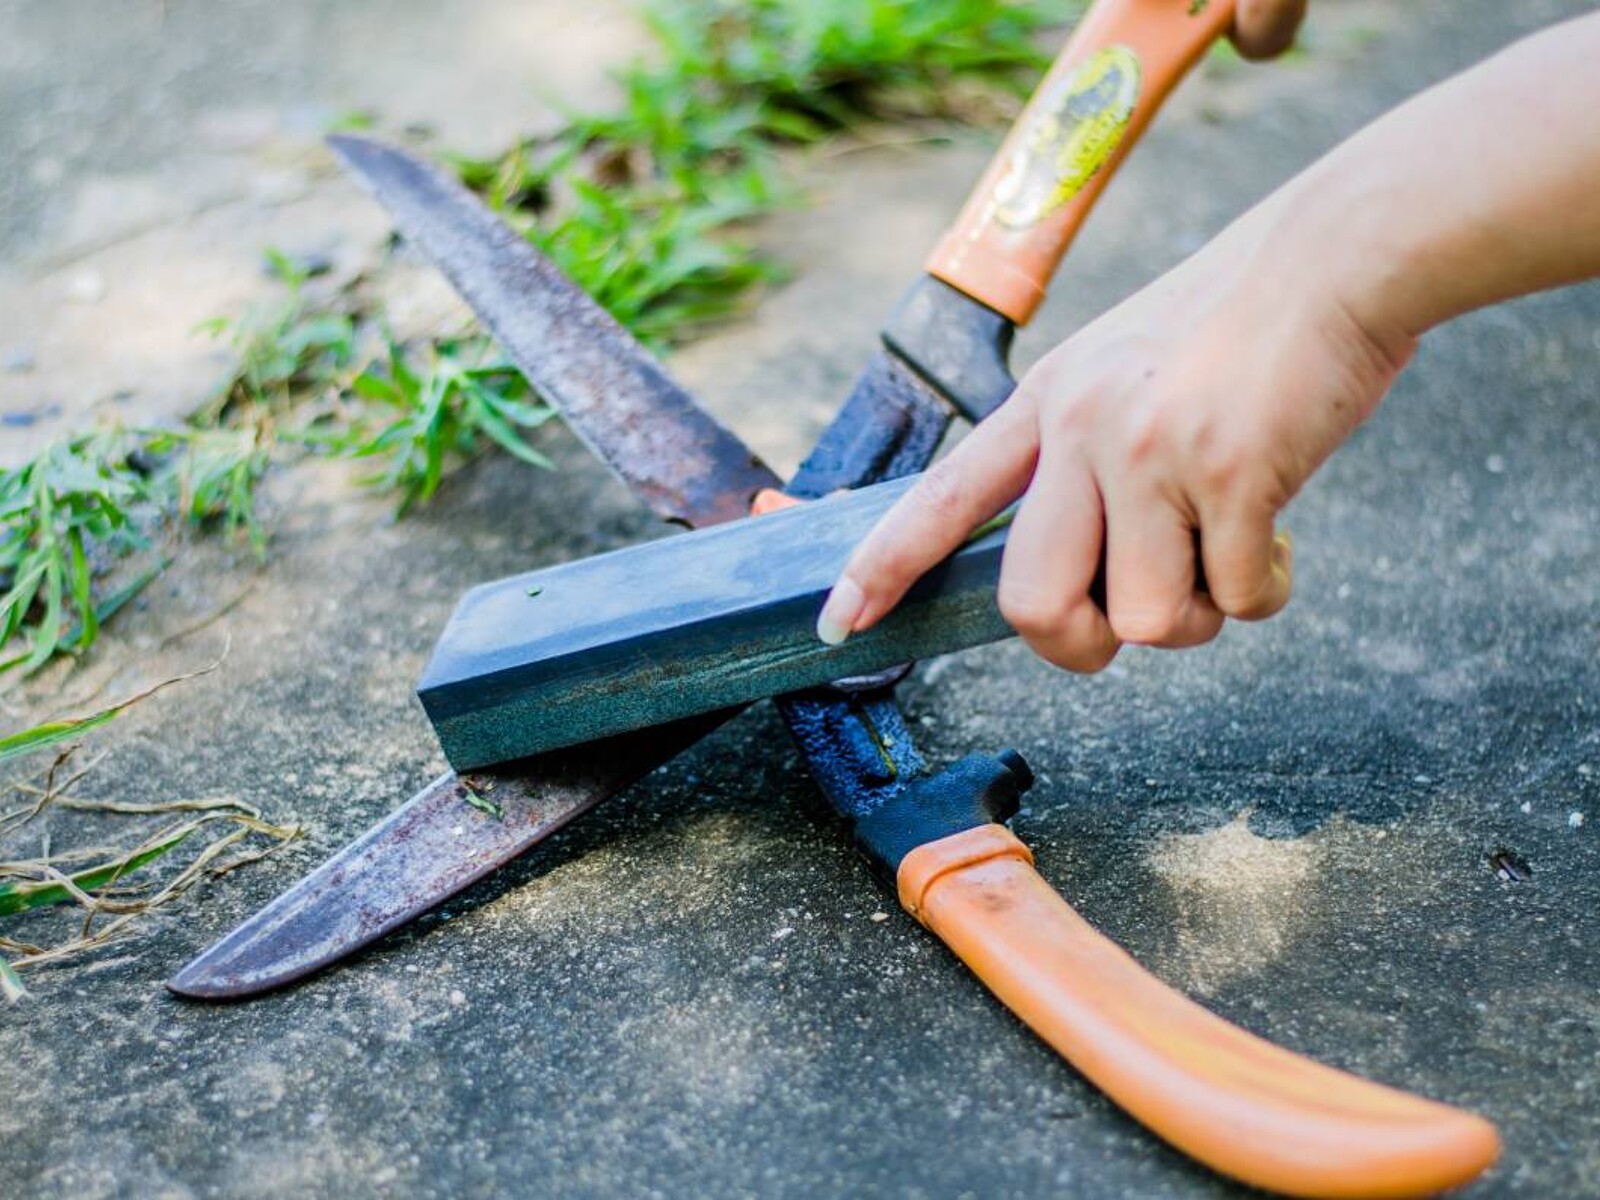
Clean the blades and check for bends or misalignment. If the blades don't meet evenly, gently align them before sharpening—a misaligned shear will never cut cleanly no matter how sharp the edges are.

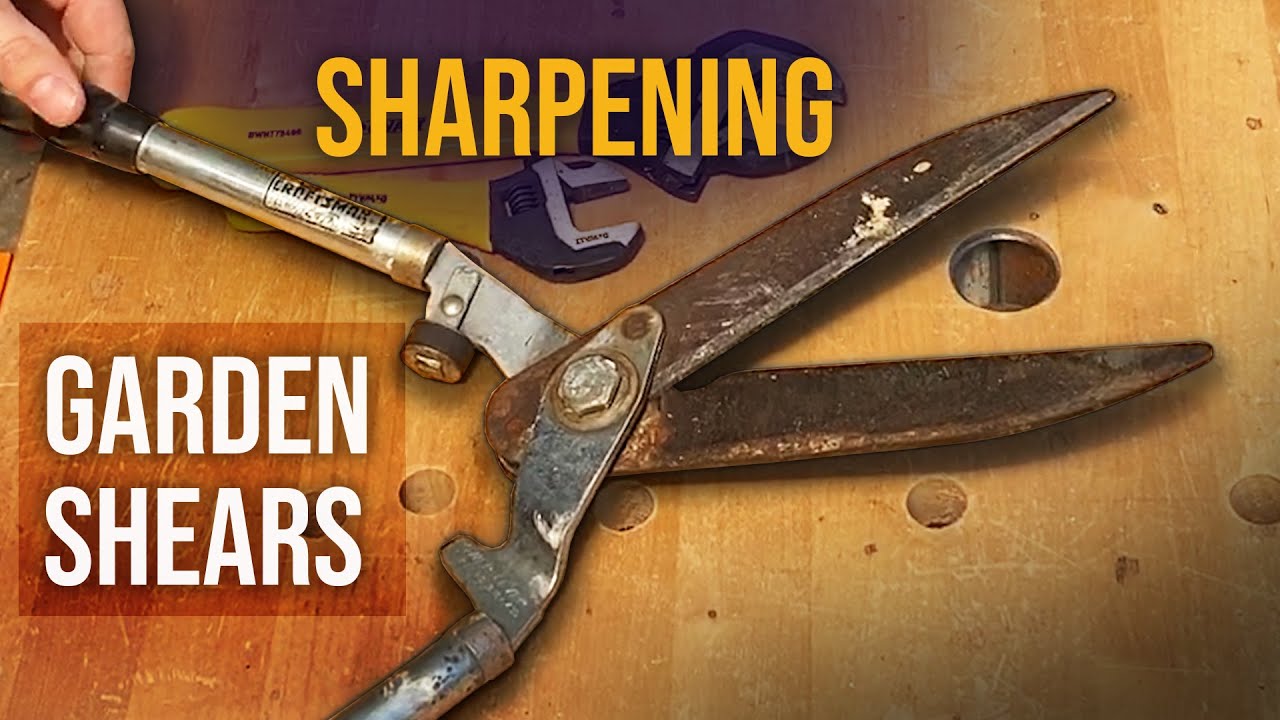
File only the outside bevels, keeping the inside faces flat and smooth. These tools benefit from long, straight file strokes that maintain an even edge across the entire blade length. Hone with a fine stone, remove burrs gently, and oil the pivot. Test on a piece of paper for a smooth, uninterrupted cut.

The overall condition matters here: these shears typically receive heavy use, so take a few extra minutes to check blade alignment and pivot tension before you start filing.

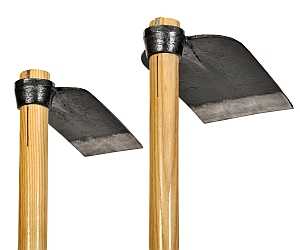
Hoes (Draw, Stirrup, Collinear)

Clean the blade thoroughly and secure it in a vise. Choose an angle between 25 and 35 degrees, depending on how much abuse the hoe takes. Rocky soil demands a slightly steeper angle; soft garden beds can handle a keener edge.

File only the working edge, following the curve of the blade where one exists. Hone for a refined edge, then apply paste wax. Wax does double duty here—it sheds soil when you're working and prevents rust during storage. A waxed hoe moves through the ground with noticeably less drag.

If you're comparing hoe styles before sharpening, you might find our guide on the differences between action hoes and standard garden hoes useful for understanding which edge geometry suits which design.

Shovels and Spades

Clean the blade and remove rust with a wire brush or sandpaper. File a bevel between 35 and 45 degrees on the front side of the blade—the side that faces the soil as you dig.

Keep the edge straight rather than razor thin. A shovel edge needs durability to bite into compacted soil without rolling or chipping. You want it sharp enough to cut through roots and turf, not so sharp that it fractures on the first rock it hits.

Finish with a few honing strokes, then oil or wax the blade. Pay attention to the sides of the blade too—they benefit from smoothing to reduce friction when you're digging.

Axes and Hatchets

Secure the tool firmly, preferably in a vise, and mark the bevel. File a slightly convex edge at 25 to 30 degrees. The convex geometry adds durability, which matters when you're chopping through roots or splitting kindling.

Hone with a stone using small circular motions, alternating sides to maintain balance. The edge should be keen but not fragile. Protect with oil and store with a sheath covering the edge.

Hand Trowels, Edgers, and Weeding Knives

These small tools get surprisingly dull because they work in abrasive soil. Clean them well and remove burrs and chips before sharpening. File the working edge to 30 to 35 degrees. Hone lightly—over-sharpening leads to chipping in rocky soil.

Wax the blade to reduce sticking in heavy clay and to protect the steel between uses. A drop of oil or wax on the handle joint keeps wooden handles from drying and cracking.

For weeding tasks specifically, a well-sharpened Cape Cod weeder makes quick work of taproots and dandelions with a clean slicing motion rather than a digging struggle.

Rust Removal and Blade Rehabilitation

Surface rust is easy to fix. Rub the blade with a rust eraser or fine sandpaper until the corrosion is gone, wipe clean, and apply oil. This removes the rust without removing significant metal.

Heavy rust requires more aggressive treatment. Start with a wire brush to knock off the worst of it, then progress to finer abrasives to restore a smooth surface. You may need to re-establish the bevel after removing deep rust.

Small chips in the edge simply require a few extra file strokes. Keep the angle steady and work until the chip is filed out. For deep chips or rolled edges, reprofile slowly, checking your progress frequently. Avoid power grinders unless you're experienced—they generate heat that can ruin the temper of the steel, leaving you with a soft edge that won't hold an edge. Hand tools are safer and provide more control.

Wavy or uneven edges indicate inconsistent filing technique. Use a long file with light strokes and let the file do the cutting. Rushing or applying uneven pressure creates dips and flat spots that are frustrating to correct.

Lubrication, Alignment, and Reassembly

Clean parts thoroughly before applying any lubricant. Oil on a dirty pivot just creates grinding paste that accelerates wear.

Use a drop of light oil on pivots and springs—this is where most tools fail first. On blades, consider dry lube or paste wax, especially if the tool cuts edible plants. These lubricants stay cleaner than wet oil and don't attract dust and grit.

Set pruner tension properly. The blades should kiss, not grind, and the tool should close with one-finger pressure. If it springs open too hard or drags, adjust the hardware and recheck. Proper tension reduces wear and makes the tool feel responsive in your hand.

Wipe off excess oil, then cycle the tool open and shut several times. This seats the moving parts and reveals any sticky spots. A few minutes spent on alignment and lubrication completes the sharpening job properly.

Maintenance Schedule and Storage Tips

Sharpening is something you should do little and often. A few honing swipes after each day's use prevents the edge from deteriorating to the point where you need major reshaping. Ten minutes of maintenance saves an hour of restoration later.

A practical schedule:

  • Pruners and shears: Hone weekly during heavy use, file monthly
  • Hoes and shovels: Touch up every few uses, file monthly
  • Axes and knives: Hone as needed, inspect after hitting hard knots or roots

The long-term health of your blades also depends on proper storage. Keep tools dry and off the floor—hang them on a rack or keep them in a tool organizer. Wipe metal surfaces with oil or wax before storage, especially at season's end.

Before storing for winter, give everything a final clean, sharpen, and oil. This prevents rust from forming during months of inactivity and means your tools are ready to go when spring arrives.

Common Mistakes to Avoid

Filing both sides of single-bevel tools. Pruners, shears, and most knives have only one beveled side. Filing the back ruins the geometry and makes the tool harder to use.

Changing the factory angle dramatically. The manufacturer designed the bevel for a reason. Drastic angle changes weaken the edge or make it ineffective.

Leaving the burr in place. A burr folds over quickly, making the edge feel dull immediately. Always remove it with light passes on the flat side.

Using heavy pressure while honing. Light pressure with controlled strokes gives much better results. Aggressive honing removes too much metal and leaves a rough, fragile edge.

Skipping cleaning and oiling. Sharpening without cleaning embeds grit in your files and stones. Skipping protective oil lets rust undo all your work within days.

Sharpening too often or too aggressively. Some gardeners sharpen to a razor edge that chips on the first contact with soil. Match your edge to the working conditions.

Troubleshooting Your Results

If the tool still crushes rather than cuts, the angle is too steep or a burr remains. Re-hone and remove the burr, and consider adjusting the bevel a few degrees.

If the edge chips, the bevel is too thin or the steel is brittle. Increase the angle slightly and consider honing a micro-bevel—a tiny secondary bevel at a steeper angle that adds toughness without sacrificing sharpness.

If cuts drift or snag, check alignment and tension. Realign the blades, smooth the inside faces, and lubricate the pivot. Misalignment causes more cutting problems than dullness in many cases.

If the edge won't take a sharp edge at all, the steel may be hardened improperly or you may have overheated it in the past. At this point, consider professional sharpening or replacement.

Frequently Asked Questions

How often should I sharpen garden hand tools?

It depends on use, but a good rule is to check touch-up needs after every few hours of work. If you feel drag or resistance in the cut, it's time for a quick hone. Most home gardeners need to file pruners and shears every few weeks during the growing season, with weekly honing in between.

What angle should I use for most garden tools?

Pruners, shears, and cutting tools prefer about 20–25 degrees. Shovels, hoes, and digging tools need a steeper 30–45 degrees for durability in abrasive soil. Match the factory bevel if you can see it clearly.

Can I use a power grinder to sharpen?

Yes, but it's risky. Grinders generate heat that can destroy the temper of the steel, leaving a soft edge that won't hold sharpness. If you do use one, work quickly with light passes and keep the metal cool—dip it in water frequently. Hand filing and honing remain the safest methods for most gardeners.

Do I need to sharpen both sides of pruners?

No. Bypass pruners have a single beveled blade that slides past a flat counter-blade. Sharpen only the beveled side and keep the back flat to maintain proper geometry. The burr removal pass on the back should be flat, not angled.

What's the best lubricant after sharpening?

For pivots and springs, light machine oil works well. For blades, dry lube or paste wax is better—especially on tools that contact food crops or soil. Dry lube stays cleaner in dusty conditions and doesn't wash away as quickly.

Final Thoughts

Sharpening garden hand tools is one of those skills that pays dividends every single time you garden. The initial learning curve is minimal—clean, file at the right angle, remove the burr, protect the steel—and the results are immediately noticeable.

Start with one tool. Set aside ten minutes after your next garden session and sharpen a pair of pruners or a trowel. Feel the difference on your next cutting job. Once you experience how well a properly sharpened tool performs, you'll never want to work with a dull edge again.

If you're new to this, explore the tools and techniques that work best for your gardening style—from understanding different digging implements to choosing the right sharpening equipment for your needs. A small investment in knowledge and basic sharpening supplies transforms your entire gardening experience.

Similar Posts

Leave a Reply

Your email address will not be published. Required fields are marked *