How To Remove Rust From Garden Tools

How To Remove Rust From Garden Tools: Pro Tips 2026

Rust is the silent killer of garden tools. One season of neglect, and your favorite spade looks like an archaeological artifact. The good news? Rust removal is straightforward, inexpensive, and satisfying — if you know the right method for the right level of corrosion.

Whether you're dealing with a light surface blush or a thick crust of scale, this guide covers every removal technique, the tools you need, and the prevention habits that keep rust from coming back. Let's get your tools working like new again. You can also read our guide on how to clean garden tools after use.

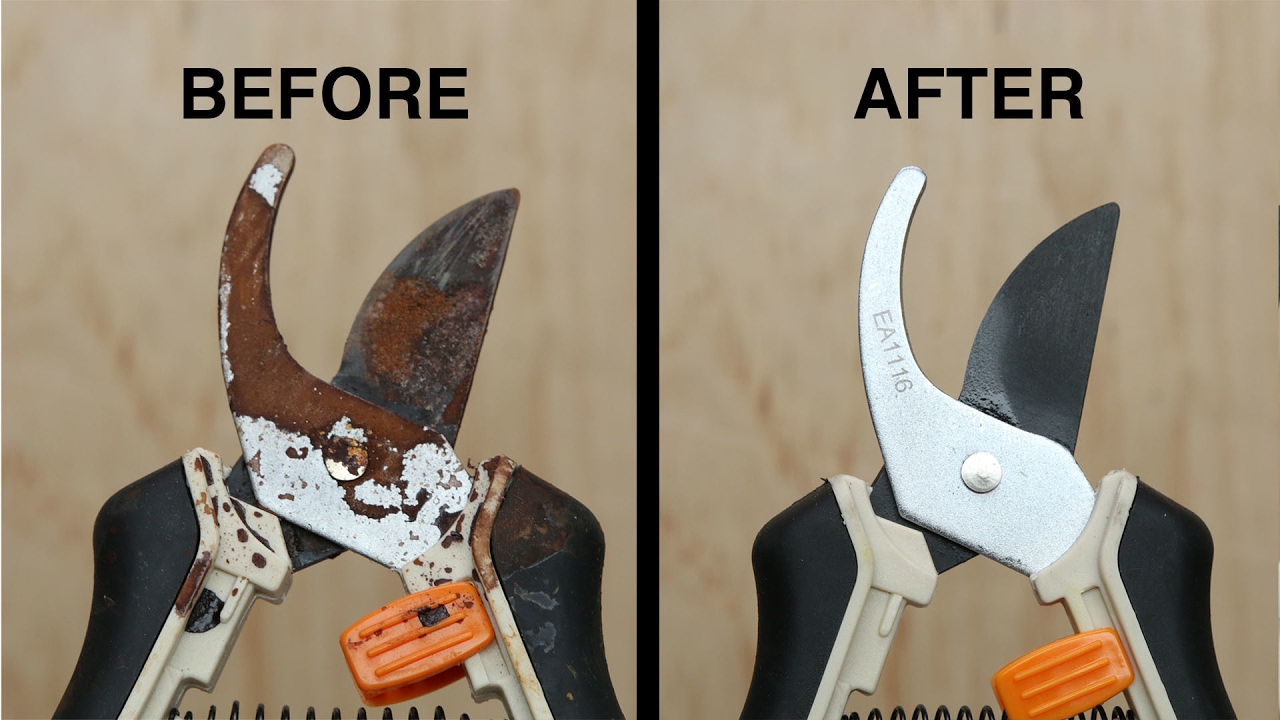
Rusty garden tools before and after restoration

Source: crcindustries.com

Why Garden Tools Rust (And Why It Matters)

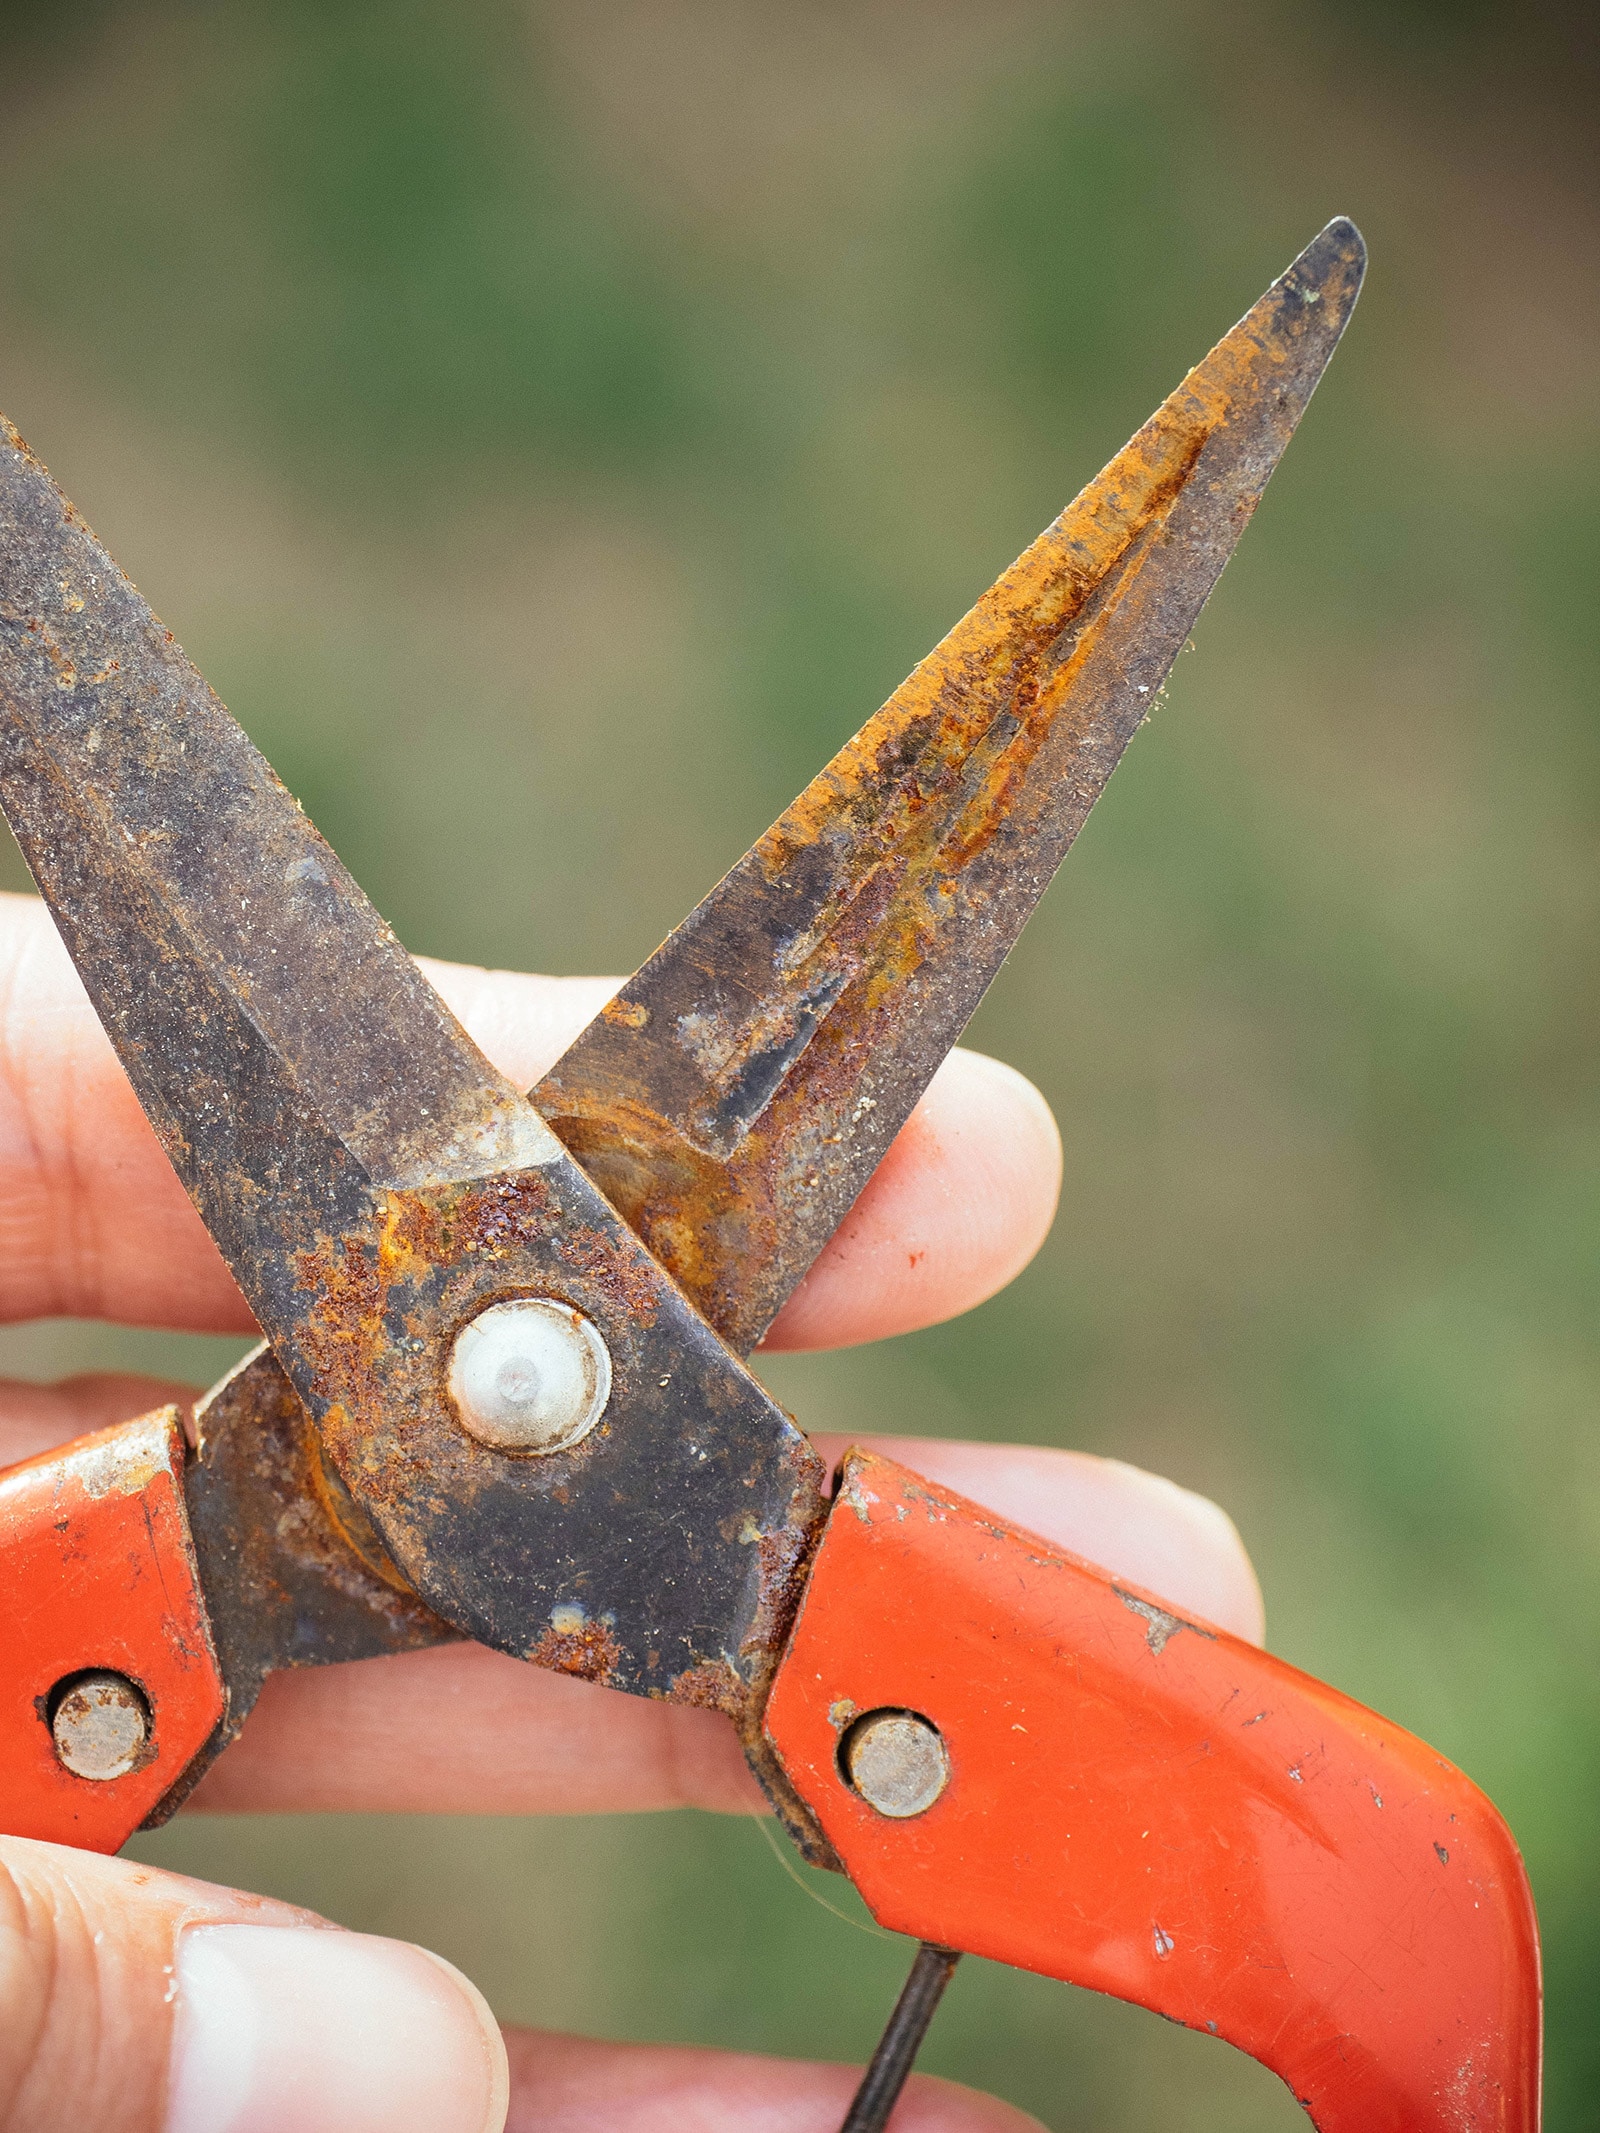
Rust forms through a simple electrochemical reaction: iron + oxygen + moisture = iron oxide. But garden tools face extra corrosion accelerators that regular steel doesn't.

Acidic soil, plant sap, fertilizer residues, and even the damp air inside an unventilated shed all speed up oxidation. Salt from coastal gardens makes it worse. The result is not just unsightly — rust actively degrades tool performance:

  • Dull edges: Rust microscopically pits blade surfaces, ruining sharp cutting edges.
  • Stiff joints: Corrosion binds pivots and springs, making pruners and shears hard to operate.
  • Structural weakness: Heavy rust flakes away metal, thinning blades and weakening handles over time.

The longer rust sits, the deeper it bites. A tool left damp overnight may only need a wipe. A tool left in a damp shed all winter may need a full chemical soak or electrolysis session. Acting early is always easier. For more on this, see our guide on how to keep a garden hose from freezing.

Safety equipment and workbench setup for rust removal

Source: youtube.com

Safety First: What You Need Before You Start

Before you grab a scrubber, set up properly. Rust removal involves acids, abrasive particles, and potentially caustic chemicals. A few minutes of prep prevents injuries and damaged surfaces.

Essential Safety Gear

  • Nitrile or rubber gloves — protect skin from acid burns and chemical irritants
  • Safety glasses or goggles — rust flakes fly; acids splash; protect your eyes
  • Respirator or mask — especially important if you use chemical removers in enclosed spaces
  • Ventilated workspace — open a garage door or work outside; acid fumes concentrate quickly

Supplies to Gather

Method Core Supplies
Light rust Fine steel wool (0000), light oil, dish soap, cloth
Vinegar soak White vinegar, plastic bucket, baking soda, scrub brush
Citric acid Citric acid powder, warm water, plastic container
Baking soda paste Baking soda, water, old toothbrush
Electrolysis Plastic tub, washing soda, battery charger, sacrificial steel
Chemical remover Commercial rust converter or chelator, paintbrush, gloves

A dedicated "rust kit" kept in a shoebox means you never delay treatment when you spot corrosion.

Scrubbing light surface rust off a garden trowel

Source: wordpress.com

Quick Method: Removing Light Surface Rust

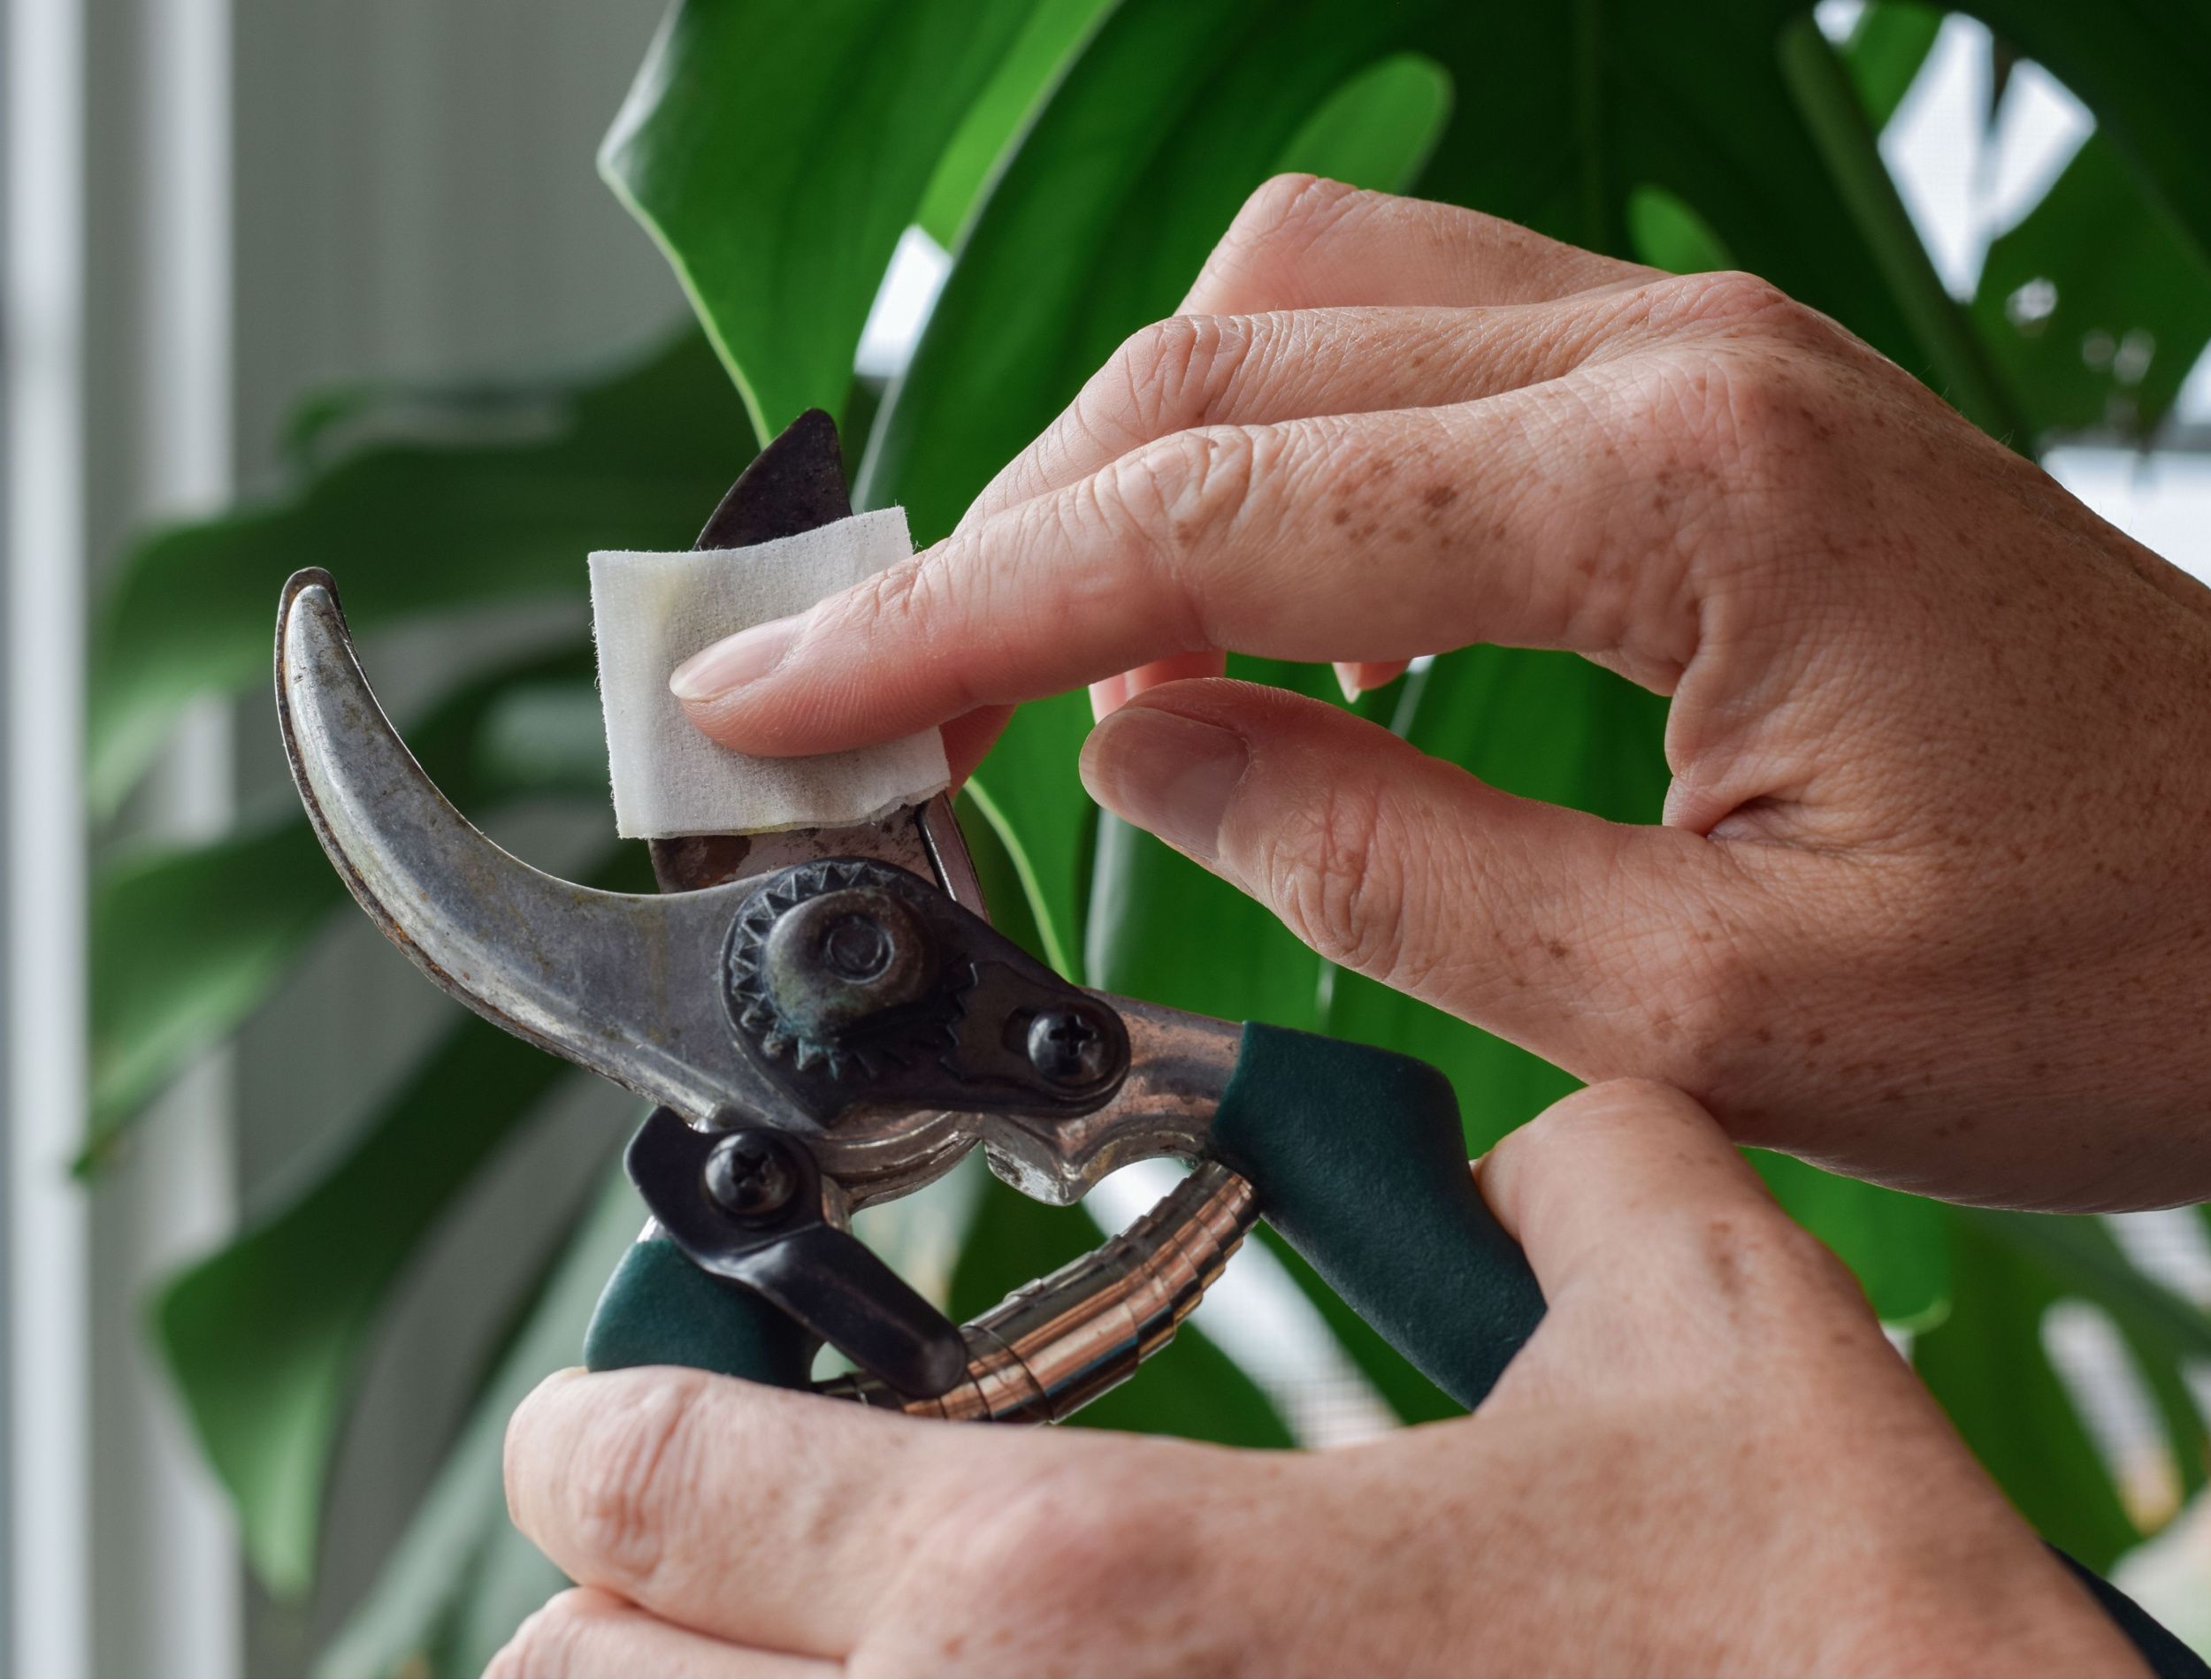
Light rust — the thin orange film that appears after a tool sits in a damp garage for a week — is the easiest problem to fix. No soaking, no chemicals. Just friction and oil.

The Oily Steel Wool Technique

  1. Wash the tool with warm water and a few drops of dish soap to remove dirt, sap, and loose particles.
  2. Dry it completely — moisture is what you're removing, so start dry.
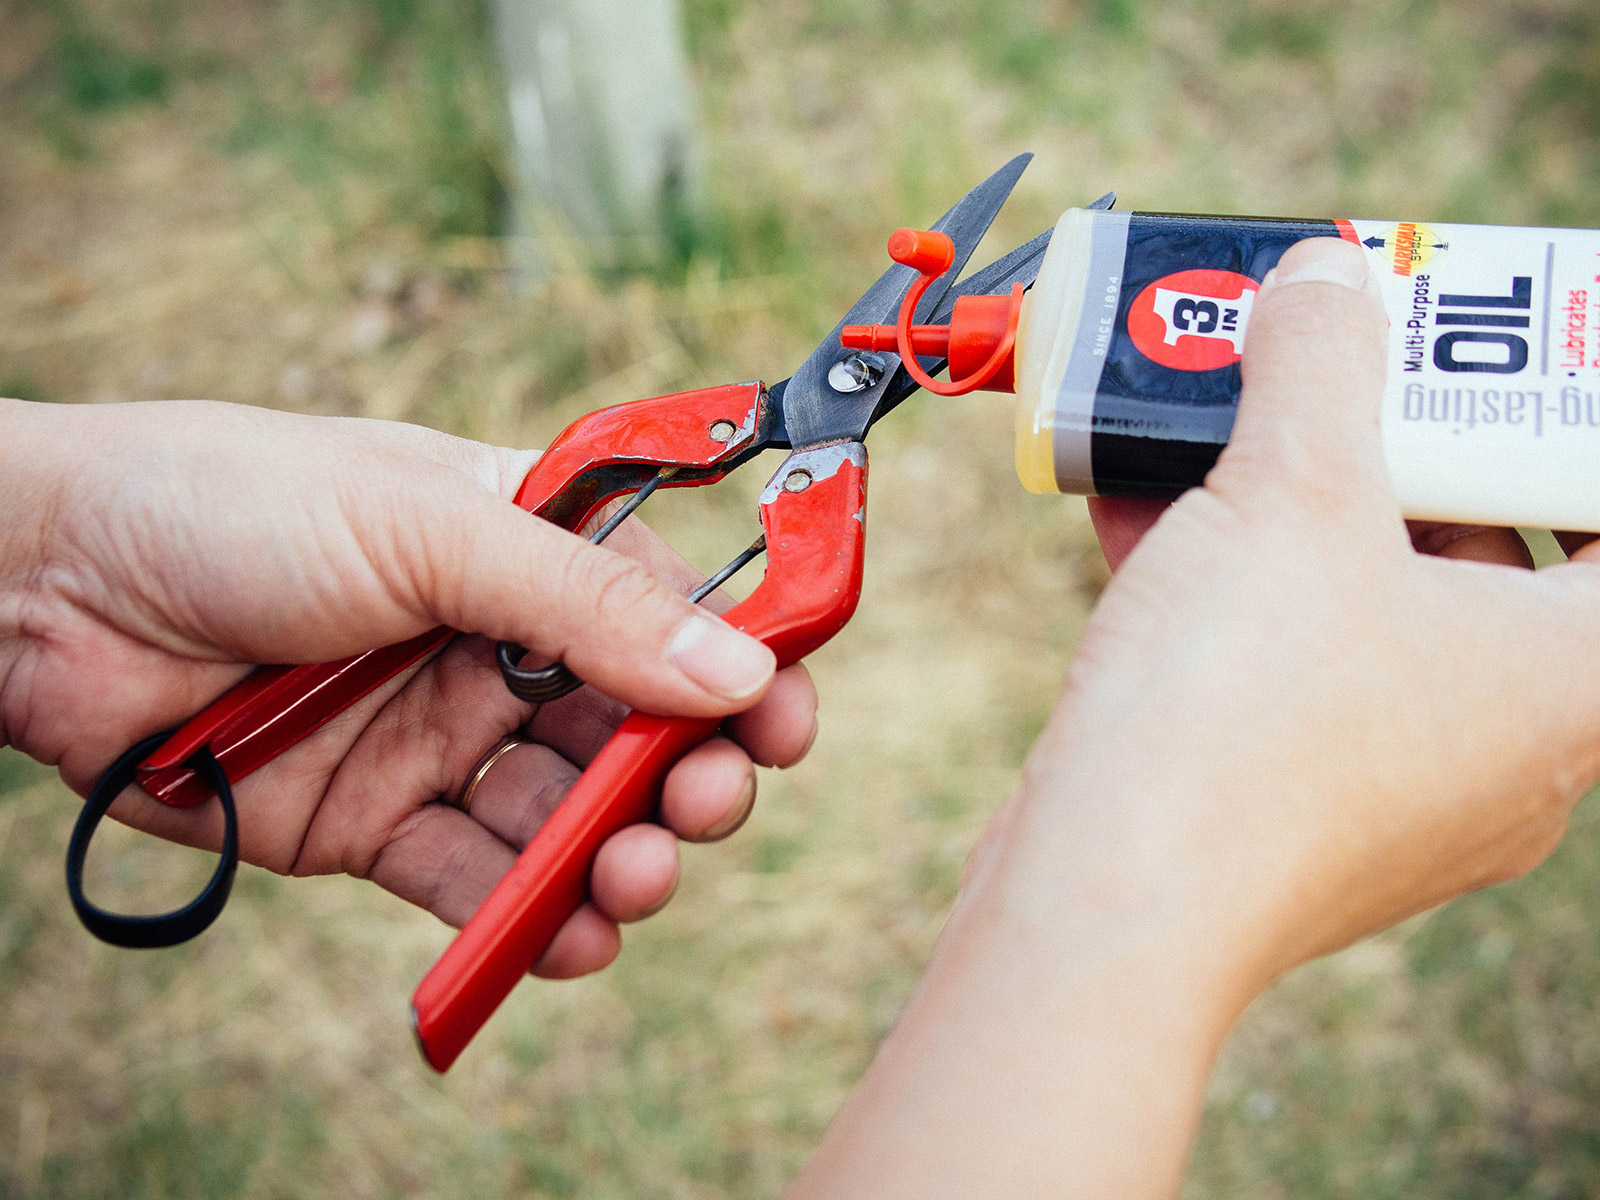
  3. Apply a few drops of light oil (mineral oil, 3-in-1, or camellia oil) directly onto the rusty area.
  4. Scrub with fine steel wool (0000 grade) working in smooth, overlapping strokes along the grain of the metal.
  5. Wipe clean with a dry cloth, then apply a fresh thin coat of oil to seal the surface.

The oil acts as a lubricant and rust inhibitor, allowing the steel wool to lift corrosion without scratching good metal underneath.

Pro tip from practice: Keep a small jar filled with fine steel wool soaked in oil on your shed shelf. When a trowel shows even a hint of rust, give it a 30-second scrub right then. This kind of routine upkeep prevents the need for major restoration later.

Garden tools soaking in vinegar to dissolve rust

Source: gardenbetty.com

The Vinegar Soak: Best for Moderate Rust

When rust has built up into a rough, scaly layer, the oil-and-scrub method won't cut it. That's when a chemical soak is needed. White vinegar — cheap, non-toxic, and already in your kitchen — is one of the best rust removal solutions available.

How Vinegar Removes Rust

The acetic acid in vinegar dissolves iron oxide, converting it into a water-soluble compound that can be wiped away. It won't damage the underlying steel, which makes it safe for most garden tools.

Step-by-Step Vinegar Soak

  1. Remove wood handles if possible. If not, wrap the wood base with plastic wrap and tape it firmly.
  2. Fill a plastic bucket with undiluted white vinegar, enough to fully submerge the rusty metal portion.
  3. Submerge the tool and let it soak for 2 to 12 hours, checking every hour. Heavier rust takes longer, but overnight is rarely needed for garden tools.
  4. Scrub off loosened rust with a stiff brush, steel wool, or scouring pad while the tool is still wet.
  5. Neutralize the acid: mix one tablespoon of baking soda per cup of water and dip the tool in this solution. This stops the acid from continuing to eat into the metal.
  6. Rinse with clean water and dry immediately — use a towel, then a hair dryer on low heat for 60 seconds if needed.
  7. Oil the entire surface right away to prevent flash rust.

A common mistake: leaving tools to air-dry after a vinegar soak. They'll flash-rust within minutes, undoing all your work. Always dry and oil immediately.

Citric Acid: The Faster Alternative

Citric acid powder is a more potent rust remover than vinegar, working in a fraction of the time. It's available at most grocery stores (in the canning section) and online.

  • Mix one tablespoon of citric acid powder per cup of warm water in a plastic container.
  • Soak for 1 to 6 hours, checking every 30 minutes.
  • Scrub, neutralize with baking soda, rinse, and dry exactly as with vinegar.

Citric acid is gentler on the environment than most commercial removers and leaves no lingering smell. It also produces less intense off-gassing, making it a better choice for indoor work.

If you're looking for a completely chemical-free approach, these acidic soaks are the closest you'll get to sustainable rust removal.

Applying baking soda paste to rust spots near tool handle

Source: gardenbetty.com

Targeted Spot Treatment: Baking Soda Paste

Sometimes only a small area needs attention — a rust spot near the handle ferrule, or the edge of a pruning blade. In these cases, a full soak is overkill and risks damaging nearby wood or paint.

How to Make and Use a Baking Soda Paste

  1. Mix 3 parts baking soda with 1 part water to form a thick, spreadable paste.
  2. Apply generously to the rusted area.
  3. Let it sit for 15 to 20 minutes.
  4. Scrub with an old toothbrush or fine scouring pad.
  5. Wipe clean, rinse, dry, and oil.

This method is mild enough to use near wood handles and painted surfaces without risk. It works best on light to moderate rust that hasn't deeply pitted the metal.

Heavy Rust: The Electrolysis Method

For flea-market finds, barn-sale shovels, and tools with thick, flaking scale, no soak will be thorough enough. Electrolysis is the professional-grade solution that removes even the heaviest rust without grinding away good steel.

How Electrolysis Works

This method uses a low-voltage DC current to reverse the oxidation process. The rust is chemically reduced off the tool, leaving a clean (but often black) surface that easily brushes down to bare steel. It preserves edges, maker's marks, and the original profile of the tool — something abrasive methods can't do.

What You Need

  • Plastic tub (large enough to fully submerge the tool)
  • Washing soda (sodium carbonate — find it in the laundry aisle, not baking soda)
  • Battery charger or DC power supply (12V, low amp setting)
  • Sacrificial steel anode — a piece of rebar, flat bar, or an old steel pan. NOT stainless steel
  • Wires with alligator clips

Step-by-Step Electrolysis

  1. Fill the tub with water and dissolve one tablespoon of washing soda per gallon.
  2. Clip the negative (black) lead to the rusted tool. Suspend it in the solution so it doesn't touch the bottom.
  3. Clip the positive (red) lead to the sacrificial steel. Place it in the tub without touching the tool.
  4. Plug in the charger on its lowest setting. Within minutes, you'll see bubbles forming around both electrodes.
  5. Let it run for 2 to 8 hours, checking periodically. Heavier rust needs longer.
  6. Turn off power first — never unplug clips while the current is live.
  7. Remove the tool and scrub off the black residue (it's nearly pure iron) with a wire brush.
  8. Rinse, dry completely, and oil immediately.

Electrolysis Safety Notes

  • Never use stainless steel as the sacrificial anode. It releases toxic hexavalent chromium compounds.
  • Work outside or in very well-ventilated areas — the process generates small amounts of hydrogen gas.
  • Keep sparks away from the setup to avoid igniting accumulated hydrogen.
  • Always disconnect the power before removing the tool from the solution.

Applying chemical rust remover to a heavily corroded blade

Source: gardenbetty.com

Chemical Rust Removers: When To Use Them

Sometimes you need rust gone fast — like before a weekend planting session. Commercial rust removers work in minutes rather than hours, and they're worth having on hand for specific jobs.

Two Main Types

Phosphoric acid gels — These convert rust into a black iron phosphate coating that can be painted over or left as-is. They're ideal for flat blades and surfaces, work fast, and leave a polymerized surface that resists future corrosion.

Chelating removers (like Evapo-Rust or Rust 862) — These bind to iron oxide molecules and pull them off the base metal. They're the gentlest commercial option, leaving no paint-stripping residue and requiring no scrubbing in most cases.

How to Use Chemical Removers Safely

  • Wear gloves, goggles, and work in a ventilated space.
  • Apply a generous coat with a brush, or fully submerge smaller parts.
  • Wait the manufacturer's recommended time — usually 20 minutes to 2 hours.
  • Scrub lightly if needed; rinse thoroughly with clean water.
  • Dry and oil immediately after.

The Trade-Off

Factor Vinegar/Soaks Commercial Removers
Speed Hours Minutes
Cost Near zero $10–25 per bottle
Safety Low risk More hazardous
Environmental impact Minimal Dispose properly
Strength Moderate High — handles deep rust

For regular tool maintenance, vinegar is almost always the smarter choice. Keep a commercial remover as backup for heavily neglected finds.

Sharpening a recently de-rusted garden hoe blade

Source: youtube.com

After Rust Removal: Sharpen, Adjust, and Protect

Rust-free steel is step one. A tool that's clean but dull isn't fully restored. Take the extra 30 minutes to recondition edges, pivots, and handles — the payoff is a tool that performs better than when you bought it.

Sharpen Cutting Edges

  • Hoe blades and spades: Use a flat file held at your tool's existing bevel angle (typically 45 degrees). Push the file along the edge in one direction, 5–10 passes per section.
  • Pruners and shears: Lap the flat side of the blade on fine wet-dry sandpaper (400–800 grit) placed on a flat surface. This removes burrs and restores a keen edge.
  • Serrated tools: Use a tapered round file sized to match the serration cut.

Recondition Mechanics

  • Apply grease to pivot bolts, springs, and adjustment mechanisms on pruners and shears.
  • Reassemble, test the action, and tighten any loose hardware.
  • Sand rough wood handles with 120-grit sandpaper, then wipe with boiled linseed oil. Allow 24 hours to cure before use.

Why This Step Matters

A sharp tool cuts through soil, stems, and roots with less effort and causes less plant damage. Dull tools are not just frustrating — they're more dangerous because you tend to force them, increasing the risk of slips. Spending 10 minutes sharpening after finishing rust removal is time well invested.

Coating a clean garden tool blade with protective oil

Source: backyardboss.net

How To Prevent Rust From Returning

Rust prevention is a two-minute habit, not an annual project. The tools we see rusted to ruin are almost always victims of simple neglect — being left dirty, damp, and leaning against a concrete floor in a dark shed.

After Every Use

  • Knock off soil and wipe the tool dry with a cloth.
  • Spray or wipe a light coat of oil over all metal surfaces. A rag kept in a small can of oil makes this a 10-second job.
  • Hang tools up, never lean them against walls or leave them on the ground.

Storage That Fights Corrosion

  • Hang tools on a wall rack with the blades facing down — this prevents moisture pooling at the handle joint.
  • Avoid concrete floors — concrete wicks moisture up and keeps tools damp.
  • Add airflow to your shed with a small vent or fan, especially in humid months.
  • Place silica gel packets in tool drawers or chests.

Monthly and Seasonal Protection

  • Apply paste wax to blades and buff to a thin, dry film. It lasts 3–6 months.
  • Use rust-inhibitor spray on high-risk parts like springs, bolts, and inside hollow handles.
  • At season's end, do a full clean + oil + wax treatment before storing.

For anyone planning their seasonal tool maintenance, starting with a deep clean and then setting up a prevention routine is the most effective workflow. You'll spend less time on rust removal as the season progresses.

Common Rust Removal Mistakes To Avoid

Deliberate practice — learning what NOT to do — is what separates decent restoration from professional-level results. Here are the mistakes I see most often:

The Top 6 Errors

  1. Air-drying after a soak: Flash rust forms within minutes. Dry with a towel and heat source immediately.
  2. Over-grinding with power tools: An angle grinder with a wire wheel can remove rust, but it also removes base metal. It's easy to thin a shovel blade or round a cutting edge permanently.
  3. Soaking wood handles in acid: The acid draws moisture into the wood, causing swelling, splitting, and rot. Always remove or mask wooden parts.
  4. Using stainless steel as an anode in electrolysis: This releases toxic chromium-6 compounds. Only use plain steel.
  5. Skipping the neutralization step: Acid residue continues eating metal long after the soak ends. Baking soda rinse is non-negotiable.
  6. Oil only, no wax: A light oil film wears off quickly in active use. Wax provides durable, long-lasting protection.

Expected Time and Cost Investment

Knowing what rust removal costs in time and money helps you choose the right method for the job.

Method Time per Tool Cost Best For
Oil + steel wool 10–20 minutes ~$0 Light surface rust
Vinegar soak 2–12 hours (mostly waiting) ~$3 Moderate rust on multiple tools
Citric acid 1–6 hours ~$8 per can Faster soaking, less smell
Baking soda paste 30 minutes ~$1 Spot treatment near wood
Electrolysis 2–8 hours (mostly waiting) ~$25 setup, reusable Heavy scale, antique tools
Commercial remover 20 min–2 hours $10–25 per bottle Speed, convenience, deep rust

Electrolysis has the highest upfront cost but pays for itself if you restore multiple tools. Vinegar is the clear winner for regular maintenance.

Building a Maintenance Routine You'll Stick To

A prevention routine only works if it's actually practiced. Design yours to fit your workflow, not the other way around.

Weekly (10 minutes)

  • Wipe blades with an oily rag after the last use of the week.
  • Check pivots and springs on pruners and shears; add a drop of oil.

Monthly (20 minutes)

  • Lightly sharpen your most-used tool (usually a pair of pruners).
  • Inspect for rust spots — treat immediately before they spread.

Seasonally (60 minutes)

  • Do a full deep clean: wash, de-rust if needed, sharpen, and wax.
  • Sand and oil wood handles.
  • Check storage area condition: dry, ventilated, and organized.

Keep a simple checklist posted on the shed wall. This is the system that actually prevents rust — not the occasional heroic Restoration Weekends.

Frequently Asked Questions

What is the fastest way to remove light rust?

The fastest method is oil plus fine steel wool. Apply a few drops of light oil to the rusted area, scrub with 0000-grade steel wool for 30–60 seconds, wipe clean, and re-oil. No soaking, no waiting.

Can I use vinegar on all metal parts?

Use vinegar on bare carbon steel and stainless steel. Avoid long soaks on plated or painted parts — the acid can strip the plating. Keep vinegar off wood handles entirely.

How do I stop flash rust after cleaning?

Flash rust happens when clean, bare steel dries unevenly. Dry tools with a towel and then a hair dryer on low heat. Apply a light oil film immediately — within seconds, not minutes.

Is electrolysis safe for beginners?

Yes, when basic safety rules are followed: use a plastic tub (never metal), washing soda solution, low amp setting on a battery charger, and a plain steel anode. Never use stainless steel. Always disconnect before handling the tool.

Which oil is best after rust removal?

Light mineral oil, 3-in-1 oil, or camellia oil are all excellent for tool protection. Apply a thin coat and wipe off excess — a thick layer just collects dust and grit.

Do chemical rust removers harm the base metal?

Most modern chelating removers are gentle on steel and will not damage the base metal if used as directed. Phosphoric acid-based removers are also safe when rinsed thoroughly. The risk is leaving any acid residue to dwell on the metal long-term.

How often should I clean tools to prevent rust?

Wipe and oil after each use if the tool was exposed to moisture or soil. In humid climates, check weekly during the growing season. Do a thorough deep clean and wax at the start and end of each season.

Conclusion

Rust removal is not a mystery — it's chemistry, friction, and a little oil. The key is matching the method to the problem:

  • Light blush → oil and steel wool
  • Moderate scale → vinegar or citric acid soak
  • Deep corrosion → electrolysis or commercial remover
  • After any rust battle → dry, oil, and wax

Every tool in your shed is worth saving. Those with wood handles and stamped brand marks deserve even more careful treatment, since vintage tools can't be easily replaced. And once your tools are clean, protect that work with storage habits that prevent a second rust outbreak.

Set up a simple cleaning station in your shed, pick one neglected tool, and restore it today. The process takes less than an hour, costs almost nothing, and transforms how that tool performs. You'll find yourself reaching for a perfectly maintained spade or pruner makes the entire job — from digging to pruning to cleanup — more enjoyable.

The honest truth: rust is simply a reminder that steel wants to return to earth. Your job is to keep that from happening for as long as you need your tools. A few minutes of care after each use does exactly that.

Similar Posts

Leave a Reply

Your email address will not be published. Required fields are marked *