How To Keep A Garden Hose From Freezing: Best 2026 Tips
A garden hose isn’t meant to store ice. When water freezes inside it, the expansion stresses the rubber or vinyl, cracks fittings, and can even push ice back into the spigot and supply line. The good news is that keeping a hose from freezing is mostly a ten-minute habit. Start with drainage, add insulation where needed, and save active heating for genuinely cold weather.
This guide covers the full range — from quick overnight protection to permanent upgrades. You’ll know exactly what to do before the first freeze in 2026 and every winter after. You can also read our guide on how to get more pressure from garden hose.
Why Hoses Freeze and What Actually Happens
Water freezes at 32°F, and unlike most liquids, it expands as it turns solid — roughly 9 percent by volume. That extra volume has nowhere to go inside a hose, so pressure builds against the walls, the fittings, and whatever the hose is connected to. The USGS explains why water’s density change makes frozen plumbing fail so often.
Three conditions make freezing more likely:
- Water left sitting in the hose after the last use.
- The hose still connected to the faucet, which lets ice back up into the home’s plumbing.
- Wind and shade, which pull heat out of the hose faster than still, sunny air.
The damage is not always visible immediately. A hose left connected through a hard freeze can send an ice plug into the spigot, the backflow preventer, or the pipe inside the wall. That is why the first winterizing step is always disconnection. If you do find small cracks in the hose wall come spring, the freeze likely did more damage than you can see. You can also read our guide on how to recycle a garden hose.
Ice building on outdoor plumbing is a sign winter protection is overdue.
Source: giraffetools.com
The 10-Minute Freeze Drill Before Every Cold Night
Run this routine any time the forecast drops to 32°F or below. It takes about ten minutes and prevents most freeze damage.
- Turn off the water at the spigot. Do not rely on the nozzle to stop flow.
- Open the nozzle and release pressure. Then disconnect the nozzle, spray wand, and any splitters.
- Drain the hose from the spigot end. Lift that end and walk toward the other end, letting gravity push water out.
- Coil the hose loosely. Tight coils trap water in the kinks and make freezing more likely.
- Store the hose somewhere above 32°F. A basement is best; an attached garage is usually fine for a night, but don’t trust an unheated shed during a hard freeze.
- Protect the spigot. Fit a foam faucet cover or wrap the faucet in a towel sealed inside a plastic bag.
- Close the indoor shutoff, if you have one. Then open the outdoor spigot to drain the line between the valve and the faucet.
Make the drill part of your fall routine. If your hose has weak flow, water tends to pool in low spots, so improving your outdoor water flow before winter also makes draining easier and faster. You can also read our guide on how to measure garden hose diameter.

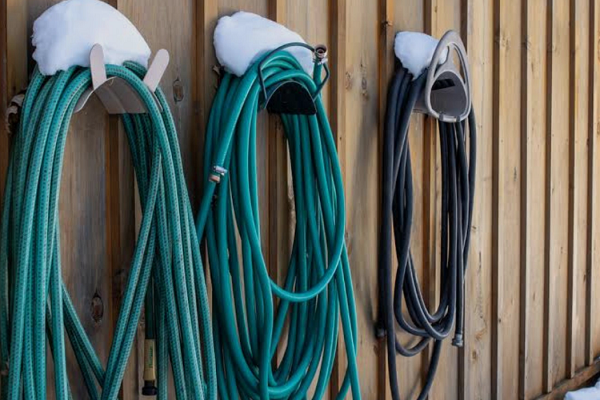
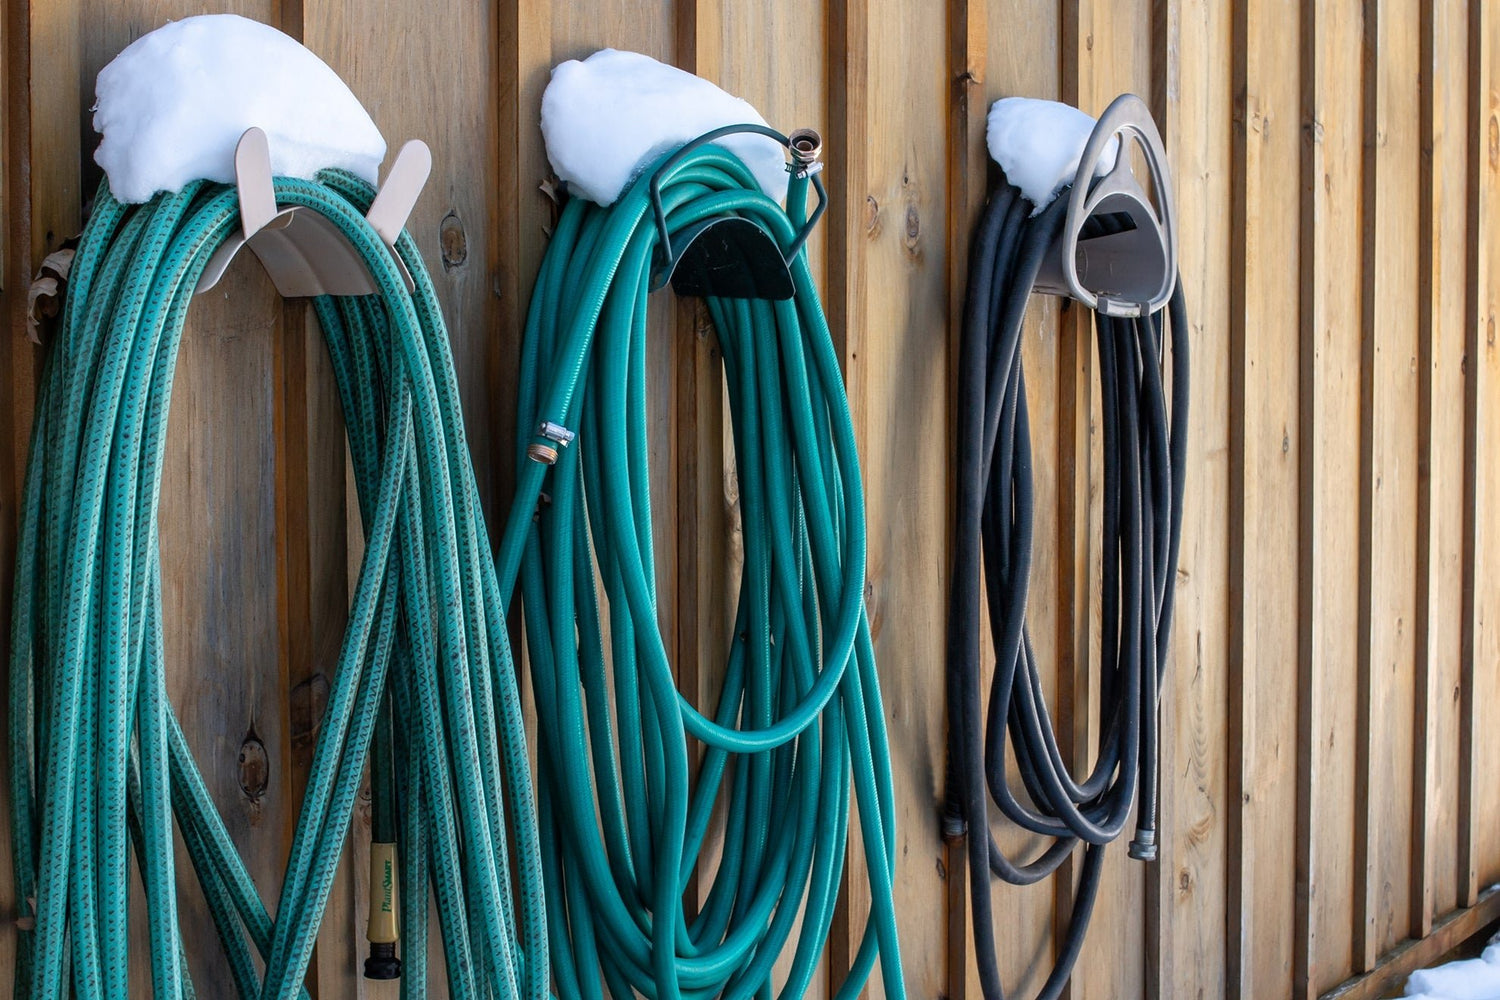
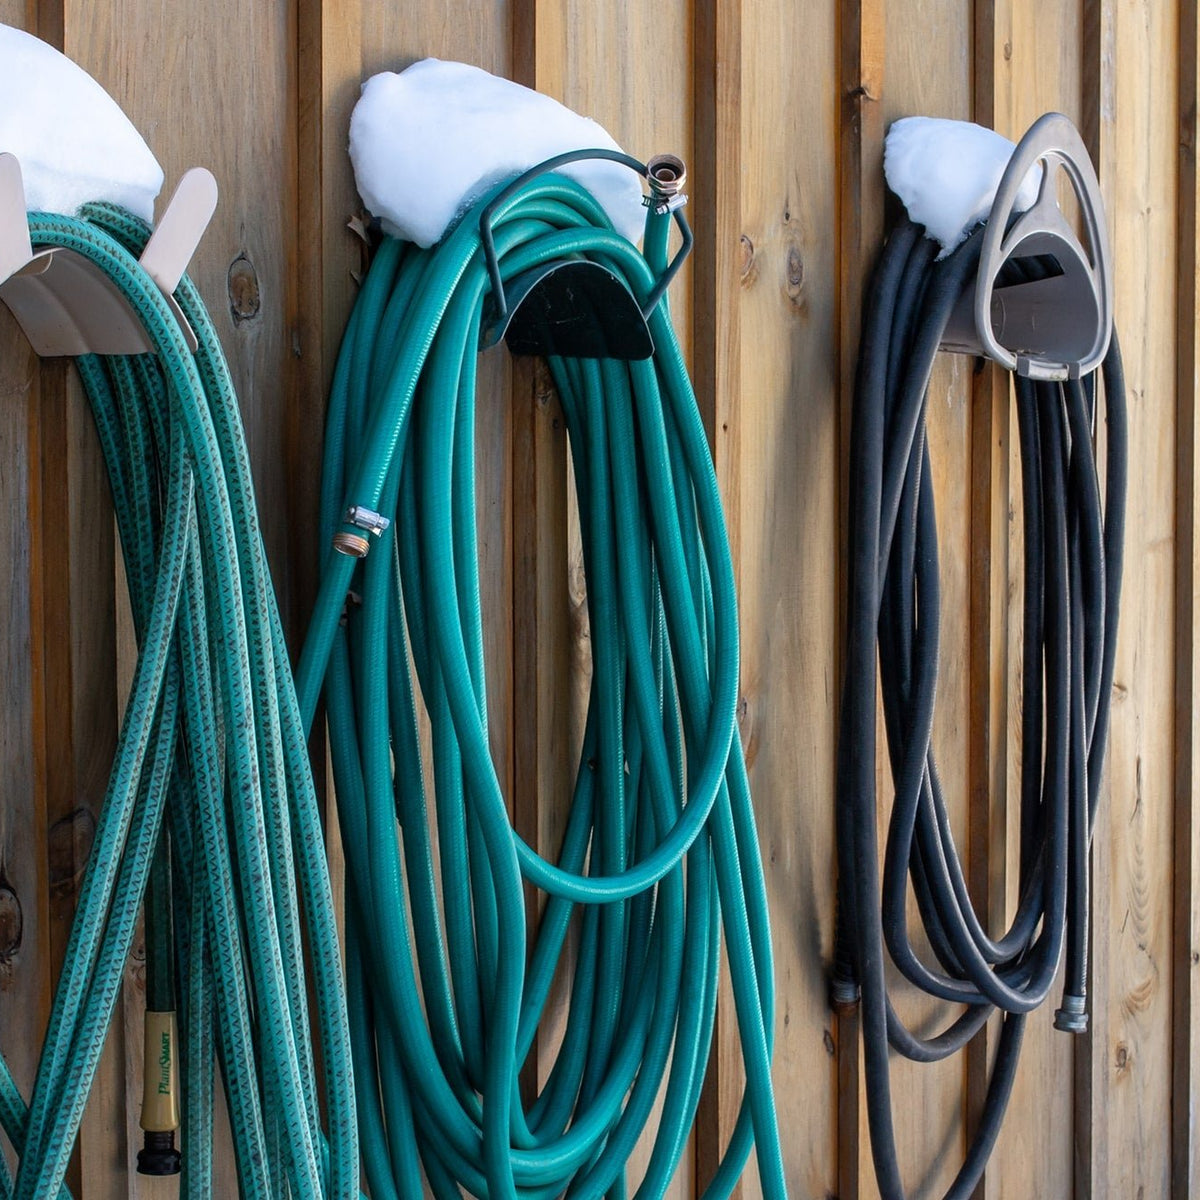
Disconnecting the hose from the spigot is the single most effective prevention step.
Source: freezemiser.com
Step-by-Step Protection by Temperature Range
Not every freeze is the same. Use this temperature guide to choose the right level of protection.
Light Freeze Nights (32°F to 25°F)
- Drain and store the hose after every use, no exceptions.
- Put a cover on the outdoor spigot to reduce wind chill.
- Keep the hose off the cold ground and out of puddles. Damp surfaces pull heat away faster than dry air.
In practice, light frosts cause more damage than deep cold because people let their guard down. One hose left full and connected can crack in a single night.
Deep Freeze (25°F to 10°F)
- Drain and store the hose whenever possible.
- If the hose must stay outside, wrap it in foam pipe insulation and seal the seams with weatherproof tape.
- Insulate the spigot and the first 2 to 3 feet of pipe entering the wall.
- Use a shorter hose if you can. Less surface area means less heat loss, and a shorter hose drains faster.
At this temperature range, the goal is to slow heat loss enough that water inside never reaches 32°F.
Long Cold Snaps (Below 10°F)
- Use a heated garden hose or add self-regulating heat cable along the hose and around the spigot.
- Cover the heat cable with foam insulation and a weatherproof outer wrap.
- Close the indoor shutoff and drain the line whenever you can.
- If water flow is essential, run a short flow on a timer every few hours. Use this only as a temporary measure, since it can create ice patches and waste water.
Manufacturers recommend thermostat-controlled models. They switch on only when temperatures approach freezing, which saves energy and reduces wear. You can also read our guide on how to recycle garden hose.
Drain a Garden Hose Fast: A Technique Most People Skip
Most people try to drain a hose by coiling it. That leaves water trapped in the loops. A faster method uses gravity and wide-open ends.
- Remove every attachment. Quick-connects, spray nozzles, and detachable spray wands each hold water that will freeze and crack the fitting.
- Hold the spigot end high and walk to the nozzle end, letting water pour out.
- Reverse, then hang the hose in a loose U shape over a fence or railing with both ends pointing down. Leave it for five minutes.
- Store the hose in large, loose coils. Avoid figure-eights and sharp bends.
A common mistake is reaching for an air compressor and over-pressurizing the hose. If you use compressed air, keep the regulator below about 30 psi and never point the end at anyone. Often gravity is all you need.
Heated Hoses vs. Heat Cables: Which Should You Pick?
If your winters regularly fall below 25°F, passive insulation may not be enough. Active heat is the reliable answer, but the right choice depends on how you use the hose.
| Feature | Heated Hose | Self-Regulating Heat Cable |
|---|---|---|
| Best for | Farms, RVs, year-round watering | Protecting an existing quality hose |
| Setup | Plug in and use | Wrap, insulate, and plug in |
| Cost | Higher upfront | Lower upfront |
| Power | Thermostat-controlled | Adjusts output by temperature, low draw |
| Weaknesses | Kinks can damage the internal heating element | Must be installed carefully and kept dry |
Both must be plugged into an outdoor-rated GFCI outlet. Keep connections off the ground and protected from spray. A heated hose is convenient, but a heat cable is easier to replace if it fails.
DIY Insulated Hose Sleeve: Complete in 15 Minutes
If you do not want to buy a heated hose, this simple project works for shoulder seasons and most winter nights.
- Measure the length of hose that will stay outdoors.
- Lay a self-regulating heat cable along the hose if temperatures will drop below 25°F. Skip the cable for light frosts.
- Slip foam pipe insulation over the hose, pressing the seams tight so no gaps remain.
- Wrap the whole length with weatherproof tape or a plastic sleeve to block wind and moisture.
- Insulate the spigot and the first few feet of pipe as well.
- Plug the heat cable into a GFCI outlet and test for gentle warmth.
This setup has rescued many a hose during a surprise cold snap. It is the right call when you want basic protection without the cost of a heated hose.
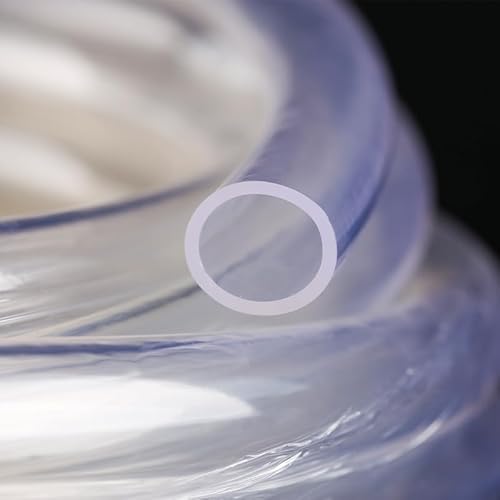
Foam insulation sleeves are the most cost-effective way to protect a hose in moderate cold.
Source: giraffetools.com
Common Mistakes That Lead to Frozen Hoses
These failures are avoidable. Each one shows up in yards every winter.
- Leaving the hose under pressure. A connected hose with the nozzle shut traps water. Sun heats it during the day, a hard freeze attacks at night, and the expansion has nowhere to go.
- Insulating a wet hose. Foam holds moisture against the hose. Dry the hose before wrapping it.
- Using an indoor extension cord outdoors. Moisture and electricity do not mix. Use outdoor-rated cords with GFCI protection for any heated equipment.
- Overlapping heat cable on itself. This can create hot spots. Run the cable straight or in a loose spiral with space between turns.
- Relying on a slow drip. A drip can keep water moving, but it fails during very cold, windy weather and wastes enormous amounts of water. Treat it as a backup only.
- Forgetting splitter valves and backflow preventers. Any fitting that traps water can freeze and crack, even if the hose itself is safe.
One small habit prevents most of these: disconnect, drain, then decide. It is hard for water to freeze when there is no water left to freeze.
Winter Maintenance and Troubleshooting
A short maintenance check each time you use the hose prevents big problems later.
- After every use, lift the hose and walk it up and over your shoulder to push water out.
- Inspect foam insulation weekly for gaps, tears, or soaked spots.
- Test heat cables and heated hoses once a month. They should feel gently warm when outdoor temperatures are near freezing.
- If the hose freezes anyway, unplug all heat sources, bring it indoors, and let it thaw at room temperature. Never use boiling water, a torch, or a hairdryer on high heat.
- After thawing, check the entire length for cracks, bulges, and kinks before using it again.

After any freeze event, inspect the full length of the hose before reuse.
Source: wikihow.life
Cost and Energy Comparison: Prevention vs. Repair
Prevention is always cheaper than a flooded basement or a burst pipe.
| Solution | Upfront Cost | Energy Use | Best For |
|---|---|---|---|
| Faucet cover + foam sleeves | Very low | Near zero | Most homeowners |
| Self-regulating heat cable | Moderate | A few watts per foot when active | Deep-freeze climates |
| Heated garden hose | Higher | Thermostat-controlled | Farms, RVs, year-round use |
| Frost-free sillcock + indoor shutoff | One-time install | Zero | Permanent fix during renovations |
The energy cost of a heat cable is modest. Compare that with the cost of drywall repair, floor replacement, and an emergency plumber, and prevention wins almost every time.
Safety, Codes, and When to Upgrade
Any electric heater used outdoors must be plugged into an outdoor-rated GFCI outlet. Keep plugs elevated, shielded from water, and free of snow. Look for UL-listed heat cable and follow the manufacturer’s installation instructions.
Backflow preventers deserve special attention. They trap water by design, which makes them prone to freezing. Remove and store them before deep winter, or insulate them well.
If your outdoor faucet is not a frost-free model, consider upgrading. A frost-free sillcock keeps water shut off inside the warm wall, removing the most common freeze point. Add an indoor shutoff valve and a drain point, and use lead-free, code-compliant parts.
Before buying insulation, accurate sizing matters: checking your hose’s diameter takes two minutes and prevents gaps that let cold air reach the water. If you are choosing between hose sizes for winter use, read up on hose sizing trade-offs first — a narrower hose holds less water but also delivers less flow.
Should You Repair or Replace a Frozen Hose?
A freeze-damaged hose may still look normal. Run a pressure test before relying on it again.
- Feel along the full length for soft spots and bulges.
- Look for pinhole leaks near the fittings and around kinks.
- Listen for hissing when the water is turned on.
Small leaks can sometimes be patched, but a hose that has frozen once is often weakened along the whole wall. If it has split, it is usually safer to replace it. Before throwing it away, check whether it can be recycled or repurposed responsibly — many communities have programs that keep old hose material out of landfills.
Winterize the Rest of Your Outdoor Gear
Once the hose is drained, apply the same logic to the equipment you will need in spring. Fuel left in a mower over winter can gum up the carburetor. Keeping stored fuel fresh is the first step to a trouble-free start. Stabilizing mower fuel before storage prevents varnish from building up in the fuel system. Consider changing the oil before storage rather than in spring, since old oil contains acids that can damage an idle engine.
These few minutes of winter prep mean you will not be troubleshooting equipment in the first warm week of spring.
Frequently Asked Questions
Can I leave a garden hose connected in winter?
You can, but it is risky. Disconnect and drain the hose so ice cannot back into the spigot or the pipe behind it. That internal freeze is what causes the most expensive damage.
Will a slow drip stop my hose from freezing?
Sometimes, but it is not reliable during extended cold. It also wastes water and creates ice patches. Use it only as a backup.
What temperature should I start winterizing?
Start at 32°F. Add insulation and heat when forecasts drop below 25°F or when freezing temperatures last for multiple days.
Are heated garden hoses safe?
Yes, if you use them as directed with a GFCI outlet. Keep connections clean and dry, and inspect the outer jacket regularly for cracks.
How do I thaw a frozen hose?
Bring it indoors and let it warm slowly at room temperature. Do not use open flames or boiling water — rapid heat can warp or crack the hose.
Can I throw a damaged hose in the trash?
Check local rules first. Some areas accept hoses through recycling programs, and many gardeners reuse old hoses for drip irrigation, hose guards, or crafts. Look into responsible disposal methods before sending it to a landfill.
Final Thoughts
The formula is simple: drain every time, insulate what must stay outside, and add active heat only when temperatures demand it. A hose freeze is not a mystery — it happens when water is left inside and cold finds a way in.
Take the ten-minute winterization challenge this week. Drain the hose, cover the spigot, and pick one upgrade. It is the cheapest insurance you will buy all year, and it could save your basement from a very cold, very expensive surprise.