How To Thin Seedlings Properly: Quick 2026 Garden Guide
Thin seedlings by snipping extras at soil level, keeping only strong, evenly spaced plants.
You want strong plants, bigger harvests, and fewer pests. That starts with knowing how to thin seedlings properly. I’ve coached gardeners and run my own beds for years. In this guide, I’ll show you clear steps, crop-by-crop spacing, and pro tips so you can thin with skill and confidence.

Why thinning matters
Plants fight for light, water, and food. When seedlings crowd, none of them win. Thinning gives each plant its own space to grow deep roots and broad leaves.
Benefits you will notice:
- Better airflow and less disease pressure.
- Stronger roots and thicker stems.
- Faster growth and higher, more uniform yields.
Agronomy research and university extension trials agree: correct spacing boosts yield per plant and cuts risk from pests and mildew. Mastering how to thin seedlings properly protects your time, seed, and soil.

When to thin: timing, signs, and weather
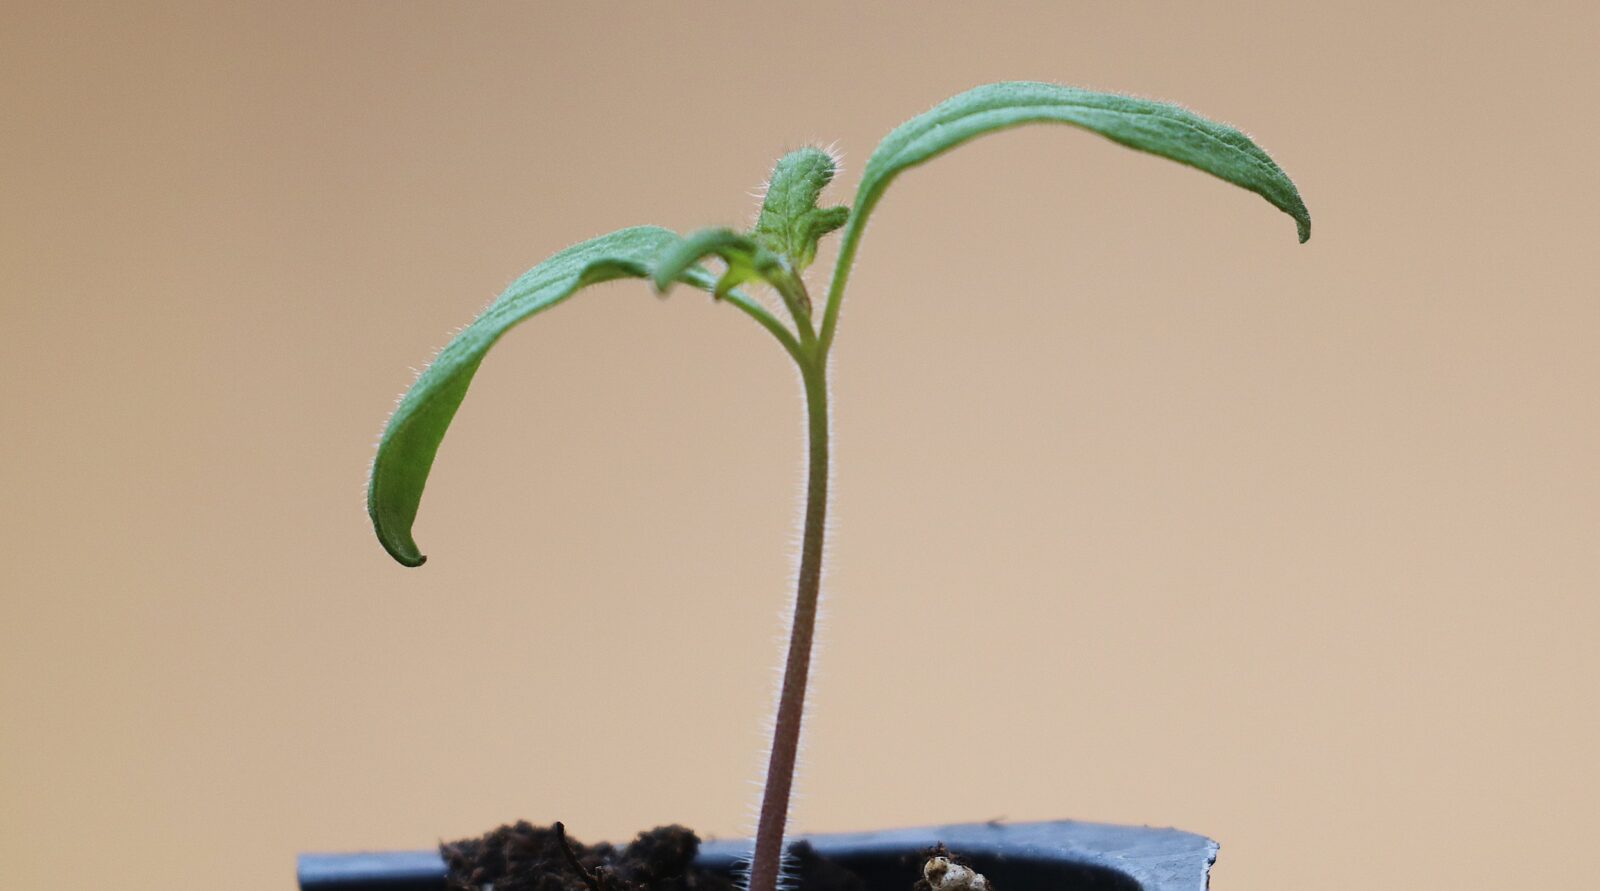
Thin when seedlings have 1 to 2 sets of true leaves. True leaves are the second set that looks like the adult plant. Thinning earlier is safer than waiting too long.
Use this quick timing guide:
- Carrots, parsnips, and dill: at 1 to 2 inches tall.
- Lettuce and spinach: as soon as leaves touch.
- Beets: when clusters show 2 true leaves.
- Brassicas (kale, cabbage): 2 to 3 true leaves.
- Corn and beans: when 3 to 4 inches tall.
Pick a cool, calm time. Early morning or late afternoon works best. Thin after a gentle watering or rain to ease root stress. Learning how to thin seedlings properly helps you pick the right time and avoid shock.
Tools and prep
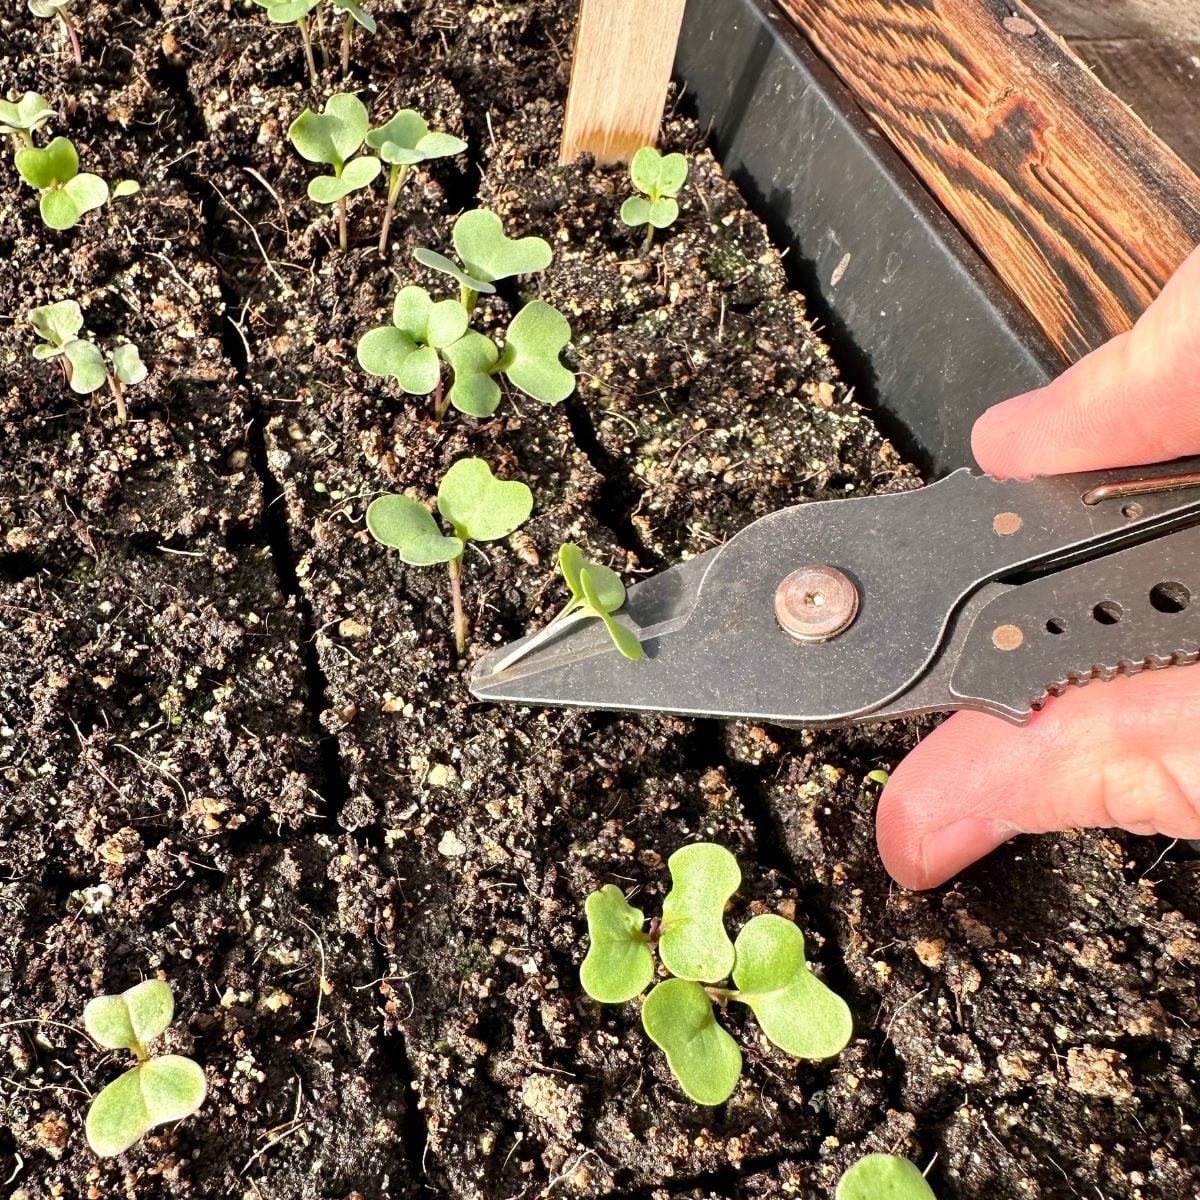
The right tools make clean cuts and reduce damage. Keep them sharp and clean.
Helpful tools:
- Fine-tip scissors or micro snips for clean cuts.
- A slim dibber, chopstick, or spoon for lifting transplants.
- A small tray or cup for saved thinnings.
- A spray bottle or watering can to settle soil.
- Rubbing alcohol or a bleach solution for sanitizing blades.
Sanitize blades before you start. Water the bed well an hour before. Label rows so you keep the right spacing. These are simple items that support how to thin seedlings properly.
Step-by-step: how to thin seedlings properly
Here is the simple process I use in market beds. Follow it, and you will see fast gains.
- Water the bed or tray so soil is moist, not soggy.
- Scan the row and mark keepers at even spacings.
- Choose the strongest seedling at each spot. Look for a thick stem, upright habit, and no spots.
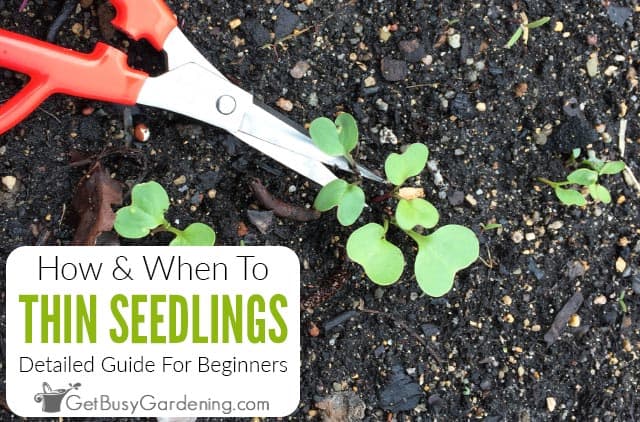
- For root crops, snip extras at soil level. Do not pull. This avoids root disturbance.
- For leafy greens, you can snip or gently lift extras to replant.
- Keep your non-dominant hand steady near the keeper. This guards it from accidental tugs.
- Thin in passes. Do a light pass early, then a final pass a week later.
- Maintain target spacing. Use a ruler, stick, or your hand as a guide.
- Water again to settle soil. Add a light mulch if needed.
- Shade for a day if sun is strong.
This is how to thin seedlings properly in both beds and trays. The method is quick, kind to roots, and easy to repeat in future sowings.

Methods and when to use them
Different crops and soils call for different moves. Use the method that protects the keeper plant.
Snip at soil level
- Best for carrots, parsnips, cilantro, and poppies.
- Pros: no root tug, fast, clean.
- Cons: no transplant of extras.
Pinch between fingers
- Works for greens in soft soil.
- Pros: no tool needed, fast.
- Cons: can wiggle the keeper if you rush.
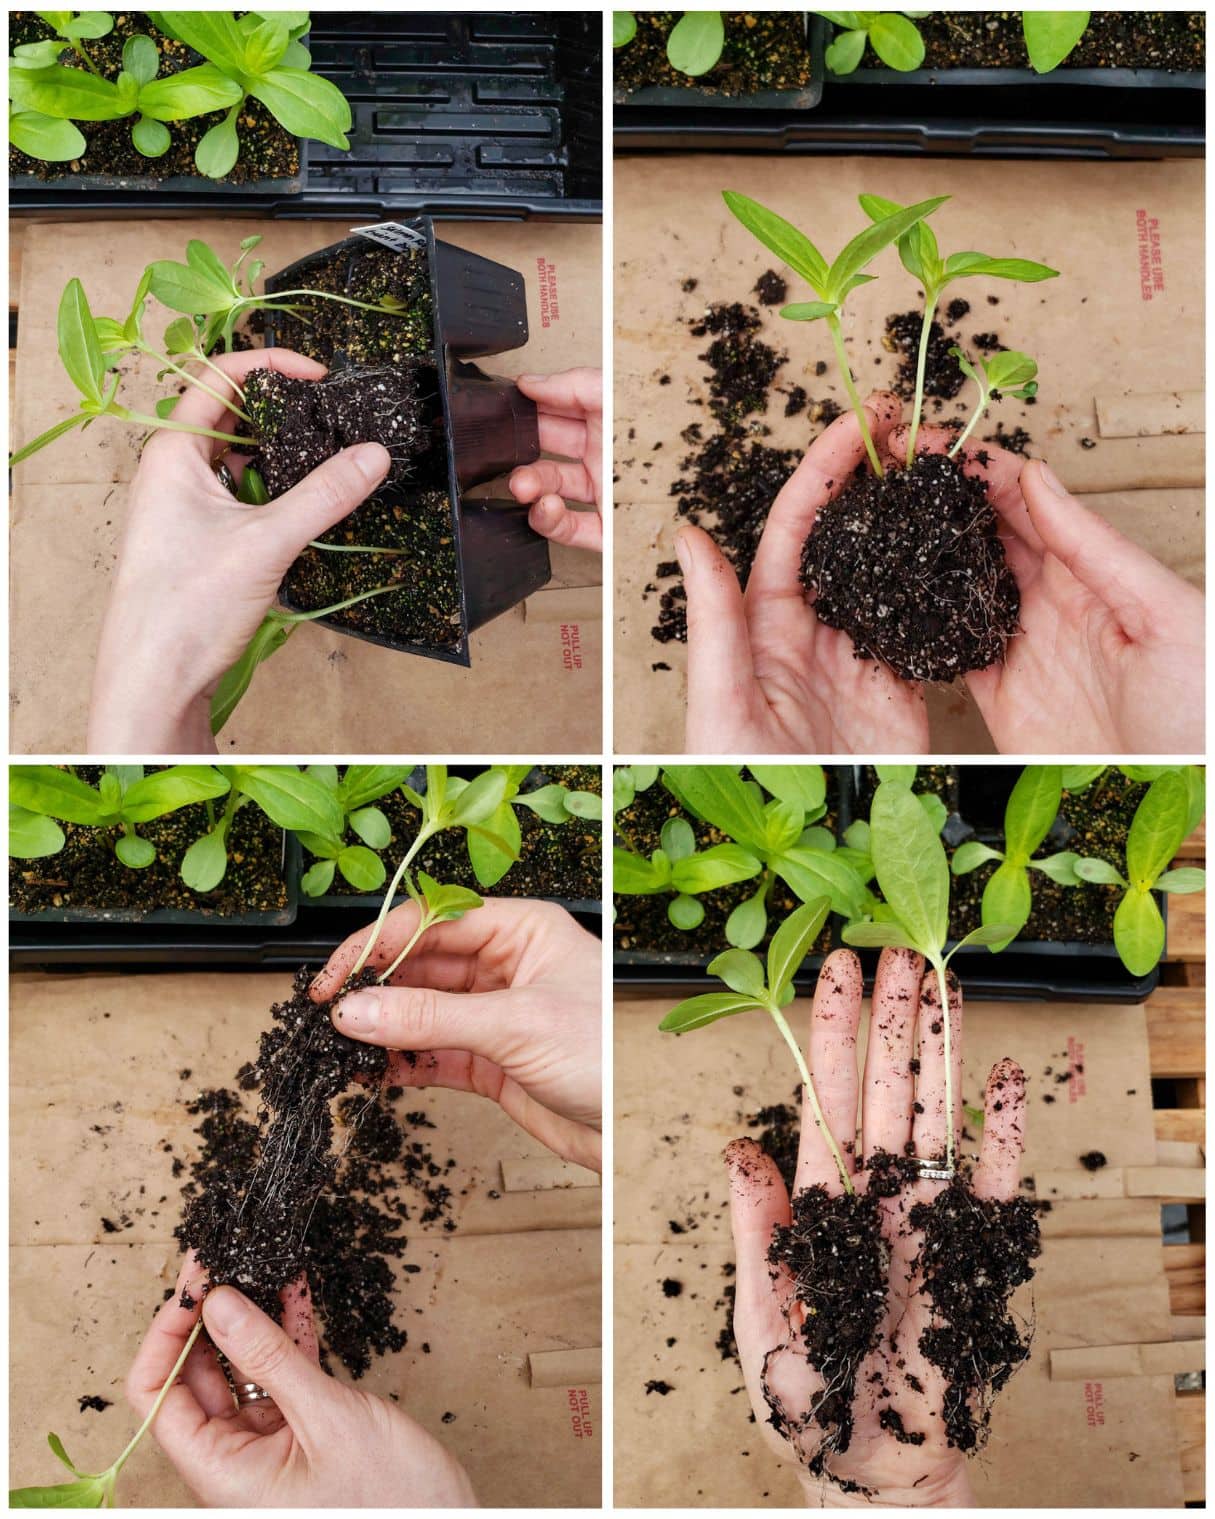
Lift and transplant
- Use for lettuce, kale, beets, onions, tomatoes, and zinnias.
- Pros: you save extras as new plants.
- Cons: more time, needs care and shade after.
There is more than one way to learn how to thin seedlings properly. Match the method to the crop and your soil.
Ideal spacing cheat sheet for popular crops
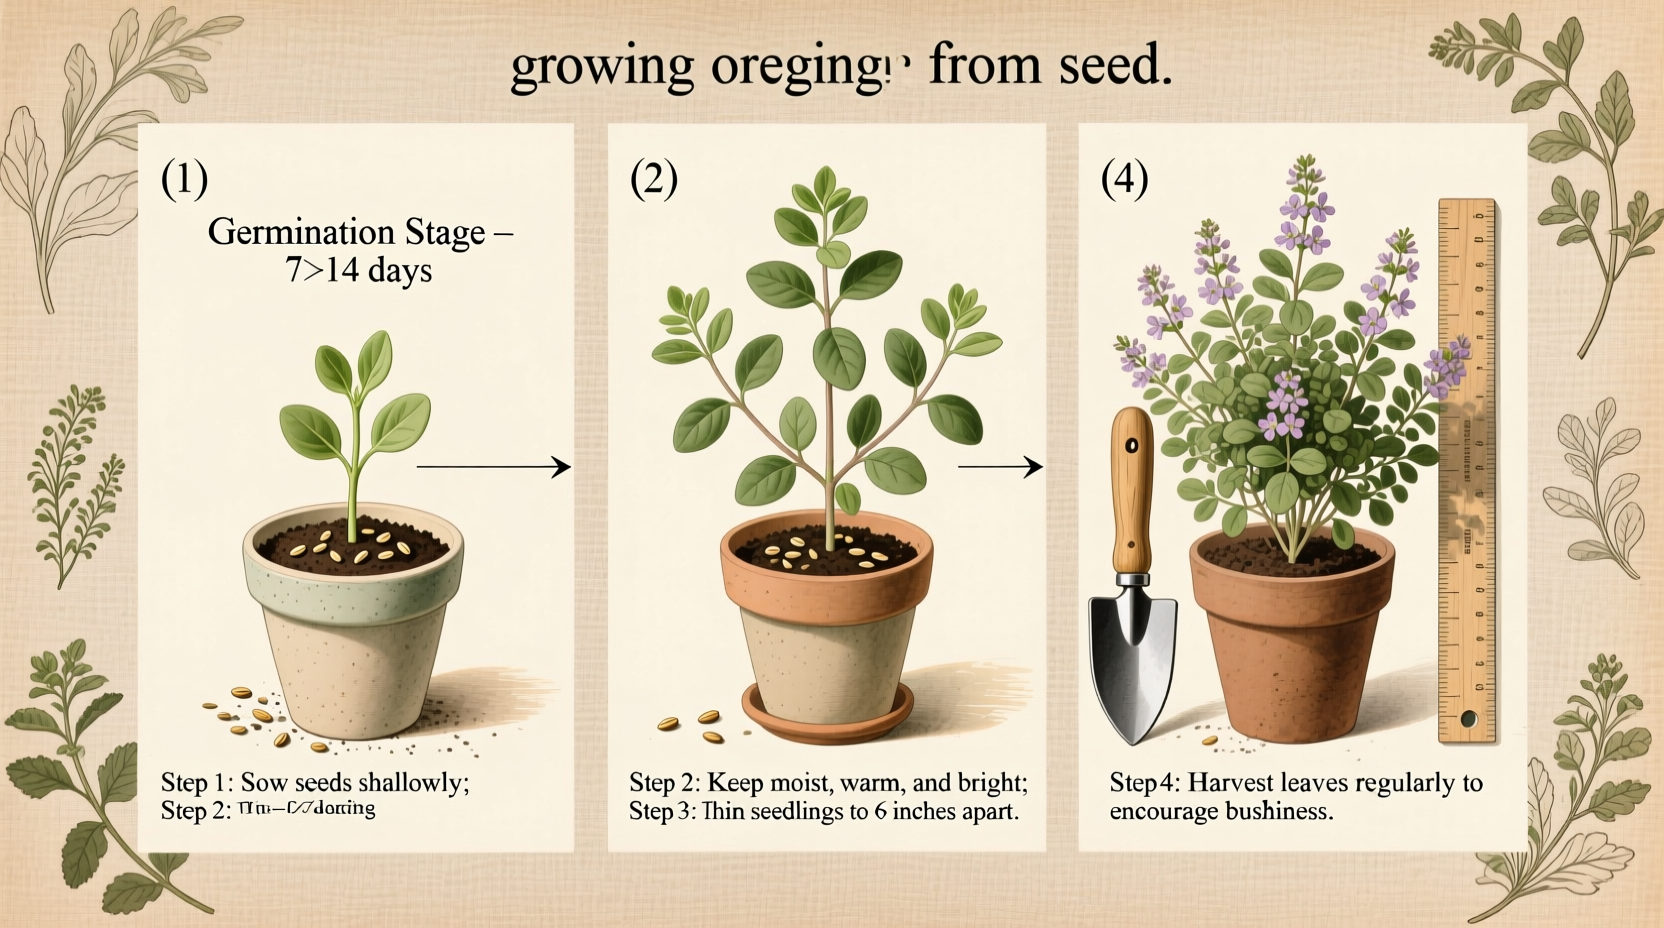
Use these in-row spacings after thinning. Wider gaps are for larger heads or dry climates. Closer gaps are for baby harvests or rich soil.
- Carrots: 2 inches for full roots; 1 inch for baby carrots.
- Radishes: 1 to 2 inches.
- Beets: 3 to 4 inches; or keep 2 to 3 plants per cluster.
- Lettuce: 6 to 8 inches for mini; 10 to 12 inches for heads.
- Spinach: 3 to 4 inches.
- Kale and chard: 10 to 12 inches for leaf harvest.
- Cabbage and broccoli: 12 to 18 inches.
- Onions: 3 to 4 inches for bulbs; 1 to 2 inches for bunching.
- Bush beans: 3 to 4 inches.
- Sweet corn: 8 to 12 inches.
- Cucumbers and squash (in-row): 12 to 24 inches after thinning to one per spot.
- Zinnias and cosmos: 9 to 12 inches.
Use this list when planning how to thin seedlings properly across your beds.
Aftercare: help seedlings bounce back
Thinning is a small shock. Good aftercare locks in the gain.
- Water slowly at the base to settle soil around roots.
- Add a light mulch to keep moisture and cool the soil.
- If sun is harsh, give shade for one day.
- Feed a mild seaweed or compost extract if plants stall.
- Watch for slugs near fresh cuts and use traps if needed.
Part of how to thin seedlings properly is what you do right after the cut. These steps keep growth steady.
What to do with thinnings
Do not waste your extras. Many are tasty or useful.
- Eat them as microgreens in salads or on eggs.
- Transplant sturdy greens into gaps for a free second row.
- Pot them up as gifts for friends.
- Compost weak extras to feed your soil.
This small habit turns a chore into more food and less waste. It also keeps how to thin seedlings properly fun and rewarding.
Common mistakes to avoid and pro tips
Mistakes I see often:
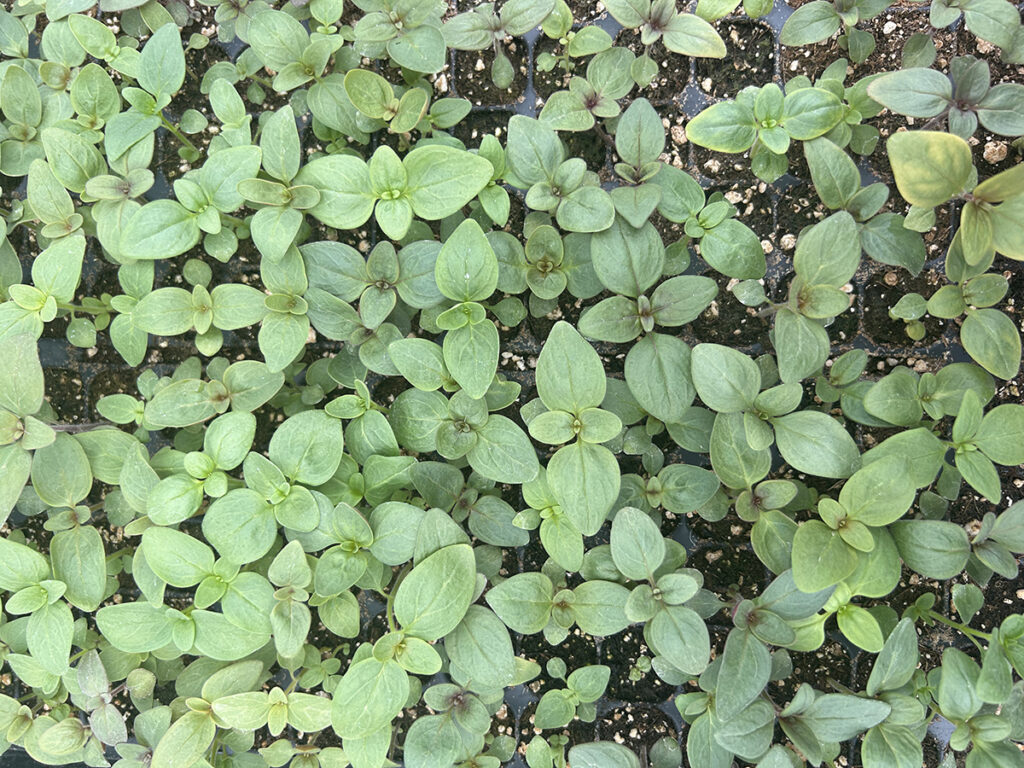
- Waiting too long. Crowded roots stunt fast.
- Pulling extras near root crops. This can fork carrots and parsnips.
- Thinning at noon in direct sun. Plants droop and stress.
- Skipping the second pass. Crowding creeps back.
- Uneven spacing. This leads to uneven harvests.
Pro tips from the field:
- Pre-water and use sharp snips for clean cuts.
- Use a spacing stick marked in inches.
- Sow a bit wider to make choosing keepers easy.
- Try pelleted seed or seed tapes for tiny seeds.
- Do a light feed one week after thinning.
The biggest mistake when learning how to thin seedlings properly is fear of removing plants. Be bold and even. Your harvest will thank you.
Special cases and crop-specific notes
Carrots and parsnips
Snip, do not pull. Thin to 2 inches. If still tight, thin again a week later.
Beets
Each seed is a cluster. Keep one to three per spot based on root size wanted. Extras transplant well.
Lettuce and spinach
Thin to final spacing or harvest baby leaves first. Lift extras and tuck into gaps for a full bed.
Onions and leeks
Lift extras as scallions. Replant singles at 3 to 4 inches for bulbs. Keep soil moist to reduce shock.
Herbs (cilantro, dill, basil)
Cilantro and dill prefer snip-thinning. Basil transplants well; thin to the strongest per spot.
How to thin seedlings properly varies by crop and seed type. Adjust your method to match.
Step-by-step safety and hygiene
Clean tools reduce disease spread. Handle plants with dry, clean hands. If you see damping-off, remove sick starts and improve airflow at once. This simple care is part of how to thin seedlings properly in any climate.
Frequently Asked Questions of how to thin seedlings properly
How close is too close before I must thin?
If leaves touch and light can’t reach the soil, it is time. Thin as soon as you see that crowding to prevent weak, leggy growth.
Can I thin in the rain?
Light rain is fine and can help soil settle. Avoid heavy rain, which can topple seedlings and turn soil to sludge.
Is it okay to pull extras instead of snipping?
Pulling is safe for transplants and greens in loose soil. For root crops like carrots, always snip to avoid root damage.
What if I thin and plants still look weak?
Water well, add light shade, and wait a few days. A mild seaweed feed can help them bounce back.
Can I eat all my thinnings?
Most greens and herb thinnings are safe and tasty. Avoid eating thinnings if you used any product not labeled for edible crops.
How do I fix a gap after over-thinning?
Transplant a sturdy extra into the gap the same day. Water and shade it for 24 hours to reduce shock.
Conclusion
Thinning is simple, fast, and pays off all season. You choose the best plants, give them room, and watch them thrive. Start small, follow the steps, and refine your timing with each bed.
Ready to put this guide to work? Walk your rows today and make one clean pass. Subscribe for more crop-by-crop spacing tips and share your results so we can grow better, together.