Sprinkler Digging Tool: Best Picks And DIY Tips 2026
A sprinkler digging tool makes fast, clean holes and trenches with less turf damage.
If you work with irrigation, you need the right hand tools. I have set, moved, and fixed hundreds of heads. The sprinkler digging tool is the one I grab first. This guide shows how to choose it, use it, and keep it sharp, so your work looks clean and lasts.
What is a sprinkler digging tool?
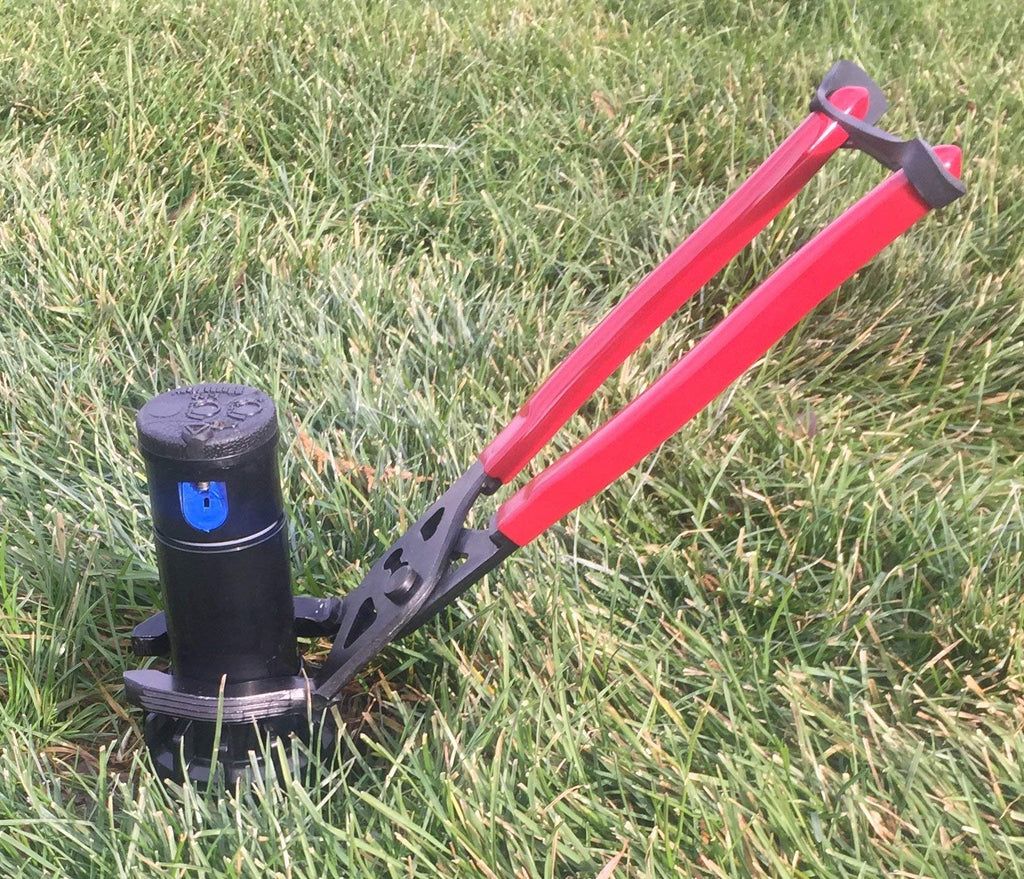
A sprinkler digging tool is a narrow spade or specialized hand tool. It carves neat holes and slim trenches for heads, lines, and valve boxes. It saves time. It also keeps the lawn tidy.
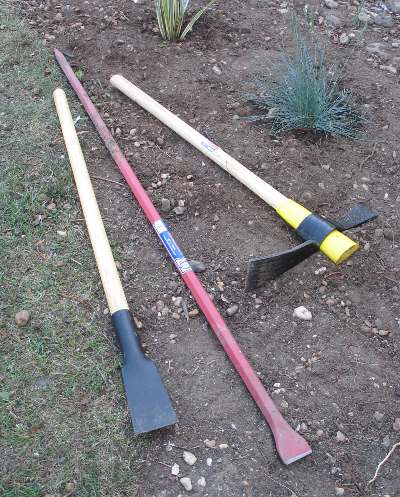
Most are long and thin. Many have a V or U blade to slice sod and soil. Some have serrated edges for roots. Pros often carry more than one sprinkler digging tool for different soils.
Use cases include:
- Cutting a plug for a pop‑up head
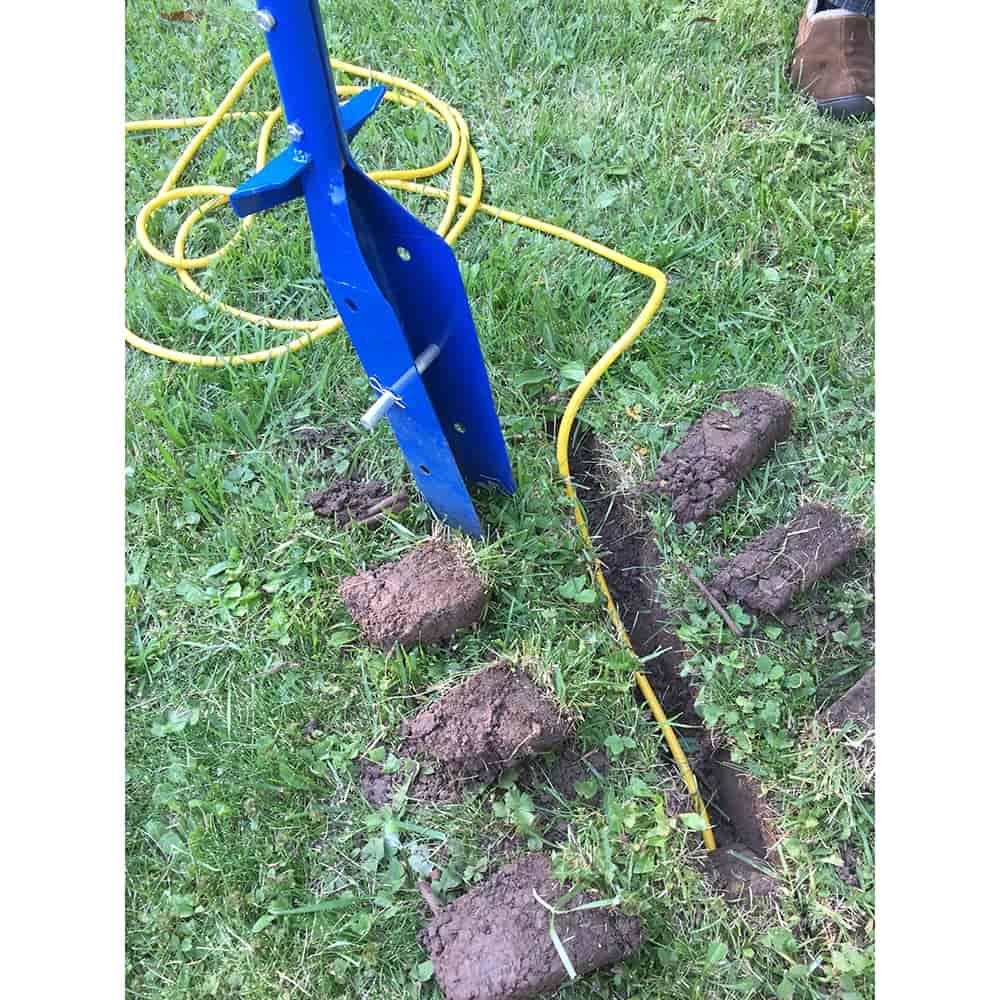
- Digging a slim trench for lateral pipe
- Opening a service hole to fix a leak
- Shaping a bed edge near rotors

Types and key features to look for
Not all tools are equal. A good sprinkler digging tool should match your soil and task.
Core types:
- Trenching spade A long, narrow blade for slim cuts and deep slots.
- Drain spade A rounded, narrow blade that scoops in tight spots.
- Turf cutter knife A flat blade for clean sod plugs around heads.
- Root-cutting spade A reinforced blade with teeth for roots.
Key features that matter:
- Blade steel and shape Look for high carbon or heat-treated steel. A tapered blade slides in with less force and leaves a clean wall.
- Handle length A 44–48 inch handle gives more leverage and saves your back.
- Grip and weight A D‑grip adds control. A lighter tool reduces strain over a full day.
- Step plate A wide step saves your boot and adds force in clay.
- Coating and welds Powder coat fights rust. Solid welds last longer under torque.
When I work on clay sites, I favor a narrow trenching spade with a step plate. In sandy loam, a light drain spade moves quick and clean. The right sprinkler digging tool speeds the job and protects the sod.

How to use a sprinkler digging tool the right way
Good results start with a plan and safe steps.
Before you dig:
- Call 811 in the US to mark utilities.
- Flag head locations and pipe paths.
- Water the area the night before for easier cuts.
Steps for heads:
- Score a circle in the sod with the sprinkler digging tool. Keep it 6 to 8 inches wide.
- Slice straight down to root depth. Lift the sod like a lid and fold it back.
- Scoop soil to set the head at grade. Keep the walls firm to stop collapse.
- Backfill and fold the sod back. Step around the edge to seat it.
Steps for trenches:
- Snap a line or mark with paint.
- Sink the blade in with straight, short cuts.
- Wiggle the handle to loosen a slice. Pull soil out with the blade.
- Keep trench depth even at 8 to 12 inches for lateral lines.
- Place soil on a tarp for a clean site.
Pro tip: Work the blade like a lever, not a pry bar. Let the sharp edge do the work. A sharp sprinkler digging tool makes neat cuts and saves your wrists.
What a sprinkler digging tool does best in irrigation
This tool shines when the job needs clean, small cuts.
High-value uses:
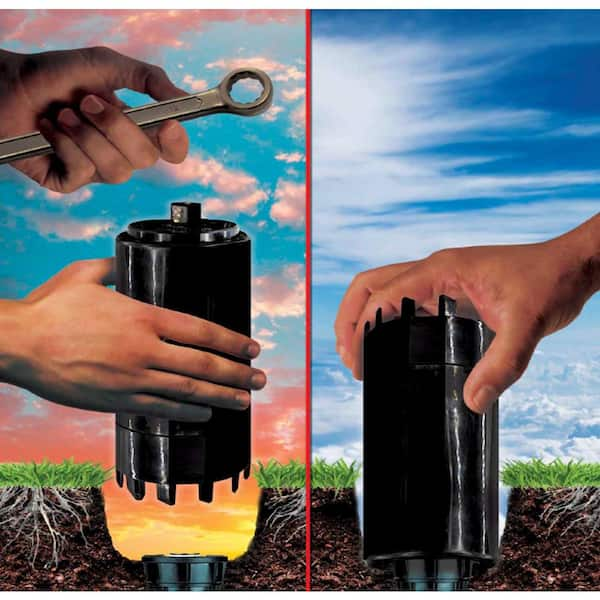
- Setting pop-up heads and rotors Maintain a snug hole so heads stay plumb.
- Running lateral pipe Make narrow trenches that backfill tight.
- Valve boxes Shape square holes with firm sides for support.
- Repairs and leaks Open just enough to work. Disturb less turf.
- Bed edging Define clean, soft curves where rotors meet mulch.
In my crew, a solid sprinkler digging tool cut install time by a third for head sets. It also kept call‑backs low. Heads stayed upright through the first season.
Sprinkler digging tool vs other digging tools
You may have a shovel already. Here is where each tool fits.
- Round‑point shovel Good for bulk soil moves. Too wide for neat trenches.
- Standard spade Fine for edging. Not slim enough near pipes.
- Mattock or pick Great in hardpan. Risky near buried lines.
- Powered trencher Fast for long runs. Can tear sod and overcut near beds.
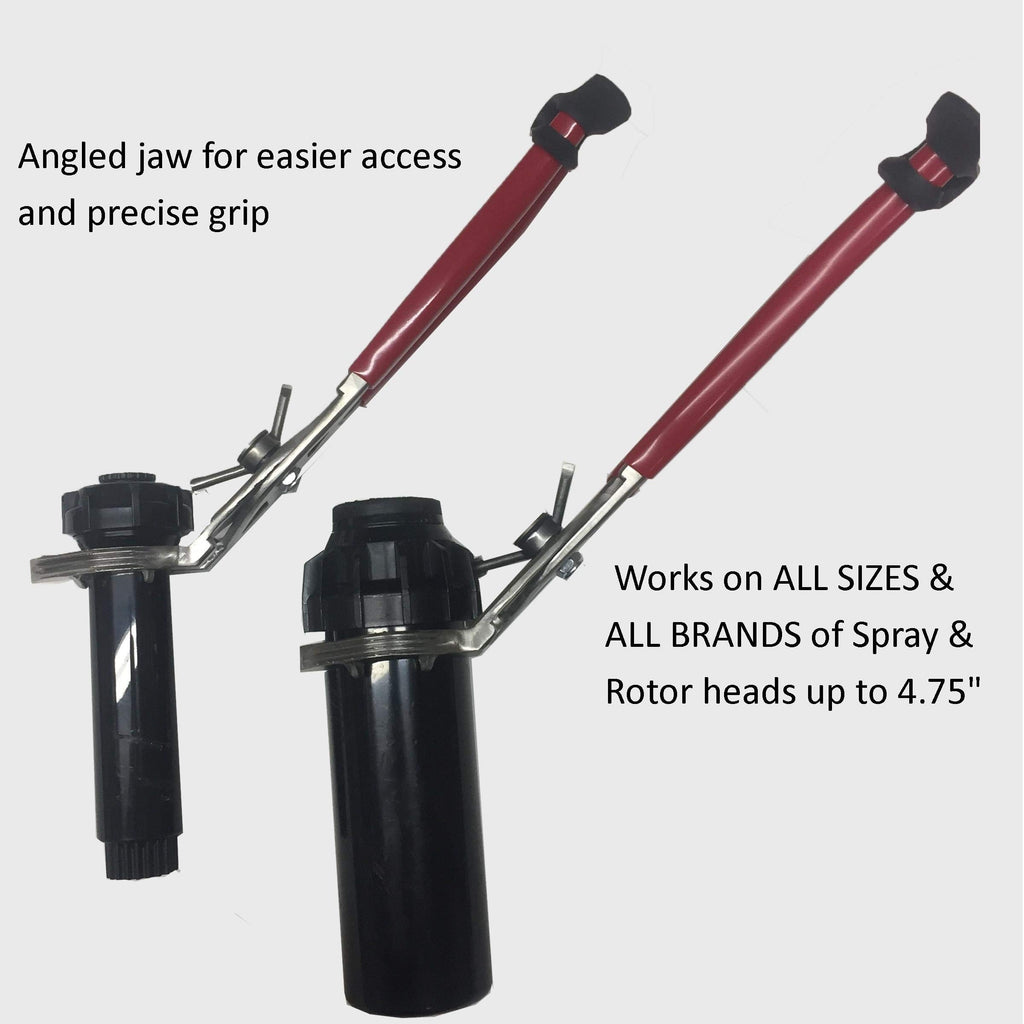
- Hori‑Hori or hand trowel Good for tiny holes. Slow for head sets.
A purpose-built sprinkler digging tool gives you speed and control for small, precise work. It beats a round shovel on any head install or tight repair.

How to choose the right sprinkler digging tool for your soil
Soils change the game. Match the tool to the ground.
- Sandy soil Pick a wider drain spade to scoop sand without collapse.
- Loam Use a narrow trenching spade with a tapered blade for clean cuts.
- Clay Choose a stiff blade with a step plate and a long handle.
- Rocky soil Use a reinforced edge and a fiberglass handle to resist shock.
- Rooty turf Go for serrated edges or a root‑cutting spade.
If you only buy one sprinkler digging tool, choose a 4 to 6 inch wide trenching spade with a 46 inch handle. It covers most yards well.
Care, sharpening, and storage
A well-kept sprinkler digging tool feels like new each day.
- Clean Knock off soil after use. Wipe with a dry rag.
- Sharpen File the bevel every few jobs. Keep a 30‑35 degree edge.
- Rust control Light oil on the blade stops rust.
- Handle care Check for cracks. Tighten bolts. Tape hot spots for grip.
- Storage Hang it indoors. Keep it dry and off concrete.
These small steps keep the blade keen. That saves time and energy on site.

Common mistakes to avoid
I have made these errors so you do not have to.
- Skipping utility marks Striking cable or gas is never worth the risk. Always mark first.
- Oversize holes Big holes sink and tilt heads. Keep them snug.
- Wrong depth Shallow lines can freeze or get cut later. Stick to plan depth.
- Levering on pipe Do not pry against PVC. Cut a bit wider instead.
- Poor backfill Loose fill sinks. Tamp in thin lifts and water lightly.
A good sprinkler digging tool helps, but the method still matters.
Field notes and lessons from real jobs
On a tight townhouse lawn, a light drain spade saved the day. We swapped a broken head with two small cuts. The grass knit back in a week. No one saw the patch.
On a clay hillside, the first choice failed. We switched to a sharper, heavier sprinkler digging tool with a step plate. Short, straight cuts beat prying. The trench held shape, and the sod went back like puzzle pieces.
My rule now is simple. Bring two tools. Start light. If the soil fights you, step up. The right sprinkler digging tool pays for itself fast.
Cost, value, and ROI
Good tools do not have to break the bank.
Typical price ranges:
- Entry level 25 to 45 dollars. Fine for soft soils and light work.
- Pro grade 50 to 120 dollars. Better steel, welds, and ergonomics.
- Specialty blades 80 to 150 dollars. Root teeth or extra narrow blades.
A quality sprinkler digging tool can cut install time by 20 to 40 percent on small work. That means fewer hours, cleaner lawns, and happier clients. For a DIY user, it turns a weekend grind into a one‑day task.
Ergonomics and turf care
Your body and the lawn both matter.
Ergonomics:
- Keep hands low on hard cuts. Let legs drive the blade.
- Switch lead foot often to spare knees.
- Use a long handle to keep your back straight.
Turf care:
- Cut sod as a flap, not a patch, to keep roots alive.
- Place soil on a tarp. It stops stains and speeds cleanup.
- Water the repair zone after backfill to seat the soil.
With a smart method and the right sprinkler digging tool, your work will look like you were never there.
Frequently Asked Questions of sprinkler digging tool
What size hole should I dig for a sprinkler head?
Aim for a 6 to 8 inch wide hole with straight sides. Keep it snug so the head stays plumb and the turf heals fast.
How deep should lateral lines be when using a sprinkler digging tool?
Most yards need 8 to 12 inches of cover. Go deeper if local code or frost depth calls for it.
Can I use a regular shovel instead of a sprinkler digging tool?
You can, but it will be slower and messier. A narrow, purpose tool makes cleaner cuts and protects the lawn.
How do I sharpen the blade safely?
Clamp the tool and file from the heel to the tip at a steady angle. Wear gloves and eye protection.
What should I do before digging to avoid hitting utilities?
Call 811 to mark lines if you are in the US. Hand dig with care near marks and expose lines before trenching.
Which handle material is best for a sprinkler digging tool?
Fiberglass handles absorb shock and resist rot. Wood feels great but needs more care to last.
Will a sprinkler digging tool work in rocky soil?
It can, but progress is slow. Use a reinforced blade and clear rocks by hand as you go.
How do I keep sod from dying after a repair?
Cut clean, fold it back fast, and keep roots moist. Water the area lightly after you set the sod.
Conclusion
A sprinkler digging tool is a small upgrade that makes a big difference. It cuts cleaner holes, speeds installs, and leaves the lawn looking fresh. Pick the right blade for your soil, sharpen it often, and use a light, steady method.
Put this guide to work on your next head set or repair. Try one new tip, like cutting a sod flap or using a tarp. Share your results, ask a question, or subscribe for more hands‑on irrigation guides.