Starting Seeds Indoors Guide: 2026 Pro Tips That Work
Starting seeds indoors is simple: plan, provide light, warmth, and consistent care.
If you want stronger plants, earlier harvests, and lower costs, you’re in the right place. In this starting seeds indoors guide, I share the exact steps I use as a seasoned grower to move from a packet of seeds to sturdy transplants. You will get clear instructions, pro tips, and real examples so you can start with confidence and avoid common mistakes. Read on and make this starting seeds indoors guide your go-to playbook.

Why start seeds indoors
Starting seeds indoors gives you control over timing, light, and heat. You can grow varieties that stores never sell and save money per plant. It protects tender sprouts from late frosts and pests. This starting seeds indoors guide also shows limits, like space needs and daily care.
Plan your crop calendar
Start with your last frost date. Count back the right number of weeks for each crop. Fast growers like lettuce need 3–4 weeks. Slow growers like peppers need 8–10 weeks. In this starting seeds indoors guide, I include simple rules so you get the timing right every time.
Use these easy steps to plan:
- Pick your target transplant week based on frost and soil temps.
- Check seed packets for “weeks before last frost” guidance.
- Add a buffer week for slow germination.
- Stagger sowings for a steady harvest.
Example:
- Tomatoes: sow 6–8 weeks before frost.
- Peppers: sow 8–10 weeks before frost.
- Broccoli: sow 4–6 weeks before frost.
- Basil: sow 4–6 weeks before frost.

Source: homesteadandchill.com
Supplies you really need
Keep it simple at first. A few key tools boost your success rate.
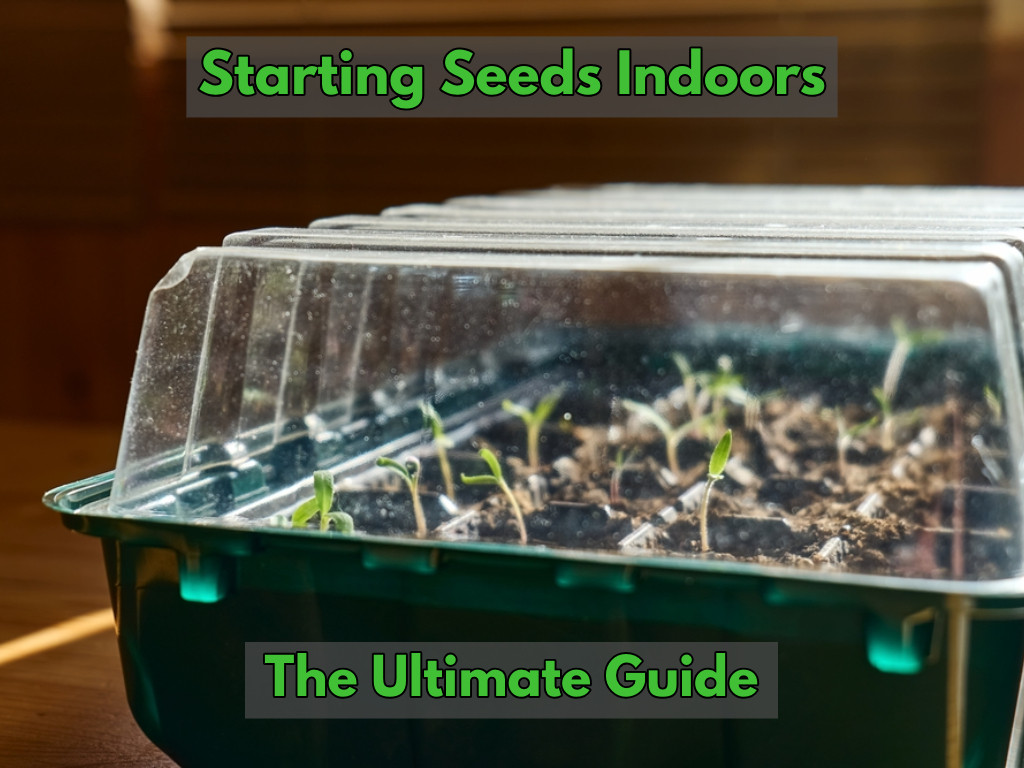
- Seed trays or cell packs hold soil and keep things tidy.
- Clear dome helps hold humidity during germination.
- Quality seed starting mix is light and sterile.
- Heat mat speeds germination for warmth-loving crops.
- LED grow lights give bright, even light.
- Labels and a marker prevent mix-ups.
- Spray bottle and bottom-watering tray control water.
- Small fan improves airflow and stem strength.
This starting seeds indoors guide focuses on gear that works and lasts. You can add shelves, timers, and a thermostat as you grow.
Seed starting mix and containers
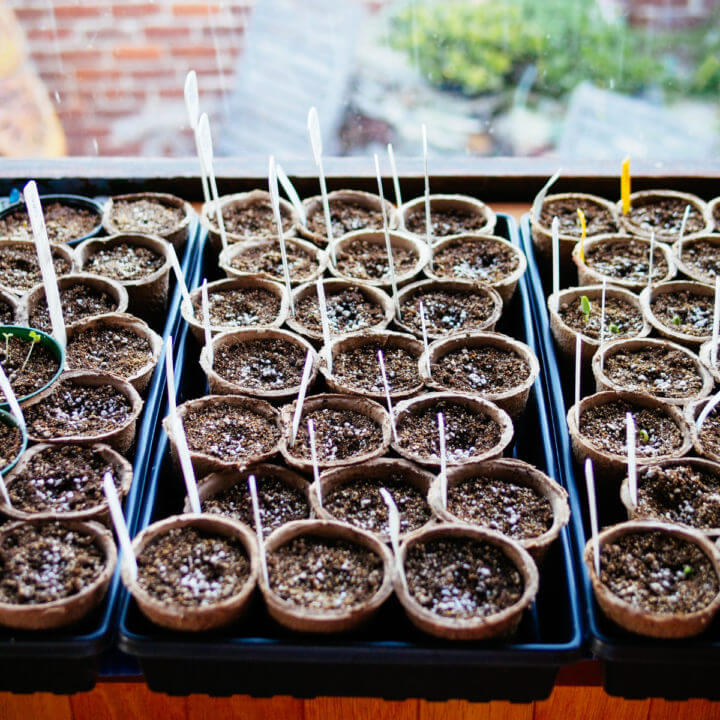
Use a sterile, peat-free or peat-reduced mix if you can. Look for fine texture with good drainage and water holding. Pre-moisten the mix until it feels like a wrung-out sponge. Avoid garden soil; it compacts and may carry disease.
Container choices:
- 72-cell trays are great for many plants in small space.
- 50-cell or 36-cell trays give more room for bigger seedlings.
- Reused containers work if washed and sanitized first.
This starting seeds indoors guide explains why clean tools matter. I once reused old soil and lost a flat to damping off. Sanitation saved my next batch.

Step-by-step sowing process
Follow this simple flow each time. It reduces errors and stress.
- Clean trays and tools. Rinse, then sanitize with a mild bleach or peroxide solution.
- Fill cells with pre-moistened mix. Tap to settle, but do not pack hard.
- Make shallow holes. Depth is 2–3 times the seed’s width.
- Place 1–2 seeds per cell. Cover lightly with mix or vermiculite.
- Mist the surface. Aim for even moisture, not puddles.
- Add a label with variety and date.
- Cover with a dome until most seeds sprout.
- Move to bright light as soon as you see green.
In this starting seeds indoors guide, consistency is your edge. Repeat the same steps and keep notes for the next round.
Light, temperature, and humidity control
Light is the number one factor after germination. Keep LEDs 2–4 inches above seedlings. Use 14–16 hours of light daily. A timer makes this easy. If seedlings lean or stretch, lower the light a bit.
Aim for these ranges:
- Germination: 70–80°F for warm crops; 60–70°F for cool crops.
- Growing on: 60–70°F days, a little cooler at night.
- Humidity: higher during germination, then 40–60% to prevent disease.
Extension trials show steady light and moderate night temps build stocky plants. This starting seeds indoors guide keeps numbers simple and proven.
Watering, fertilizing, and airflow
Water from the bottom when possible. Let cells absorb water for 10–20 minutes, then drain. The top should feel moist, not soggy. If the mix stays wet for days, use less water and add airflow.
Fertilizer tips:
- Start feeding at the first or second set of true leaves.
- Use a gentle, half-strength liquid feed once a week.
- Watch leaves. Pale color can mean hungry plants.
Run a small fan on low. Stems grow thicker, and disease drops. In this starting seeds indoors guide, airflow is a must-have, not a nice-to-have.
Potting up and hardening off
Some seedlings outgrow small cells before the weather is safe. Pot them up to 3–4 inch pots. Move gently and set the new soil at the same depth, except tomatoes, which like deeper planting.
Hardening off:
- Start 7–10 days before transplant.
- Begin with 1–2 hours of shade and light breeze.
- Add an hour daily and more sun each day.
- Avoid cold snaps and strong wind at first.
This starting seeds indoors guide stresses patience. I have rushed this step and paid with sunburned leaves. Slow is fast here.
Troubleshooting and common mistakes
Damping off
- Signs: seedlings fall over at the base, stems look pinched.
- Causes: wet, cool, still air; dirty tools.
- Fix: improve airflow, use sterile mix, water less on top, bottom-water.
Leggy seedlings
- Signs: tall, thin stems that flop.
- Causes: weak light or lights too far away.
- Fix: lower lights, add hours, brush tops gently to toughen stems.
Yellow leaves
- Signs: pale growth, slow progress.
- Causes: low nutrients or overwatering.
- Fix: begin light feeding; let soil drain between waterings.
Fungus gnats and algae
- Signs: tiny flies, green scum on soil.
- Causes: constant surface moisture.
- Fix: bottom-water, dry the surface, use sticky traps.
This starting seeds indoors guide points you to small, steady changes. Most issues fade when light, water, and air are in balance.
Example 6-week indoor seed starting schedule
Here is a simple path many gardeners use for warm-season crops. Adjust one week earlier or later for your frost date. The goal is steady growth and no stress.
Weeks 1–2
- Sow seeds, use domes, keep warm.
- Move to strong light at first sprout.
Weeks 3–4
- Thin to one plant per cell with scissors.
- Begin half-strength feeding once a week.
Week 5
- Pot up if roots fill the cell.
- Brush tops daily or run a fan.
Week 6
- Start hardening off outdoors.
- Transplant after a mild, overcast day if possible.
This starting seeds indoors guide also works for cool-season plants. Cool crops just like lower temps and can move out sooner.
Advanced tips that raise your success rate
Pre-sprout tricky seeds
- Place seeds in a damp paper towel in a bag. Keep warm and dark.
- Plant when you see tiny roots.
Scarify and stratify
- Tough coats (like some herbs and flowers) may need a nick with a file.
- Some seeds need a cold period in the fridge for a few weeks.
Prime seeds for speed
- Soak larger seeds for 4–12 hours in room-temp water.
- Do not over-soak; plant right after.
Sanitation routines
- Wash hands, trays, and tools each round.
- Keep a log of sowing dates and results.
From years of trials, these steps add insurance. This starting seeds indoors guide blends lab-backed habits with real-world time savers.
Frequently Asked Questions
When should I start seeds indoors?
Count back from your last frost date using the seed packet’s weeks. Most warm crops need 6–10 weeks; cool crops need 3–6 weeks.
Do I really need a grow light?
Yes, in most homes. Window light is often too weak and uneven; a basic LED fixes leggy growth.
Are heat mats worth it?
For peppers, tomatoes, and eggplants, yes. They raise germination speed and rates, then you can remove them after sprout.
How often should I water seedlings?
Water when the top looks dry and the cell feels light. Bottom-water and let the tray drain to avoid soggy roots.
When do I start fertilizing?
Begin at the first or second true leaves with half-strength liquid feed. Watch growth and color, then adjust.
Why are my seedlings falling over?
That is likely damping off. Improve airflow, reduce surface moisture, and keep tools and mix clean.
Can I reuse potting mix?
It is risky for seedlings. Reuse it for older container plants, but use fresh, sterile mix for sowing.
Conclusion
You now have a clear path from seed to transplant. Plan your dates, control light and water, add airflow, and protect young plants as they move outside. This starting seeds indoors guide gives you every step you need to grow strong, even if space and time are tight. Take one crop and start today. Track your results, refine your method, and enjoy earlier harvests. If this helped, subscribe for more guides and share your wins in the comments.