
How To Test Garden Soil At Home: Simple DIY Guide 2026
Test garden soil at home using a kit, DIY checks, and smart sampling.
If you want bigger blooms and better harvests, you need solid soil data. In this guide, I’ll show you how to test garden soil at home the right way. You’ll learn proven steps I use with clients and in my own beds. We’ll cover simple tools, accurate methods, and how to read your results with confidence.
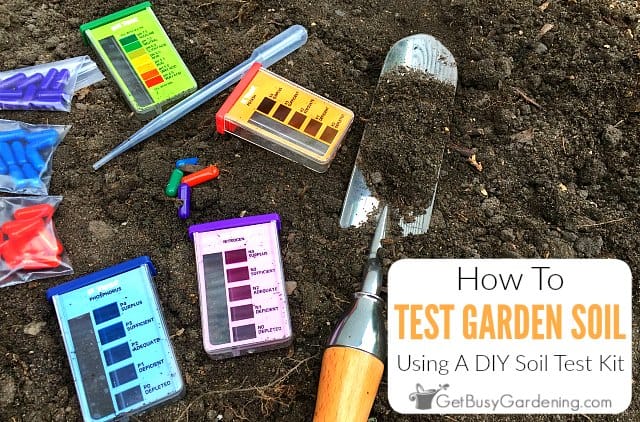
Why testing your garden soil matters
Healthy soil grows strong plants and lowers pest stress. Testing shows what your plants are missing and what they have too much of. It saves money on fertilizers and helps the environment by cutting runoff.
Most home gardens do best with a soil pH between 6.0 and 7.0. Nutrients like nitrogen, phosphorus, and potassium need the right pH to move into roots. If you want a fast, clear plan for how to test garden soil at home, start with a simple test and then adjust with gentle fixes.

Tools and materials you’ll need for how to test garden soil at home
You do not need a lab to start. A small kit and a few tools will get you far.
- Clean plastic bucket and a trowel: For collecting and mixing samples.
- Zip bags or small containers: For labeled subsamples from different spots.
- At-home soil test kit: A color or digital kit for pH and N-P-K.
- Distilled water: Tap water can skew readings.
- Notebook or phone: To log dates, spots, and results.
- Optional tools: A soil thermometer, a simple probe for compaction, and clear jars for texture tests.
These basics cover most of how to test garden soil at home without spending much.

How to collect and prepare a reliable soil sample
Good data starts with a good sample. This step decides your accuracy.
- Choose the area: Keep beds, lawns, and problem spots separate.
- Take subsamples: Collect 8–12 cores per area in a zigzag pattern.
- Depth: 6 inches for beds and vegetables, 3–4 inches for lawns.
- Remove debris: Brush away mulch, leaves, and stones.
- Mix well: Combine subsamples in a clean bucket to make one composite sample.
- Air-dry: Spread on clean paper for a few hours. Do not heat.
- Label: Record bed name, date, and what you plan to grow there.
When clients ask how to test garden soil at home and get stable results, I stress the composite sample. It evens out “hot spots” and gives a true picture.
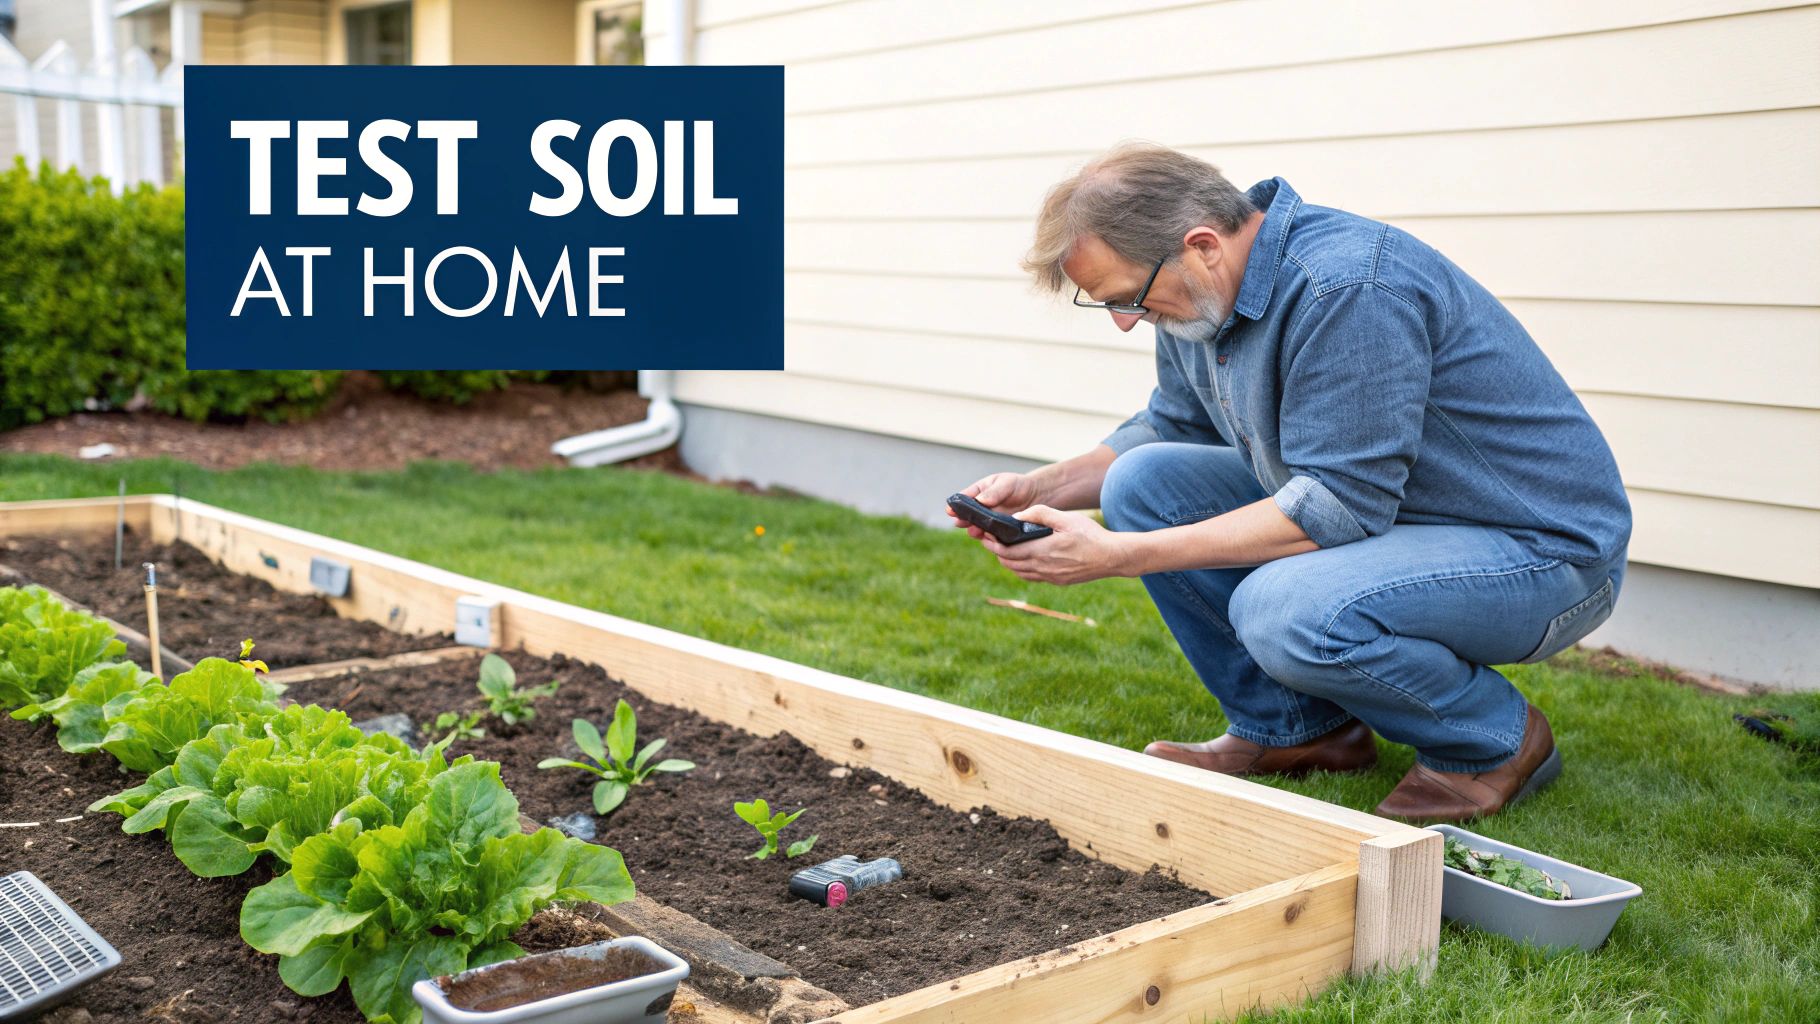
Step-by-step: how to test garden soil at home with a kit
Most kits include capsules, reagents, and a color chart, or a handheld meter. Follow the label. These steps fit most brands.
- Read the manual: Each kit has small differences.
- Measure soil: Place the recommended amount in the test chamber.
- Add distilled water: Use the exact ratio listed.
- Add reagent: Shake or stir as directed.
- Wait: Let color develop for the stated time.
- Compare: Match the color to the chart for pH, nitrogen (N), phosphorus (P), and potassium (K).
- Log results: Write down numbers or color grades for each bed.
Pro tip from my own routine: Run duplicates. Testing two small portions from the same mix helps you spot errors. This small habit improves how to test garden soil at home with more trust in the result.
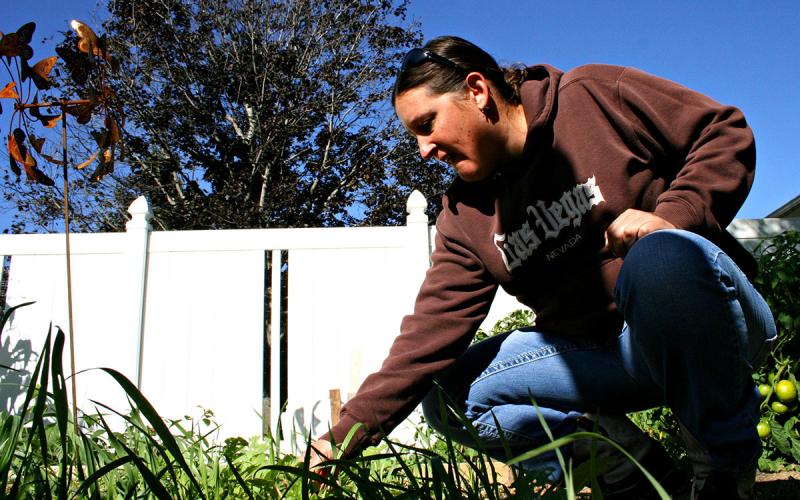
No-kit methods: simple DIY soil tests that work
If you do not have a kit yet, try these quick checks. They are not perfect, but they guide next steps.
- pH check with vinegar and baking soda: Place two teaspoons of soil on two plates. Wet one with vinegar. If it fizzes, soil may be alkaline. Wet the other with water, then add baking soda. If it fizzes, soil may be acidic.
- Texture jar test: Put soil in a clear jar. Fill with water and a drop of dish soap. Shake hard and let it settle 24–48 hours. Sand drops first, then silt, then clay. Measure layers to estimate texture.
- Drainage test: Dig a 12-inch hole. Fill with water twice. Time the second drain. One to two inches per hour is good. Slower means poor drainage.
- Compaction check: Push a long screwdriver into moist soil. Hard push means compaction.
- Life signs: Count earthworms in a one-square-foot hole. Five or more is a healthy sign. Smell should be earthy, not sour.
These checks help you practice how to test garden soil at home even when tools are limited.
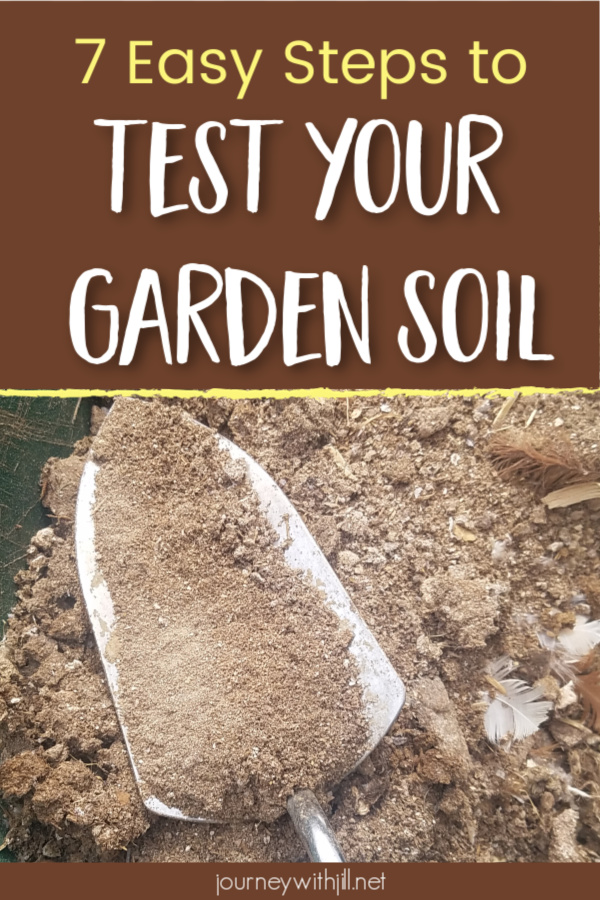
Making sense of the results
Your numbers tell a story. Here is how to read it and set targets.
-
pH
- Under 5.5: Very acidic. Many nutrients lock up. Blueberries like this; most vegetables do not.
- 6.0–7.0: Ideal for most vegetables and flowers.
- Over 7.5: Alkaline. Iron and manganese can go low even if present.
-
Nutrients
- Nitrogen (N): Drives leafy growth. Low N shows as pale leaves.
- Phosphorus (P): Supports roots and blooms. Low P can cause purple leaves.
- Potassium (K): Aids stress and fruit quality. Low K can scorch leaf edges.
-
Texture and drainage
- Sandy soil: Drains fast. Needs more frequent feeding and organic matter.
- Clay soil: Holds water and nutrients. Needs air and structure.
Aim for pH near the crop’s sweet spot. For vegetables, that is usually 6.2–6.8. When teaching how to test garden soil at home, I suggest small changes over time, not big swings.

Fix problems: amendments and quick wins based on your test
Act on the numbers with gentle, proven steps. Make small moves, then retest.
- To raise pH (acidic soil): Add garden lime. Use label rates by soil type. Sandy soil needs less than clay. Apply in fall or early spring and water in.
- To lower pH (alkaline soil): Add elemental sulfur in split doses. Compost with pine needles or peat can help a bit too.
- To boost organic matter: Add 1–2 inches of finished compost and work it into the top 4 inches. Mulch with leaves or straw.
- To add nitrogen: Use compost, blood meal, or a balanced organic fertilizer. Feed lightly and more often.
- To add phosphorus: Bone meal or rock phosphate, but only if a test shows low P.
- To add potassium: Greensand, sulfate of potash, or composted banana peels in small amounts.
- To improve drainage and reduce compaction: Broadfork the bed, add compost, avoid tilling when wet, and keep paths separate from beds.
From my beds: I once had a pH of 7.8 and chlorotic leaves. Two small sulfur applications, 60 days apart, plus compost brought pH to 7.0 and color returned. That change came from following the basics of how to test garden soil at home and moving slow.
When to use a lab, and the limits of home tests
At-home kits are great for quick checks, but they have limits.
- Choose a lab test when you need micronutrients, salinity, or heavy metals. Many kits do not measure these.
- Use a lab if you had lead paint on old buildings or you garden near busy roads.
- If at-home readings seem odd, test again or send a composite sample to a lab to confirm.
Accuracy notes many extension services share: pH kits are often close. N-P-K color tests are useful for trends, not exact ppm. Keep that in mind while learning how to test garden soil at home and make final calls with lab data for high-value crops.
Timing, retesting, and record-keeping for long-term soil health
Testing is not a one-time job. Make it a habit.
- Best time to test: Early spring before feeding, or fall after harvest.
- Retest: Every year for pH and organic matter; every 1–2 years for N-P-K.
- After amendments: Wait 6–8 weeks before retesting pH changes.
- Track: Keep a simple log with dates, weather, amendments, and yields.
A steady process is the real secret behind how to test garden soil at home and keep it fertile for years.
Frequently Asked Questions of how to test garden soil at home
How often should I test my garden soil at home?
Test once a year for pH and organic matter. For nutrients, every 1–2 years is fine unless you have issues.
Can I test soil pH without a kit?
Yes, the vinegar and baking soda test gives a rough idea. For accuracy, use a pH strip or a digital meter.
Are at-home soil test kits accurate?
They are good for pH and general nutrient levels. Use a lab for precise numbers or micronutrients.
Should I test soil wet or dry?
Use air-dry soil for consistent results. Wet soil can dilute readings and skew the test.
How long after adding lime or sulfur should I retest?
Wait 6–8 weeks before retesting pH. Some changes, especially in clay soils, can take longer.
What if my readings conflict across beds?
Sample and test each bed separately. Different crops, watering, and past amendments can change results.
Conclusion
Soil testing turns guesswork into a clear plan. You learned how to test garden soil at home with a kit, simple DIY checks, and good sampling. Start small, act on real data, and retest on a schedule. Your plants will show the difference.
Set a date this week to collect samples and run your first tests. Write down the results, pick one gentle fix, and watch your garden respond. Want more practical guides like this? Subscribe, share your results, or leave a question and I’ll help you dial in the next step.


